
How to Use TP4056: Examples, Pinouts, and Specs
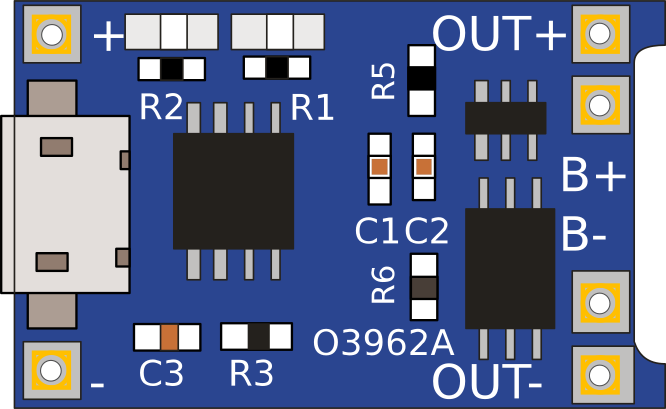
 Design with TP4056 in Cirkit Designer
Introduction
The TP4056 is a lithium-ion battery charger IC designed for single-cell lithium-ion batteries. It provides a constant current/constant voltage (CC/CV) charging profile, ensuring safe and efficient charging. The IC is equipped with built-in thermal regulation, over-voltage protection, and automatic charge termination, making it a reliable choice for battery-powered applications. Its compact design and simple interface make it ideal for portable electronics, power banks, and DIY projects.
Explore Projects Built with TP4056
 Open Project in Cirkit Designer
 Open Project in Cirkit Designer
 Open Project in Cirkit Designer
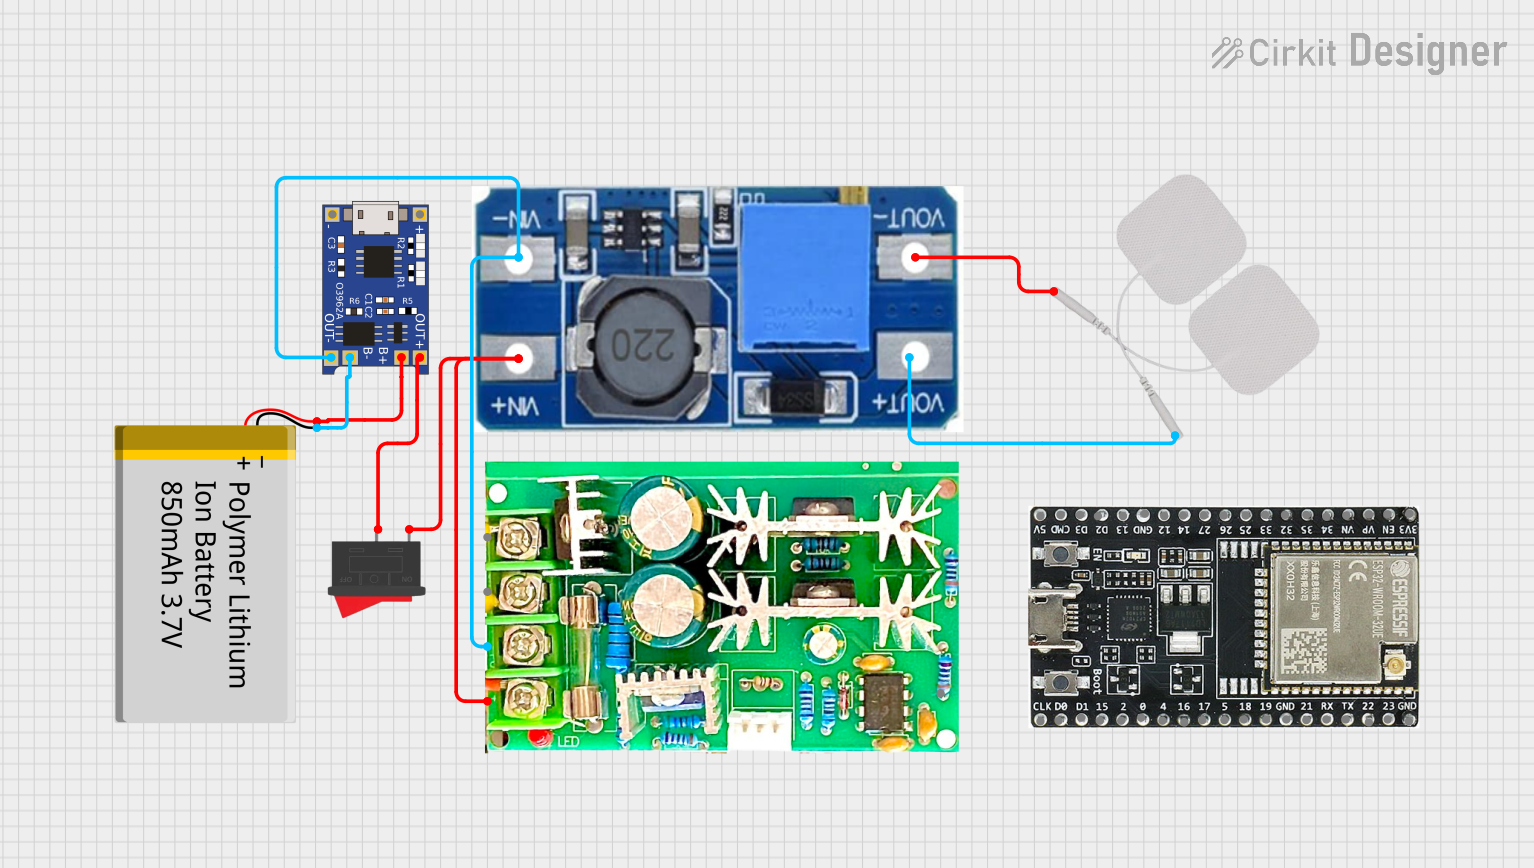 Open Project in Cirkit Designer
Explore Projects Built with TP4056
Open Project in Cirkit DesignerOpen Project in Cirkit DesignerOpen Project in Cirkit DesignerOpen Project in Cirkit DesignerCommon Applications
- Charging single-cell lithium-ion or lithium-polymer batteries
- Power banks and portable chargers
- Wearable devices
- DIY electronics and IoT projects
- Battery-powered gadgets
Technical Specifications
Key Technical Details
| Parameter | Value |
|---|---|
| Input Voltage Range | 4.0V to 8.0V |
| Charging Voltage | 4.2V ± 1% |
| Maximum Charging Current | 1A (adjustable via external resistor) |
| Charging Method | Constant Current/Constant Voltage (CC/CV) |
| Standby Current | < 2µA |
| Thermal Regulation | Automatically reduces current at high temperatures |
| Protection Features | Over-voltage, over-temperature, reverse polarity |
| Package Type | SOP-8 |
Pin Configuration and Descriptions
| Pin Number | Pin Name | Description |
|---|---|---|
| 1 | BAT | Battery connection pin. Connect to the positive terminal of the battery. |
| 2 | GND | Ground pin. Connect to the system ground. |
| 3 | VCC | Input voltage pin. Connect to a DC power source (4.0V to 8.0V). |
| 4 | PROG | Charging current programming pin. Connect a resistor to set the charge current. |
| 5 | TEMP | Temperature monitoring pin. Connect to an NTC thermistor for thermal protection. |
| 6 | STAT1 | Status indicator pin 1. Used with LEDs to indicate charging status. |
| 7 | STAT2 | Status indicator pin 2. Used with LEDs to indicate charging status. |
| 8 | CE | Chip enable pin. Pull low to enable charging, pull high to disable. |
Usage Instructions
How to Use the TP4056 in a Circuit
- Power Supply: Connect a DC power source (4.0V to 8.0V) to the
VCCpin. Ensure the power source can supply sufficient current for the charging process. - Battery Connection: Connect the positive terminal of the lithium-ion battery to the
BATpin and the negative terminal toGND. - Set Charging Current: Use a resistor between the
PROGpin andGNDto set the charging current. The formula to calculate the resistor value is: [ I_{CHG} = \frac{1200}{R_{PROG}} ] where ( I_{CHG} ) is the charging current in mA and ( R_{PROG} ) is the resistor value in kΩ. - Status Indicators: Connect LEDs to the
STAT1andSTAT2pins with appropriate current-limiting resistors to monitor the charging status:STAT1ON,STAT2OFF: Charging in progress.STAT1OFF,STAT2ON: Charging complete.- Both OFF: No battery connected or charging disabled.
- Thermal Protection: Optionally, connect an NTC thermistor to the
TEMPpin for temperature monitoring. If unused, connect theTEMPpin toGND.
Important Considerations
- Ensure the input voltage does not exceed 8.0V to avoid damaging the IC.
- Use a heat sink or proper ventilation if charging at high currents to prevent overheating.
- Always verify the battery's specifications to ensure compatibility with the TP4056.
- Avoid reverse polarity connections to prevent damage to the IC and battery.
Example: Using TP4056 with Arduino UNO
The TP4056 can be used with an Arduino UNO to monitor the charging status. Below is an example code to read the status pins:
// Define the status pins connected to TP4056
const int stat1Pin = 2; // STAT1 pin connected to Arduino digital pin 2
const int stat2Pin = 3; // STAT2 pin connected to Arduino digital pin 3

void setup() {
  pinMode(stat1Pin, INPUT); // Set STAT1 pin as input
  pinMode(stat2Pin, INPUT); // Set STAT2 pin as input
  Serial.begin(9600);       // Initialize serial communication
}

void loop() {
  int stat1 = digitalRead(stat1Pin); // Read STAT1 pin
  int stat2 = digitalRead(stat2Pin); // Read STAT2 pin

  if (stat1 == LOW && stat2 == HIGH) {
    Serial.println("Charging in progress...");
  } else if (stat1 == HIGH && stat2 == LOW) {
    Serial.println("Charging complete.");
  } else {
    Serial.println("No battery connected or charging disabled.");
  }

  delay(1000); // Wait for 1 second before checking again
}
Troubleshooting and FAQs
Common Issues and Solutions
Problem: The battery is not charging.
- Solution: Verify the input voltage is within the 4.0V to 8.0V range. Check the connections to the
BATandGNDpins. Ensure theCEpin is pulled low to enable charging.
- Solution: Verify the input voltage is within the 4.0V to 8.0V range. Check the connections to the
Problem: The IC overheats during charging.
- Solution: Reduce the charging current by increasing the
R_PROGresistor value. Ensure proper ventilation or use a heat sink.
- Solution: Reduce the charging current by increasing the
Problem: Status LEDs are not working.
- Solution: Check the connections to the
STAT1andSTAT2pins. Verify the LEDs and resistors are functioning correctly.
- Solution: Check the connections to the
Problem: Charging stops prematurely.
- Solution: Ensure the battery is not faulty or fully charged. Check the
TEMPpin connection if using a thermistor.
- Solution: Ensure the battery is not faulty or fully charged. Check the
FAQs
Can I use the TP4056 to charge multiple batteries in series? No, the TP4056 is designed for single-cell lithium-ion batteries only. Charging multiple cells in series requires a specialized battery management system (BMS).
What happens if the input voltage exceeds 8.0V? Exceeding 8.0V can damage the IC. Always use a regulated power supply within the specified range.
Can I adjust the charging voltage? No, the charging voltage is fixed at 4.2V ± 1% and cannot be adjusted.
Is the TP4056 suitable for fast charging? The maximum charging current is 1A, which is suitable for most single-cell lithium-ion batteries. For faster charging, consider ICs designed for higher currents.