
How to Use ps5 fan: Examples, Pinouts, and Specs
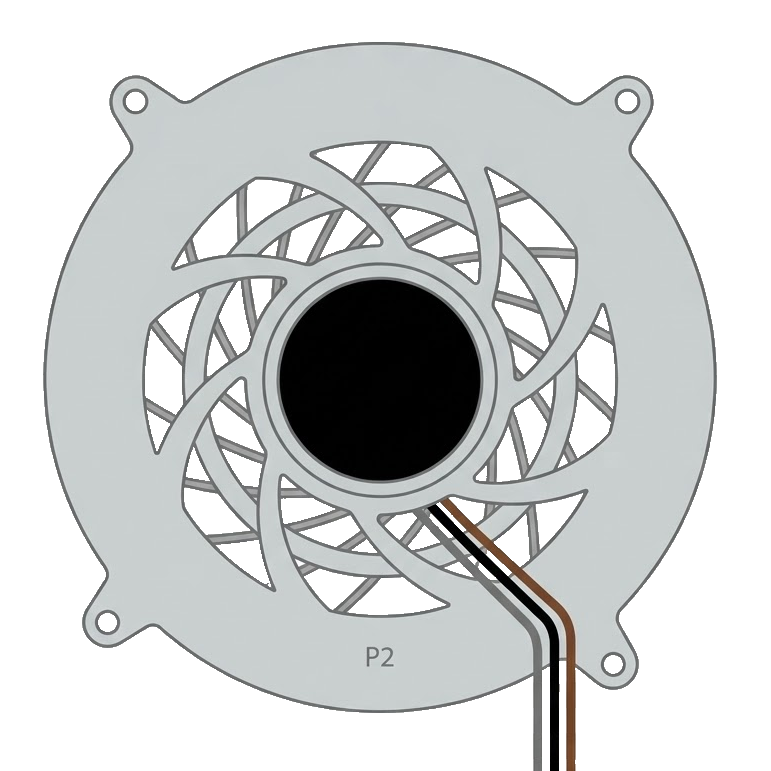
 Design with ps5 fan in Cirkit Designer
Introduction
The PS5 fan, manufactured by Sony, is a cooling fan specifically designed for the PlayStation 5 console. Its primary function is to dissipate heat generated by the console's internal components, ensuring optimal operating temperatures during extended gaming sessions. This fan is a critical component for maintaining the performance and longevity of the PS5 by preventing overheating.
Explore Projects Built with ps5 fan
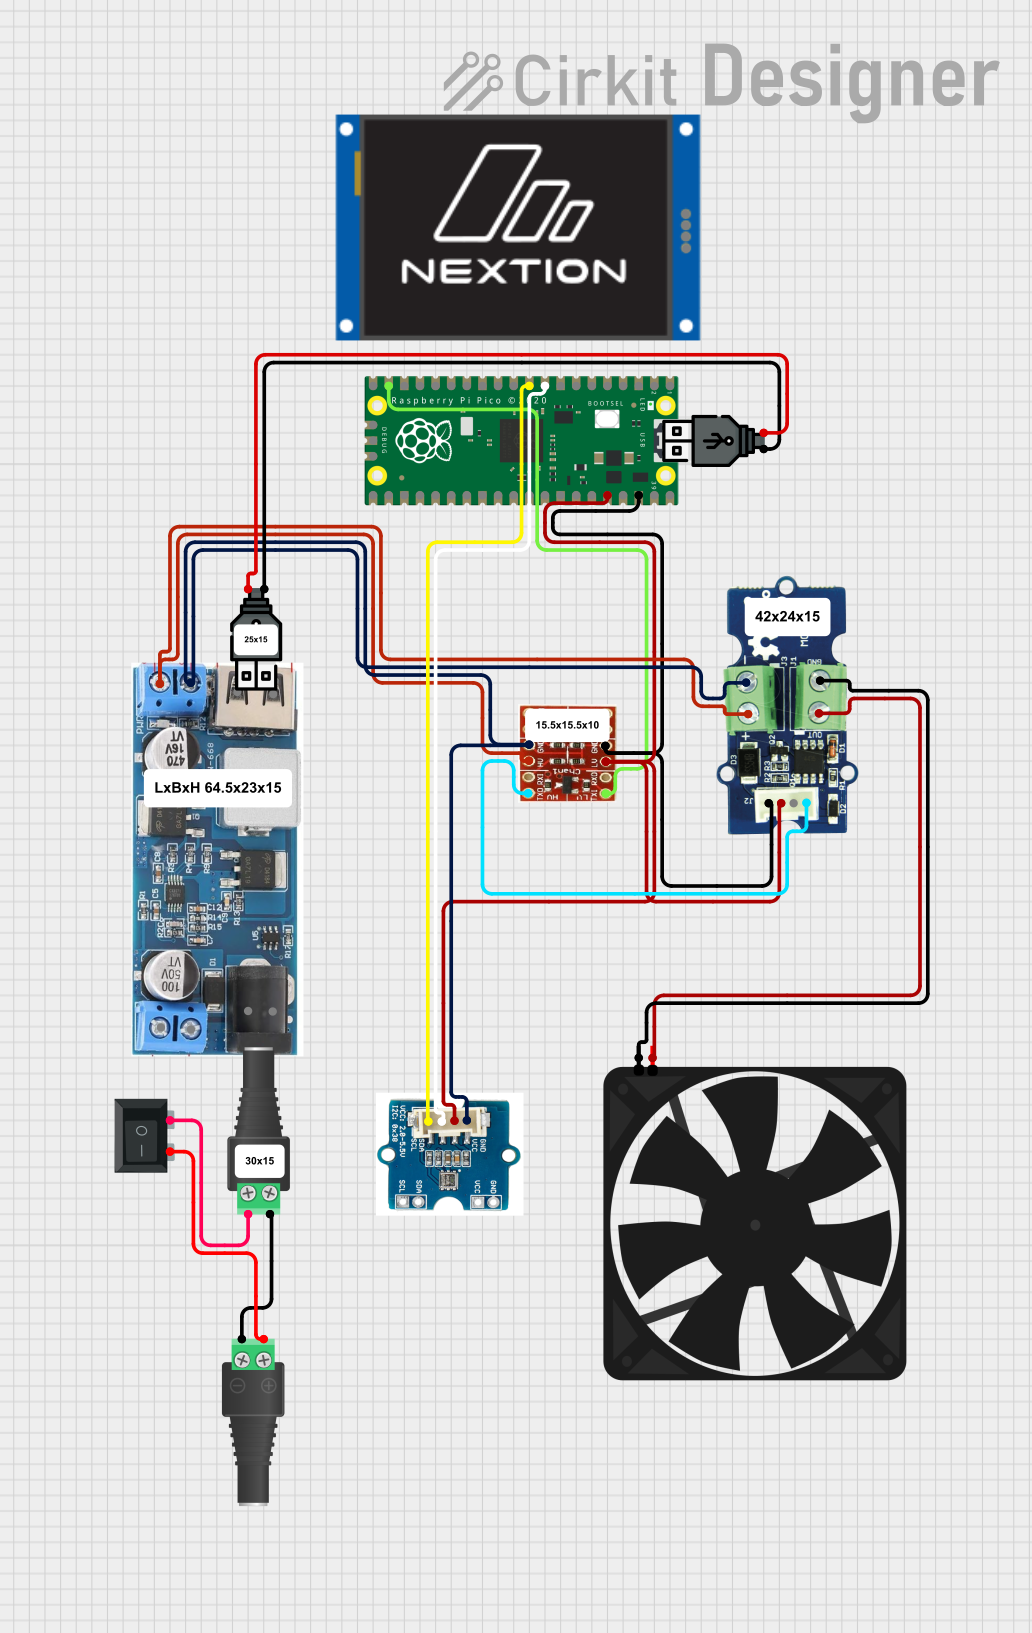 Open Project in Cirkit Designer
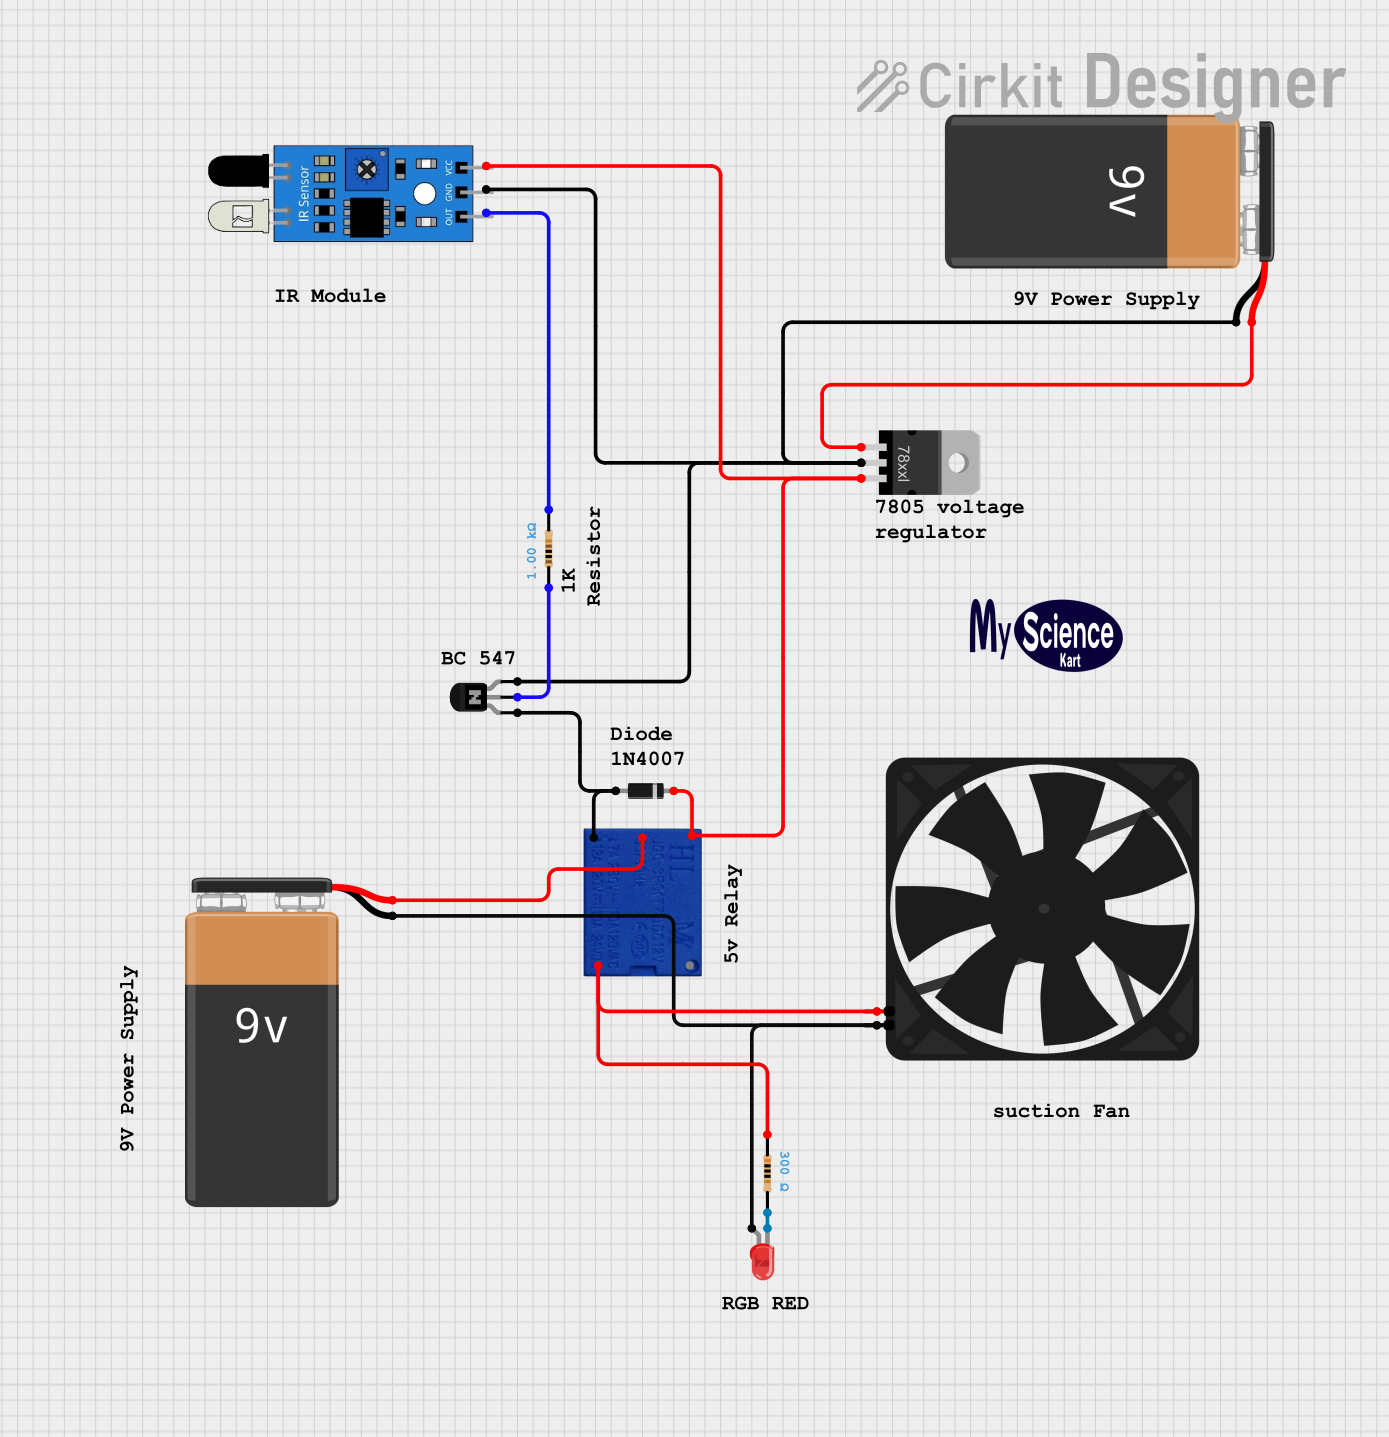 Open Project in Cirkit Designer
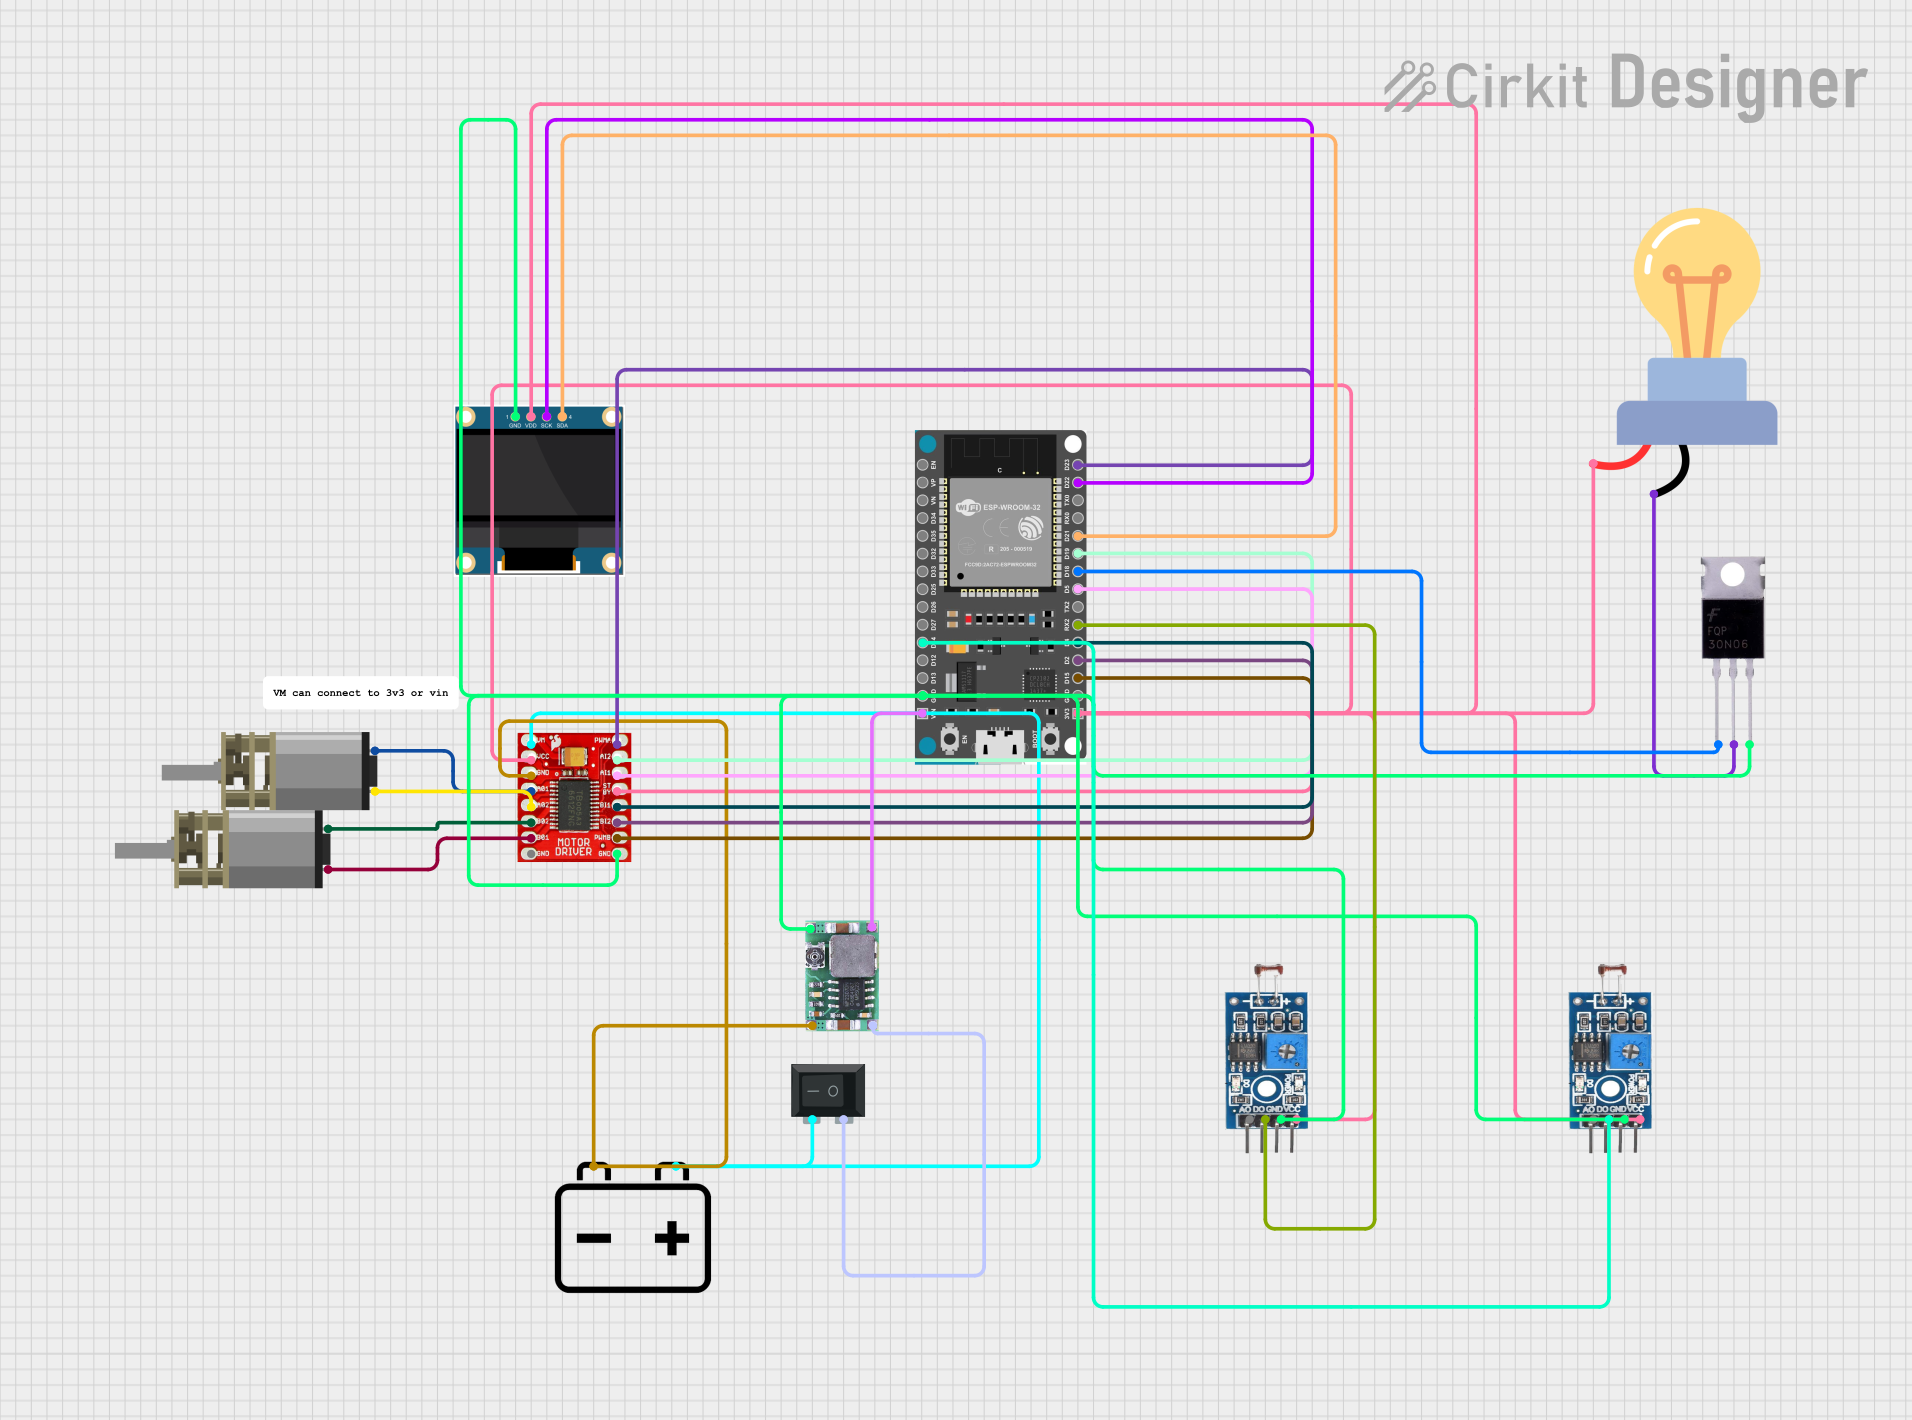 Open Project in Cirkit Designer
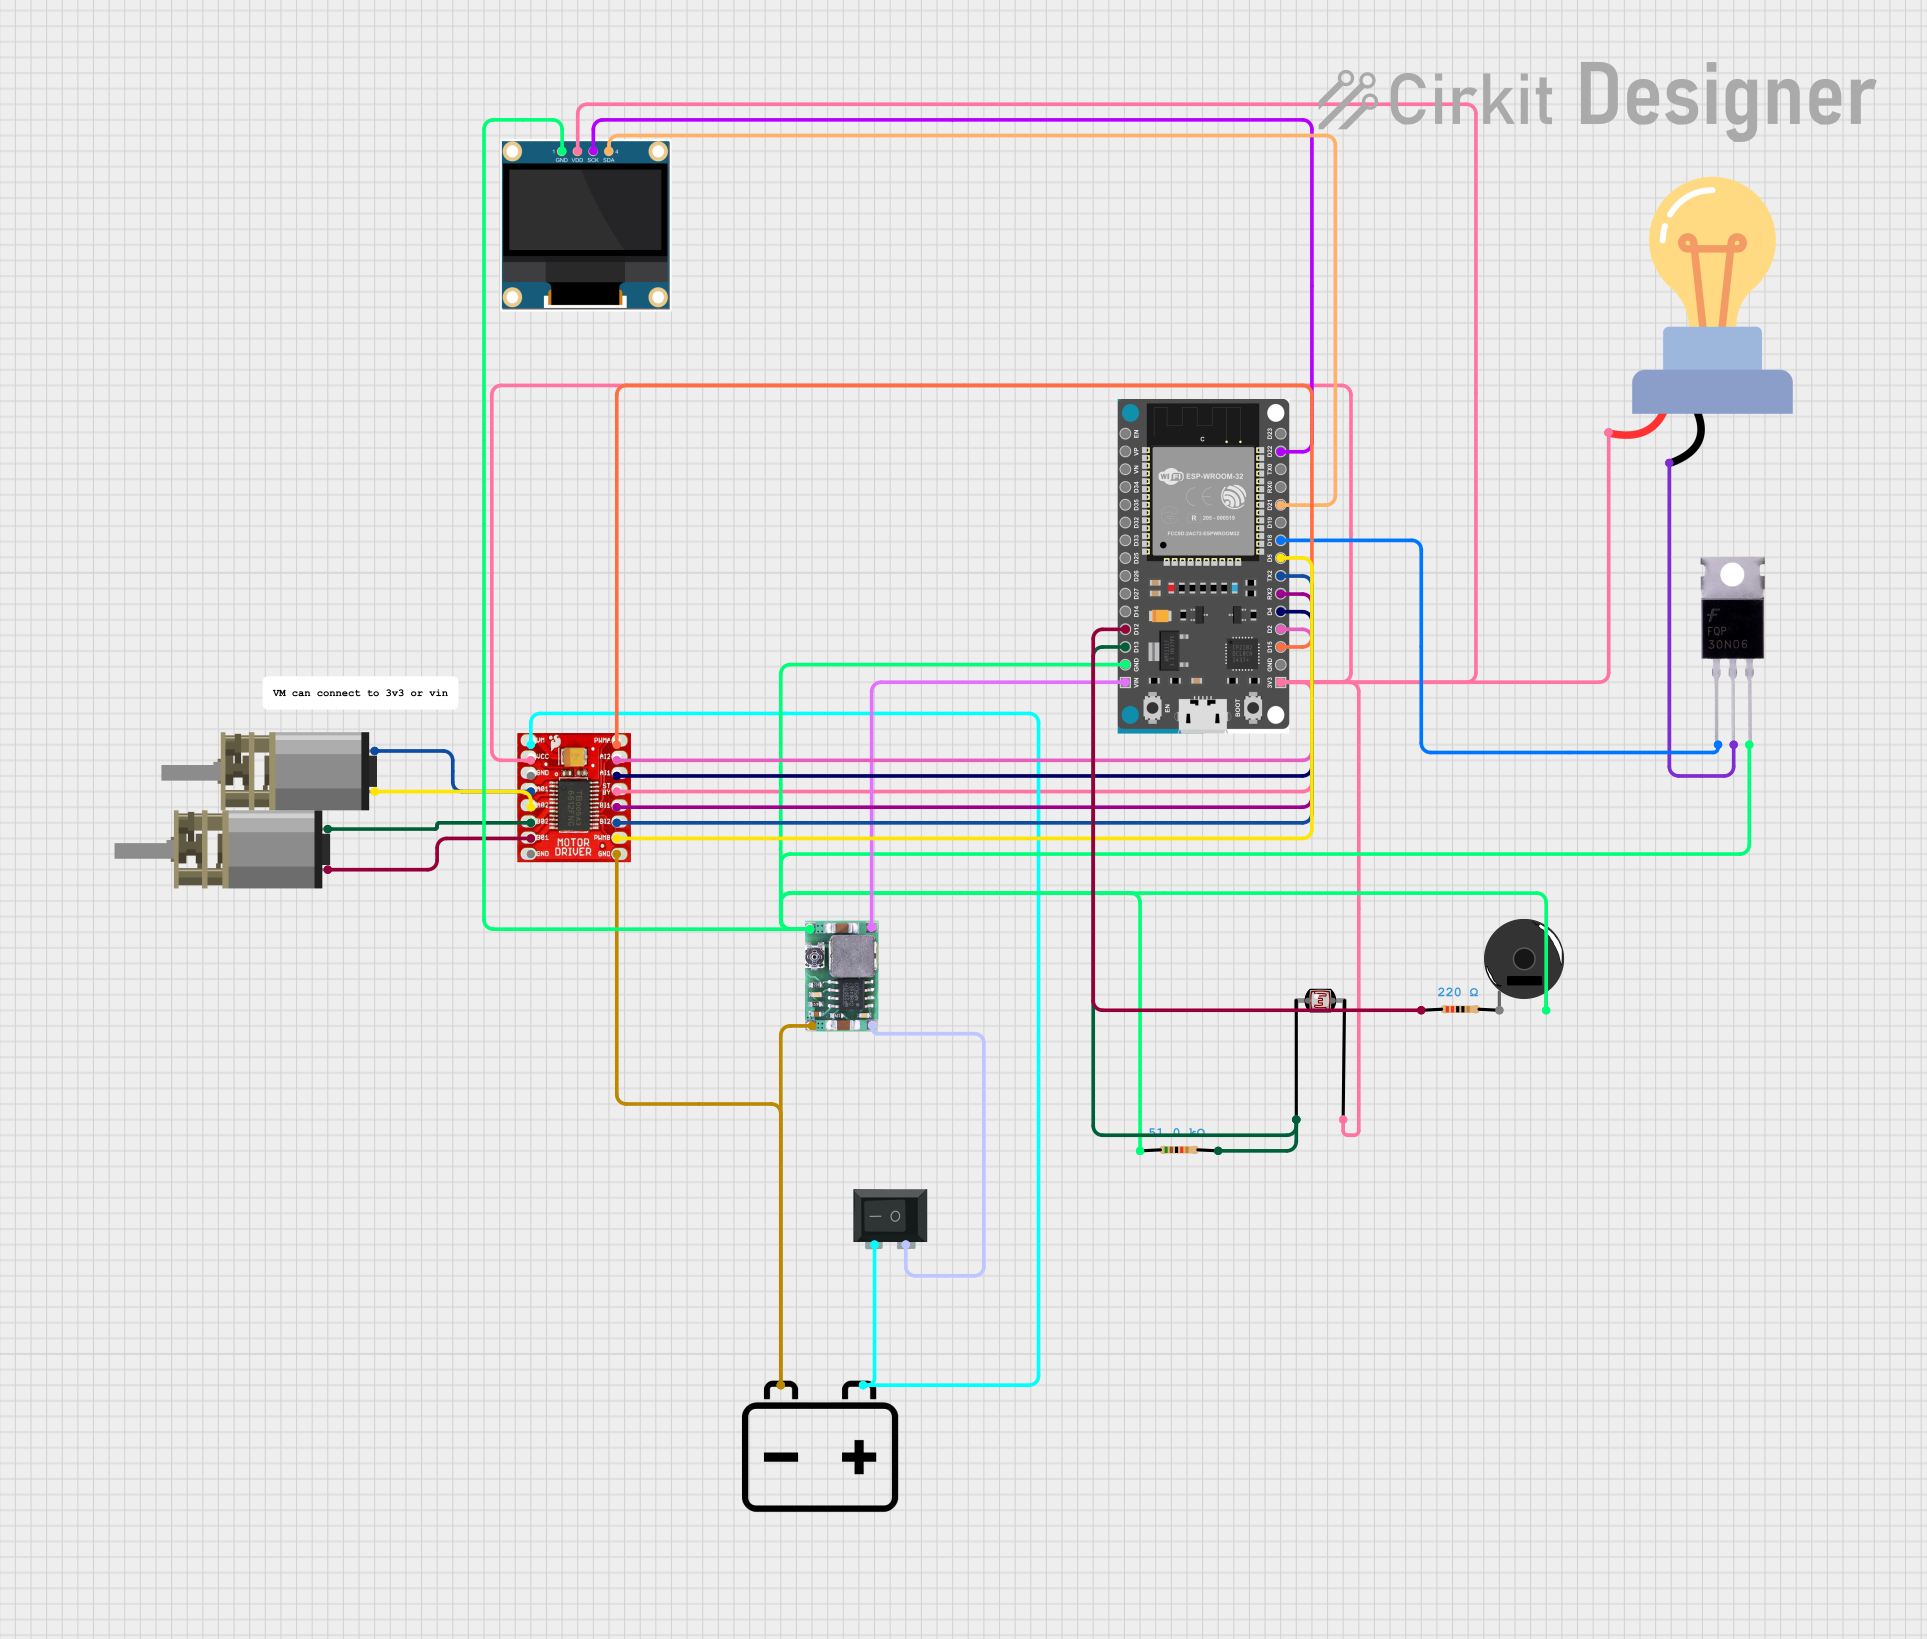 Open Project in Cirkit Designer
Explore Projects Built with ps5 fan
Open Project in Cirkit DesignerOpen Project in Cirkit DesignerOpen Project in Cirkit DesignerOpen Project in Cirkit DesignerCommon Applications and Use Cases
- Cooling the PlayStation 5 console during operation.
- Maintaining stable thermal performance for high-demand gaming.
- Replacement part for repairing or upgrading the PS5 cooling system.
Technical Specifications
Below are the key technical details of the PS5 fan:
| Specification | Details |
|---|---|
| Manufacturer | Sony |
| Manufacturer Part ID | --- |
| Voltage Rating | 12V DC |
| Current Rating | ~1.5A (varies depending on load) |
| Power Consumption | ~18W |
| Dimensions | 120mm x 120mm x 25mm (approximate) |
| Connector Type | 4-pin PWM (Pulse Width Modulation) |
| Bearing Type | Dual Ball Bearing |
| Speed Control | PWM-based variable speed |
| Noise Level | ~20-40 dBA (depending on speed) |
| Airflow | ~45-60 CFM (Cubic Feet per Minute) |
Pin Configuration and Descriptions
The PS5 fan uses a 4-pin PWM connector. Below is the pinout configuration:
| Pin Number | Pin Name | Description |
|---|---|---|
| 1 | GND | Ground connection for the fan. |
| 2 | VCC | Power supply (12V DC). |
| 3 | Tachometer | Outputs the fan's speed as a pulse signal. |
| 4 | PWM | Receives PWM signal for speed control. |
Usage Instructions
How to Use the PS5 Fan in a Circuit
The PS5 fan is designed to be used within the PlayStation 5 console, but it can also be repurposed for custom cooling solutions. Below are the steps to use the fan:
- Power Supply: Ensure a stable 12V DC power source is available. The fan requires approximately 1.5A of current under normal operation.
- PWM Signal: Use a microcontroller (e.g., Arduino) or a dedicated PWM controller to send a PWM signal to the fan's PWM pin. This signal controls the fan speed.
- Tachometer Monitoring: Connect the tachometer pin to a microcontroller or monitoring circuit to measure the fan's speed in real-time.
- Mounting: Secure the fan in place using screws or brackets. Ensure proper airflow direction by aligning the fan's intake and exhaust sides.
Important Considerations and Best Practices
- Voltage Compatibility: Do not exceed the 12V DC rating to avoid damaging the fan.
- PWM Signal: Use a PWM frequency between 20 kHz and 25 kHz for optimal performance.
- Airflow Direction: Ensure the fan is installed with the correct orientation to direct airflow toward the desired area.
- Noise Reduction: Use rubber mounts or gaskets to minimize vibration and noise.
- Maintenance: Periodically clean the fan blades to prevent dust buildup, which can reduce efficiency.
Example: Controlling the PS5 Fan with an Arduino UNO
Below is an example of how to control the PS5 fan using an Arduino UNO:
// Arduino code to control the PS5 fan using PWM
// Connect the fan's PWM pin to Arduino pin 9
// Ensure the fan's VCC and GND are connected to a 12V power source

const int pwmPin = 9; // PWM pin connected to the fan's PWM input

void setup() {
  pinMode(pwmPin, OUTPUT); // Set the PWM pin as an output
}

void loop() {
  // Example: Gradually increase and decrease fan speed
  for (int speed = 0; speed <= 255; speed++) {
    analogWrite(pwmPin, speed); // Set fan speed (0-255)
    delay(10); // Wait 10ms before increasing speed
  }
  for (int speed = 255; speed >= 0; speed--) {
    analogWrite(pwmPin, speed); // Decrease fan speed
    delay(10); // Wait 10ms before decreasing speed
  }
}
Troubleshooting and FAQs
Common Issues Users Might Face
Fan Not Spinning:
- Cause: No power supply or incorrect wiring.
- Solution: Verify the 12V DC power supply and ensure proper connections to the fan's pins.
Fan Speed Not Changing:
- Cause: PWM signal not being sent or incorrect frequency.
- Solution: Check the PWM signal from the microcontroller and ensure it is within the 20-25 kHz range.
Excessive Noise:
- Cause: Dust buildup or improper mounting.
- Solution: Clean the fan blades and ensure the fan is securely mounted with vibration-dampening materials.
Overheating:
- Cause: Insufficient airflow or fan malfunction.
- Solution: Verify the fan's operation and ensure proper airflow direction.
FAQs
Can the PS5 fan be used in other devices?
- Yes, the fan can be repurposed for custom cooling solutions, provided the voltage and current requirements are met.
What is the recommended PWM frequency for the fan?
- The recommended PWM frequency is between 20 kHz and 25 kHz for optimal performance.
How do I clean the PS5 fan?
- Use compressed air or a soft brush to remove dust from the fan blades. Avoid using water or harsh chemicals.
Can the fan operate without a PWM signal?
- Yes, the fan will typically run at full speed if no PWM signal is provided.