Cirkit Designer LogoCirkit DesignerYour all-in-one circuit design IDE Launch Cirkit Designer App

How to Use Solar Panel: Examples, Pinouts, and Specs

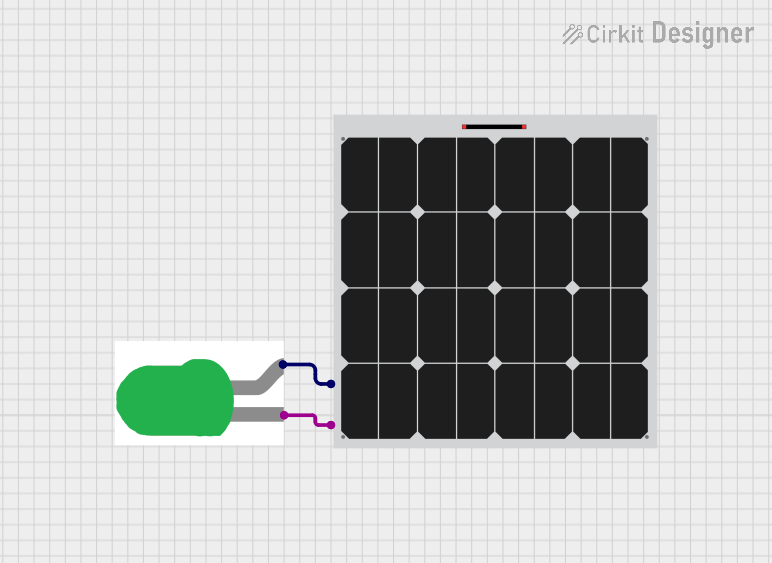
Image of Solar PanelDesign with Solar Panel in Cirkit Designer

Introduction

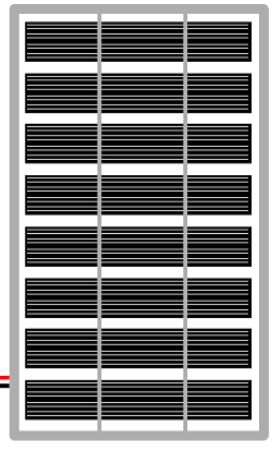
A solar panel is a device that converts sunlight into electricity through the photovoltaic effect. It consists of multiple photovoltaic cells made from semiconductor materials like silicon. Solar panels are widely used in a variety of applications ranging from small-scale systems like solar-powered calculators and garden lights to large-scale solar farms that power entire communities.

Explore Projects Built with Solar Panel

Use Cirkit Designer to design, explore, and prototype these projects online. Some projects support real-time simulation. Click "Open Project" to start designing instantly!
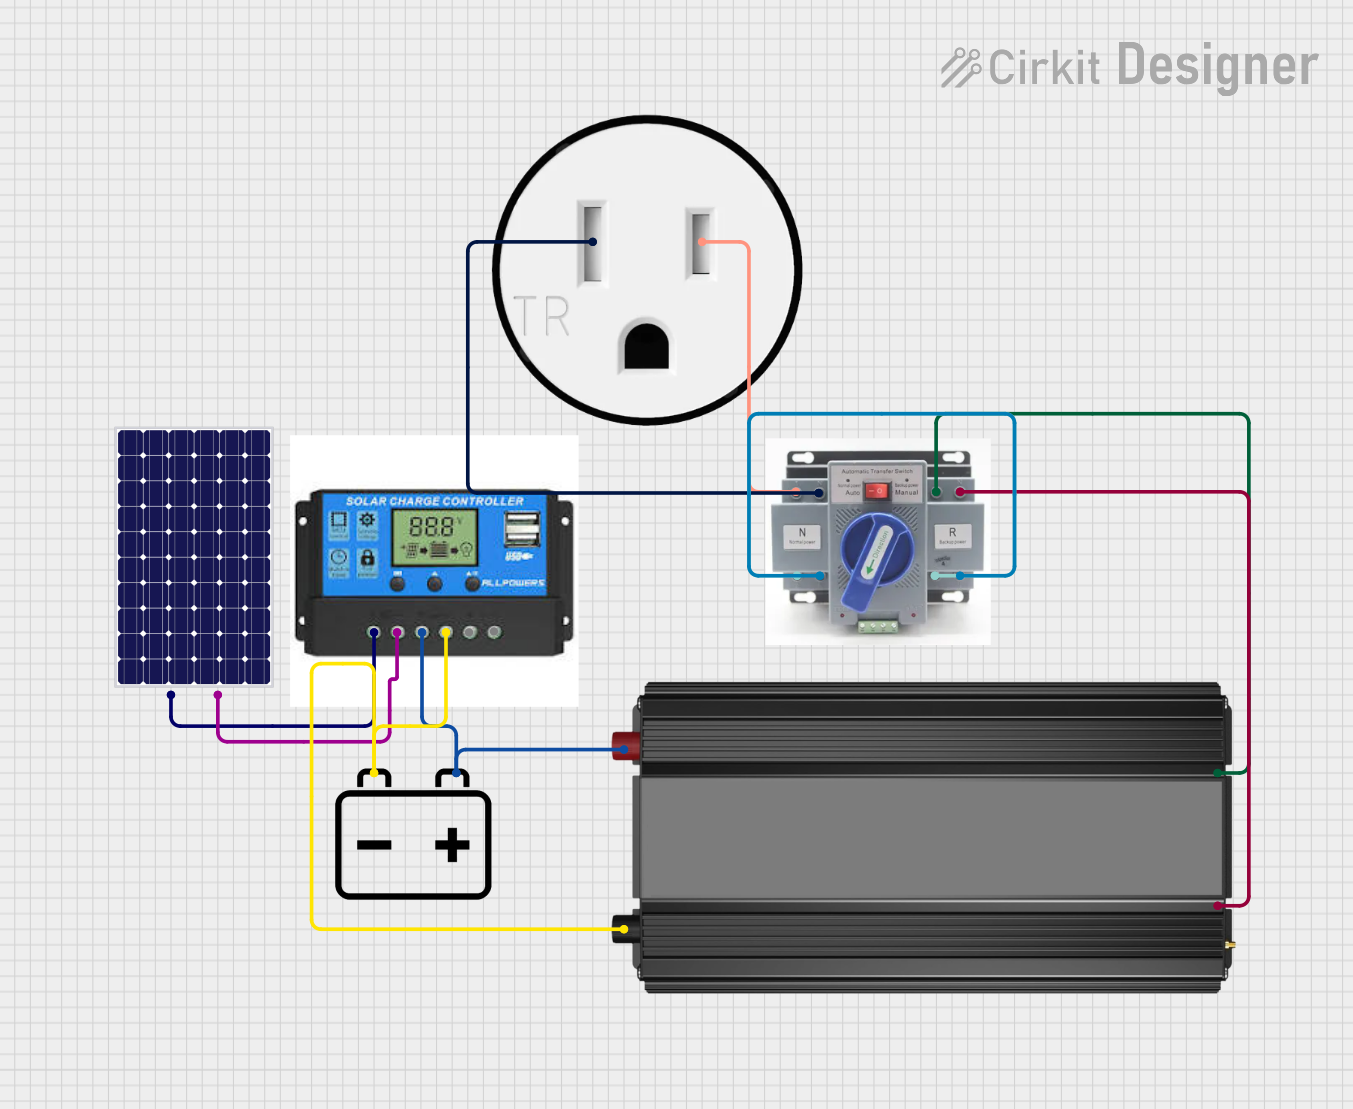
Image of Solar-Powered Battery Backup System with Automatic Transfer Switch and AC Outlet: A project utilizing Solar Panel in a practical application

Solar-Powered Battery Backup System with Automatic Transfer Switch and AC Outlet

This circuit is designed to harness solar energy, regulate its storage, and convert it for use in standard AC appliances. A solar panel charges a 12V battery through a charge controller, which ensures safe charging and discharging of the battery. The power inverter then converts the stored DC power from the battery into AC power, which is supplied to a 120V outlet through an Automatic Transfer Switch (ATS), ensuring power continuity and safety.

Open Project in Cirkit Designer
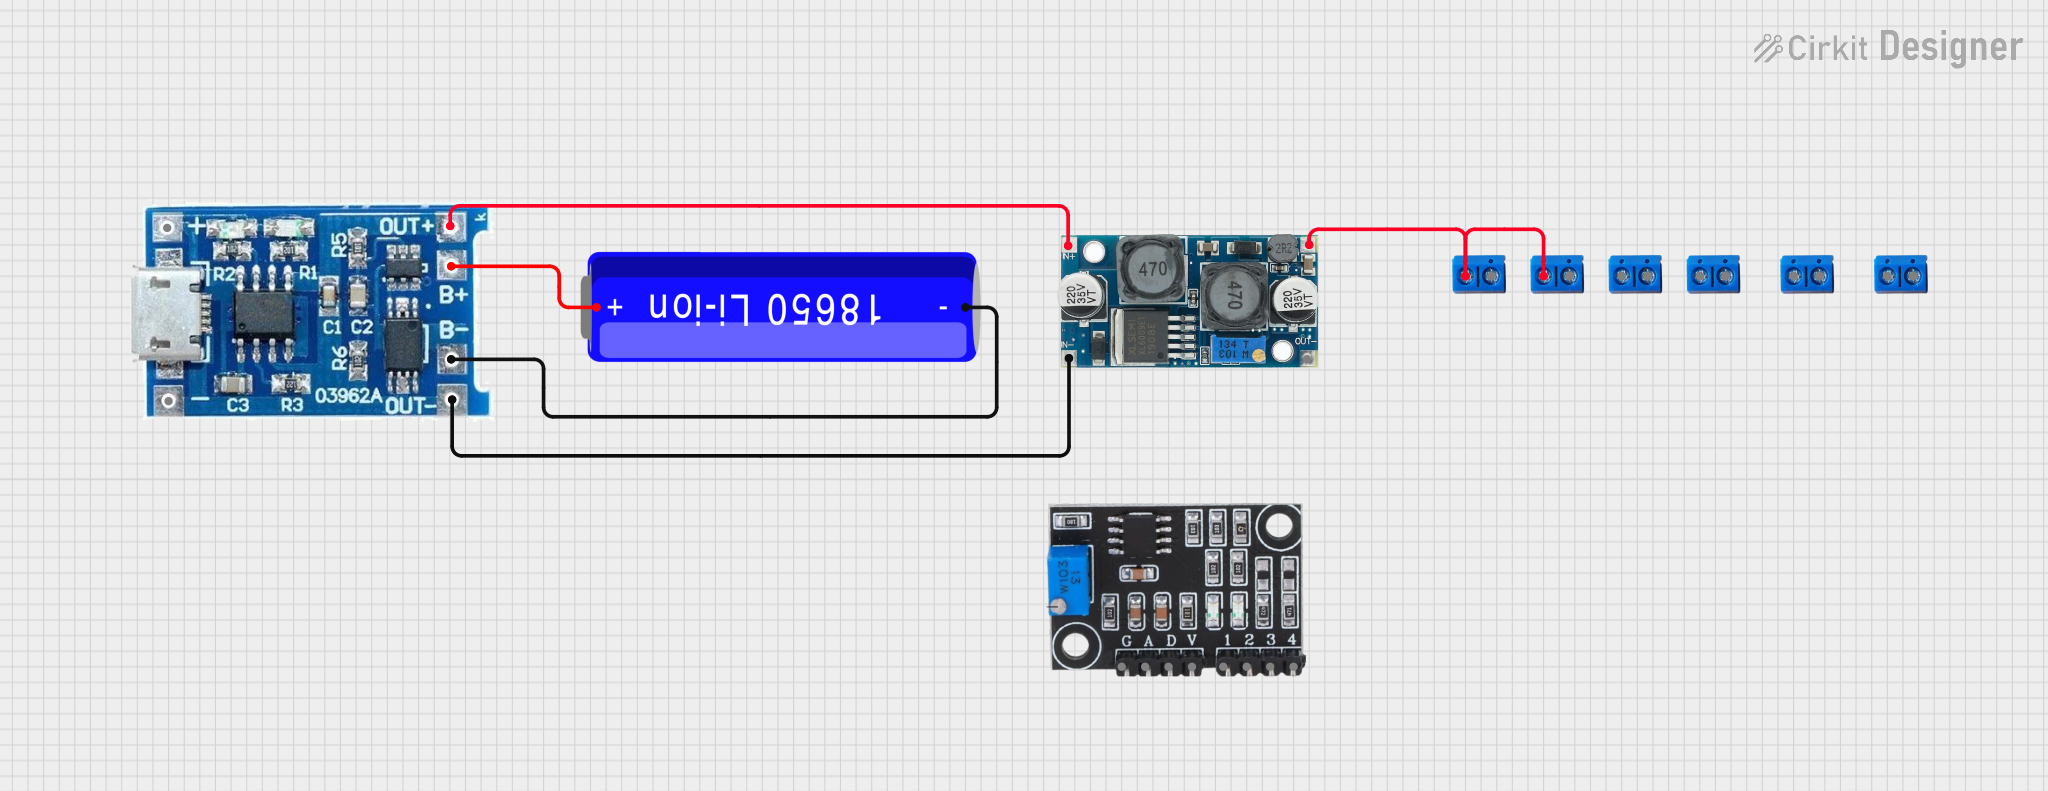
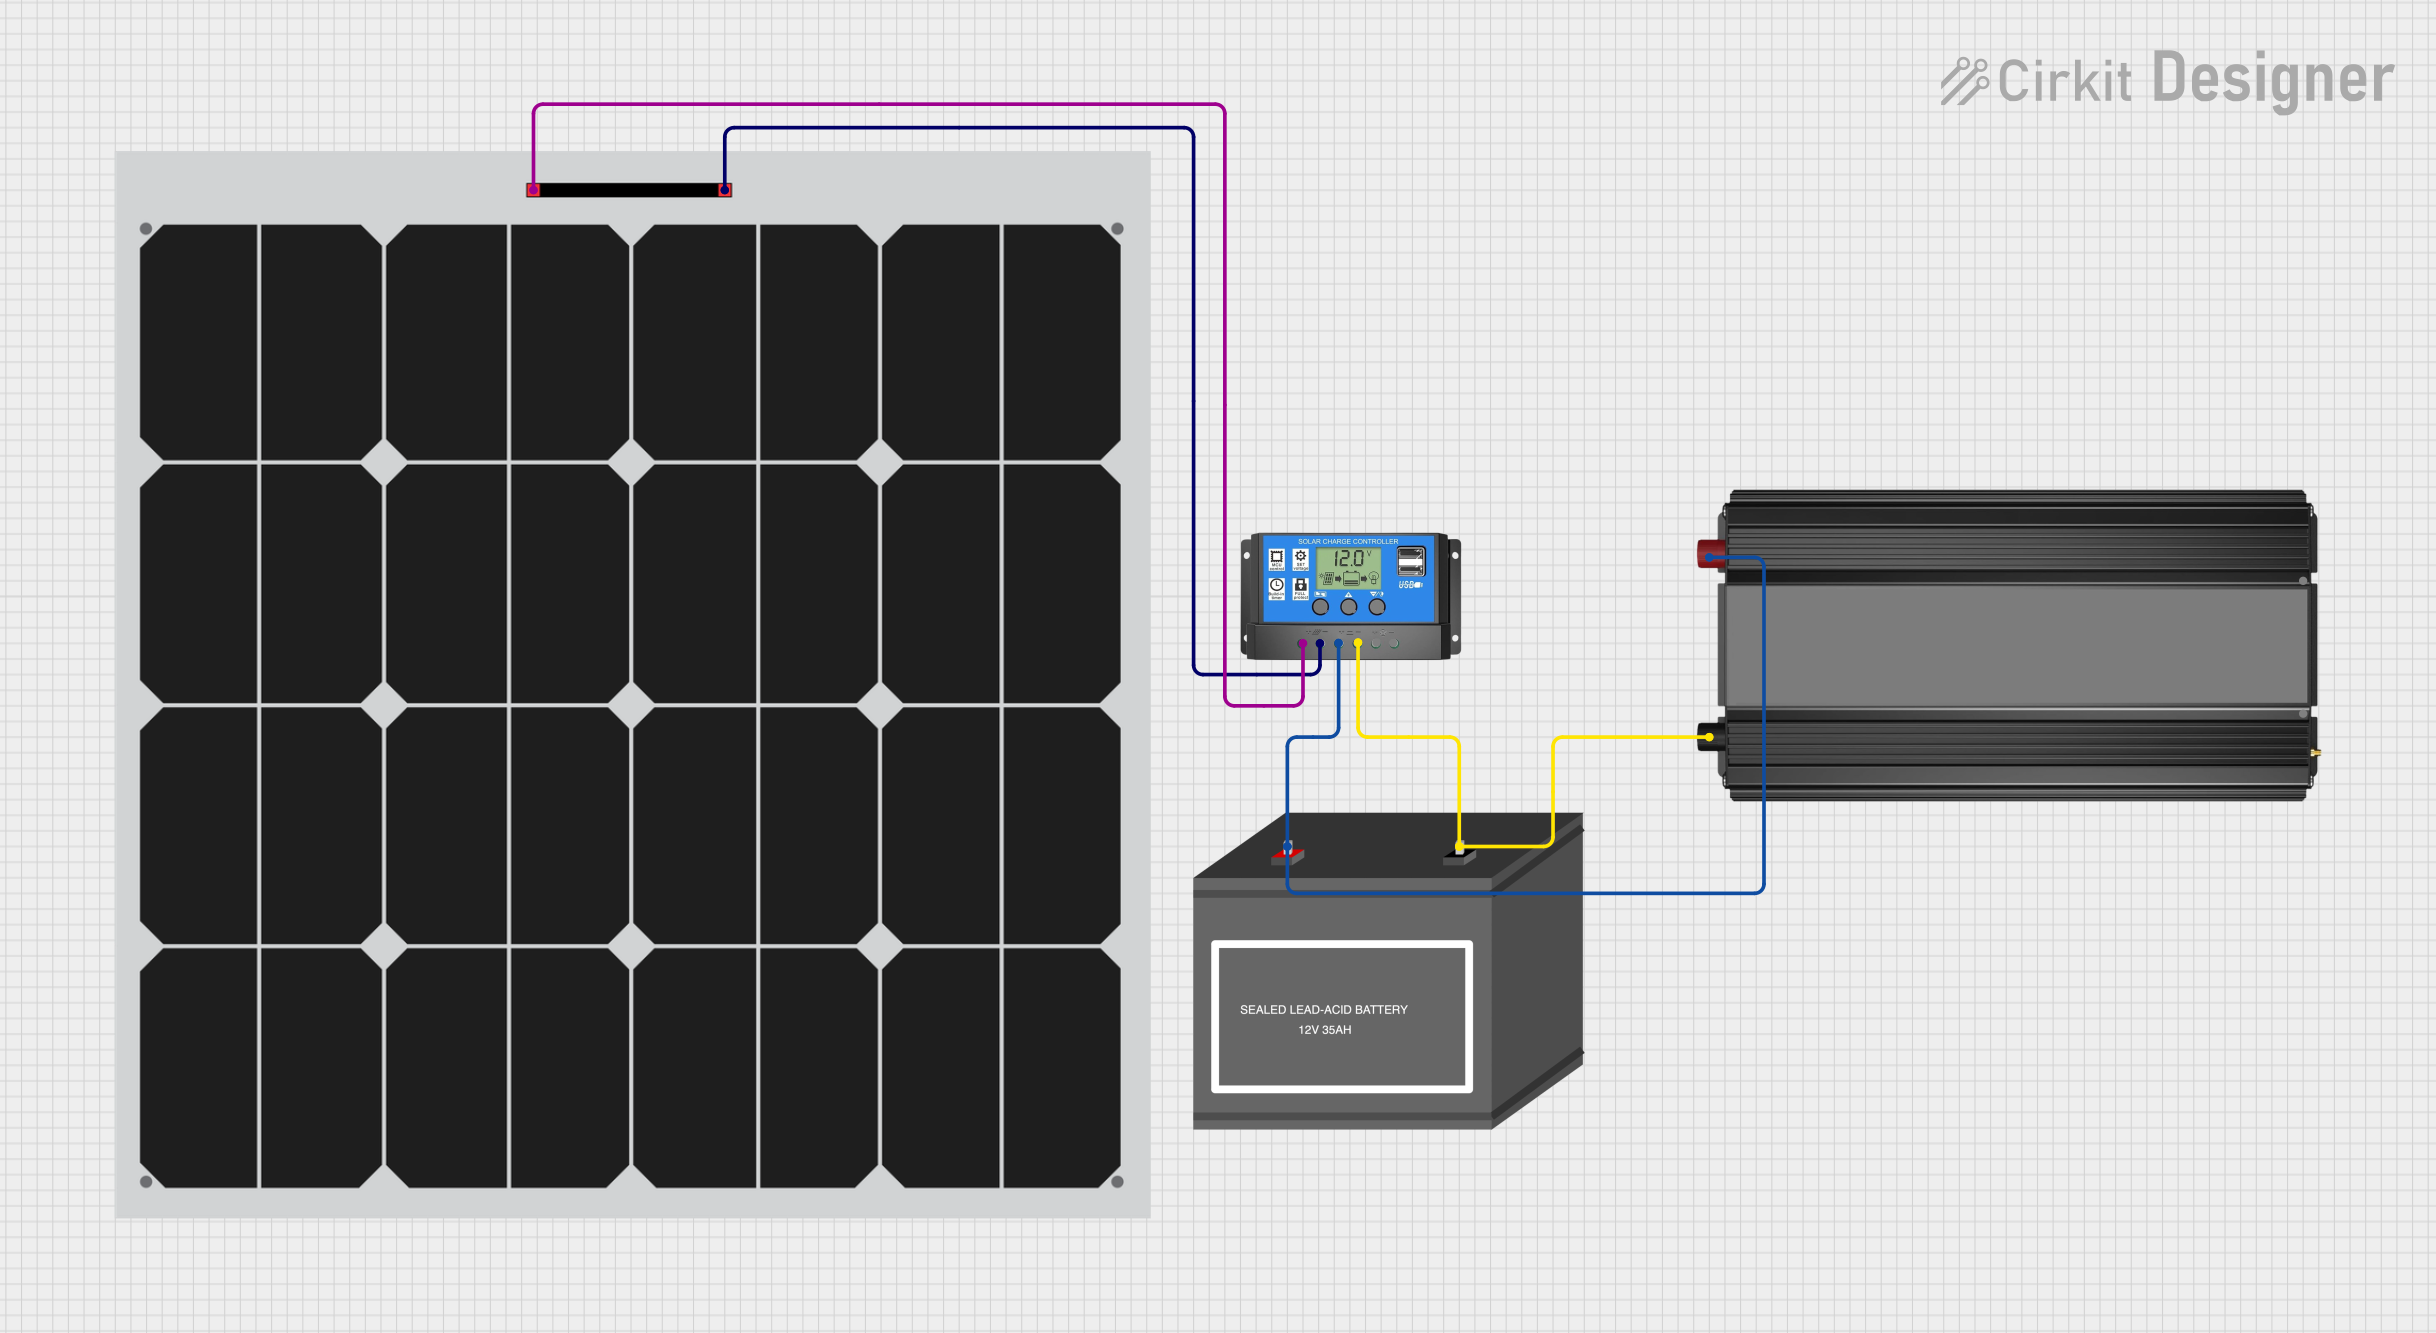
Image of Solar-Powered Battery Charging System with XL6009 Voltage Regulator: A project utilizing Solar Panel in a practical application
Solar-Powered Battery Charging System with XL6009 Voltage Regulator

This circuit features a solar panel ('Do solara') connected to a voltage regulator ('XL6009 Voltage Regulator') to stabilize the output voltage. The regulated voltage is available at a terminal block ('Terminal PCB 2 Pin') for further use. Additionally, a Li-ion battery ('18650 Li-ion Battery') is connected to the solar panel for charging, with the solar panel's output also routed through the voltage regulator.

Open Project in Cirkit Designer
Image of Solar-Powered Battery Charging System with Inverter: A project utilizing Solar Panel in a practical application
Solar-Powered Battery Charging System with Inverter

This circuit is a solar power system that includes a solar panel, a solar charge controller, a 12V battery, and a power inverter. The solar panel generates electricity, which is regulated by the solar charge controller to charge the 12V battery. The power inverter converts the stored DC power from the battery into AC power for use with AC devices.

Open Project in Cirkit Designer

Common Applications and Use Cases

Technical Specifications

Key Technical Details

Pin Configuration and Descriptions

Pin Name Description
+ Positive terminal for power output
- Negative terminal for power output

Usage Instructions

How to Use the Component in a Circuit

  1. Orientation: Position the solar panel facing the direction that receives maximum sunlight throughout the day.
  2. Connection: Connect the positive terminal of the solar panel to the positive input of your charge controller or power inverter, and the negative terminal to the negative input.
  3. Load Connection: Connect your load to the output of the charge controller or power inverter.

Important Considerations and Best Practices

Troubleshooting and FAQs

Common Issues Users Might Face

Solutions and Tips for Troubleshooting

FAQs

Example Code for Arduino UNO Connection

// This example assumes the use of a solar panel to charge a battery
// and power an Arduino UNO. A charge controller is required between
// the solar panel and the battery.

void setup() {
  // Initialize the serial communication:
  Serial.begin(9600);
}

void loop() {
  // Assuming a voltage sensor is connected to A0 to measure battery voltage
  int sensorValue = analogRead(A0);
  // Convert the analog reading to voltage (for a 5V Arduino)
  float voltage = sensorValue * (5.0 / 1023.0);
  // Print the voltage to the Serial Monitor
  Serial.print("Battery Voltage: ");
  Serial.println(voltage);
  
  // Add your code here to perform actions based on the battery voltage
  
  // Delay for a bit to get stable readings
  delay(1000);
}

Note: The above code is a simple demonstration of how to read a voltage level from a battery charged by a solar panel. It does not directly interact with the solar panel but assumes the presence of a charge controller and a voltage sensor. Always ensure that the components are compatible and that the solar panel's output does not exceed the voltage and current ratings of the connected devices.