
How to Use 3 Point Terminal Block: Examples, Pinouts, and Specs
 Design with 3 Point Terminal Block in Cirkit Designer
Introduction
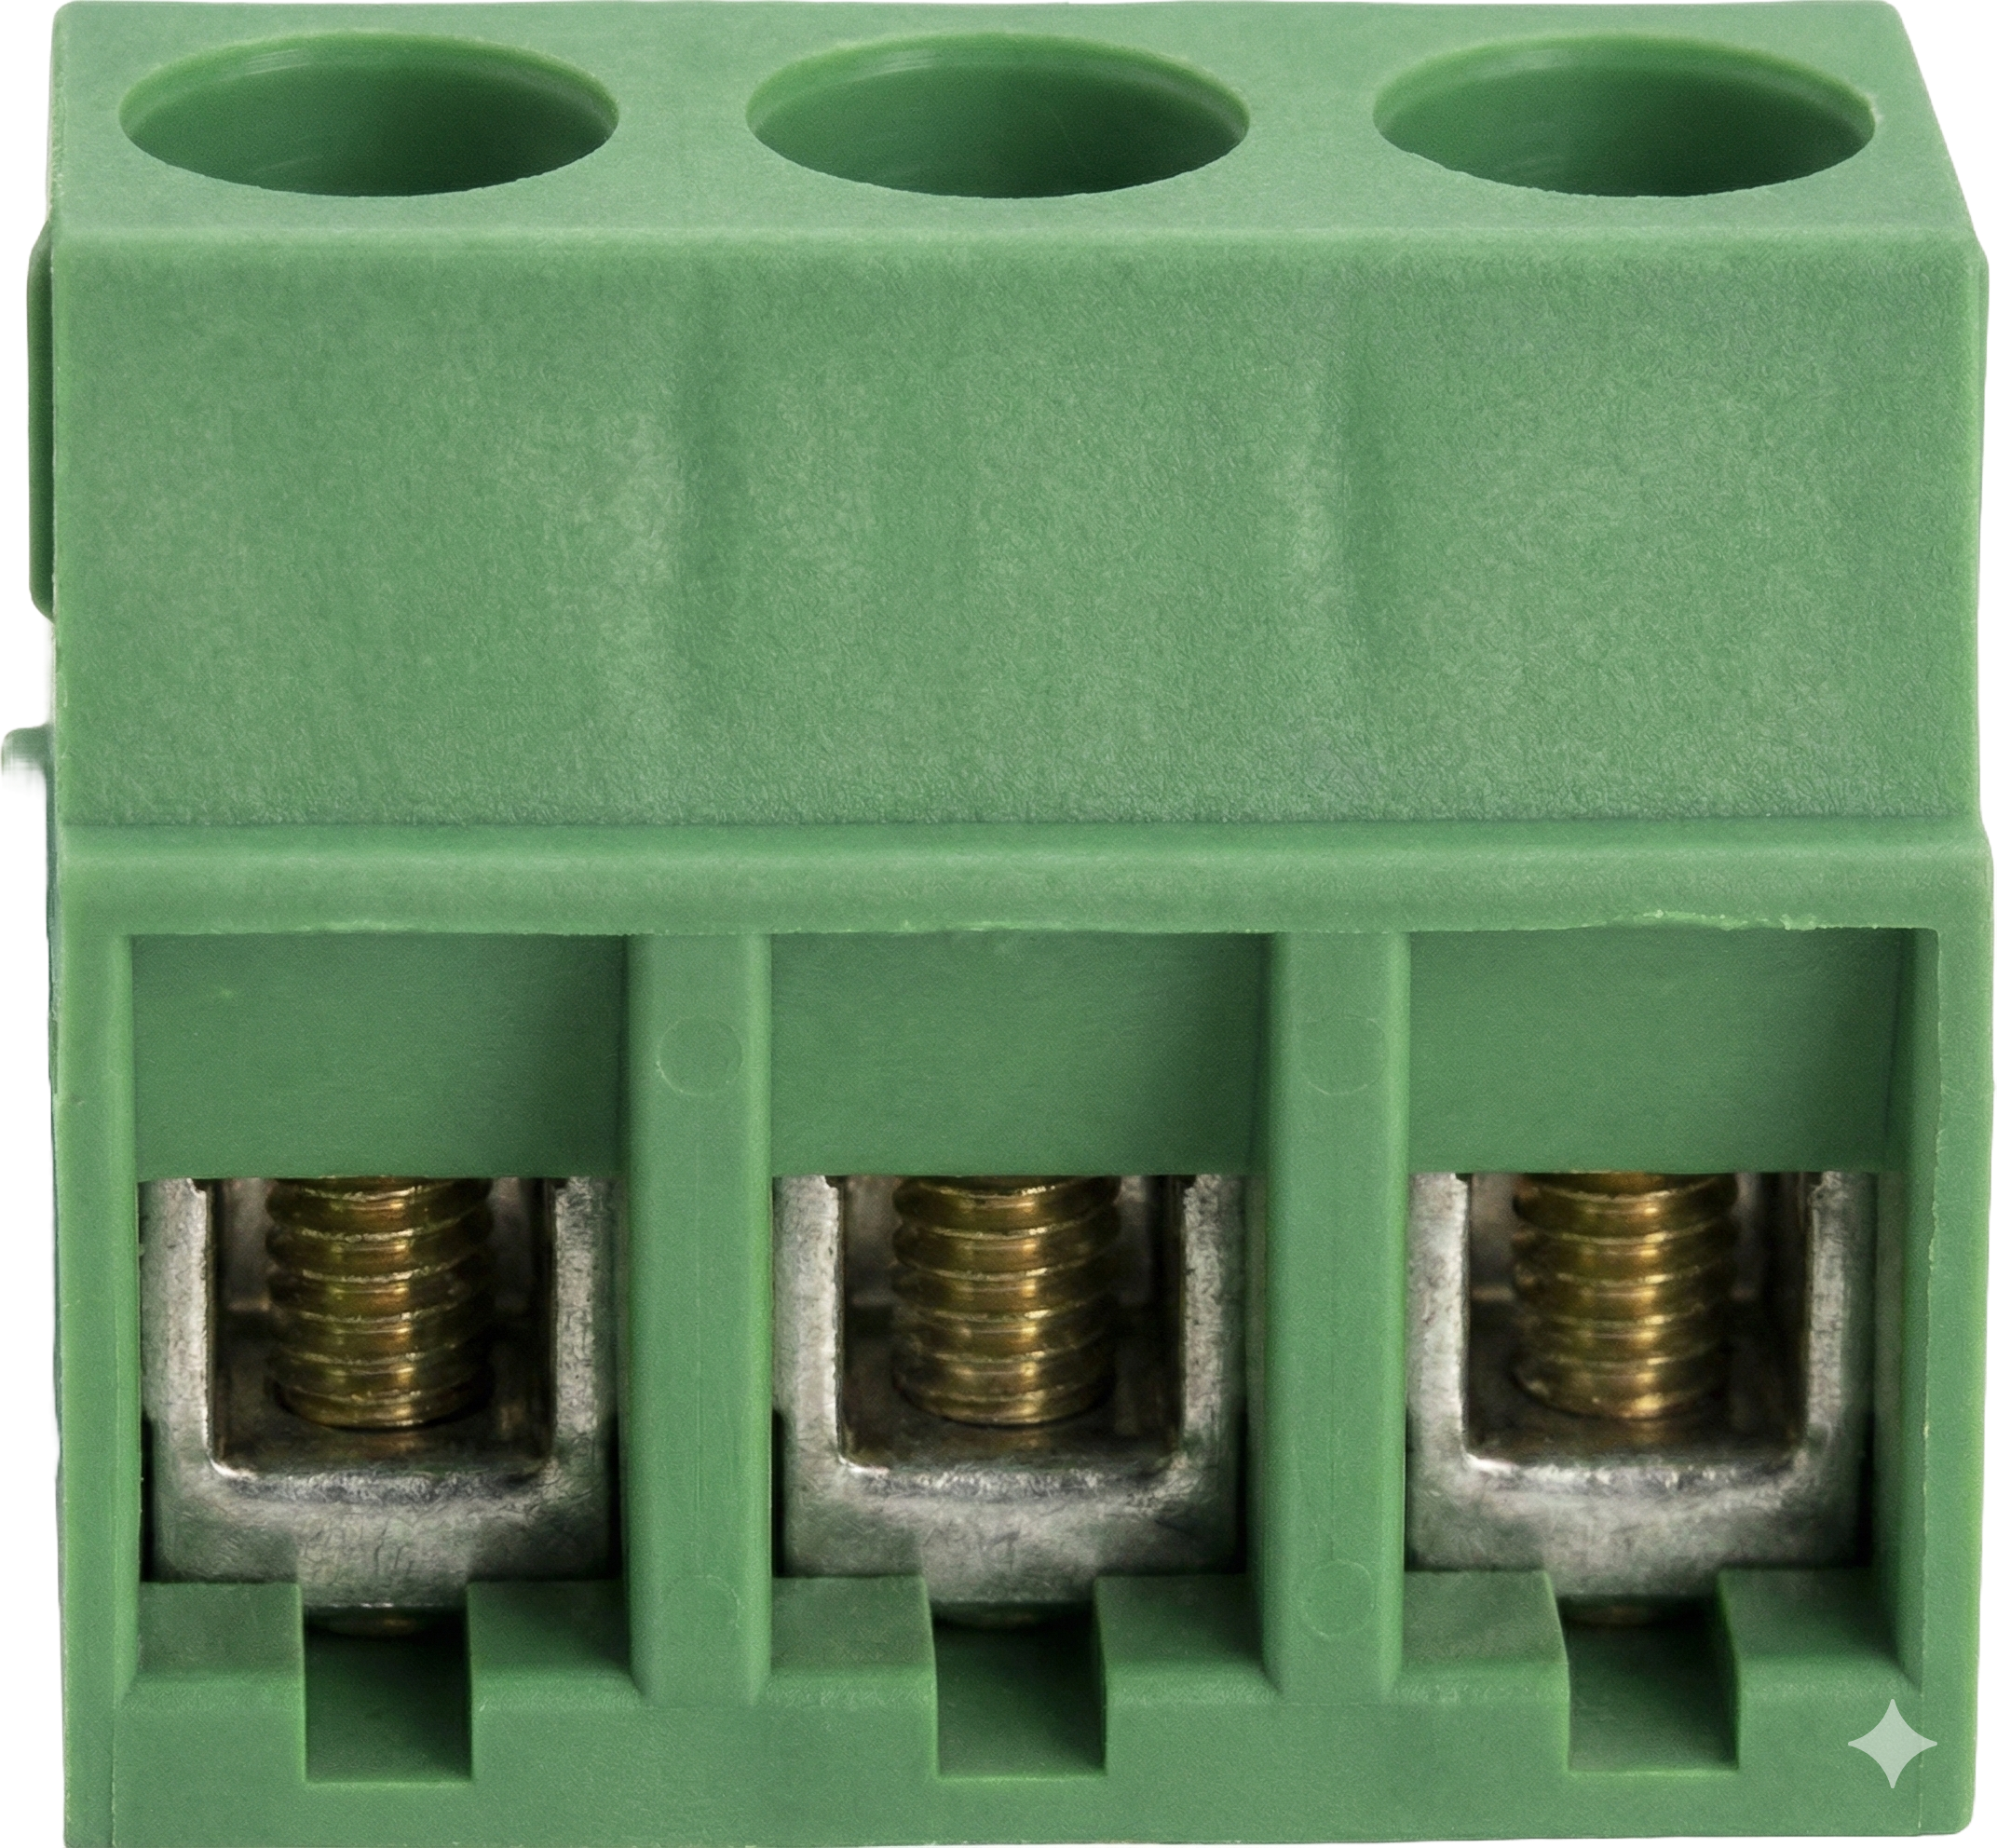
A 3 Point Terminal Block is a type of electrical connector designed to securely connect three wires or conductors. It features a plastic housing with three metal terminals, where wires can be inserted and fastened using screws or clamps. This component is widely used in electrical and electronic systems to facilitate easy, reliable, and reusable connections.
Explore Projects Built with 3 Point Terminal Block
 Open Project in Cirkit Designer
 Open Project in Cirkit Designer
 Open Project in Cirkit Designer
 Open Project in Cirkit Designer
Explore Projects Built with 3 Point Terminal Block
Open Project in Cirkit DesignerOpen Project in Cirkit DesignerOpen Project in Cirkit DesignerOpen Project in Cirkit DesignerCommon Applications and Use Cases
- Industrial control panels and automation systems
- Power distribution in electrical circuits
- Connecting sensors, actuators, or other devices in prototyping
- Home electrical wiring and DIY projects
- PCB-mounted or DIN rail-mounted connections
Technical Specifications
Key Technical Details
- Number of Terminals: 3
- Rated Voltage: Typically 300V (varies by model)
- Rated Current: 10A to 30A (depending on the specific terminal block)
- Wire Gauge Compatibility: 12 AWG to 22 AWG (varies by model)
- Material:
- Housing: Flame-retardant plastic (e.g., polyamide)
- Terminals: Tin-plated or nickel-plated brass
- Mounting Type: PCB mount, DIN rail mount, or free-standing
- Connection Type: Screw or clamp-based
Pin Configuration and Descriptions
The 3 Point Terminal Block does not have traditional "pins" like ICs but instead has three terminals for wire connections. Below is a description of the terminals:
| Terminal Number | Description | Typical Use Case |
|---|---|---|
| 1 | Terminal 1 | Connects to the first wire or input |
| 2 | Terminal 2 | Connects to the second wire or output |
| 3 | Terminal 3 | Connects to the third wire or ground |
Usage Instructions
How to Use the Component in a Circuit
Prepare the Wires:
- Strip the insulation from the ends of the wires to expose approximately 5-7 mm of conductor.
- Ensure the exposed wire is clean and free of frayed strands.
Insert the Wires:
- Loosen the screws or clamps on the terminal block using a screwdriver.
- Insert the stripped end of each wire into the corresponding terminal.
Secure the Connection:
- Tighten the screws or clamps to secure the wires in place. Ensure the connection is firm but avoid overtightening, which could damage the wire or terminal.
Verify the Connection:
- Gently tug on each wire to confirm it is securely fastened.
- Check for any exposed conductor that could cause a short circuit.
Integrate into the Circuit:
- Mount the terminal block on a PCB, DIN rail, or other surface as required.
- Connect the terminal block to the rest of the circuit.
Important Considerations and Best Practices
- Wire Gauge Compatibility: Ensure the wire gauge matches the terminal block's specifications to avoid loose connections or damage.
- Tightening Torque: Use the recommended torque for tightening screws to prevent over-tightening or under-tightening.
- Insulation Clearance: Ensure no exposed conductor is visible outside the terminal block to prevent short circuits.
- Environmental Conditions: Use terminal blocks rated for the operating temperature and humidity of your application.
- Polarity: If used in DC circuits, ensure proper polarity to avoid reverse connections.
Example: Connecting to an Arduino UNO
While a 3 Point Terminal Block is not directly connected to an Arduino UNO, it can be used to interface external components (e.g., sensors or power supplies) with the Arduino. Below is an example of using a terminal block to connect a 12V power supply to an Arduino project:
// Example Arduino code for controlling an LED with a 12V power supply
// connected via a 3 Point Terminal Block.

// Define the pin connected to the LED
const int ledPin = 9;

void setup() {
  pinMode(ledPin, OUTPUT); // Set the LED pin as an output
}

void loop() {
  digitalWrite(ledPin, HIGH); // Turn the LED on
  delay(1000);               // Wait for 1 second
  digitalWrite(ledPin, LOW);  // Turn the LED off
  delay(1000);               // Wait for 1 second
}
Wiring Notes:
- Connect the 12V power supply's positive terminal to Terminal 1.
- Connect the 12V power supply's ground to Terminal 3.
- Use a voltage regulator (e.g., LM7805) to step down the voltage to 5V for the Arduino.
Troubleshooting and FAQs
Common Issues Users Might Face
Loose Connections:
- Problem: Wires are not securely fastened, leading to intermittent connections.
- Solution: Ensure screws or clamps are tightened properly. Use the correct wire gauge.
Short Circuits:
- Problem: Exposed conductor touches adjacent terminals or components.
- Solution: Verify that no conductor is exposed outside the terminal block.
Overheating:
- Problem: Terminal block overheats during operation.
- Solution: Check that the current does not exceed the terminal block's rated capacity.
Wire Damage:
- Problem: Wires are damaged during installation.
- Solution: Avoid overtightening screws and use stranded wires for flexibility.
FAQs
Q1: Can I use a 3 Point Terminal Block for high-frequency signals?
A1: Terminal blocks are generally not ideal for high-frequency signals due to potential signal degradation. Use specialized connectors for such applications.
Q2: How do I choose the right terminal block for my project?
A2: Consider factors such as voltage and current ratings, wire gauge compatibility, mounting type, and environmental conditions.
Q3: Can I connect more than three wires using a 3 Point Terminal Block?
A3: No, a 3 Point Terminal Block is designed for three connections. For more connections, use a terminal block with additional terminals or daisy-chain multiple blocks.
Q4: Is it safe to use a terminal block outdoors?
A4: Only use terminal blocks rated for outdoor use, with appropriate weatherproofing and insulation.