
How to Use Expansion Board Base for XIAO: Examples, Pinouts, and Specs
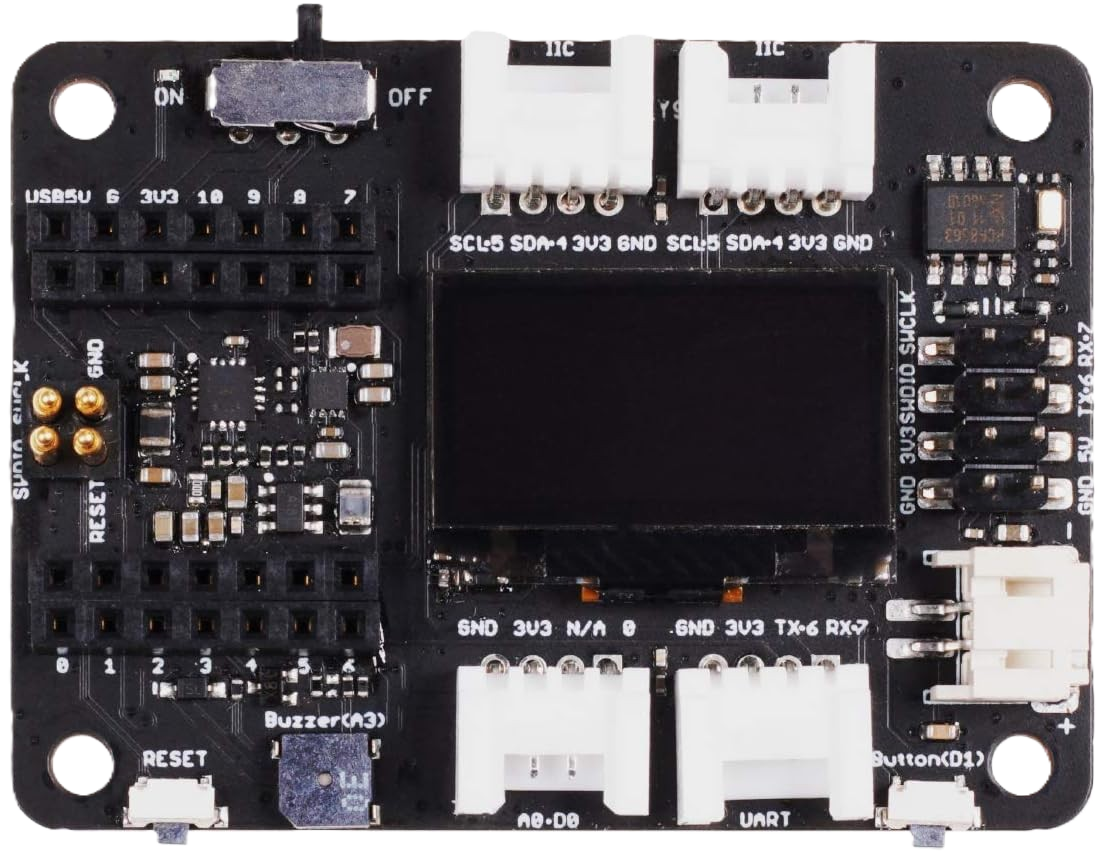
 Design with Expansion Board Base for XIAO in Cirkit Designer
Introduction
The Expansion Board Base for XIAO by Seeed Studio is a versatile accessory designed to enhance the functionality of the XIAO microcontroller series. This expansion board provides additional GPIO pins, power management features, and connectivity options, making it an ideal choice for prototyping and building complex projects. It simplifies the integration of sensors, modules, and other peripherals, enabling developers to focus on their applications without worrying about hardware limitations.
Explore Projects Built with Expansion Board Base for XIAO
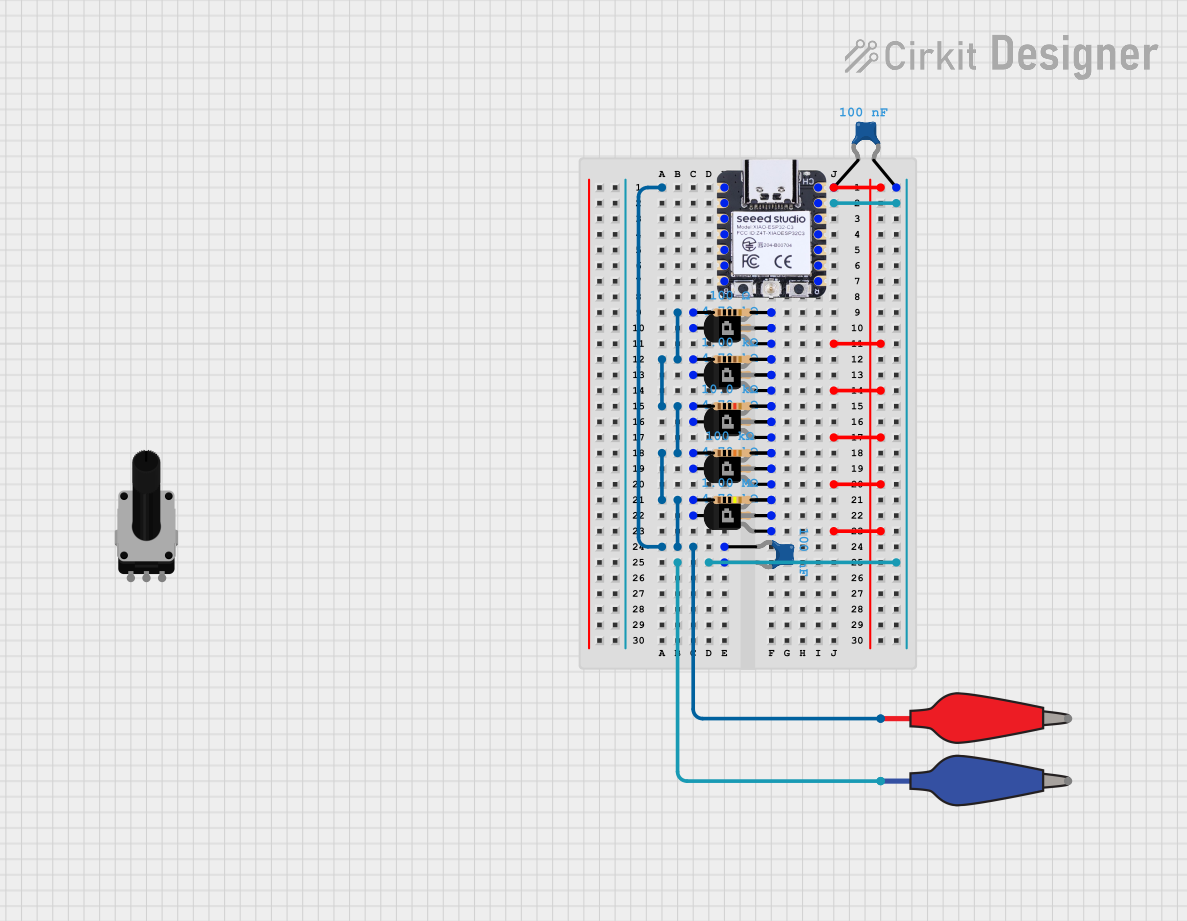 Open Project in Cirkit Designer
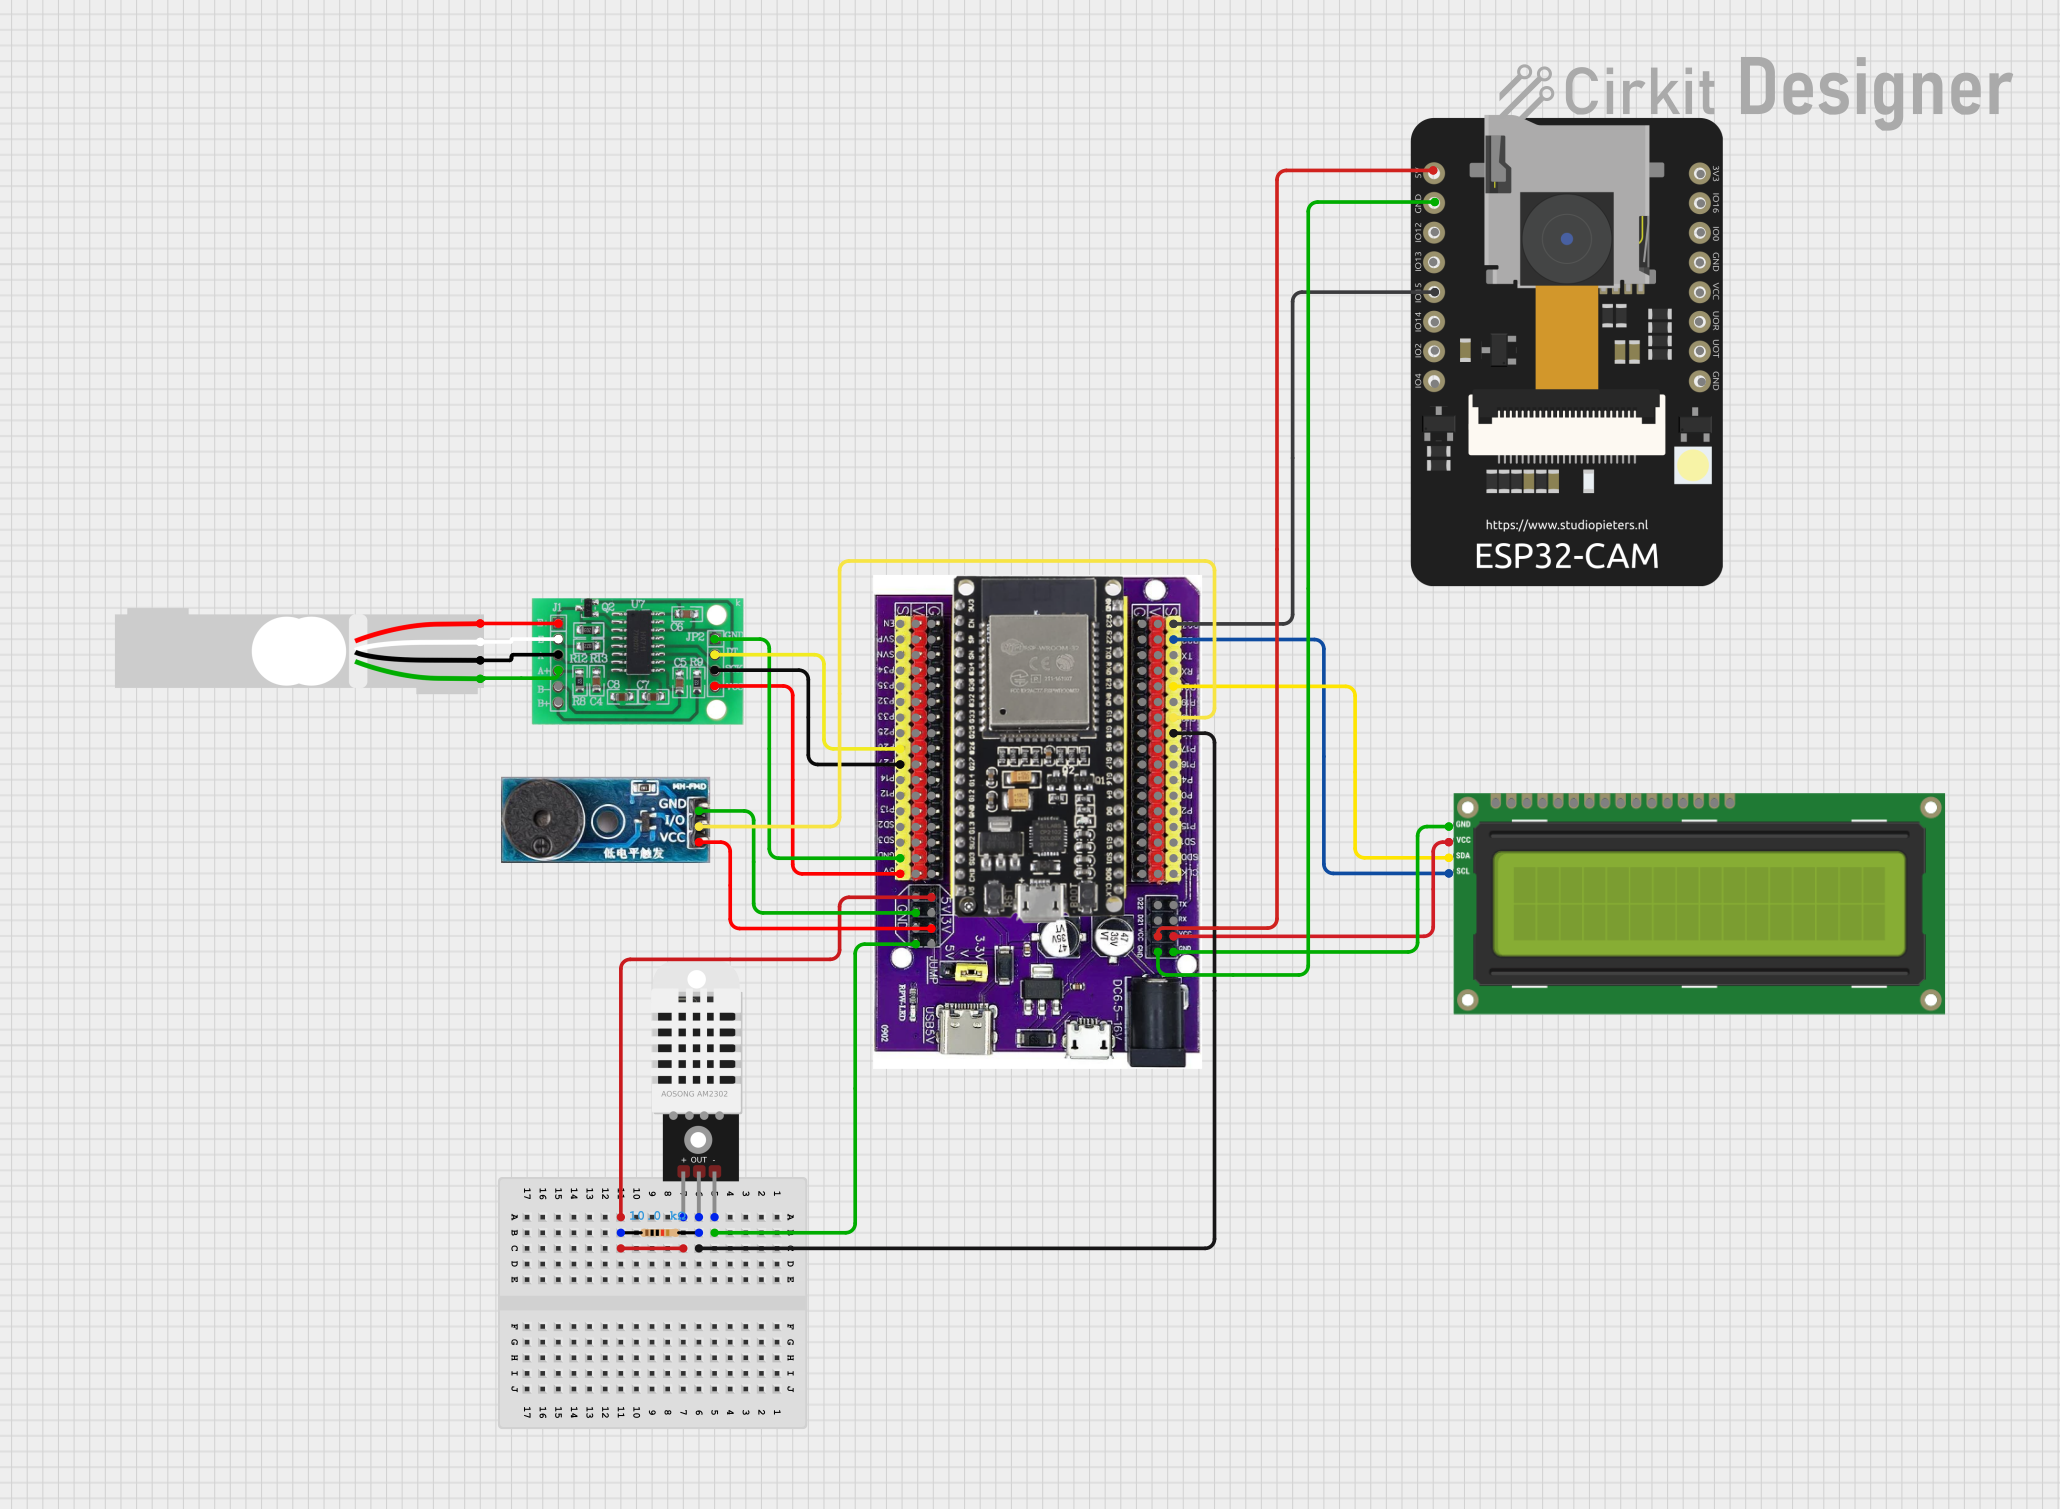 Open Project in Cirkit Designer
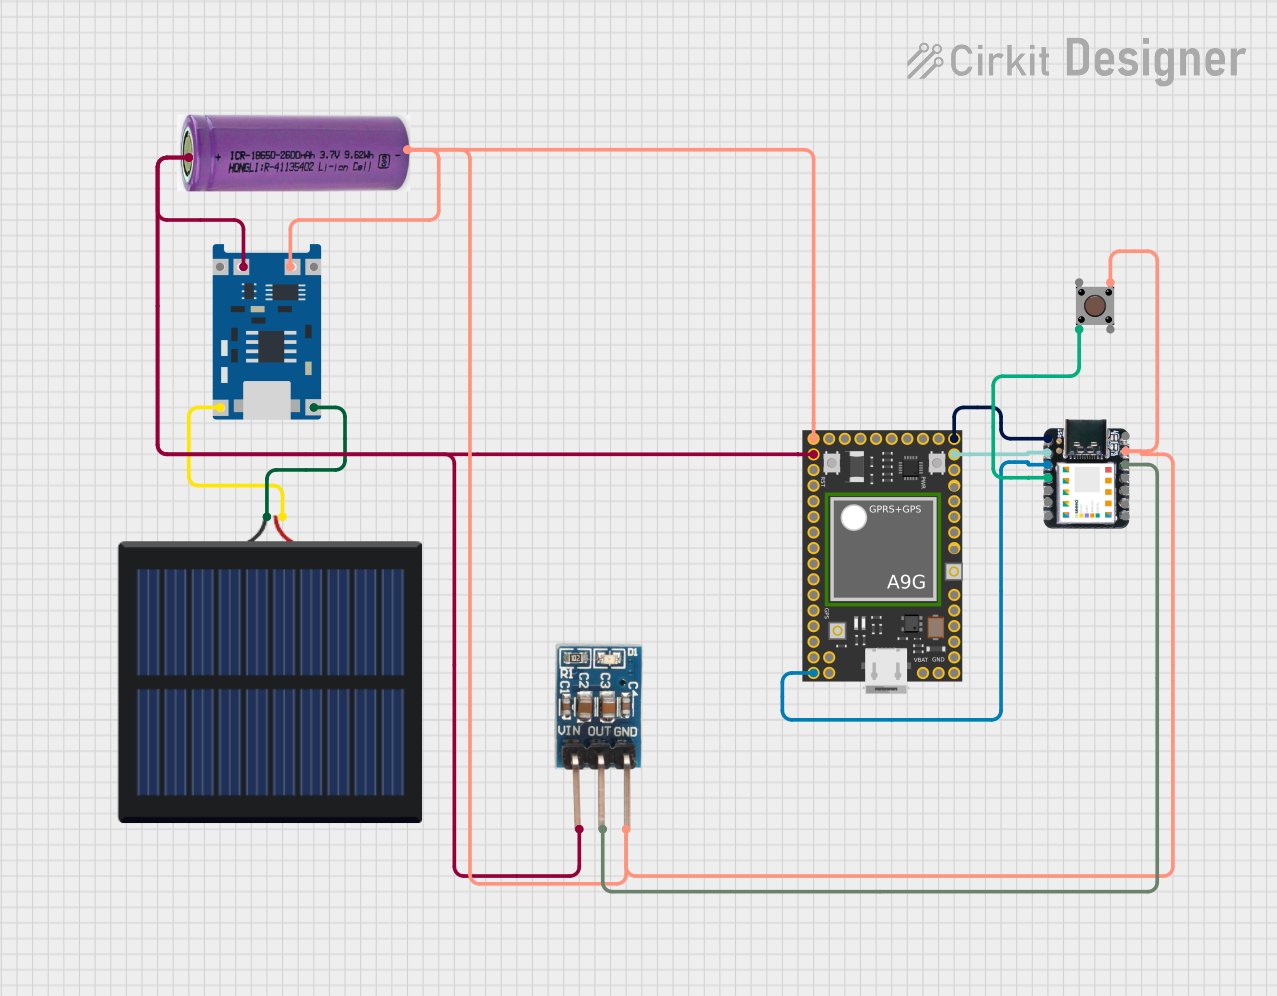 Open Project in Cirkit Designer
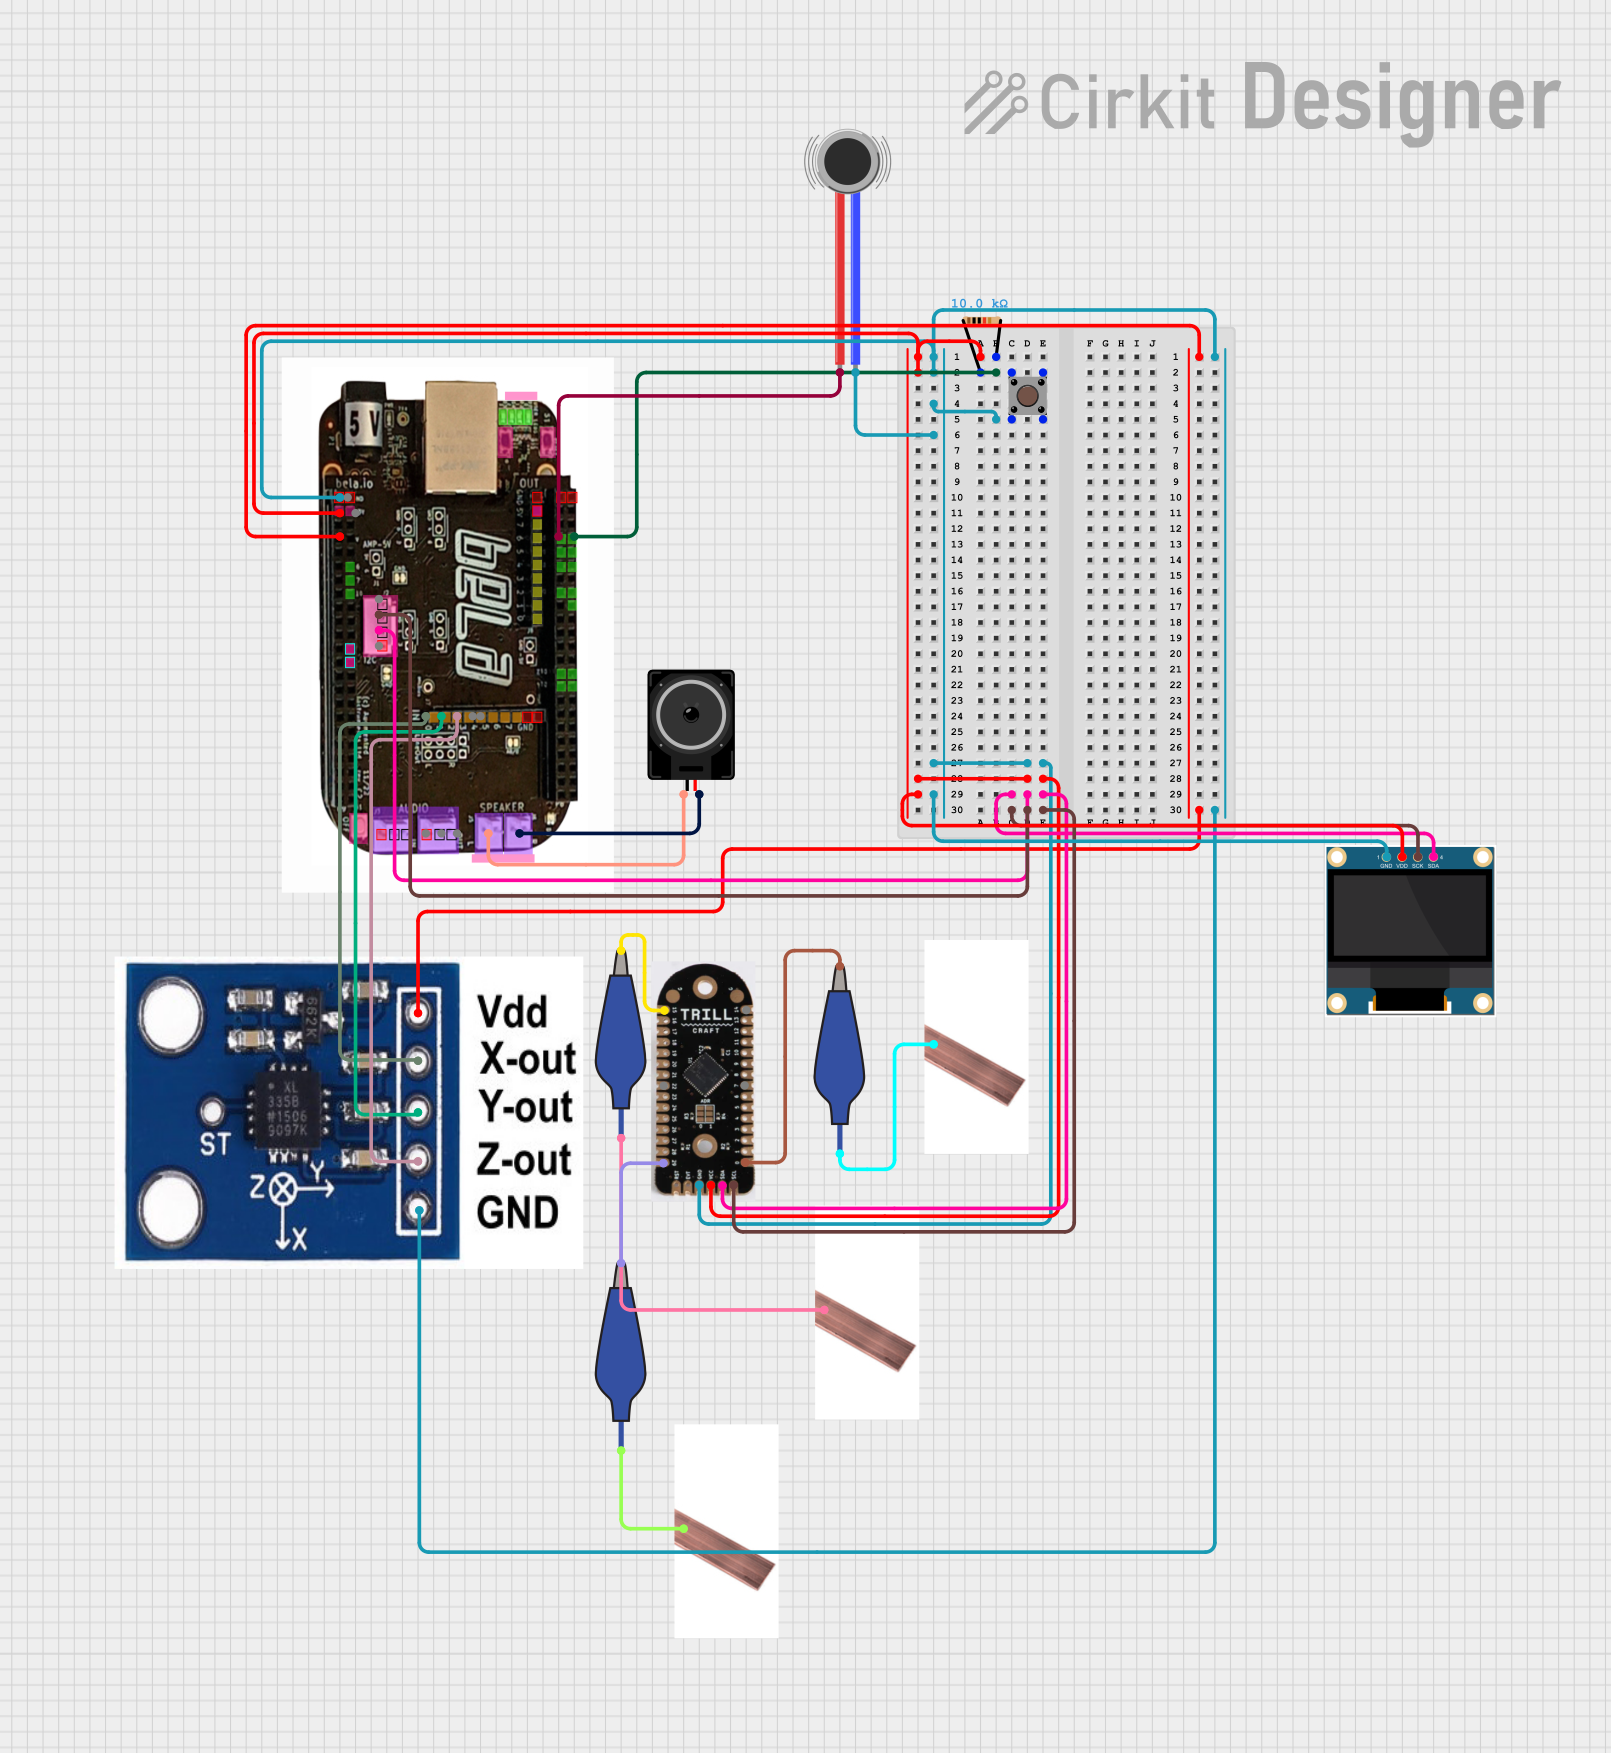 Open Project in Cirkit Designer
Explore Projects Built with Expansion Board Base for XIAO
Open Project in Cirkit DesignerOpen Project in Cirkit DesignerOpen Project in Cirkit DesignerOpen Project in Cirkit DesignerCommon Applications and Use Cases
- Rapid prototyping for IoT devices
- Robotics and automation projects
- Sensor integration for environmental monitoring
- Wearable technology development
- Educational projects and STEM learning
Technical Specifications
The following table outlines the key technical details of the Expansion Board Base for XIAO:
| Parameter | Specification |
|---|---|
| Manufacturer | Seeed Studio |
| Part ID | Expansion Board Base for XIAO |
| Compatible Microcontrollers | XIAO series (e.g., XIAO RP2040, XIAO SAMD21) |
| Input Voltage Range | 5V (via USB-C) or 3.7V (via Li-Po battery) |
| Output Voltage | 3.3V (regulated) |
| GPIO Pin Count | 14 (including analog, digital, and I2C/SPI/UART) |
| USB Port | USB-C (for power and data communication) |
| Battery Support | 1-cell Li-Po battery with charging functionality |
| Dimensions | 53mm x 25.4mm x 13mm |
| Weight | ~10g |
Pin Configuration and Descriptions
The Expansion Board Base for XIAO provides easy access to the XIAO microcontroller's pins. Below is the pinout description:
| Pin Name | Type | Description |
|---|---|---|
| 3V3 | Power Output | Regulated 3.3V output for external components |
| GND | Power | Ground connection |
| A0-A5 | Analog Input | Analog input pins (can also function as digital I/O) |
| D0-D9 | Digital I/O | General-purpose digital input/output pins |
| I2C (SCL/SDA) | Communication | I2C interface pins for connecting sensors/modules |
| SPI (MISO/MOSI/SCK) | Communication | SPI interface pins for high-speed communication |
| UART (TX/RX) | Communication | UART interface for serial communication |
| BAT+ | Power Input | Li-Po battery positive terminal |
| USB-C | Power/Data | USB-C port for power and data communication |
Usage Instructions
How to Use the Expansion Board Base for XIAO in a Circuit
- Attach the XIAO Microcontroller: Align the XIAO microcontroller with the pin headers on the expansion board and gently press it into place.
- Power the Board:
- Connect a USB-C cable to the board for power and data communication.
- Alternatively, connect a 3.7V Li-Po battery to the BAT+ terminal for portable applications.
- Connect Peripherals: Use the GPIO pins to connect sensors, actuators, or other modules. Ensure proper pin mapping and voltage compatibility.
- Program the XIAO: Use the Arduino IDE or other compatible development environments to upload code to the XIAO microcontroller via the USB-C port.
Important Considerations and Best Practices
- Voltage Levels: Ensure that all connected peripherals operate at 3.3V logic levels to avoid damaging the XIAO microcontroller.
- Battery Safety: If using a Li-Po battery, ensure it is properly connected and avoid overcharging or deep discharging.
- Pin Usage: Refer to the XIAO microcontroller's datasheet for detailed pin functionality and avoid exceeding the maximum current ratings.
- Secure Connections: Use jumper wires or solder connections for reliable operation in long-term projects.
Example Code for Arduino UNO-Compatible XIAO
Below is an example code snippet to read an analog sensor connected to pin A0 and display the value via serial communication:
// Include necessary libraries (if any)

// Define the analog pin
const int analogPin = A0;

void setup() {
  // Initialize serial communication at 9600 baud rate
  Serial.begin(9600);
  // Print a startup message
  Serial.println("XIAO Expansion Board: Analog Read Example");
}

void loop() {
  // Read the analog value from pin A0
  int sensorValue = analogRead(analogPin);

  // Print the sensor value to the Serial Monitor
  Serial.print("Analog Value: ");
  Serial.println(sensorValue);

  // Add a small delay for stability
  delay(500);
}
Troubleshooting and FAQs
Common Issues and Solutions
XIAO Microcontroller Not Detected by Computer
- Cause: Improper USB connection or driver issue.
- Solution: Ensure the USB-C cable is properly connected and supports data transfer. Install the necessary drivers for the XIAO microcontroller.
Peripherals Not Responding
- Cause: Incorrect pin connections or voltage mismatch.
- Solution: Double-check the wiring and ensure all peripherals are compatible with 3.3V logic levels.
Battery Not Charging
- Cause: Faulty battery connection or damaged charging circuit.
- Solution: Verify the battery polarity and connection. Replace the battery if necessary.
Overheating
- Cause: Excessive current draw or short circuit.
- Solution: Check for short circuits and ensure connected peripherals do not exceed the current rating of the board.
FAQs
Can I use 5V peripherals with this board?
- No, the Expansion Board Base for XIAO operates at 3.3V logic levels. Use a level shifter if 5V peripherals are required.
What is the maximum current output of the 3.3V pin?
- The 3.3V pin can supply up to 500mA, depending on the input power source.
Is the board compatible with all XIAO models?
- Yes, it is compatible with all XIAO microcontroller models, including XIAO RP2040 and XIAO SAMD21.
Can I program the XIAO directly on this board?
- Yes, the USB-C port on the expansion board allows direct programming and debugging of the XIAO microcontroller.
This concludes the documentation for the Expansion Board Base for XIAO. For further assistance, refer to the official Seeed Studio resources or community forums.