
How to Use RGB Strip: Examples, Pinouts, and Specs
 Design with RGB Strip in Cirkit Designer
Introduction
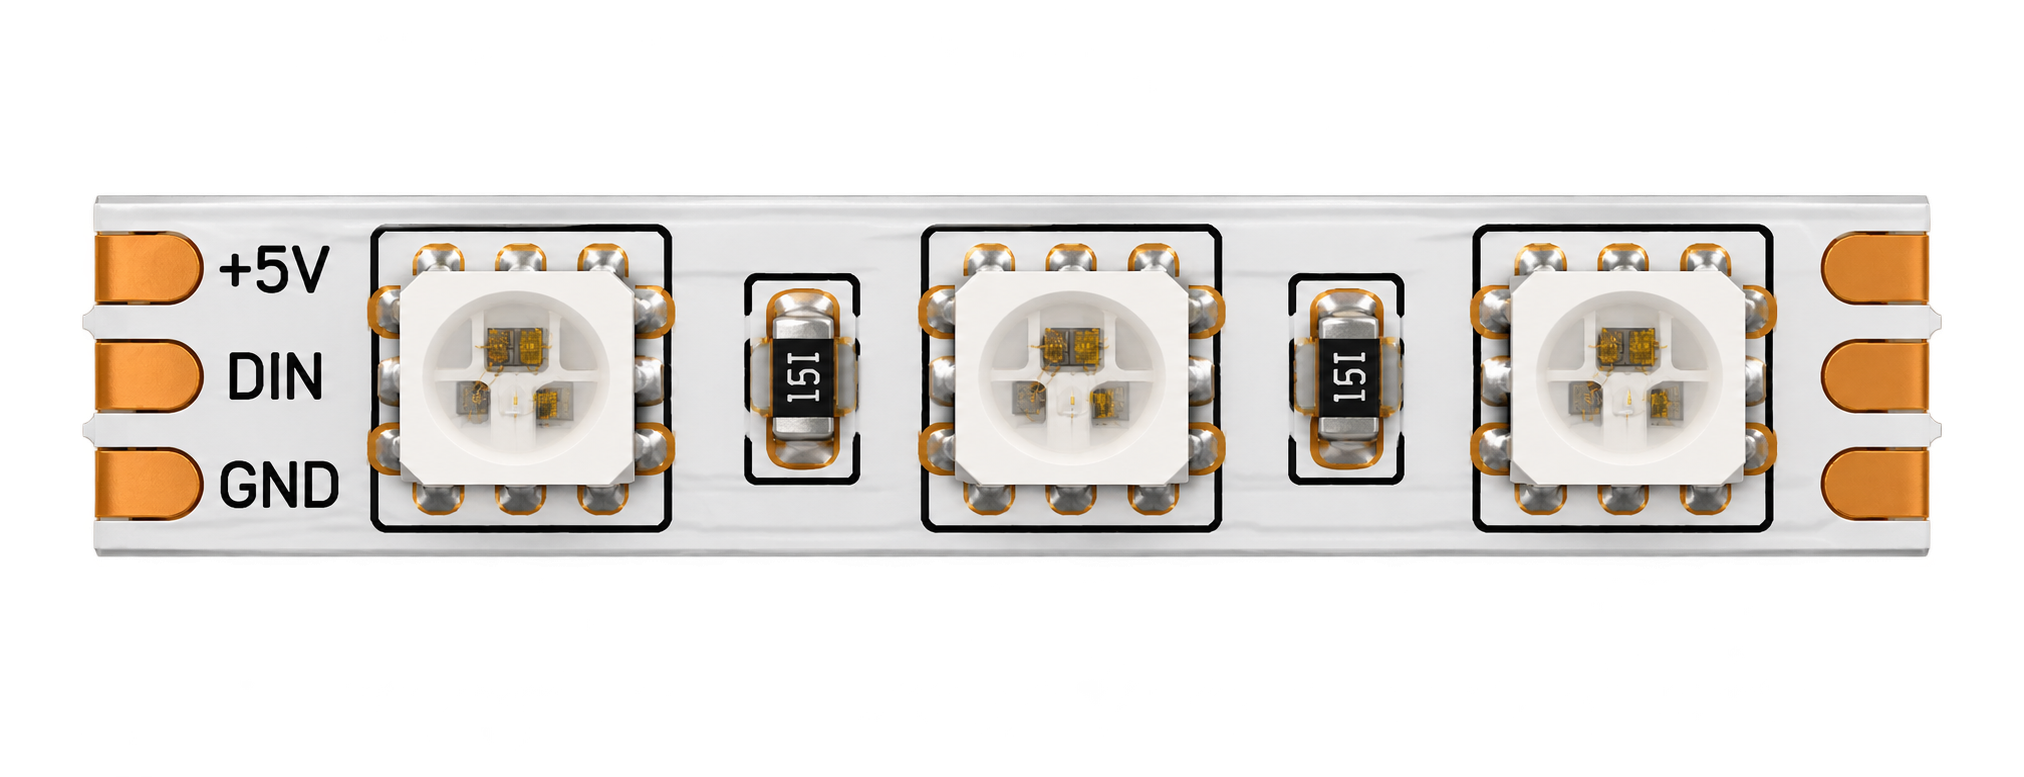
The Waveshare RGB Strip (Part ID: RGB-5050-5V) is a flexible circuit board embedded with surface-mounted RGB LEDs. Each LED emits red, green, and blue light, which can be combined to produce a wide range of colors. This strip operates on 5V DC and is designed for decorative lighting, backlighting, and creating dynamic, colorful effects in various applications. Its flexibility and ease of use make it ideal for DIY projects, home automation, and professional lighting setups.
Explore Projects Built with RGB Strip
 Open Project in Cirkit Designer
 Open Project in Cirkit Designer
 Open Project in Cirkit Designer
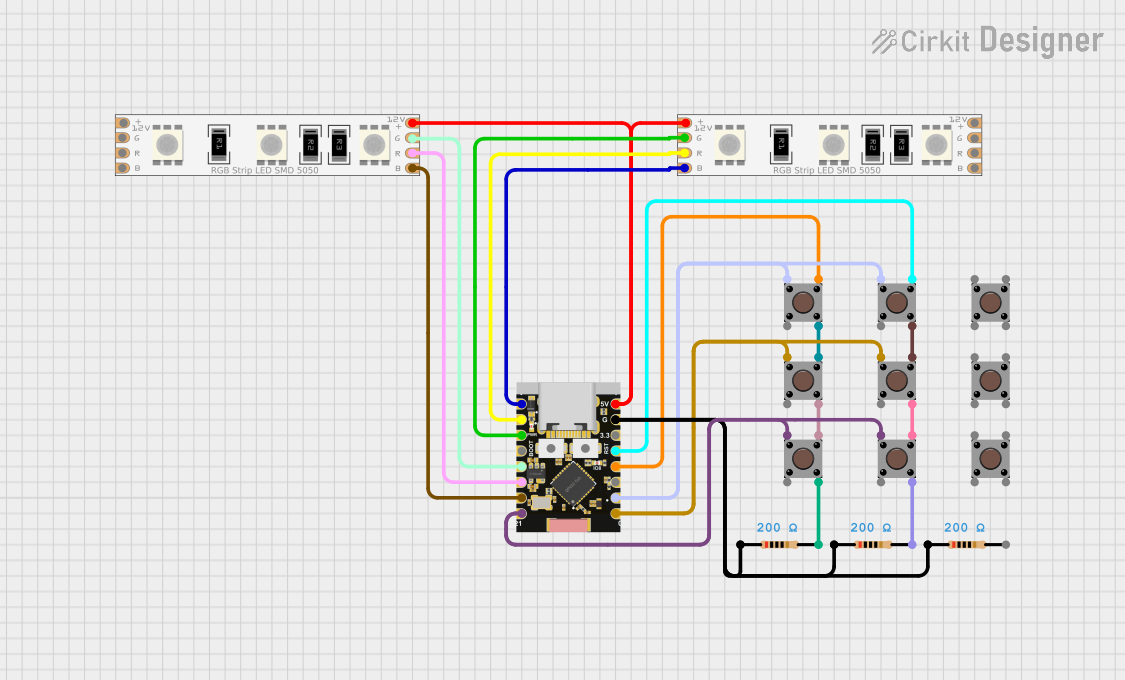 Open Project in Cirkit Designer
Explore Projects Built with RGB Strip
Open Project in Cirkit DesignerOpen Project in Cirkit DesignerOpen Project in Cirkit DesignerOpen Project in Cirkit DesignerCommon Applications
- Ambient lighting for homes, offices, and entertainment systems
- Backlighting for TVs, monitors, and signage
- Decorative lighting for events, parties, and holidays
- Integration into IoT and Arduino-based projects
- Automotive interior and exterior lighting
Technical Specifications
Key Technical Details
| Parameter | Specification |
|---|---|
| Manufacturer | Waveshare |
| Part ID | RGB-5050-5V |
| Operating Voltage | 5V DC |
| Power Consumption | ~0.2W per LED |
| LED Type | 5050 SMD RGB LEDs |
| Number of LEDs | Varies (customizable per strip) |
| Color Output | 16.7 million colors (via PWM) |
| Control Method | PWM (Pulse Width Modulation) |
| Operating Temperature | -20°C to 60°C |
| Strip Width | 10mm |
| Waterproofing | Optional (IP65-rated versions) |
Pin Configuration and Descriptions
The RGB strip typically has three or four pins depending on the configuration (common anode or common cathode). Below is the pinout for a standard 3-pin RGB strip:
| Pin Name | Description | Notes |
|---|---|---|
| VCC | Power supply input (5V DC) | Connect to a 5V power source |
| GND | Ground | Common ground for the circuit |
| DIN | Data input for controlling the LEDs | Connect to a microcontroller |
For addressable RGB strips, an additional DOUT pin may be present to daisy-chain multiple strips.
Usage Instructions
How to Use the RGB Strip in a Circuit
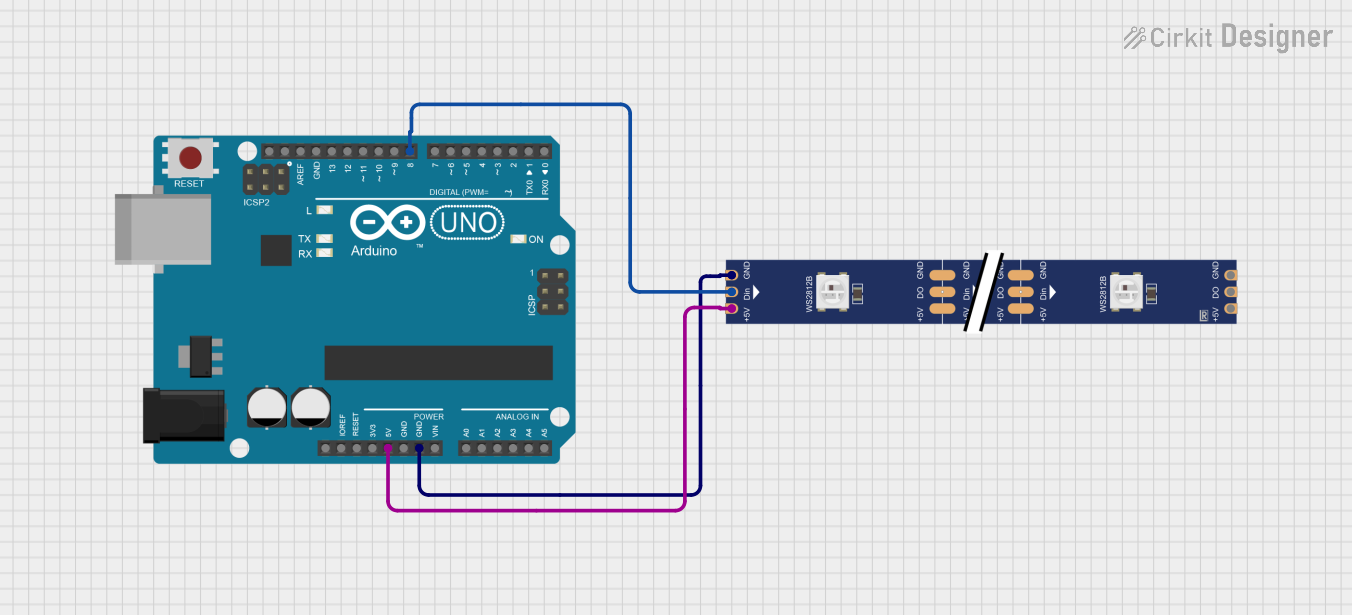
- Power Supply: Ensure you have a stable 5V DC power source capable of supplying sufficient current for the number of LEDs in your strip. Each LED typically consumes ~60mA at full brightness.
- Microcontroller Connection: Connect the DIN pin to a PWM-capable pin on your microcontroller (e.g., Arduino UNO). Use a resistor (330Ω to 470Ω) between the microcontroller pin and the DIN pin to protect the LEDs.
- Grounding: Connect the GND pin of the strip to the ground of your power supply and microcontroller.
- Data Signal: Use a library like
Adafruit_NeoPixelorFastLEDfor addressable RGB strips to control the LEDs.
Important Considerations
- Power Budget: Calculate the total current draw of your strip to ensure your power supply can handle the load.
- Heat Management: Avoid running the strip at full brightness for extended periods to prevent overheating.
- Voltage Drop: For long strips, voltage drop may occur. Inject power at multiple points to maintain consistent brightness.
- Signal Integrity: For long data lines, use a capacitor (e.g., 1000µF) across VCC and GND to stabilize the signal.
Example Code for Arduino UNO
Below is an example of how to control an addressable RGB strip using the Adafruit_NeoPixel library:
#include <Adafruit_NeoPixel.h>

// Define the pin connected to the DIN pin of the RGB strip
#define LED_PIN 6

// Define the number of LEDs in the strip
#define NUM_LEDS 30

// Create a NeoPixel object
Adafruit_NeoPixel strip = Adafruit_NeoPixel(NUM_LEDS, LED_PIN, NEO_GRB + NEO_KHZ800);

void setup() {
  strip.begin();  // Initialize the strip
  strip.show();   // Turn off all LEDs initially
}

void loop() {
  // Set the strip to display a red color
  setStripColor(255, 0, 0);  // RGB values for red
  delay(1000);               // Wait for 1 second

  // Set the strip to display a green color
  setStripColor(0, 255, 0);  // RGB values for green
  delay(1000);               // Wait for 1 second

  // Set the strip to display a blue color
  setStripColor(0, 0, 255);  // RGB values for blue
  delay(1000);               // Wait for 1 second
}

// Function to set the color of the entire strip
void setStripColor(uint8_t red, uint8_t green, uint8_t blue) {
  for (int i = 0; i < NUM_LEDS; i++) {
    strip.setPixelColor(i, strip.Color(red, green, blue));
  }
  strip.show();  // Update the strip to display the new color
}
Troubleshooting and FAQs
Common Issues and Solutions
LEDs Not Lighting Up
- Cause: Incorrect wiring or insufficient power supply.
- Solution: Double-check all connections and ensure the power supply meets the current requirements.
Flickering or Unstable Colors
- Cause: Poor signal integrity or voltage drop.
- Solution: Add a capacitor (1000µF) across VCC and GND, and inject power at multiple points for long strips.
Incorrect Colors Displayed
- Cause: Incorrect data signal or library configuration.
- Solution: Verify the data pin connection and ensure the correct LED type is selected in the library.
Overheating
- Cause: Running the strip at full brightness for extended periods.
- Solution: Reduce brightness or use a heat sink to dissipate heat.
FAQs
Can I cut the RGB strip to a custom length? Yes, the strip can be cut at designated points (usually marked with a scissor icon).
Can I extend the RGB strip? Yes, you can daisy-chain additional strips, but ensure your power supply can handle the increased current draw.
Is the strip waterproof? Some versions of the RGB strip are IP65-rated for waterproofing. Check the product specifications before use.
Can I control the strip without a microcontroller? Yes, you can use a standalone RGB controller, but for custom effects, a microcontroller is recommended.
This documentation provides a comprehensive guide to using the Waveshare RGB Strip (RGB-5050-5V). Whether you're a beginner or an experienced user, this guide will help you integrate the strip into your projects effectively.