
How to Use Arduino Uno (Rev3) - ICSP: Examples, Pinouts, and Specs
 Design with Arduino Uno (Rev3) - ICSP in Cirkit Designer
Introduction
The Arduino Uno (Rev3) is a microcontroller board developed by Arduino, based on the ATmega328P microcontroller. It is a versatile and widely used platform for prototyping and developing interactive electronic projects. One of its key features is the In-Circuit Serial Programming (ICSP) header, which allows users to program the microcontroller directly using an external programmer. This feature is particularly useful for advanced users who need to reprogram the bootloader or perform low-level programming tasks.
Explore Projects Built with Arduino Uno (Rev3) - ICSP
 Open Project in Cirkit Designer
 Open Project in Cirkit Designer
 Open Project in Cirkit Designer
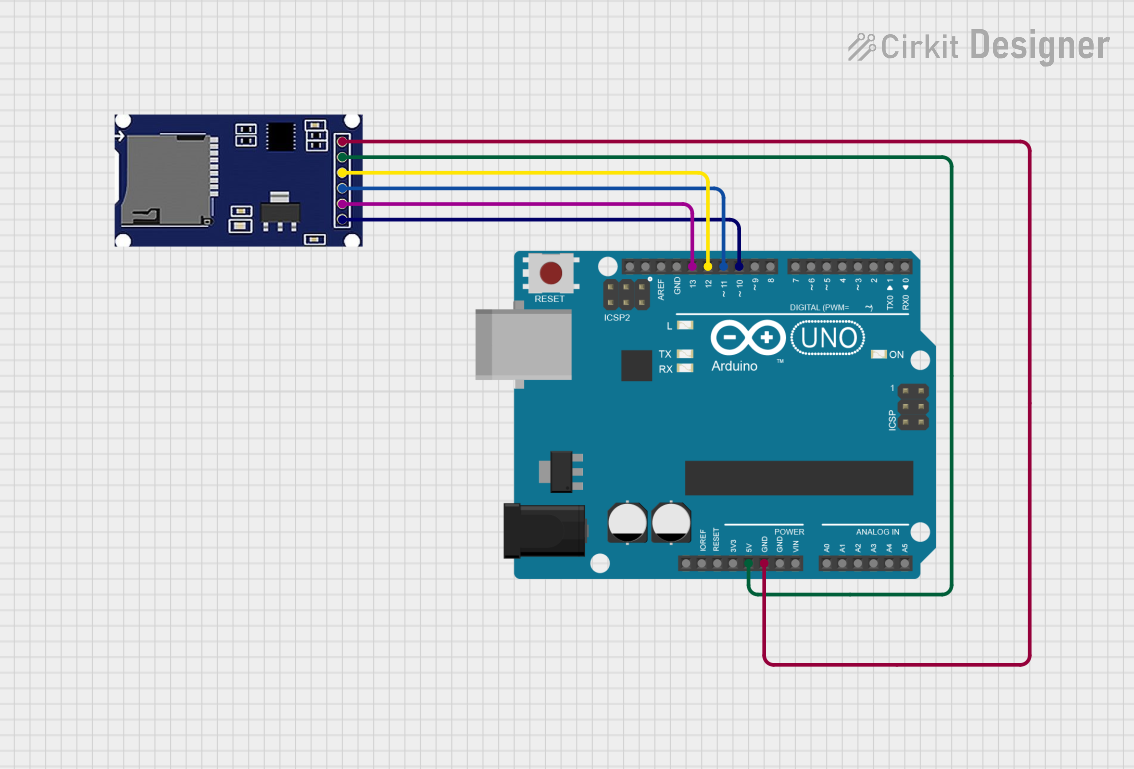 Open Project in Cirkit Designer
Explore Projects Built with Arduino Uno (Rev3) - ICSP
Open Project in Cirkit DesignerOpen Project in Cirkit DesignerOpen Project in Cirkit DesignerOpen Project in Cirkit DesignerCommon Applications and Use Cases
- Prototyping embedded systems
- Developing IoT (Internet of Things) devices
- Educational purposes for learning microcontroller programming
- Reprogramming the ATmega328P microcontroller
- Restoring or updating the bootloader
Technical Specifications
Key Technical Details
- Microcontroller: ATmega328P
- Operating Voltage: 5V
- Input Voltage (recommended): 7-12V
- Digital I/O Pins: 14 (6 PWM outputs)
- Analog Input Pins: 6
- Clock Speed: 16 MHz
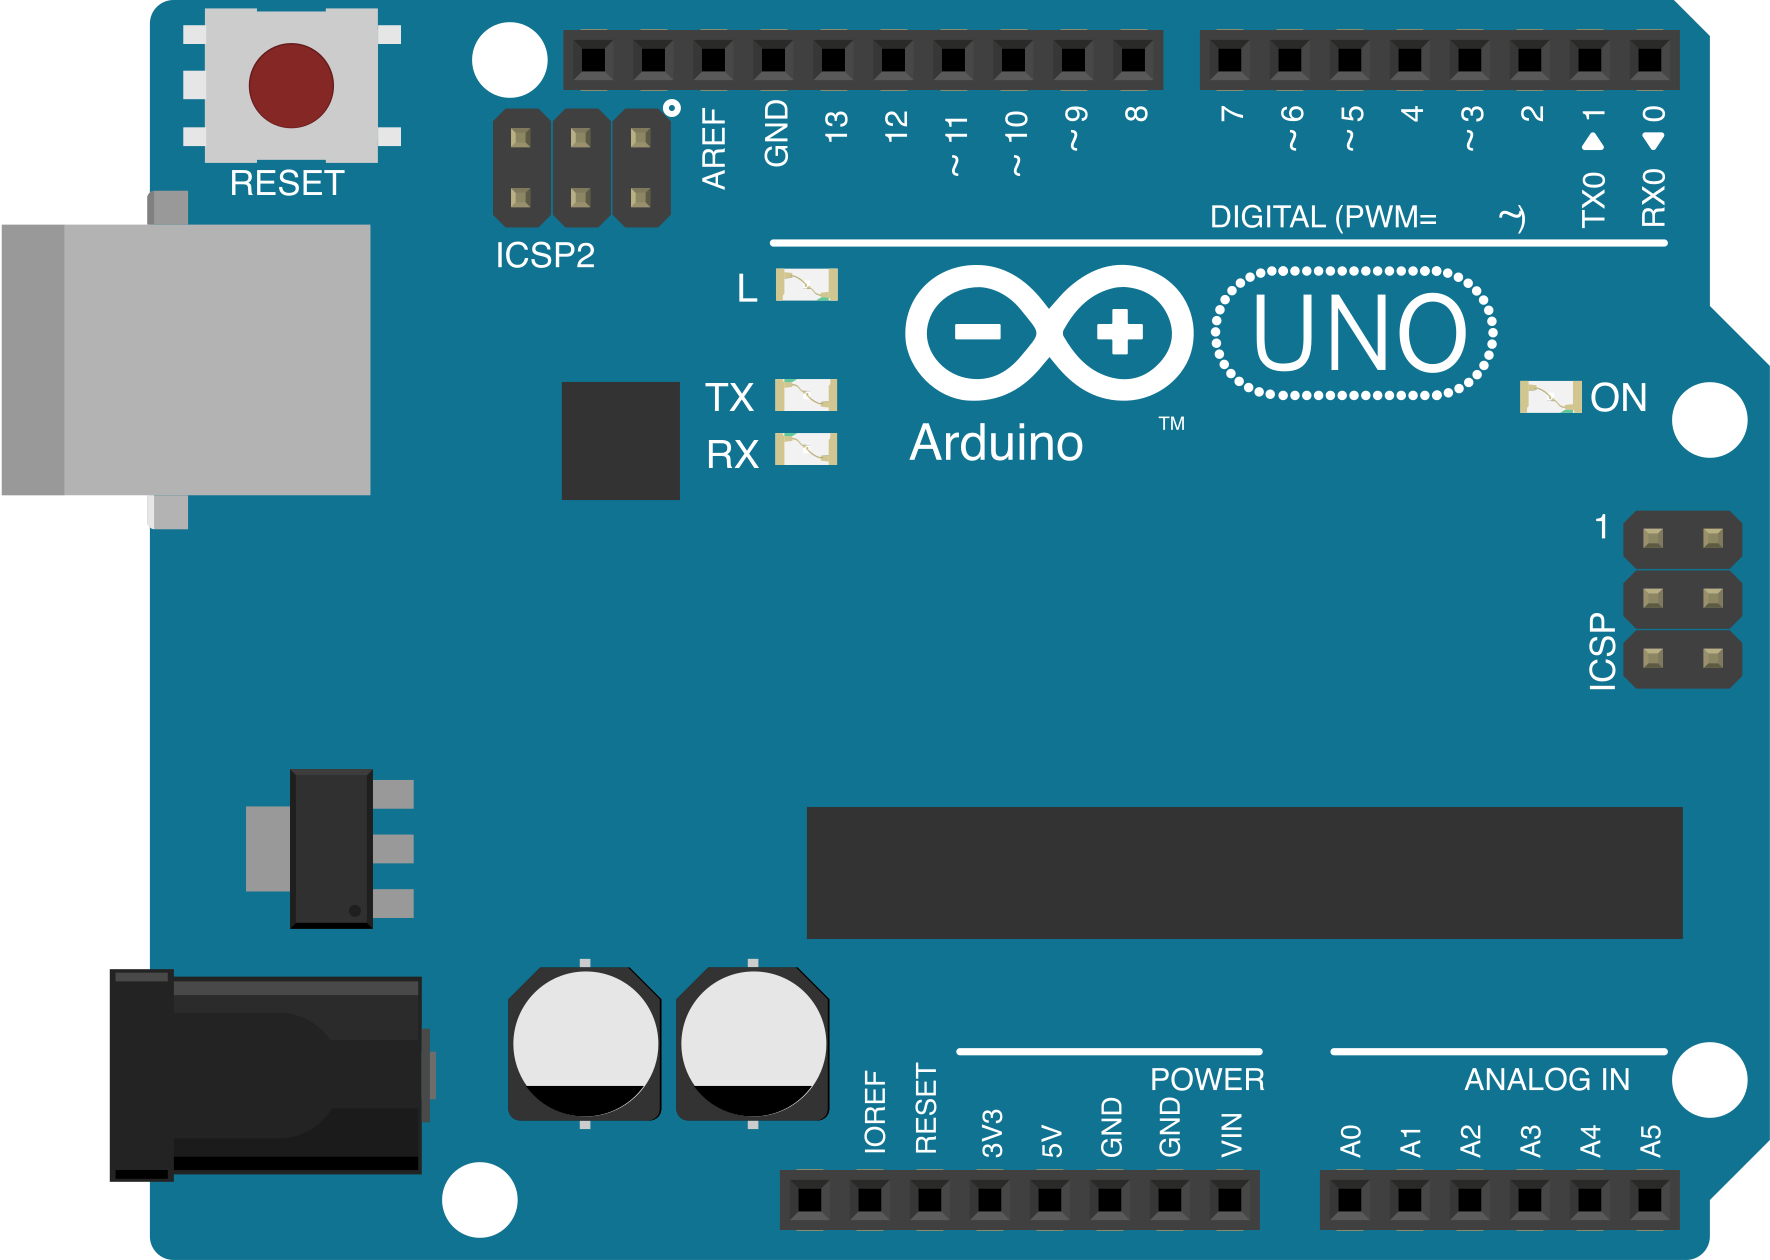
- ICSP Header: 6-pin header for in-circuit programming
- Manufacturer: Arduino
- Part ID: A000066
ICSP Pin Configuration and Descriptions
The ICSP header on the Arduino Uno (Rev3) consists of 6 pins arranged in a 2x3 configuration. Below is the pinout and description:
| Pin Number | Pin Name | Description |
|---|---|---|
| 1 | MISO | Master In Slave Out - Data received by the microcontroller |
| 2 | VCC | Power supply for the programmer (5V) |
| 3 | SCK | Serial Clock - Synchronizes data transmission |
| 4 | MOSI | Master Out Slave In - Data sent to the microcontroller |
| 5 | RESET | Resets the microcontroller during programming |
| 6 | GND | Ground connection |
Usage Instructions
How to Use the ICSP Header
Connect an External Programmer:
- Use an external programmer (e.g., USBasp, AVRISP mkII) and connect it to the ICSP header on the Arduino Uno (Rev3).
- Ensure the pin alignment matches the ICSP header pinout.
Programming the Microcontroller:
- Open the Arduino IDE or any compatible programming software.
- Select the appropriate programmer under the "Tools > Programmer" menu.
- If reprogramming the bootloader, select "Burn Bootloader" from the "Tools" menu.
Power the Board:
- The board can be powered via the USB connection or an external power supply (7-12V).
Important Considerations and Best Practices
- Avoid Incorrect Connections: Ensure the ICSP header pins are connected correctly to avoid damaging the microcontroller or programmer.
- Use a Stable Power Source: A stable 5V power supply is essential for reliable programming.
- Bootloader Updates: Use the ICSP header to restore or update the bootloader if the board becomes unresponsive.
- Arduino IDE Settings: Always select the correct board and port in the Arduino IDE before programming.
Example: Restoring the Bootloader
If the Arduino Uno (Rev3) becomes unresponsive, you can restore the bootloader using the ICSP header. Below is an example of how to do this using another Arduino as an ISP programmer:
Upload the ArduinoISP Sketch:
- Connect the "programmer" Arduino to your computer.
- Open the Arduino IDE and load the "ArduinoISP" example sketch (
File > Examples > 11.ArduinoISP > ArduinoISP). - Upload the sketch to the programmer Arduino.
Connect the Programmer to the Target Arduino:
- Connect the ICSP header of the target Arduino Uno (Rev3) to the programmer Arduino as follows:
Programmer Arduino Pin Target Arduino ICSP Pin 10 (RESET) RESET 11 (MOSI) MOSI 12 (MISO) MISO 13 (SCK) SCK GND GND 5V VCC Burn the Bootloader:
- In the Arduino IDE, select the target board (
Arduino Uno) and the correct port. - Under "Tools > Programmer", select "Arduino as ISP".
- Click "Burn Bootloader" to restore the bootloader.
- In the Arduino IDE, select the target board (
Example Code for Testing the ICSP Connection
After programming the microcontroller via ICSP, you can upload a simple sketch to verify the board's functionality:
// Blink LED on pin 13 to test ICSP programming
void setup() {
  pinMode(13, OUTPUT); // Set pin 13 as an output
}

void loop() {
  digitalWrite(13, HIGH); // Turn the LED on
  delay(1000);            // Wait for 1 second
  digitalWrite(13, LOW);  // Turn the LED off
  delay(1000);            // Wait for 1 second
}
Troubleshooting and FAQs
Common Issues
Programmer Not Recognized:
- Ensure the programmer is properly connected to the ICSP header.
- Verify that the correct programmer is selected in the Arduino IDE.
Failed to Burn Bootloader:
- Check the wiring between the programmer and the ICSP header.
- Ensure the target board is powered correctly.
Microcontroller Not Responding:
- Verify that the ICSP header connections are secure.
- Try resetting the board manually before programming.
Solutions and Tips for Troubleshooting
- Double-Check Connections: Use a multimeter to verify continuity between the programmer and ICSP header.
- Update Drivers: Ensure the programmer's drivers are installed and up to date.
- Use a Known-Good Programmer: Test with another programmer to rule out hardware issues.
- Test with a Simple Sketch: Upload a basic sketch (e.g., Blink) to confirm the board is functioning.
By following this documentation, users can effectively utilize the ICSP header on the Arduino Uno (Rev3) for advanced programming tasks and troubleshooting.