
How to Use 3-in-1 Soil Temperature, Soil Moisture, and Soil Soil EC: Examples, Pinouts, and Specs
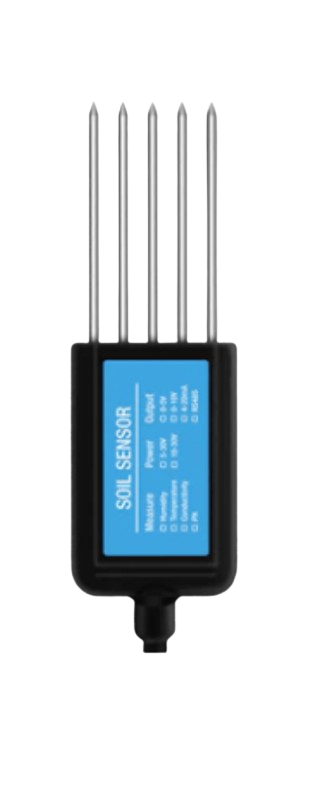
 Design with 3-in-1 Soil Temperature, Soil Moisture, and Soil Soil EC in Cirkit Designer
Introduction
The 3-in-1 Soil Temperature, Soil Moisture, and Soil EC Sensor is a multifunctional device designed to measure three critical parameters for soil management: temperature, moisture content, and electrical conductivity (EC). This sensor provides accurate and real-time data, making it an essential tool for agricultural applications, gardening, and environmental monitoring.
Explore Projects Built with 3-in-1 Soil Temperature, Soil Moisture, and Soil Soil EC
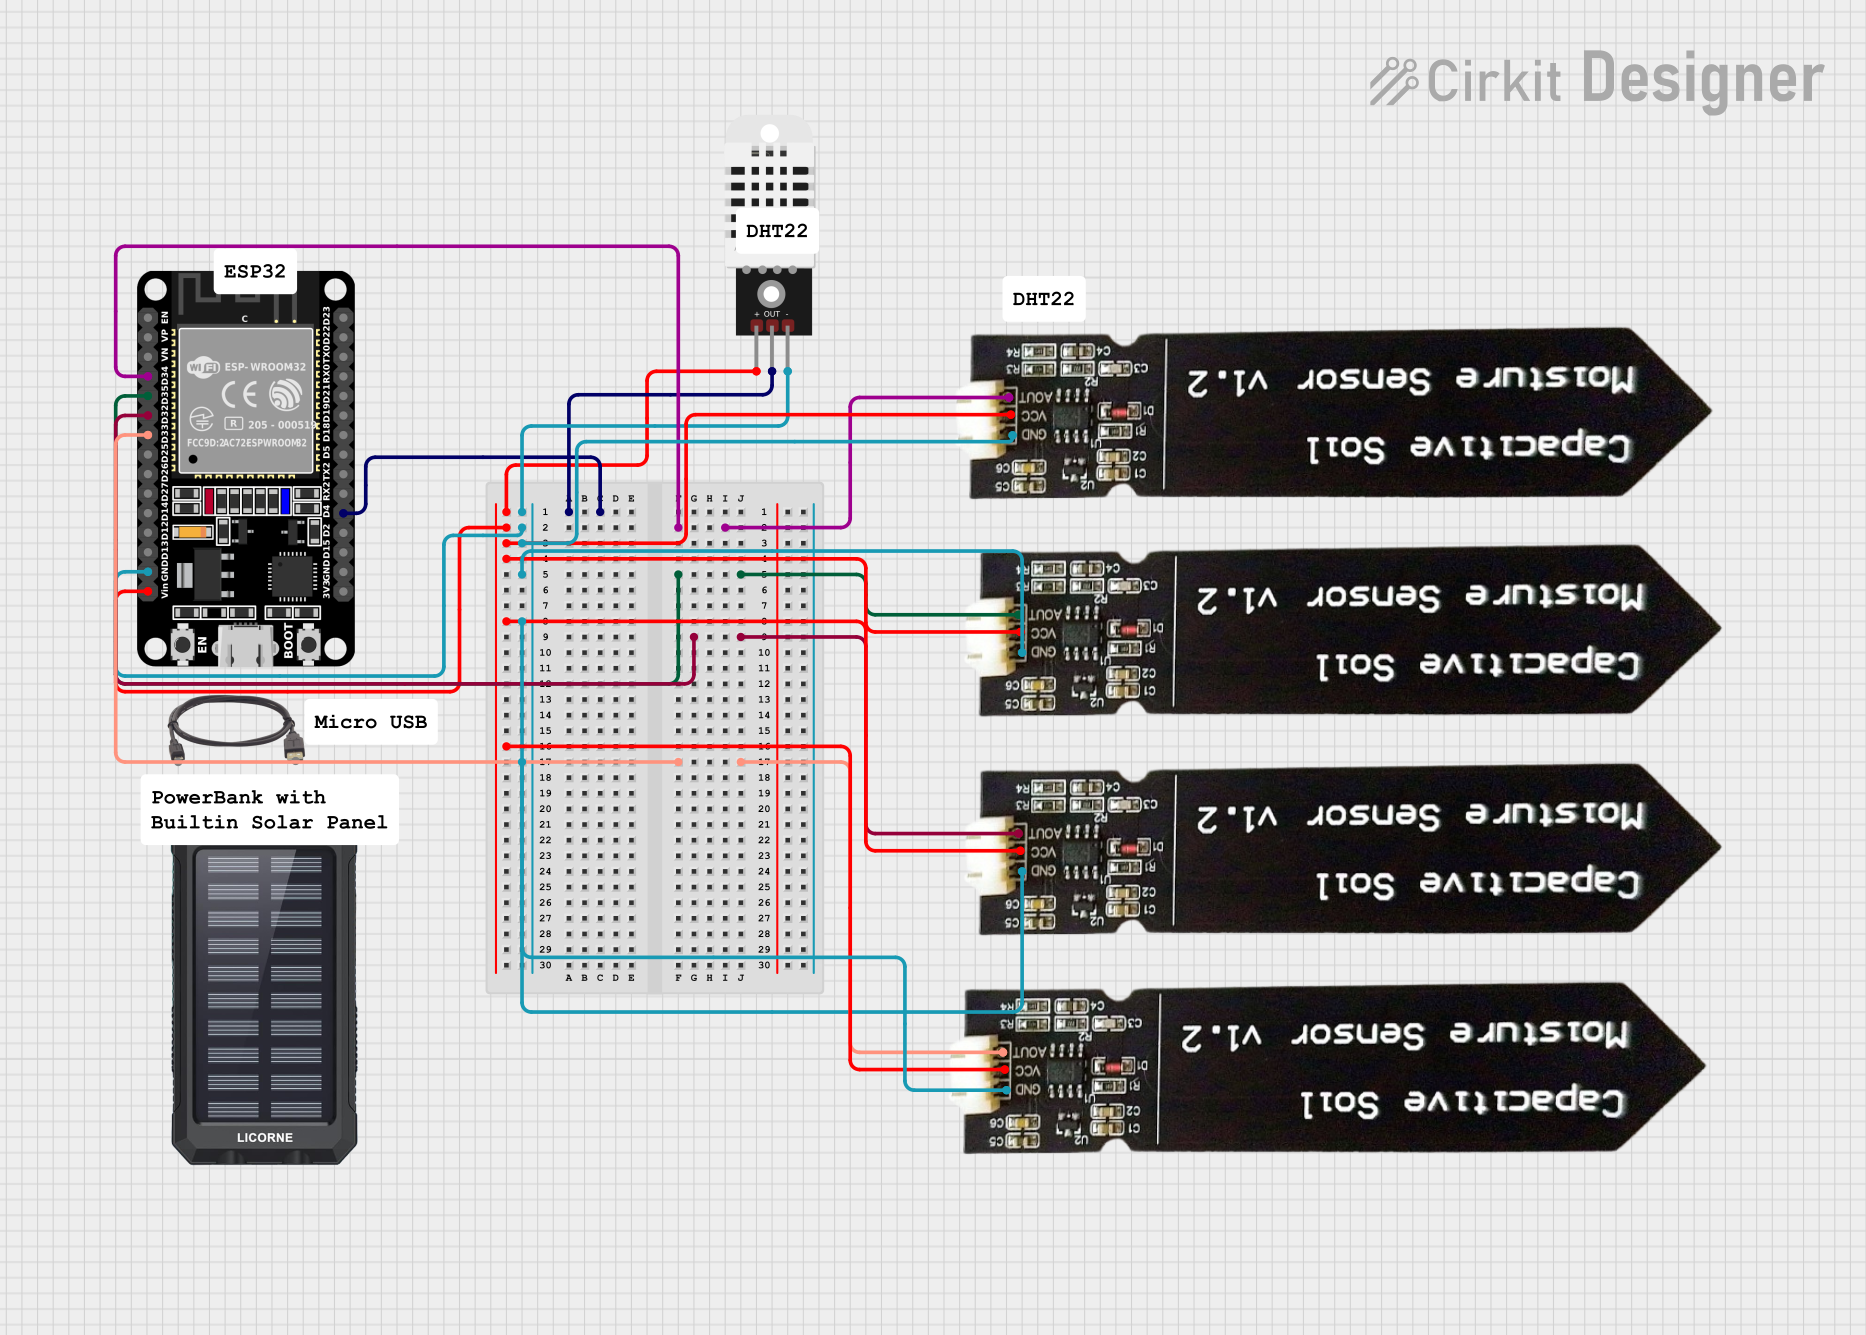 Open Project in Cirkit Designer
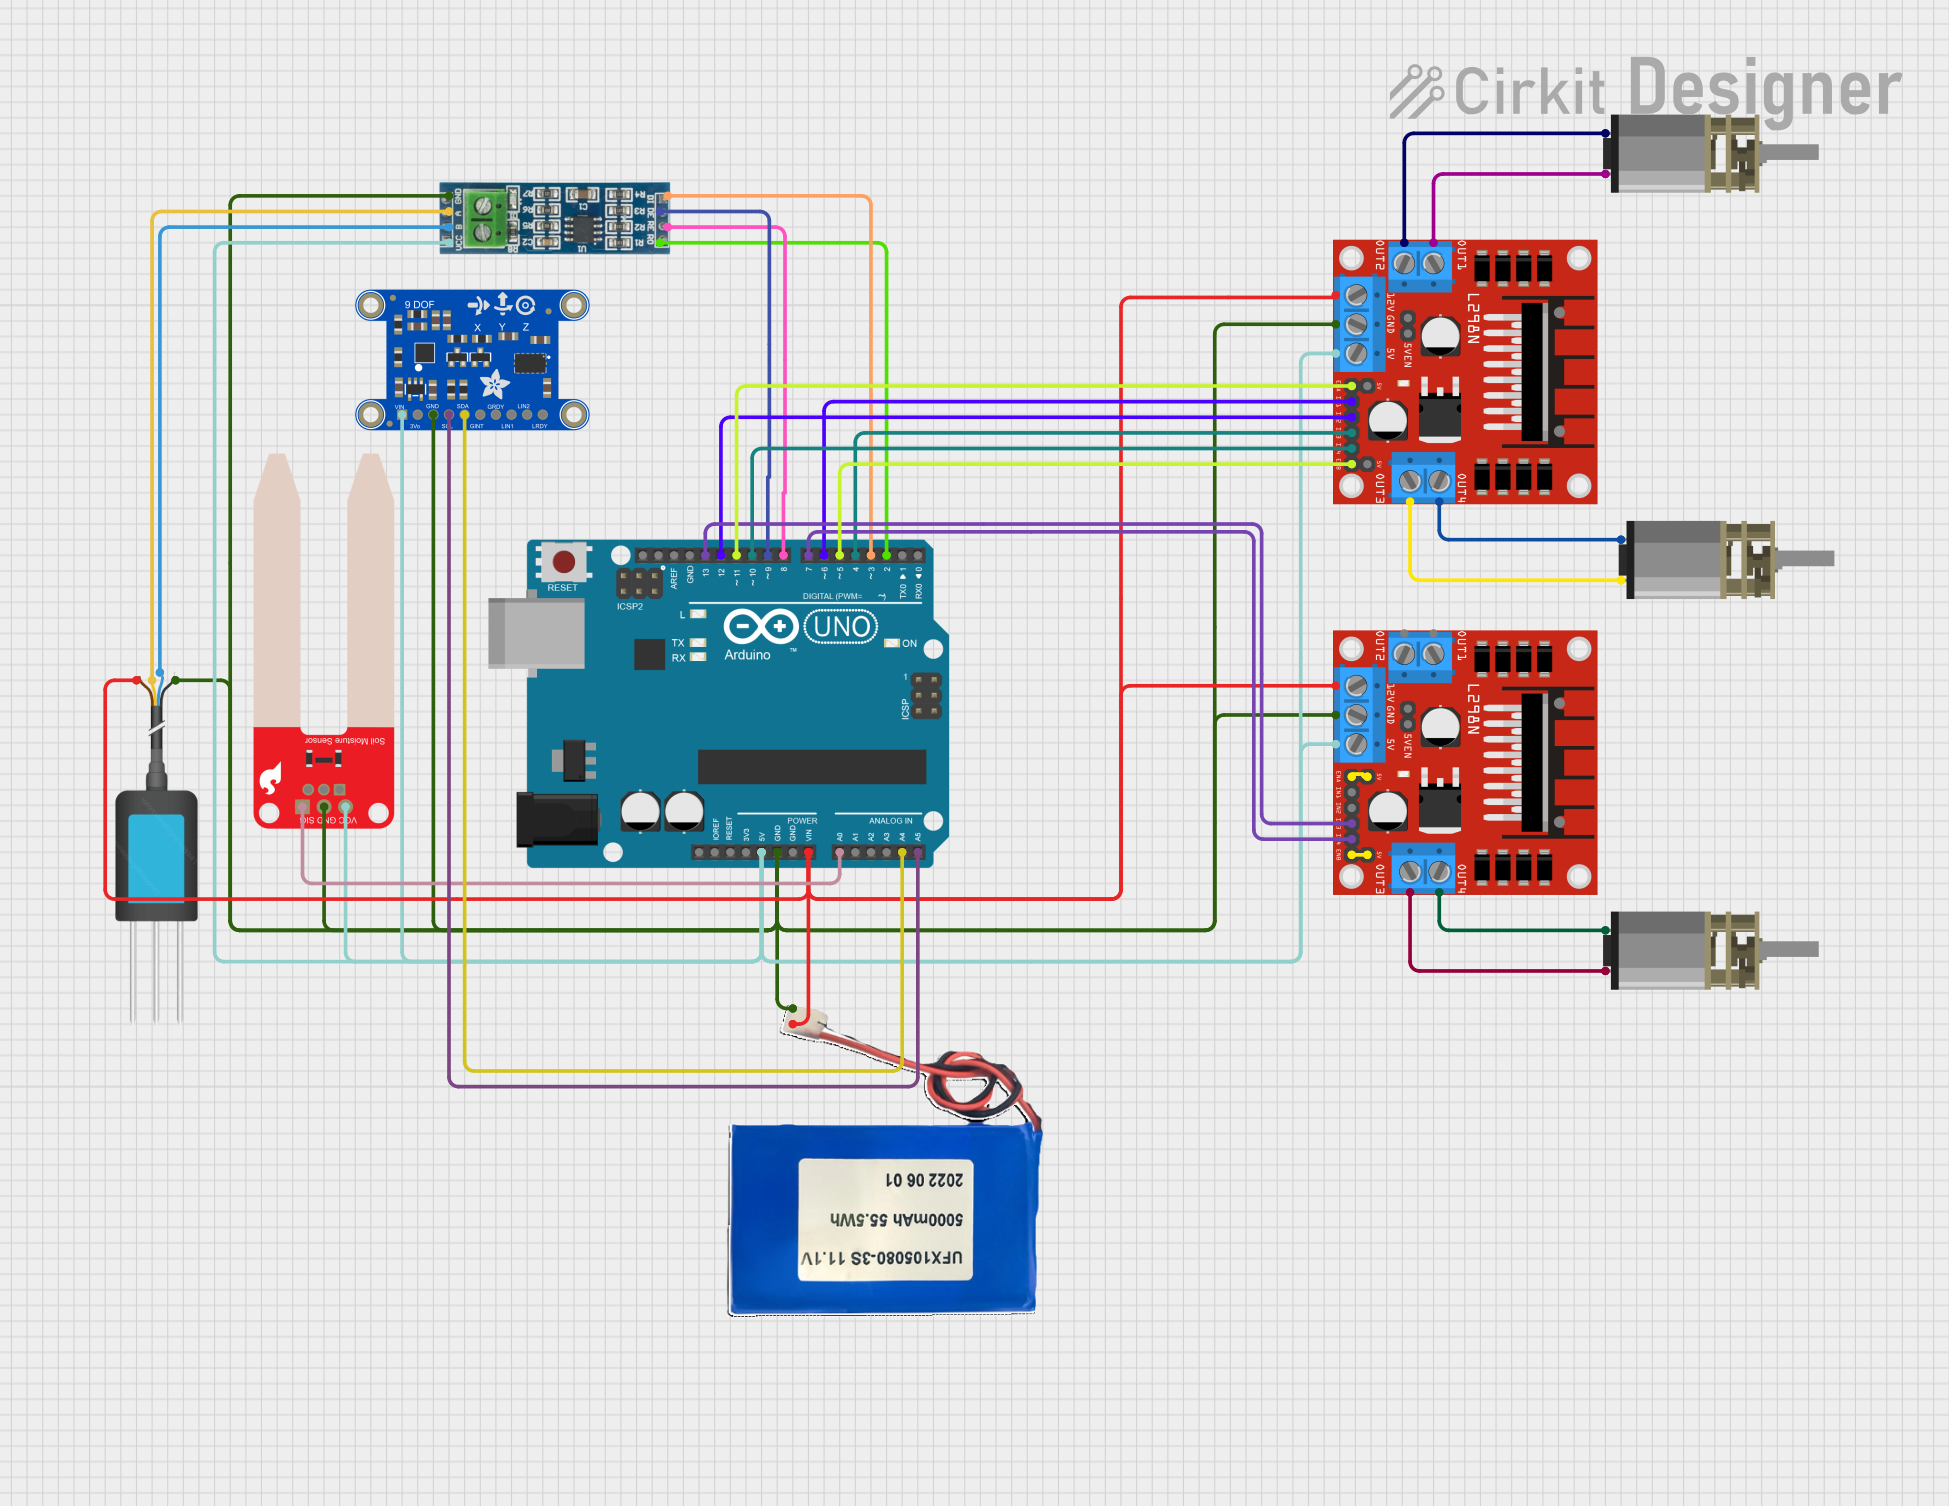 Open Project in Cirkit Designer
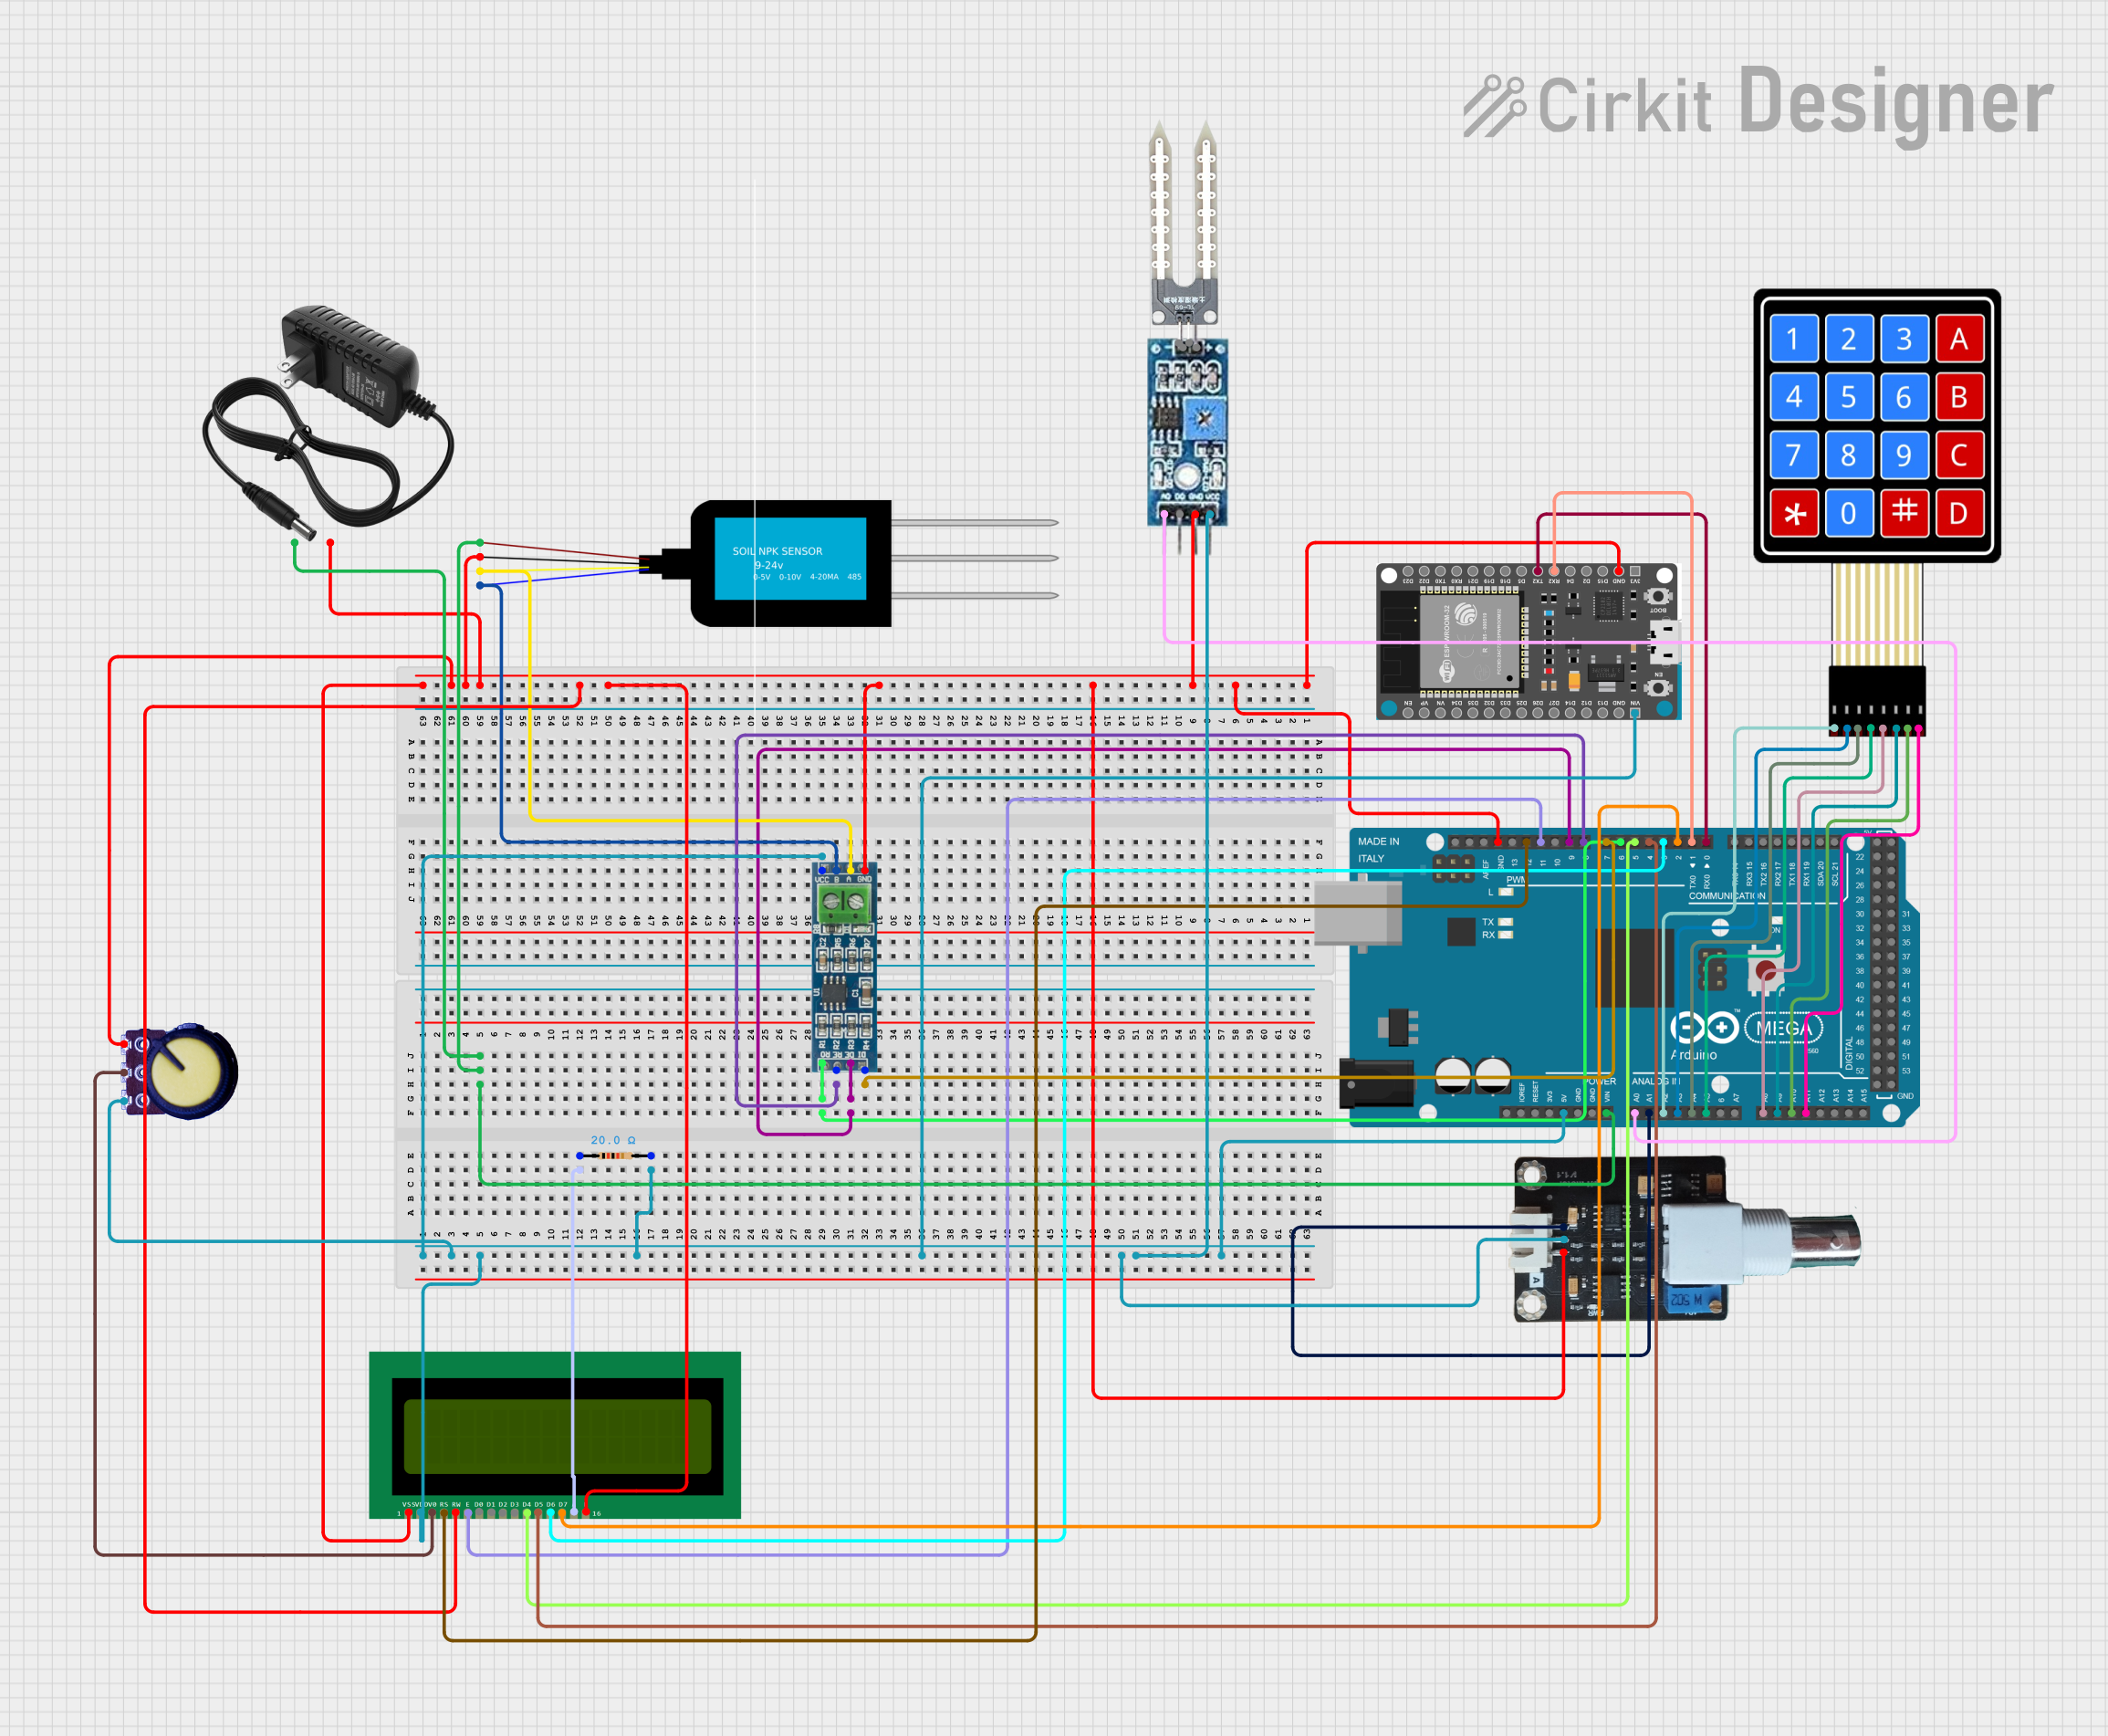 Open Project in Cirkit Designer
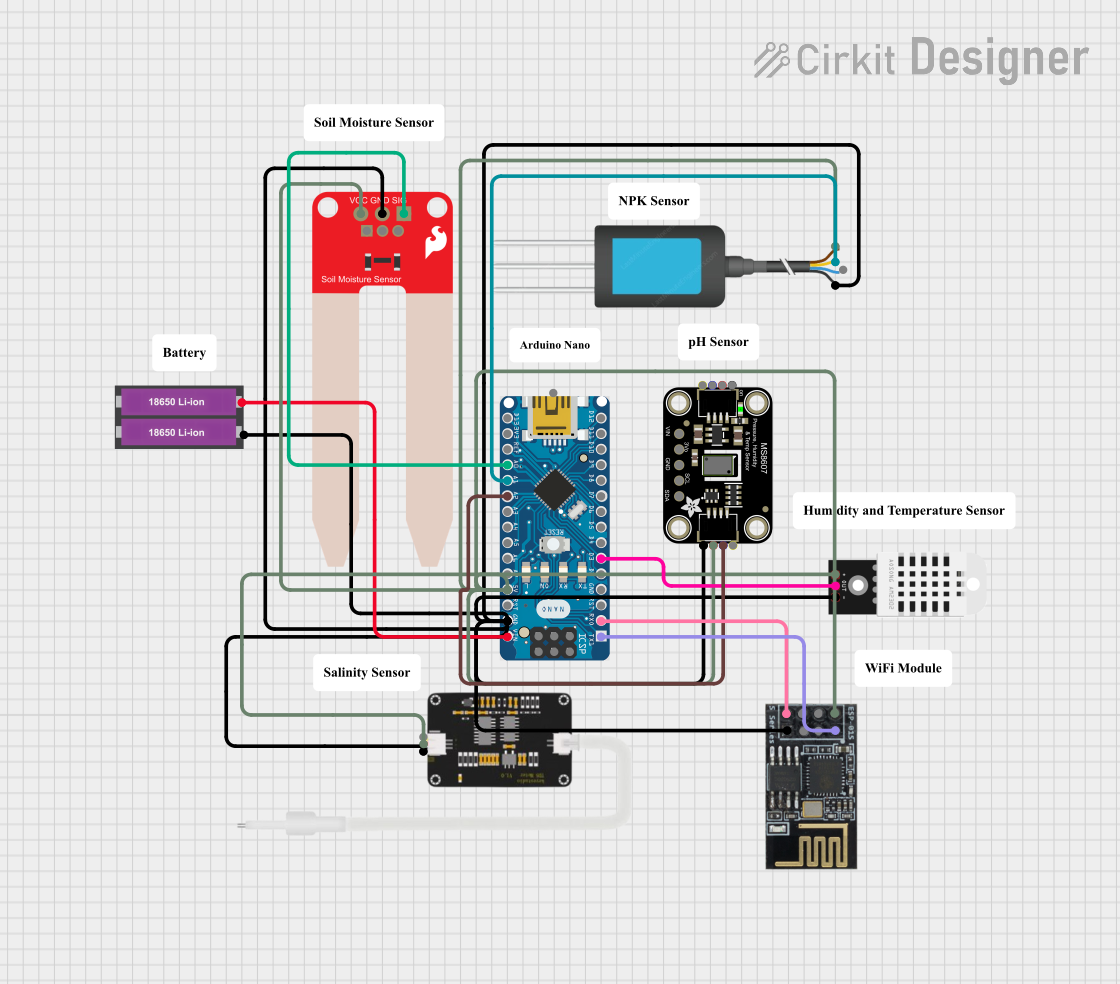 Open Project in Cirkit Designer
Explore Projects Built with 3-in-1 Soil Temperature, Soil Moisture, and Soil Soil EC
Open Project in Cirkit DesignerOpen Project in Cirkit DesignerOpen Project in Cirkit DesignerOpen Project in Cirkit DesignerCommon Applications and Use Cases
- Precision agriculture for optimizing irrigation and fertilization
- Greenhouse monitoring and control systems
- Soil health analysis in research and education
- Smart gardening and IoT-based plant care systems
- Environmental monitoring for soil quality assessment
Technical Specifications
Below are the key technical details of the 3-in-1 Soil Sensor:
| Parameter | Specification |
|---|---|
| Operating Voltage | 3.3V - 5.0V |
| Operating Current | ≤ 35mA |
| Soil Temperature Range | -40°C to 80°C |
| Soil Moisture Range | 0% to 100% |
| Soil EC Range | 0 to 2000 µS/cm |
| Output Signal | Analog (Moisture, EC), Digital (Temp) |
| Communication Protocol | I2C or UART (varies by model) |
| Probe Material | Stainless steel |
| Cable Length | 1 meter |
| Waterproof Rating | IP67 |
Pin Configuration and Descriptions
The sensor typically comes with a 4-pin interface. Below is the pinout description:
| Pin | Label | Description |
|---|---|---|
| 1 | VCC | Power supply input (3.3V - 5.0V) |
| 2 | GND | Ground connection |
| 3 | DATA | Data output (analog or digital, depending on signal) |
| 4 | CLK | Clock signal for I2C communication (if applicable) |
Usage Instructions
How to Use the Sensor in a Circuit
- Power the Sensor: Connect the
VCCpin to a 3.3V or 5.0V power source and theGNDpin to the ground of your circuit. - Connect the Data Pin: Depending on the output type:
- For analog output, connect the
DATApin to an analog input pin on your microcontroller. - For digital output, connect the
DATApin to a digital input pin or use the I2C interface.
- For analog output, connect the
- Optional Clock Pin: If using I2C communication, connect the
CLKpin to the clock line of your microcontroller. - Insert the Probe: Place the sensor probe into the soil at the desired depth, ensuring good contact with the soil.
Important Considerations and Best Practices
- Calibration: Calibrate the sensor for accurate readings, especially for EC measurements, as soil salinity can vary.
- Placement: Avoid placing the sensor in rocky or compacted soil to prevent damage to the probe.
- Waterproofing: The sensor is IP67-rated, but ensure the cable connections are protected from water ingress.
- Power Supply: Use a stable power source to avoid fluctuations in readings.
- Signal Noise: Use shielded cables or proper grounding to minimize noise in the output signal.
Example Code for Arduino UNO
Below is an example code snippet to read soil moisture and temperature using the sensor with an Arduino UNO:
// Include necessary libraries
#include <Wire.h> // For I2C communication

// Define sensor pins
#define MOISTURE_PIN A0 // Analog pin for soil moisture
#define TEMP_PIN 2      // Digital pin for soil temperature

void setup() {
  Serial.begin(9600); // Initialize serial communication
  pinMode(TEMP_PIN, INPUT); // Set temperature pin as input
}

void loop() {
  // Read soil moisture (analog value)
  int moistureValue = analogRead(MOISTURE_PIN);
  float moisturePercent = map(moistureValue, 0, 1023, 0, 100);
  // Map analog value to percentage (0-100%)

  // Read soil temperature (digital value)
  int tempValue = digitalRead(TEMP_PIN);
  float temperature = tempValue * 0.48828125;
  // Convert digital value to temperature in °C (example conversion)

  // Print values to Serial Monitor
  Serial.print("Soil Moisture: ");
  Serial.print(moisturePercent);
  Serial.println("%");

  Serial.print("Soil Temperature: ");
  Serial.print(temperature);
  Serial.println("°C");

  delay(1000); // Wait 1 second before next reading
}
Troubleshooting and FAQs
Common Issues and Solutions
Inaccurate Readings:
- Cause: Sensor not calibrated or poor soil contact.
- Solution: Calibrate the sensor and ensure the probe is fully inserted into the soil.
No Output Signal:
- Cause: Incorrect wiring or insufficient power supply.
- Solution: Double-check the wiring and ensure the power supply meets the sensor's requirements.
Fluctuating Readings:
- Cause: Electrical noise or unstable power source.
- Solution: Use a decoupling capacitor near the sensor's power pins and ensure proper grounding.
Sensor Damage:
- Cause: Probe exposed to extreme conditions or mishandling.
- Solution: Avoid using the sensor in rocky soil or beyond its rated temperature range.
FAQs
Q1: Can this sensor be used in hydroponics?
A1: Yes, the sensor can measure EC and temperature in hydroponic solutions, but ensure the probe is fully submerged and calibrated for liquid use.
Q2: How often should the sensor be calibrated?
A2: Calibration frequency depends on usage, but it is recommended to calibrate every 3-6 months for accurate readings.
Q3: Can the sensor be used with a Raspberry Pi?
A3: Yes, the sensor can be interfaced with a Raspberry Pi using its GPIO pins or I2C communication.
Q4: Is the sensor compatible with all soil types?
A4: The sensor works with most soil types but may require calibration for highly saline or sandy soils.
This documentation provides a comprehensive guide to using the 3-in-1 Soil Sensor effectively. For further assistance, refer to the manufacturer's datasheet or support resources.