
How to Use dquidio_GPRS board: Examples, Pinouts, and Specs
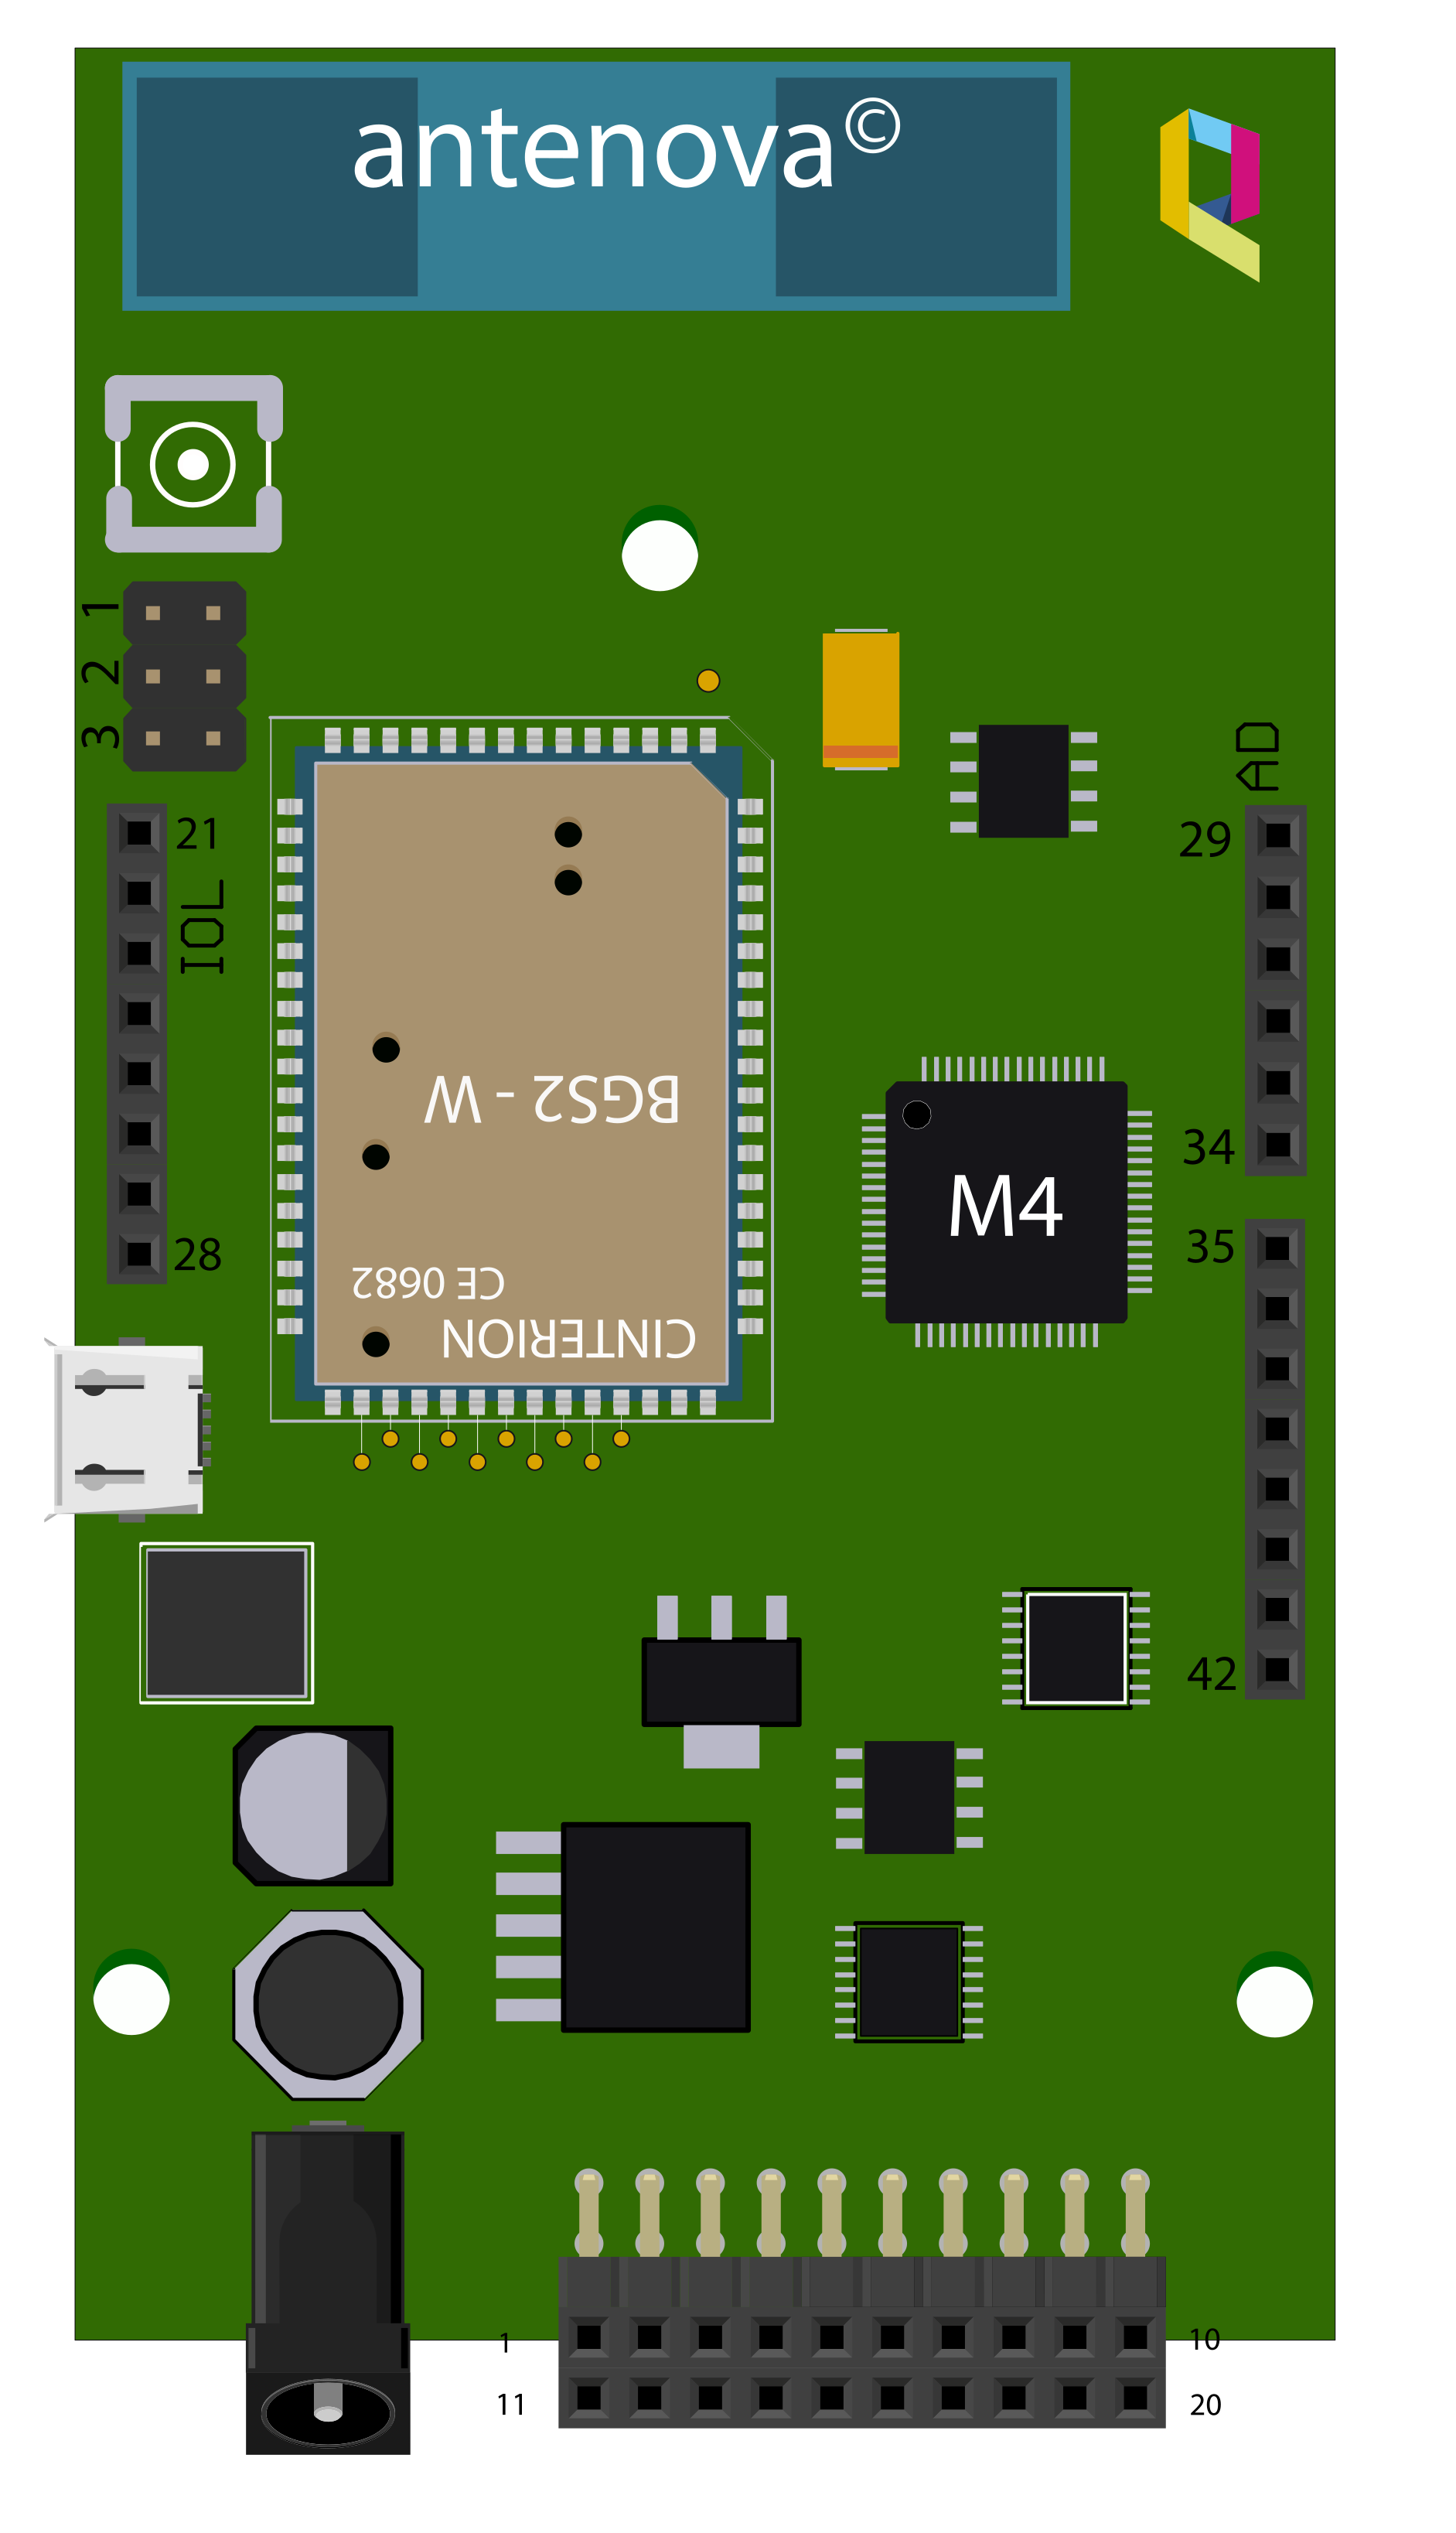
 Design with dquidio_GPRS board in Cirkit Designer
Introduction
The dquidio_GPRS board is a versatile module designed for wireless communication using General Packet Radio Service (GPRS). It enables devices to connect to the internet and transmit data over cellular networks, making it ideal for IoT (Internet of Things) applications, remote monitoring, and data logging. This board is particularly useful in scenarios where Wi-Fi or wired connections are unavailable, providing reliable and cost-effective connectivity.
Explore Projects Built with dquidio_GPRS board
 Open Project in Cirkit Designer
 Open Project in Cirkit Designer
 Open Project in Cirkit Designer
 Open Project in Cirkit Designer
Explore Projects Built with dquidio_GPRS board
Open Project in Cirkit DesignerOpen Project in Cirkit DesignerOpen Project in Cirkit DesignerOpen Project in Cirkit DesignerCommon Applications and Use Cases
- IoT devices for remote data transmission
- GPS tracking systems
- Smart agriculture and environmental monitoring
- Industrial automation and telemetry
- SMS-based control systems
- Remote security and surveillance systems
Technical Specifications
The dquidio_GPRS board is built to provide robust and efficient communication capabilities. Below are its key technical details:
General Specifications
| Parameter | Value |
|---|---|
| Operating Voltage | 3.3V - 5V |
| Communication Protocol | UART (Serial) |
| Frequency Bands | Quad-band (850/900/1800/1900 MHz) |
| GPRS Class | Class 10 |
| Power Consumption | Idle: ~10mA, Active: ~200mA |
| SIM Card Support | Standard SIM (2G/3G networks) |
| Antenna Connector | SMA or u.FL (depending on model) |
| Dimensions | 50mm x 30mm x 10mm |
Pin Configuration and Descriptions
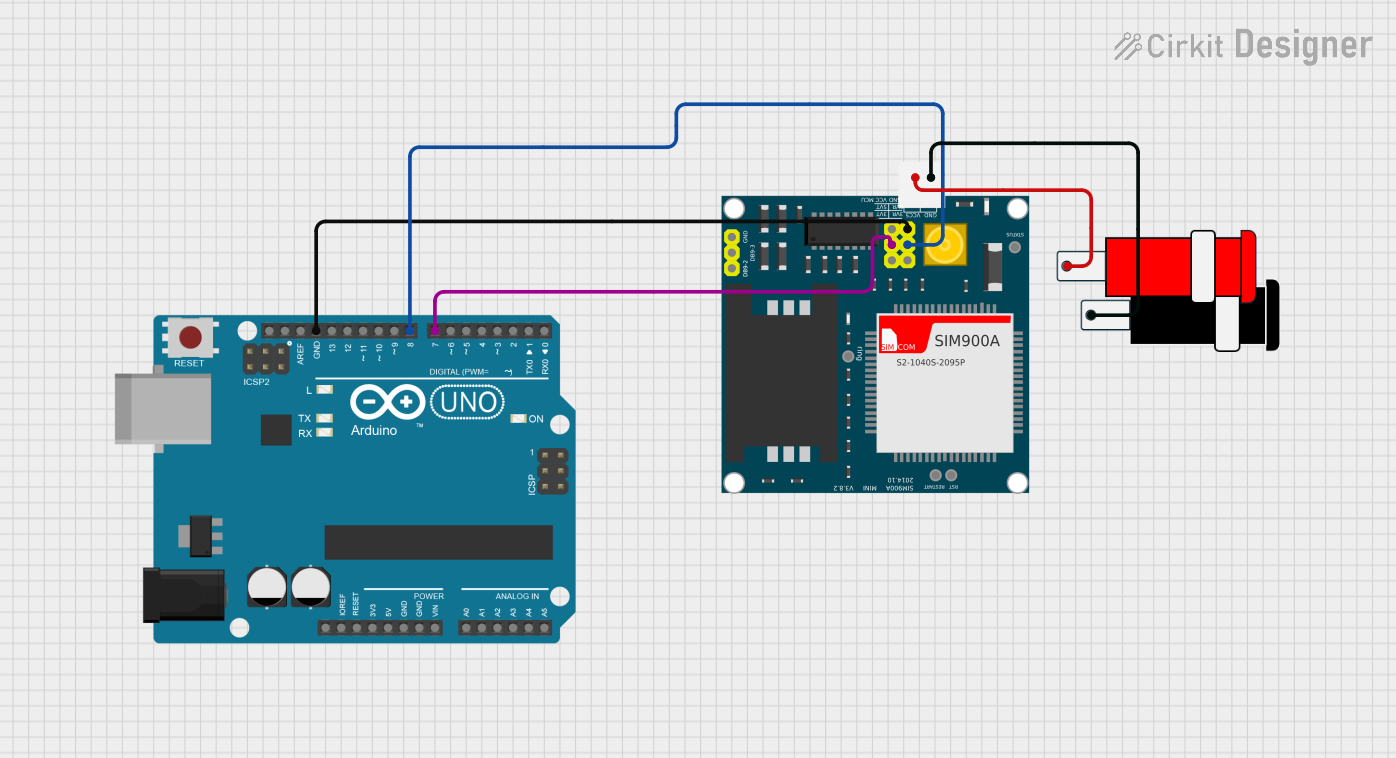
The dquidio_GPRS board features a standard pinout for easy integration with microcontrollers like Arduino. Below is the pin configuration:
| Pin Name | Description |
|---|---|
| VCC | Power input (3.3V - 5V) |
| GND | Ground |
| TX | Transmit data (UART output) |
| RX | Receive data (UART input) |
| DTR | Data Terminal Ready (for sleep mode) |
| RST | Reset pin (active low) |
| NET | Network status indicator (LED output) |
| PWRKEY | Power on/off control (active low) |
Usage Instructions
How to Use the dquidio_GPRS Board in a Circuit
- Power Supply: Connect the VCC pin to a 3.3V or 5V power source and GND to ground. Ensure the power supply can handle peak currents of up to 2A during transmission bursts.
- UART Communication: Connect the TX and RX pins to the corresponding RX and TX pins of your microcontroller (e.g., Arduino UNO). Use a logic level converter if your microcontroller operates at 3.3V.
- Antenna: Attach an external antenna to the SMA or u.FL connector for optimal signal reception.
- SIM Card: Insert a standard SIM card into the SIM slot. Ensure the SIM card is activated and has a data plan.
- Power On: Pull the PWRKEY pin low for at least 1 second to power on the module.
- Network Status: Monitor the NET pin or onboard LED to check the network connection status.
Important Considerations and Best Practices
- Use decoupling capacitors near the power pins to stabilize the power supply.
- Place the antenna away from other electronic components to minimize interference.
- Ensure the SIM card is properly seated and has sufficient credit or an active data plan.
- Avoid exposing the board to extreme temperatures or humidity.
Example Code for Arduino UNO
Below is an example of how to send an SMS using the dquidio_GPRS board with an Arduino UNO:
#include <SoftwareSerial.h>

// Define RX and TX pins for SoftwareSerial
SoftwareSerial gprsSerial(7, 8); // RX = Pin 7, TX = Pin 8

void setup() {
  // Initialize serial communication
  Serial.begin(9600); // For debugging
  gprsSerial.begin(9600); // For GPRS communication

  Serial.println("Initializing GPRS module...");
  delay(1000);

  // Send AT commands to initialize the module
  gprsSerial.println("AT"); // Test communication
  delay(1000);
  gprsSerial.println("AT+CMGF=1"); // Set SMS mode to text
  delay(1000);
  gprsSerial.println("AT+CMGS=\"+1234567890\""); // Replace with recipient's number
  delay(1000);
  gprsSerial.print("Hello from dquidio_GPRS board!"); // SMS content
  delay(1000);
  gprsSerial.write(26); // Send Ctrl+Z to send the SMS
  delay(1000);

  Serial.println("SMS sent!");
}

void loop() {
  // No actions in the loop
}
Notes:
- Replace
+1234567890with the recipient's phone number. - Ensure the GPRS board is properly connected to the Arduino UNO.
Troubleshooting and FAQs
Common Issues and Solutions
The module does not power on:
- Ensure the PWRKEY pin is pulled low for at least 1 second.
- Verify the power supply can provide sufficient current (up to 2A).
No network connection:
- Check the SIM card for proper insertion and activation.
- Ensure the antenna is securely connected and positioned correctly.
- Verify the module supports the frequency bands of your cellular network.
Unable to send SMS or connect to the internet:
- Confirm the SIM card has sufficient credit or an active data plan.
- Check the UART connections (TX and RX) between the module and microcontroller.
- Use AT commands to debug the module's status (e.g.,
AT+CSQfor signal quality).
AT commands not responding:
- Ensure the baud rate of the microcontroller matches the module's default baud rate (9600).
- Verify the TX and RX pins are correctly connected.
FAQs
Q: Can the dquidio_GPRS board work with 3G or 4G networks?
A: The board is designed for 2G networks but may work on 3G networks that support 2G fallback. It does not support 4G.
Q: What is the maximum data rate supported by the module?
A: The module supports GPRS Class 10, with a maximum data rate of approximately 85.6 kbps.
Q: Can I use this board for GPS tracking?
A: The dquidio_GPRS board does not have built-in GPS functionality. However, it can transmit GPS data from an external GPS module.
Q: Is the board compatible with 5V logic microcontrollers?
A: Yes, the board is compatible with both 3.3V and 5V logic levels.
By following this documentation, you can effectively integrate and utilize the dquidio_GPRS board in your projects.