
How to Use USB+SHIELD: Examples, Pinouts, and Specs
 Design with USB+SHIELD in Cirkit Designer
Introduction
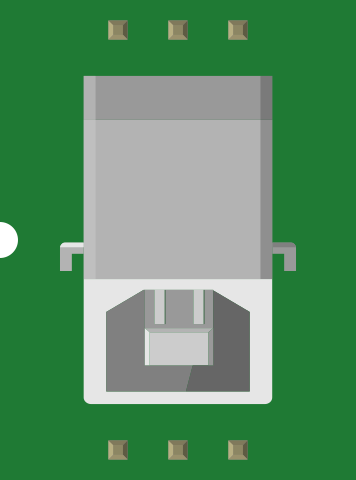
The USB+SHIELD (Manufacturer: SparkFun, Part ID: USB-B) is an add-on board designed to provide USB connectivity to microcontrollers. It enables seamless communication between microcontrollers and USB devices or host computers. This shield is particularly useful for projects requiring USB interfacing, such as data transfer, device control, or USB-based communication protocols.
Explore Projects Built with USB+SHIELD
 Open Project in Cirkit Designer
 Open Project in Cirkit Designer
 Open Project in Cirkit Designer
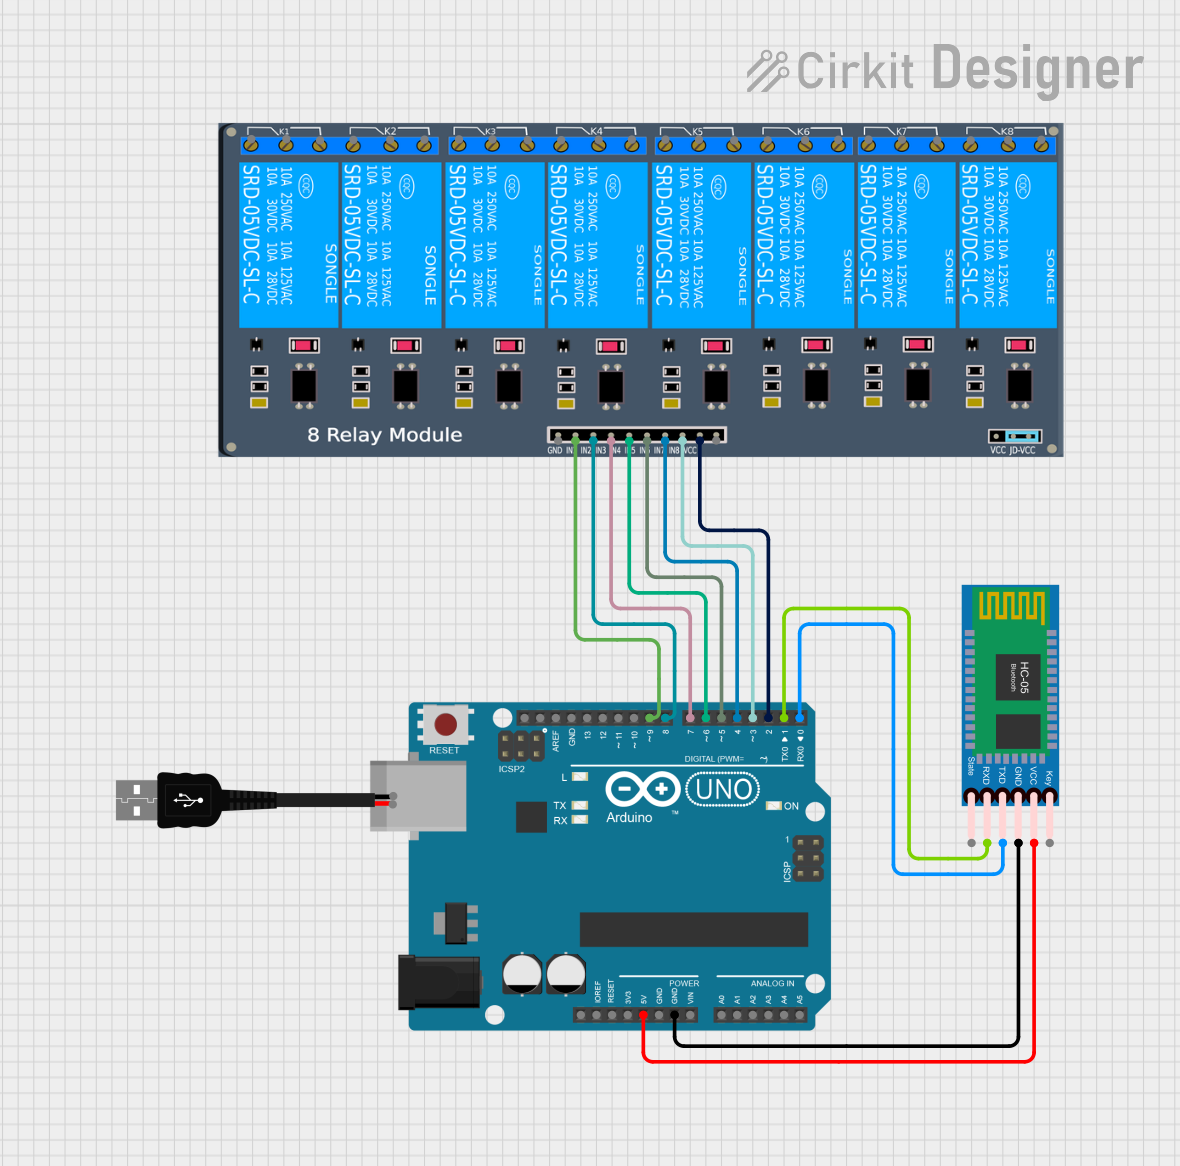 Open Project in Cirkit Designer
Explore Projects Built with USB+SHIELD
Open Project in Cirkit DesignerOpen Project in Cirkit DesignerOpen Project in Cirkit DesignerOpen Project in Cirkit DesignerCommon Applications and Use Cases
- Connecting microcontrollers to USB peripherals (e.g., keyboards, mice, flash drives).
- Enabling USB communication for data logging or debugging.
- Developing USB-based projects such as Human Interface Devices (HID).
- Powering microcontroller projects via USB.
Technical Specifications
Key Technical Details
- Manufacturer: SparkFun
- Part ID: USB-B
- USB Standard: USB 2.0
- Operating Voltage: 5V (via USB connection)
- Current Rating: Up to 500mA (depending on the USB host/device).
- Connector Type: USB Type-B female port.
- Compatibility: Works with most microcontrollers, including Arduino boards.
- Dimensions: 68.6mm x 53.3mm (standard Arduino shield size).
Pin Configuration and Descriptions
The USB+SHIELD connects to a microcontroller via the standard Arduino shield pin layout. Below is the pin configuration:
| Pin Name | Description |
|---|---|
| GND | Ground connection for the shield. |
| 5V | Supplies 5V power to the shield from the microcontroller or USB host. |
| D+ | USB data line for positive differential signaling. |
| D- | USB data line for negative differential signaling. |
| RESET | Resets the microcontroller when pressed. |
| TX | Transmit data line for serial communication (optional, depending on the setup). |
| RX | Receive data line for serial communication (optional, depending on the setup). |
Usage Instructions
How to Use the USB+SHIELD in a Circuit
- Attach the Shield: Place the USB+SHIELD on top of your Arduino or compatible microcontroller board, ensuring the pins align correctly.
- Connect USB Device: Plug a USB device (e.g., flash drive, keyboard) into the USB Type-B port on the shield.
- Power the Circuit: Power the microcontroller via USB or an external power source. The shield will draw power from the microcontroller.
- Program the Microcontroller: Write and upload code to the microcontroller to handle USB communication. Libraries such as
USBHostorUSBHID(for Arduino) can simplify this process.
Important Considerations and Best Practices
- Power Management: Ensure the USB host can supply sufficient current for both the shield and connected USB devices. Avoid overloading the USB port.
- Signal Integrity: Use short, high-quality USB cables to minimize signal degradation.
- Library Support: For Arduino, include the appropriate USB libraries (e.g.,
USBHost.h) in your code to simplify USB communication. - Device Compatibility: Verify that the connected USB device is supported by the microcontroller and its libraries.
Example Code for Arduino UNO
Below is an example of using the USB+SHIELD with an Arduino UNO to detect a connected USB device:
#include <USBHost.h> // Include the USBHost library for USB communication

USBHost usb; // Create a USBHost object

void setup() {
  Serial.begin(9600); // Initialize serial communication for debugging
  while (!Serial) {
    ; // Wait for the serial port to connect (for native USB boards)
  }

  Serial.println("Initializing USB Host...");
  usb.begin(); // Initialize the USB host
}

void loop() {
  usb.Task(); // Process USB tasks

  // Check if a device is connected
  if (usb.getDeviceCount() > 0) {
    Serial.println("USB device detected!");
  } else {
    Serial.println("No USB device connected.");
  }

  delay(1000); // Wait 1 second before checking again
}
Notes:
- Ensure the
USBHostlibrary is installed in your Arduino IDE. - Modify the code as needed for specific USB devices or applications.
Troubleshooting and FAQs
Common Issues and Solutions
USB Device Not Detected
- Cause: Insufficient power supply or incompatible device.
- Solution: Ensure the USB host provides enough current. Check device compatibility with the microcontroller and libraries.
Microcontroller Not Responding
- Cause: Incorrect shield placement or loose connections.
- Solution: Verify that the shield is securely attached to the microcontroller and all pins are aligned.
Data Transfer Errors
- Cause: Poor-quality USB cable or signal interference.
- Solution: Use a high-quality, short USB cable. Avoid running cables near sources of electromagnetic interference.
Code Compilation Errors
- Cause: Missing or outdated libraries.
- Solution: Install or update the required libraries (e.g.,
USBHost) in the Arduino IDE.
FAQs
Q: Can the USB+SHIELD power the microcontroller?
A: Yes, if the USB host provides sufficient power, the shield can supply 5V to the microcontroller.Q: Is the USB+SHIELD compatible with all Arduino boards?
A: The shield is compatible with most Arduino boards that follow the standard shield pin layout, such as the Arduino UNO, Mega, and Leonardo.Q: Can I use the USB+SHIELD for USB OTG (On-The-Go) applications?
A: No, the USB+SHIELD is designed for standard USB host or device communication, not USB OTG.Q: What USB devices are supported?
A: The shield supports USB devices compatible with the libraries used (e.g., HID devices, mass storage devices).
By following this documentation, users can effectively integrate the USB+SHIELD into their projects and troubleshoot common issues.