How to Use Bateria 12V: Examples, Pinouts, and Specs
Introduction
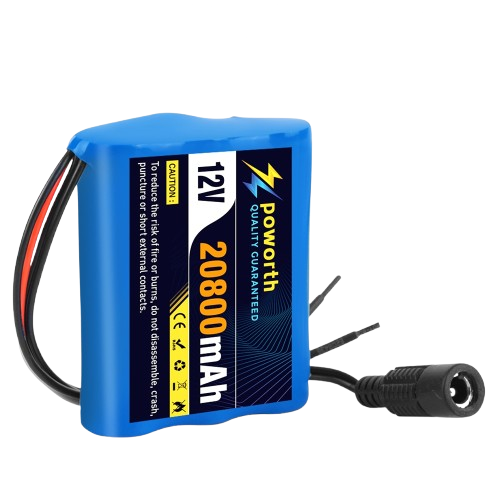
A 12V battery is a power source that provides a nominal voltage of 12 volts. It is available in both rechargeable (e.g., lead-acid, lithium-ion) and non-rechargeable (e.g., alkaline) variants. These batteries are widely used in automotive systems, solar power setups, uninterruptible power supplies (UPS), and various electronic devices. Their versatility and reliability make them a popular choice for applications requiring stable and portable power.
Common applications include:
- Automotive systems (e.g., starting, lighting, and ignition)
- Solar energy storage
- Backup power for electronics and appliances
- Robotics and DIY electronics projects
- Portable power tools and equipment
Explore Projects Built with Bateria 12V


Explore Projects Built with Bateria 12V
Technical Specifications
The technical specifications of a 12V battery can vary depending on the type and model. Below are general specifications for a typical 12V lead-acid battery:
| Parameter | Specification |
|---|---|
| Nominal Voltage | 12V |
| Capacity (Ah) | 1.2Ah to 200Ah (varies by model) |
| Chemistry | Lead-acid, Lithium-ion, or Alkaline |
| Maximum Charging Voltage | 14.4V to 14.8V (for lead-acid types) |
| Discharge Cutoff Voltage | 10.5V (varies by application) |
| Operating Temperature | -20°C to 50°C |
| Weight | 0.5kg to 30kg (varies by capacity) |
| Cycle Life | 300–500 cycles (lead-acid) |
Pin Configuration and Descriptions
A 12V battery typically has two terminals:
| Terminal | Description |
|---|---|
| Positive (+) | Connects to the positive side of the circuit. |
| Negative (-) | Connects to the negative side of the circuit. |
Usage Instructions
How to Use the Component in a Circuit
- Identify the Terminals: Locate the positive (+) and negative (-) terminals on the battery.
- Connect to the Load: Use appropriate wires to connect the positive terminal to the positive input of your circuit and the negative terminal to the ground or negative input.
- Fuse Protection: Always include a fuse in series with the positive terminal to protect the circuit from overcurrent.
- Charging (for Rechargeable Batteries):
- Use a compatible charger designed for the specific battery chemistry (e.g., lead-acid or lithium-ion).
- Ensure the charging voltage and current do not exceed the battery's specifications.
- Discharge: Avoid discharging the battery below its cutoff voltage to prevent damage or reduced lifespan.
Important Considerations and Best Practices
- Polarity: Always double-check the polarity before connecting the battery to a circuit to avoid damage.
- Overcharging: Do not overcharge the battery, as it can lead to overheating, leakage, or reduced lifespan.
- Storage: Store the battery in a cool, dry place when not in use. Rechargeable batteries should be stored at 50–70% charge for optimal longevity.
- Ventilation: For lead-acid batteries, ensure proper ventilation to avoid the buildup of hydrogen gas during charging.
- Load Matching: Ensure the battery's capacity (Ah) is sufficient for the intended load to avoid excessive discharge.
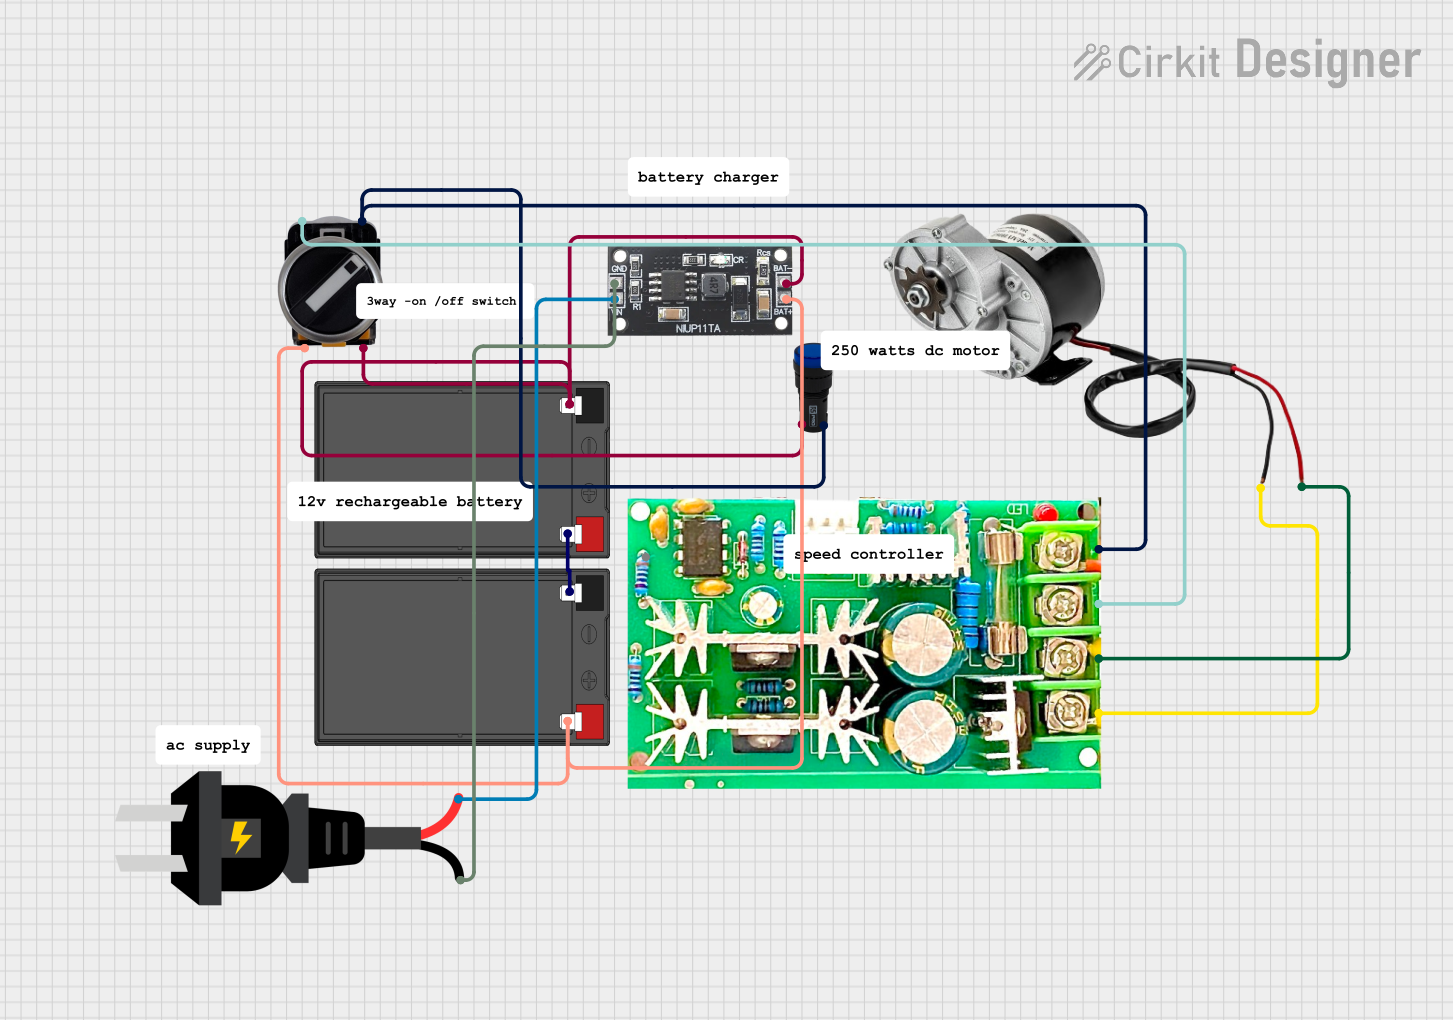
Example: Connecting a 12V Battery to an Arduino UNO
A 12V battery can be used to power an Arduino UNO via its barrel jack or VIN pin. Below is an example of how to connect and use it:
- Connect the positive terminal of the 12V battery to the Arduino's VIN pin or barrel jack's center pin.
- Connect the negative terminal of the battery to the Arduino's GND pin.
Sample Code for Arduino UNO
// This code demonstrates reading a sensor value and controlling an LED
// while powered by a 12V battery connected to the Arduino UNO.

const int sensorPin = A0;  // Analog pin connected to the sensor
const int ledPin = 13;     // Digital pin connected to the LED

void setup() {
  pinMode(ledPin, OUTPUT);  // Set LED pin as output
  Serial.begin(9600);       // Initialize serial communication
}

void loop() {
  int sensorValue = analogRead(sensorPin);  // Read sensor value
  Serial.print("Sensor Value: ");
  Serial.println(sensorValue);             // Print sensor value to Serial Monitor

  if (sensorValue > 500) {                 // If sensor value exceeds threshold
    digitalWrite(ledPin, HIGH);            // Turn on the LED
  } else {
    digitalWrite(ledPin, LOW);             // Turn off the LED
  }

  delay(500);  // Wait for 500 milliseconds
}
Troubleshooting and FAQs
Common Issues Users Might Face
Battery Not Powering the Circuit:
- Cause: Incorrect polarity or loose connections.
- Solution: Verify the connections and ensure proper polarity.
Battery Drains Quickly:
- Cause: Excessive load or aging battery.
- Solution: Check the load's power requirements and replace the battery if it has degraded.
Overheating During Charging:
- Cause: Overcharging or using an incompatible charger.
- Solution: Use a charger with the correct voltage and current ratings.
Low Voltage Output:
- Cause: Battery is discharged or damaged.
- Solution: Recharge the battery or replace it if it no longer holds a charge.
Solutions and Tips for Troubleshooting
- Use a multimeter to measure the battery's voltage and ensure it is within the expected range.
- Inspect the terminals for corrosion or dirt, and clean them if necessary.
- For rechargeable batteries, ensure the charger is functioning correctly and matches the battery's specifications.
- Avoid short-circuiting the terminals, as this can damage the battery and connected devices.
By following these guidelines and best practices, you can ensure the safe and efficient use of a 12V battery in your projects.