How to Use 2.1" HDMI Round Screen 480x480: Examples, Pinouts, and Specs
Introduction
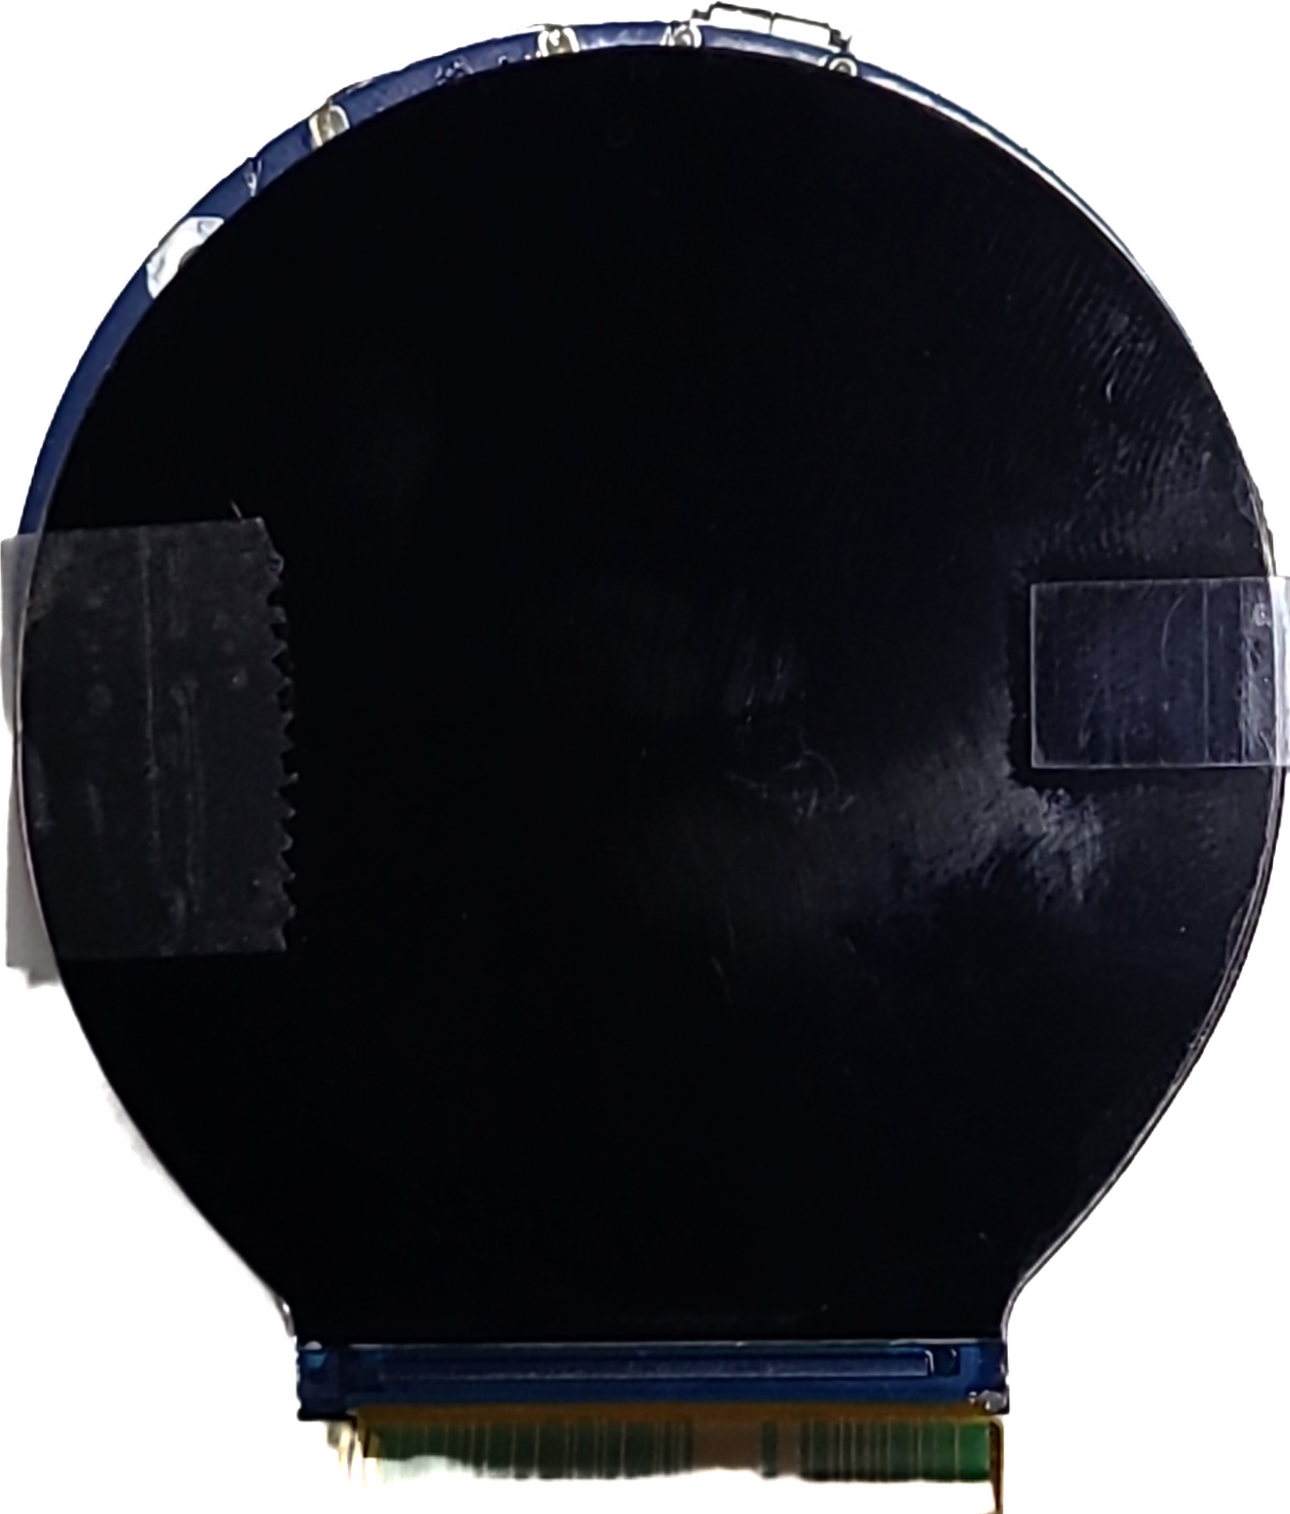
The 2.1" HDMI Round Screen 480x480 is a compact, circular display module designed for projects requiring a high-quality visual output. With a resolution of 480x480 pixels and HDMI input compatibility, this screen is ideal for applications such as wearable devices, custom dashboards, IoT interfaces, and portable displays. Its small form factor and round shape make it a unique choice for creative and space-constrained designs.
Explore Projects Built with 2.1" HDMI Round Screen 480x480


Explore Projects Built with 2.1" HDMI Round Screen 480x480
Common Applications
- Wearable technology (e.g., smartwatches, fitness trackers)
- Custom user interfaces for IoT devices
- Portable gaming consoles
- Instrumentation panels and dashboards
- Educational and prototyping projects
Technical Specifications
Below are the key technical details for the 2.1" HDMI Round Screen 480x480:
| Parameter | Value |
|---|---|
| Display Type | TFT LCD |
| Resolution | 480x480 pixels |
| Aspect Ratio | 1:1 (Circular) |
| Input Interface | HDMI |
| Screen Size | 2.1 inches (diagonal) |
| Power Supply | 5V DC (via HDMI or external) |
| Backlight | LED |
| Viewing Angle | 160° |
| Operating Temperature | -20°C to 70°C |
| Dimensions | ~55mm diameter |
Pin Configuration and Descriptions
The screen primarily uses an HDMI interface for data and power. However, some models may include additional pins for optional features like backlight control or touch functionality. Below is a general pin description:
| Pin Name | Description |
|---|---|
| HDMI | Standard HDMI input for video and power |
| VCC | Optional 5V power input (if HDMI power is insufficient) |
| GND | Ground connection |
| BL_CTRL | Backlight control (optional, PWM or ON/OFF signal) |
| TOUCH_SCL | I2C clock for touch functionality (if supported) |
| TOUCH_SDA | I2C data for touch functionality (if supported) |
Note: Check your specific module for additional or optional pinouts.
Usage Instructions
Connecting the Screen
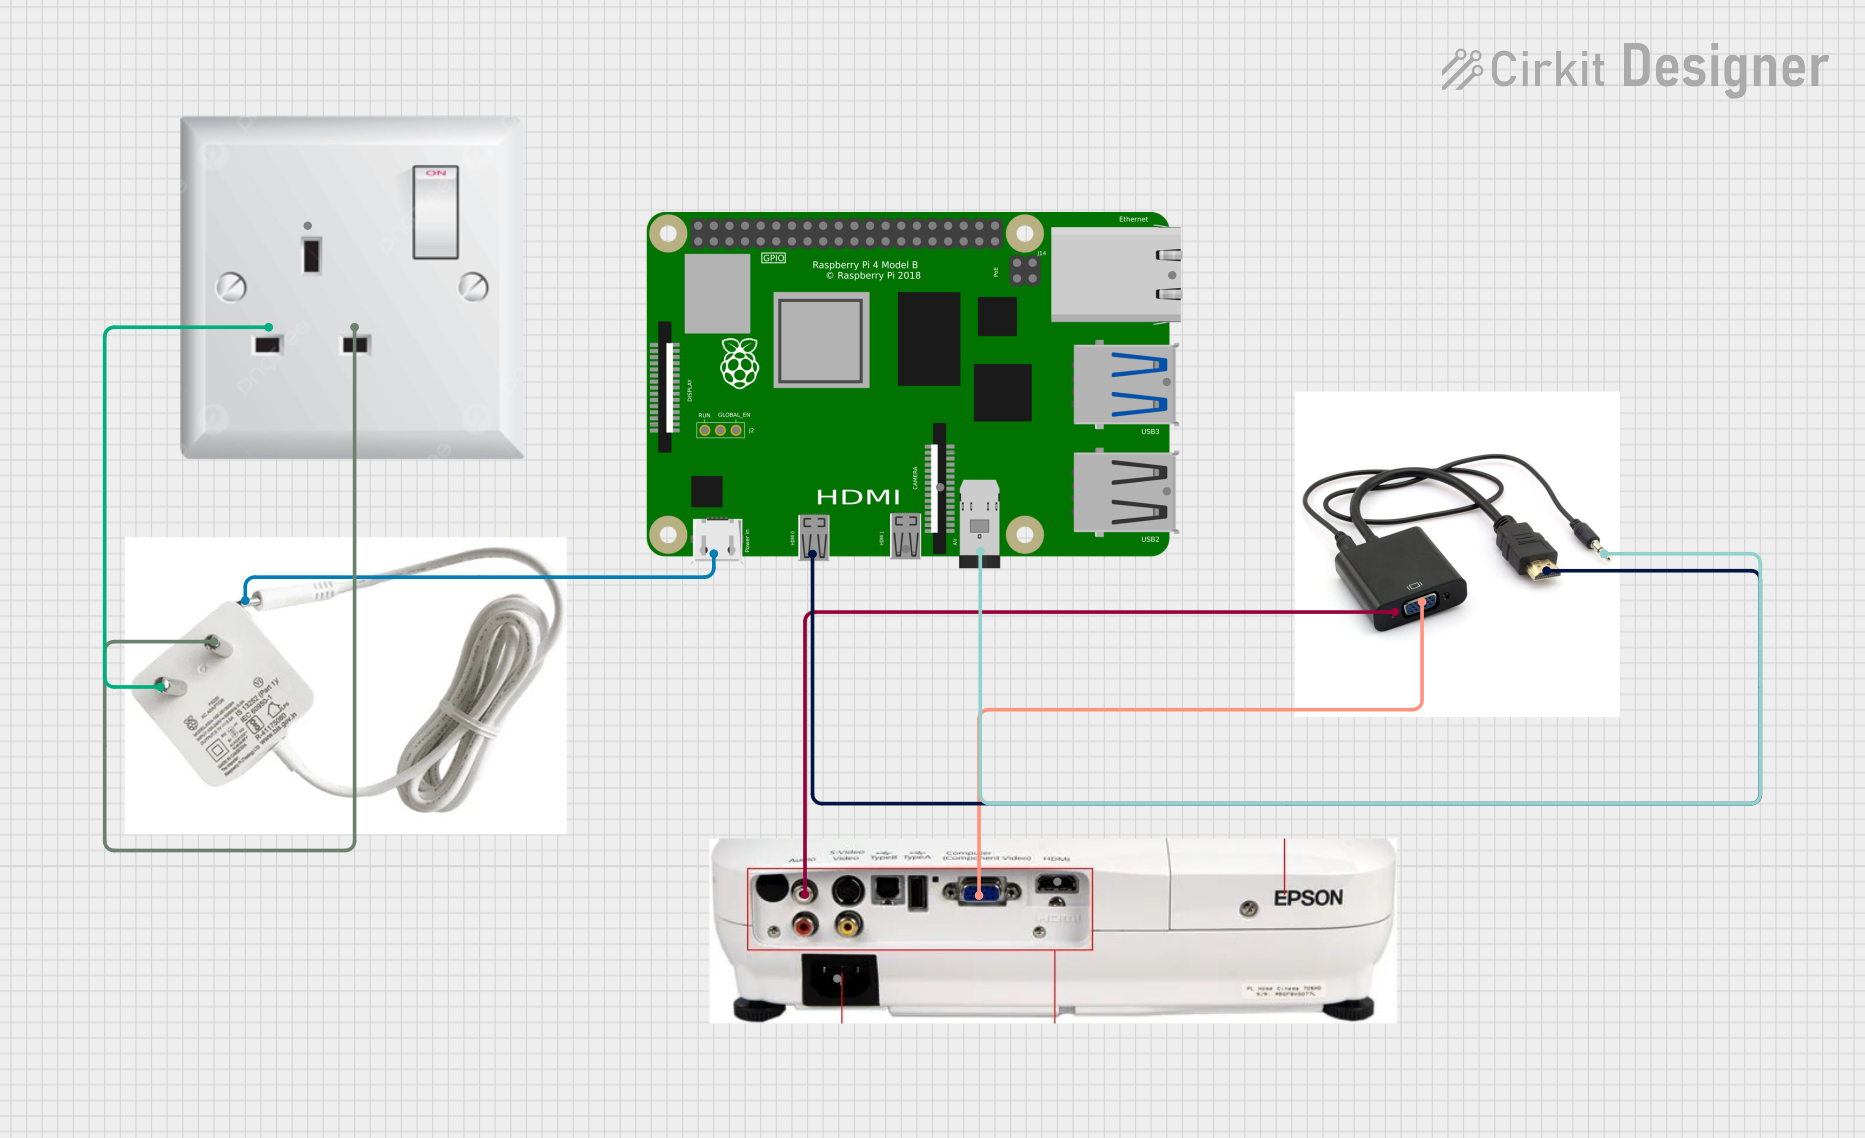
- Power Supply: Ensure your HDMI source (e.g., Raspberry Pi, Arduino with HDMI shield, or PC) can provide sufficient power for the screen. If not, connect an external 5V power supply to the
VCCpin. - HDMI Connection: Use a standard HDMI cable to connect the screen to your video source.
- Backlight Control (Optional): If your module supports backlight control, connect the
BL_CTRLpin to a PWM-capable pin on your microcontroller or provide a constant HIGH signal for full brightness. - Touch Functionality (Optional): If the screen includes touch capabilities, connect the
TOUCH_SCLandTOUCH_SDApins to the corresponding I2C pins on your microcontroller.
Using with Arduino UNO
To use the screen with an Arduino UNO, you will need an HDMI shield or an external HDMI driver board, as the UNO does not natively support HDMI. Below is an example of how to control the backlight using PWM:
// Example code to control the backlight of the 2.1" HDMI Round Screen
// Connect the BL_CTRL pin of the screen to pin 9 on the Arduino UNO

#define BACKLIGHT_PIN 9  // Define the pin connected to BL_CTRL

void setup() {
  pinMode(BACKLIGHT_PIN, OUTPUT);  // Set the backlight pin as output
}

void loop() {
  // Gradually increase brightness
  for (int brightness = 0; brightness <= 255; brightness++) {
    analogWrite(BACKLIGHT_PIN, brightness);  // Set PWM value
    delay(10);  // Small delay for smooth transition
  }

  // Gradually decrease brightness
  for (int brightness = 255; brightness >= 0; brightness--) {
    analogWrite(BACKLIGHT_PIN, brightness);  // Set PWM value
    delay(10);  // Small delay for smooth transition
  }
}
Best Practices
- Ensure the HDMI source provides sufficient power. If not, use an external 5V power supply.
- Avoid bending or stressing the HDMI cable to prevent damage to the connector.
- Use a heatsink or cooling fan if the screen is used in high-temperature environments or for extended periods.
- If using touch functionality, ensure proper pull-up resistors are in place for the I2C lines.
Troubleshooting and FAQs
Common Issues
No Display Output
- Solution: Check the HDMI connection and ensure the source device is outputting a compatible resolution (480x480 or auto-scaling).
- Tip: Verify that the screen is receiving power. If using external power, ensure the
VCCandGNDconnections are secure.
Screen Flickering
- Solution: Ensure the HDMI cable is of good quality and properly connected. Check for loose connections.
- Tip: If using an external power supply, ensure it provides a stable 5V output.
Backlight Not Working
- Solution: Verify the
BL_CTRLpin connection. If using PWM, ensure the signal is within the correct range (0-255 for Arduino). - Tip: Test the backlight by connecting the
BL_CTRLpin directly to 5V.
- Solution: Verify the
Touch Functionality Not Responding
- Solution: Check the I2C connections (
TOUCH_SCLandTOUCH_SDA) and ensure the correct pull-up resistors are in place. - Tip: Use an I2C scanner sketch to verify the touch controller is detected.
- Solution: Check the I2C connections (
FAQs
Q: Can I use this screen with a Raspberry Pi?
A: Yes, the screen is fully compatible with Raspberry Pi models that have an HDMI output. Simply connect the screen via HDMI, and the Pi should auto-detect the resolution.
Q: Does the screen support audio output?
A: No, this screen does not include speakers or audio output functionality.
Q: Can I use this screen outdoors?
A: While the screen can operate in temperatures from -20°C to 70°C, it is not waterproof or sunlight-readable. Use a protective enclosure and avoid direct sunlight for optimal performance.
Q: What is the power consumption of the screen?
A: The power consumption varies depending on the brightness level but typically ranges between 1W and 2W.
By following this documentation, you can effectively integrate the 2.1" HDMI Round Screen 480x480 into your projects and troubleshoot common issues with ease.