Cirkit Designer LogoCirkit DesignerYour all-in-one circuit design IDE Launch Cirkit Designer App

How to Use Solar Panel: Examples, Pinouts, and Specs

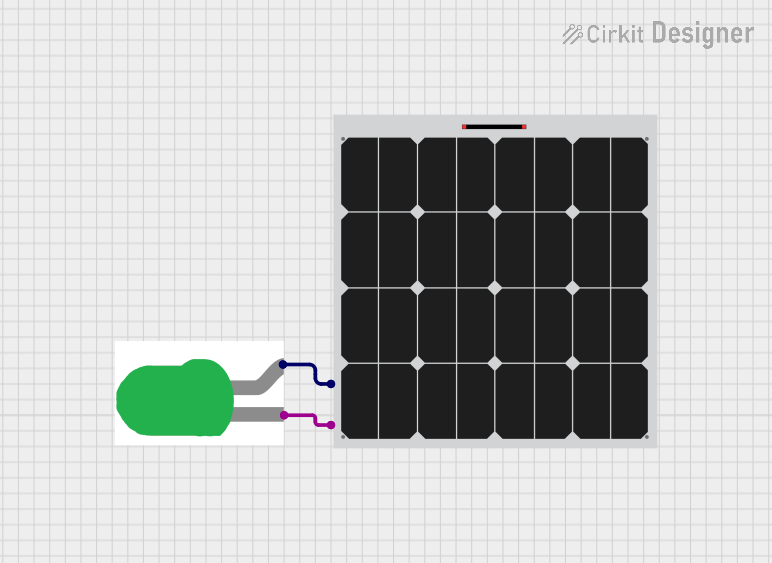
Image of Solar PanelDesign with Solar Panel in Cirkit Designer

Introduction

A solar panel is a device that converts sunlight into electrical energy using photovoltaic (PV) cells. These cells are made of semiconductor materials that generate electricity when exposed to sunlight. Solar panels are widely used in renewable energy systems to provide clean and sustainable power.

Explore Projects Built with Solar Panel

Use Cirkit Designer to design, explore, and prototype these projects online. Some projects support real-time simulation. Click "Open Project" to start designing instantly!
Image of Solar-Powered Battery Backup System with Automatic Transfer Switch and AC Outlet: A project utilizing Solar Panel in a practical application

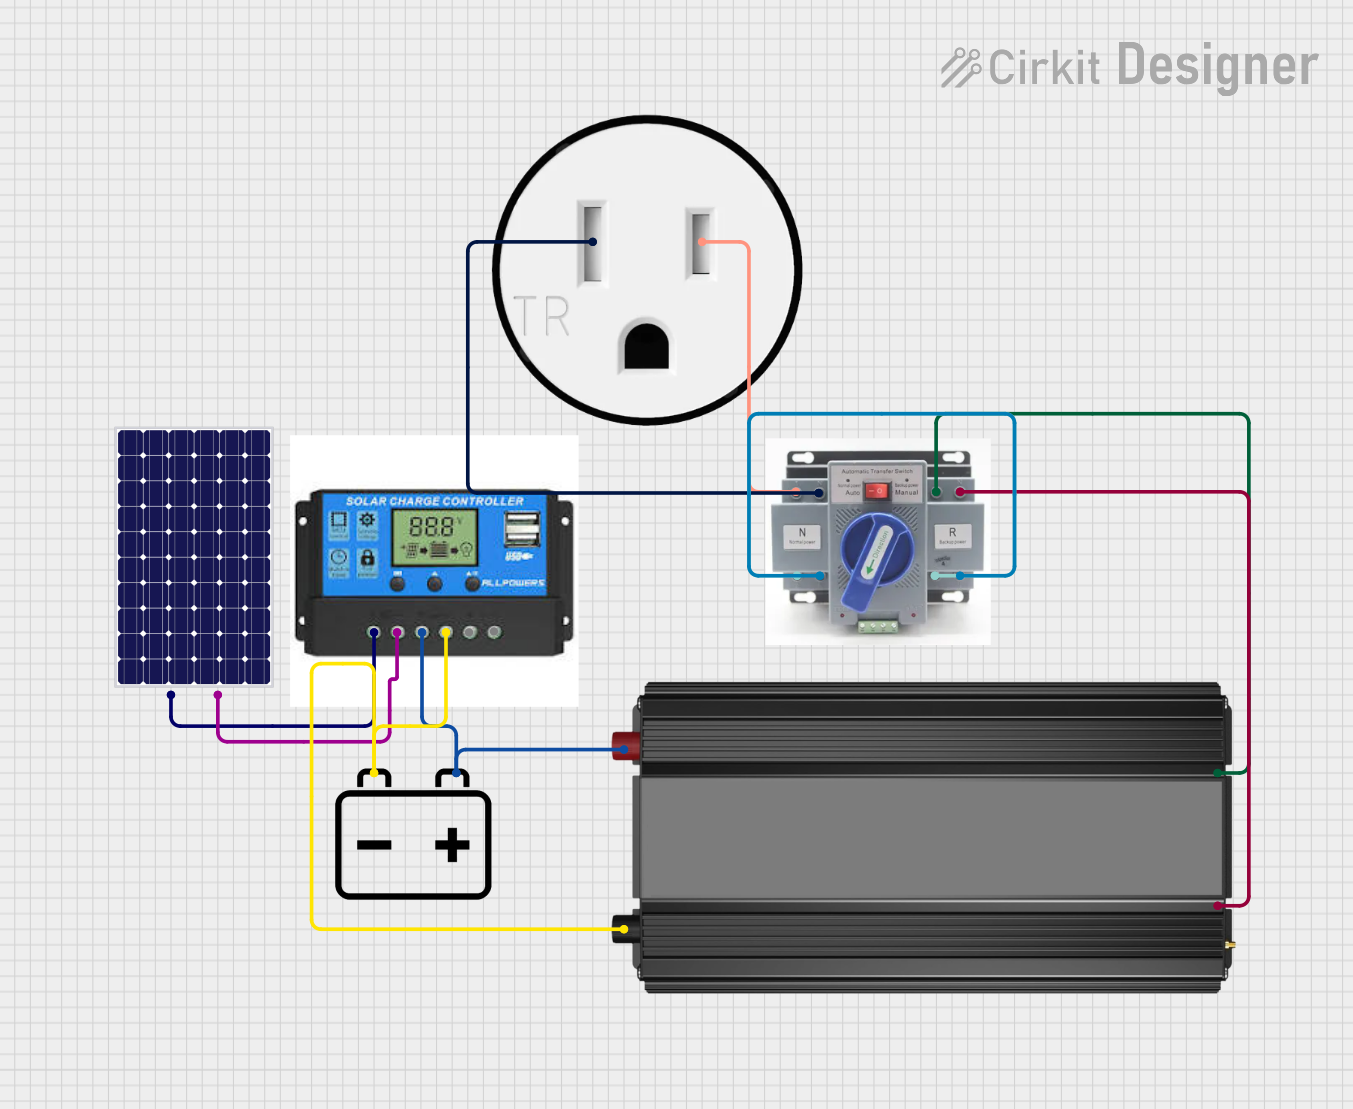
Solar-Powered Battery Backup System with Automatic Transfer Switch and AC Outlet

This circuit is designed to harness solar energy, regulate its storage, and convert it for use in standard AC appliances. A solar panel charges a 12V battery through a charge controller, which ensures safe charging and discharging of the battery. The power inverter then converts the stored DC power from the battery into AC power, which is supplied to a 120V outlet through an Automatic Transfer Switch (ATS), ensuring power continuity and safety.

Open Project in Cirkit Designer
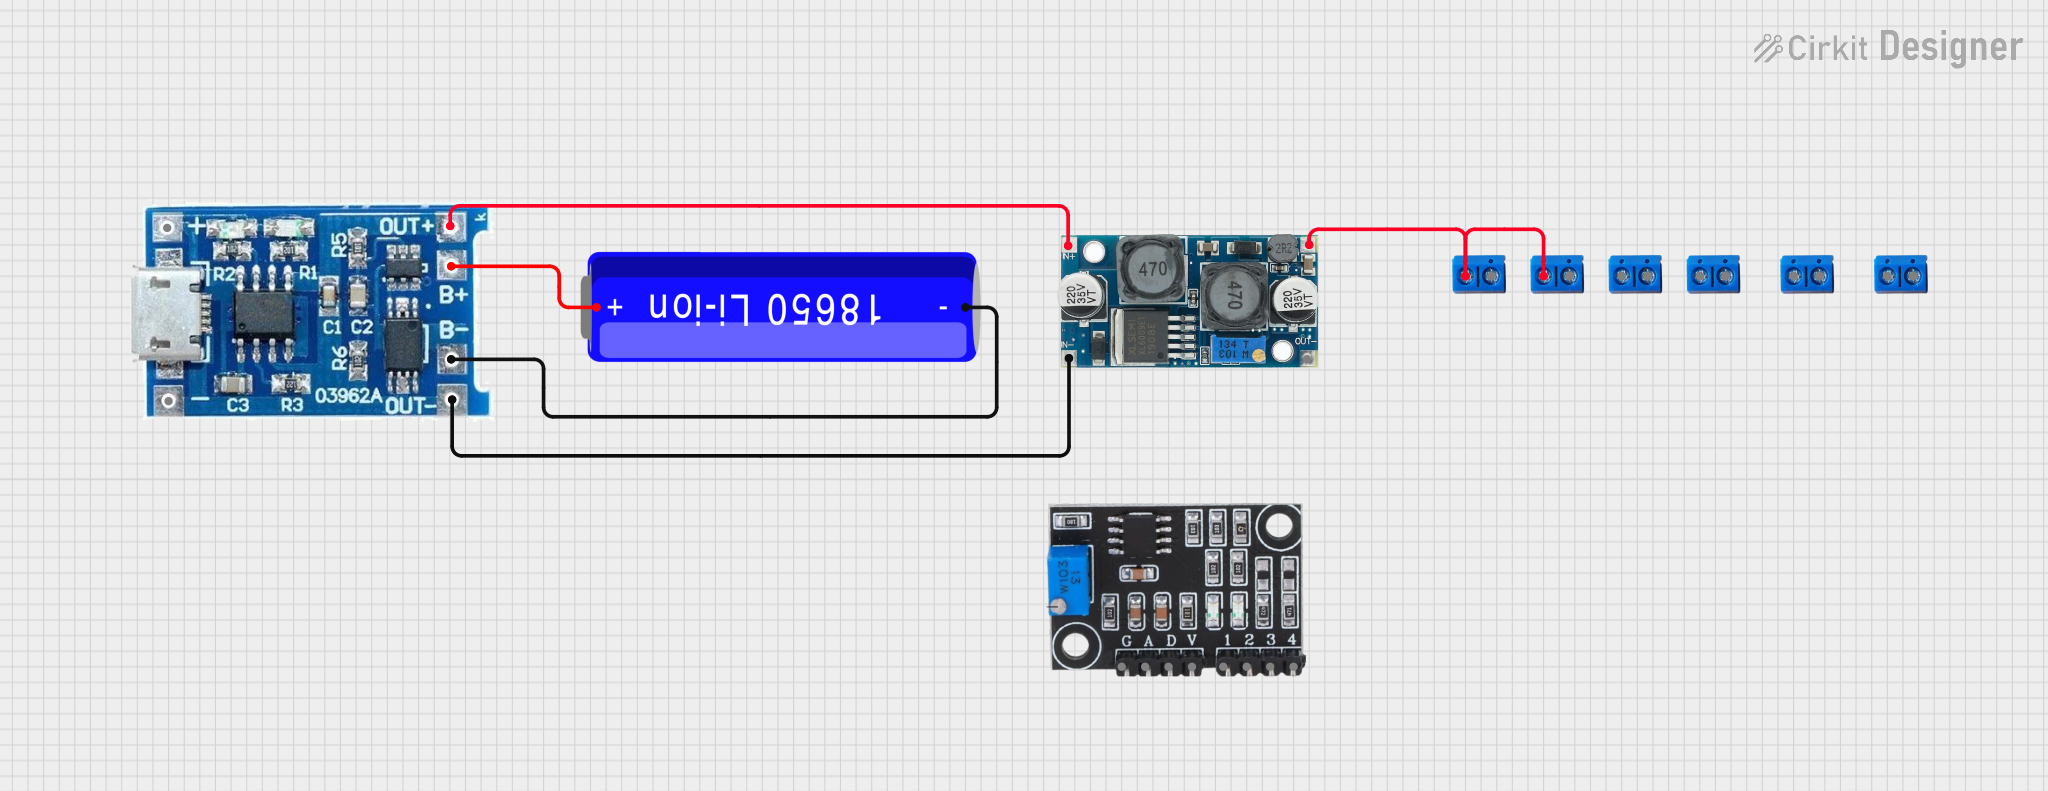
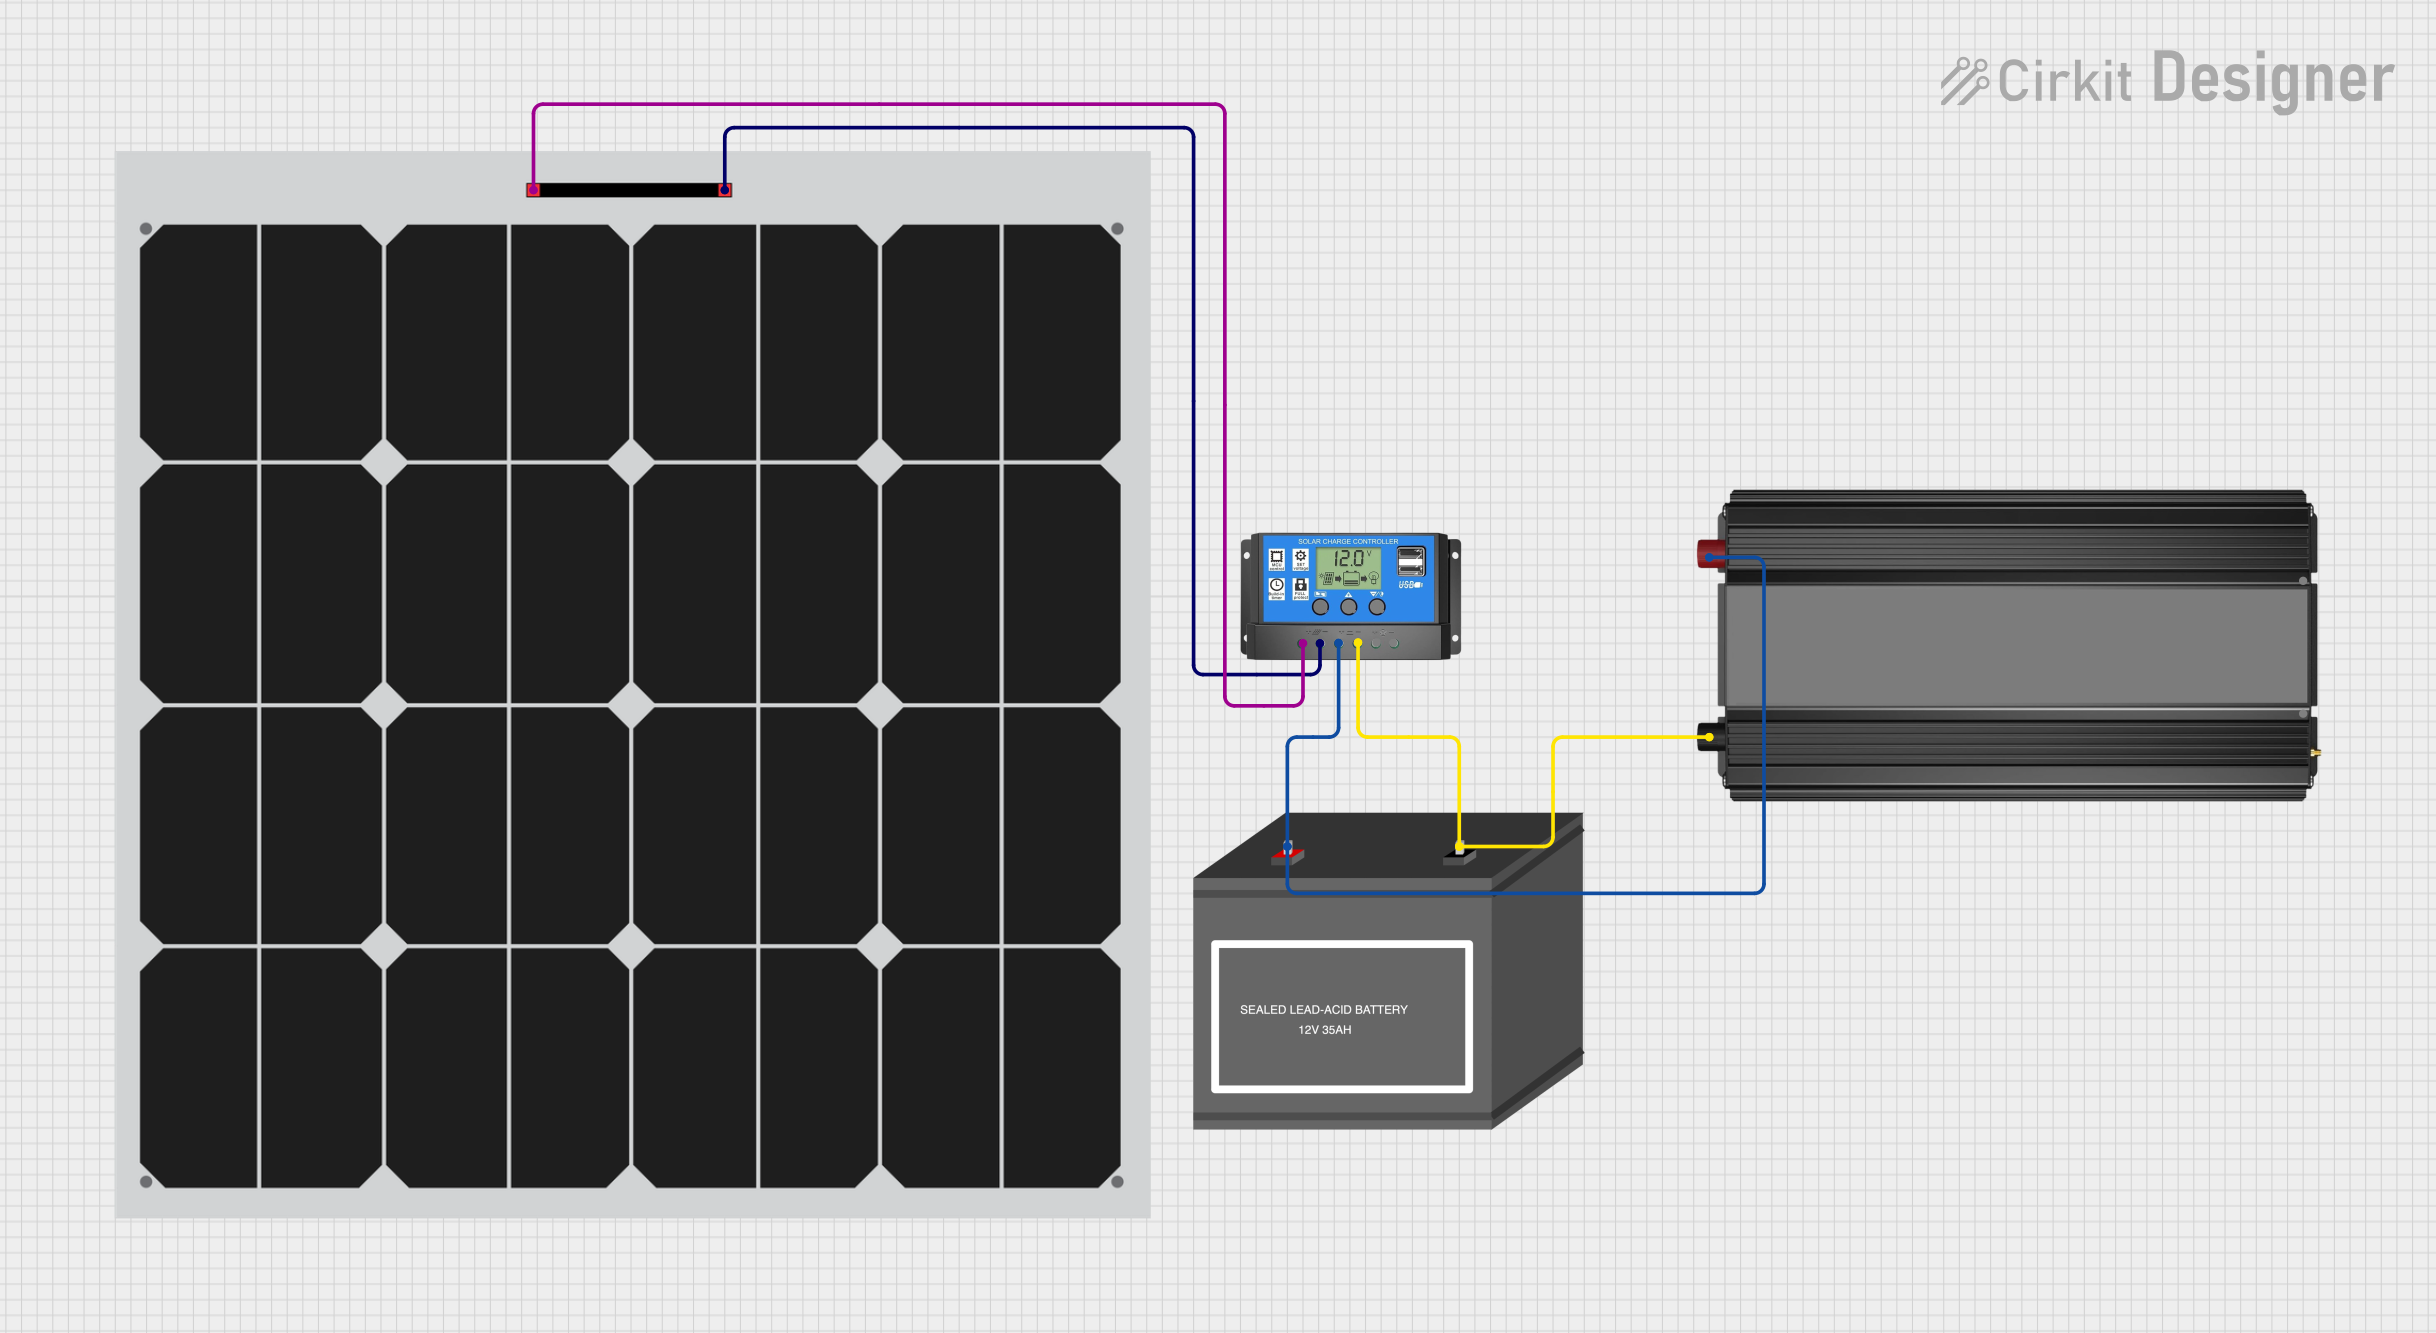
Image of Solar-Powered Battery Charging System with XL6009 Voltage Regulator: A project utilizing Solar Panel in a practical application
Solar-Powered Battery Charging System with XL6009 Voltage Regulator

This circuit features a solar panel ('Do solara') connected to a voltage regulator ('XL6009 Voltage Regulator') to stabilize the output voltage. The regulated voltage is available at a terminal block ('Terminal PCB 2 Pin') for further use. Additionally, a Li-ion battery ('18650 Li-ion Battery') is connected to the solar panel for charging, with the solar panel's output also routed through the voltage regulator.

Open Project in Cirkit Designer
Image of Solar-Powered Battery Charging System with Inverter: A project utilizing Solar Panel in a practical application
Solar-Powered Battery Charging System with Inverter

This circuit is a solar power system that includes a solar panel, a solar charge controller, a 12V battery, and a power inverter. The solar panel generates electricity, which is regulated by the solar charge controller to charge the 12V battery. The power inverter converts the stored DC power from the battery into AC power for use with AC devices.

Open Project in Cirkit Designer

Common Applications and Use Cases

Technical Specifications

Below are the general technical specifications for a typical solar panel. Note that actual values may vary depending on the specific model and manufacturer.

Parameter Specification
Maximum Power (Pmax) 10W to 400W (varies by model)
Open Circuit Voltage (Voc) 18V to 45V
Short Circuit Current (Isc) 0.5A to 10A
Maximum Power Voltage (Vmp) 16V to 36V
Maximum Power Current (Imp) 0.5A to 9A
Efficiency 15% to 22%
Operating Temperature -40°C to +85°C
Dimensions Varies (e.g., 300mm x 200mm for small panels)
Weight Varies (e.g., 1kg to 25kg)

Pin Configuration and Descriptions

Solar panels typically have two output terminals for electrical connections:

Pin Description
Positive (+) The positive terminal for connecting to the load or charge controller.
Negative (-) The negative terminal for connecting to the load or charge controller.

Usage Instructions

How to Use the Solar Panel in a Circuit

  1. Positioning the Solar Panel: Place the solar panel in direct sunlight for optimal performance. Ensure it is angled correctly based on your geographic location to maximize sunlight exposure.
  2. Connecting to a Load or Battery:
    • Use a charge controller to regulate the voltage and current output from the solar panel, especially when charging batteries.
    • Connect the positive terminal of the solar panel to the positive input of the charge controller and the negative terminal to the negative input.
    • From the charge controller, connect the output terminals to the battery or load.
  3. Using with an Arduino UNO:
    • A solar panel can power an Arduino UNO through a voltage regulator or a battery system.
    • Ensure the voltage output from the solar panel matches the input voltage requirements of the Arduino (typically 5V via USB or 7-12V via the barrel jack).

Example Code for Arduino UNO

Below is an example of using a solar panel to power an Arduino UNO and measure the voltage using an analog pin.

// Example: Measure solar panel voltage with Arduino UNO
// Ensure the solar panel output is regulated to a safe voltage for the Arduino.

const int solarPin = A0; // Analog pin connected to the solar panel output
float voltage = 0.0;     // Variable to store the measured voltage

void setup() {
  Serial.begin(9600); // Initialize serial communication
}

void loop() {
  int sensorValue = analogRead(solarPin); // Read the analog value
  voltage = sensorValue * (5.0 / 1023.0); // Convert to voltage (5V reference)
  
  // Print the voltage to the Serial Monitor
  Serial.print("Solar Panel Voltage: ");
  Serial.print(voltage);
  Serial.println(" V");
  
  delay(1000); // Wait for 1 second before the next reading
}

Important Considerations and Best Practices

Troubleshooting and FAQs

Common Issues and Solutions

  1. Low Power Output:

    • Cause: Insufficient sunlight or shading.
    • Solution: Ensure the panel is in direct sunlight and clean any dirt or debris from the surface.
  2. Overheating:

    • Cause: High ambient temperatures or poor ventilation.
    • Solution: Install the panel in a well-ventilated area and avoid placing it on heat-absorbing surfaces.
  3. No Output Voltage:

    • Cause: Loose or incorrect connections.
    • Solution: Check all connections and ensure the positive and negative terminals are correctly wired.
  4. Battery Not Charging:

    • Cause: Faulty charge controller or mismatched voltage.
    • Solution: Verify the charge controller is functioning and ensure the solar panel voltage matches the battery requirements.

FAQs