How to Use Baterai Pin: Examples, Pinouts, and Specs

Introduction
The Baterai Pin, also known as a button cell or coin cell battery, is a small cylindrical battery widely used in compact electronic devices. Its compact size and reliable power output make it an essential component in devices such as watches, calculators, hearing aids, remote controls, and small toys. These batteries are designed to provide a steady voltage over an extended period, making them ideal for low-power applications.
Explore Projects Built with Baterai Pin
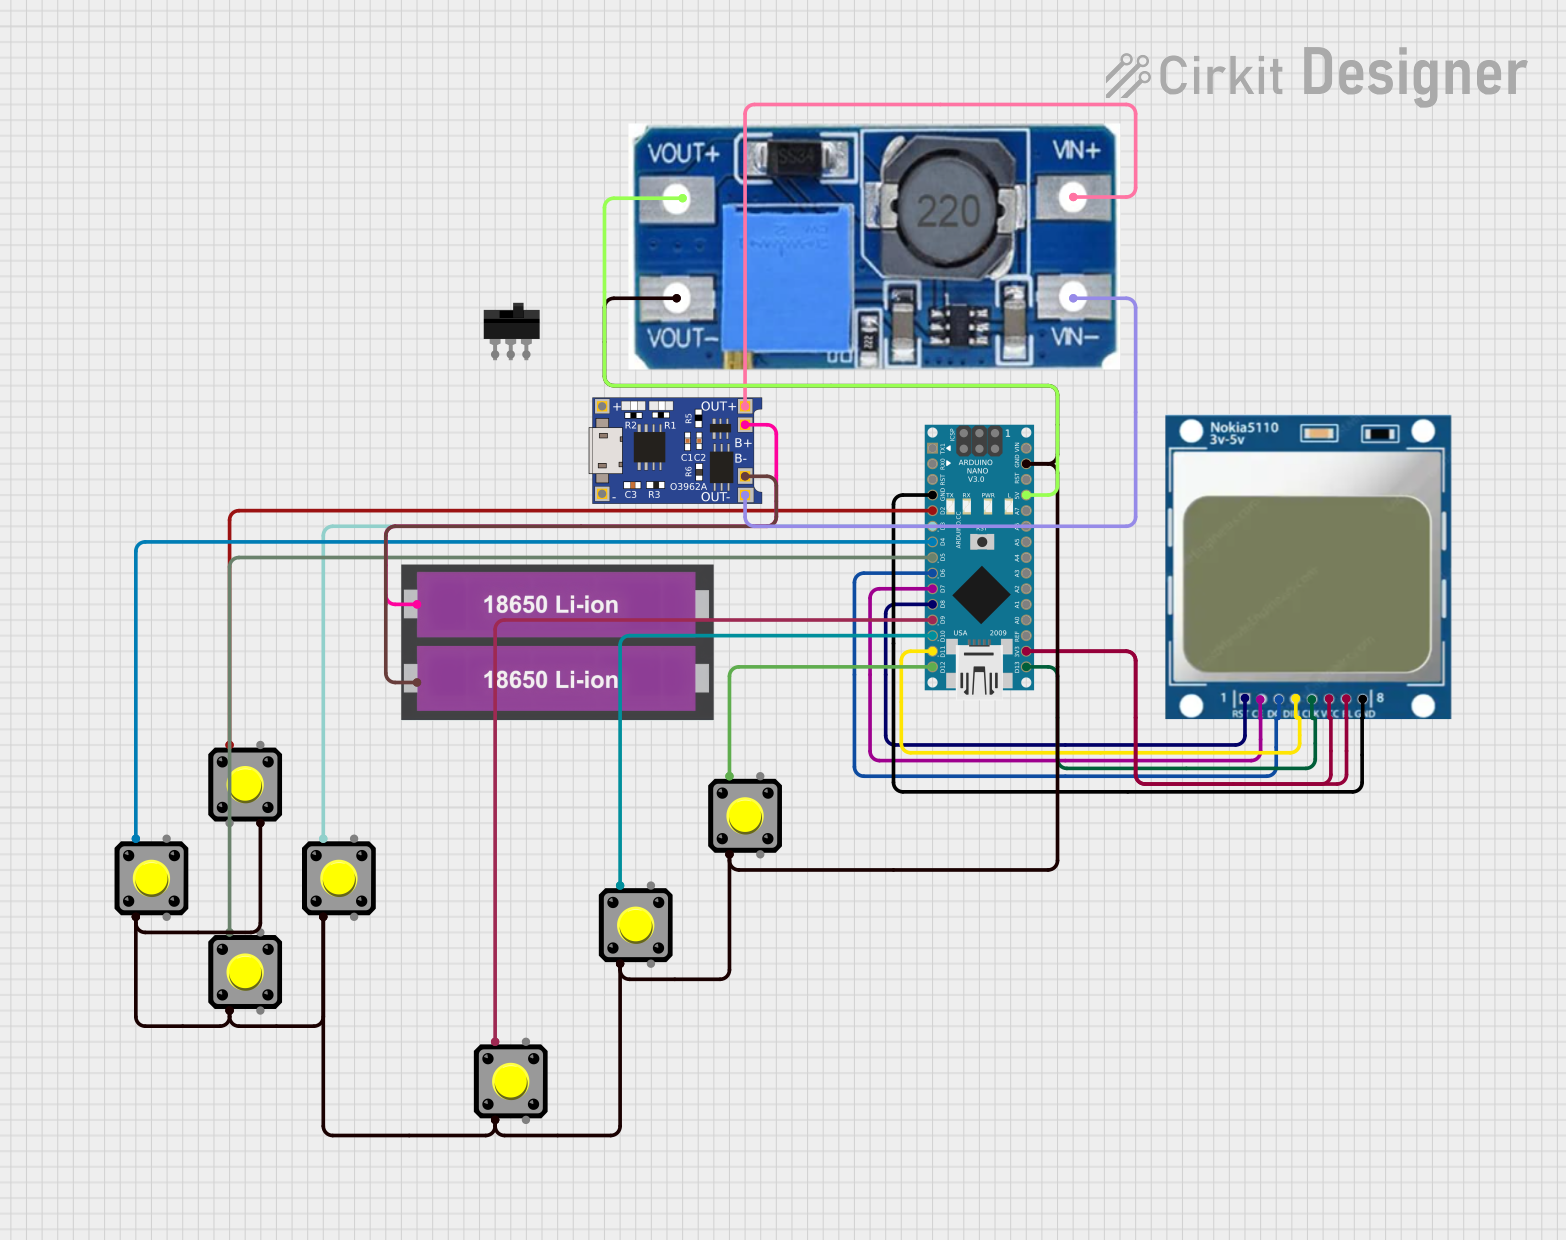

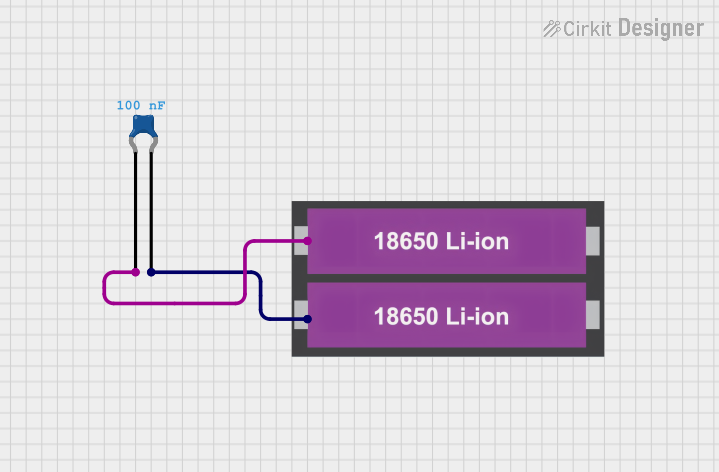

Explore Projects Built with Baterai Pin
Technical Specifications
The following table outlines the general technical specifications of a typical Baterai Pin. Note that specific values may vary depending on the exact model and manufacturer.
| Parameter | Specification |
|---|---|
| Battery Type | Lithium, Alkaline, or Silver Oxide |
| Nominal Voltage | 1.5V (Alkaline), 3V (Lithium) |
| Capacity | 20–240 mAh (varies by size and type) |
| Diameter | 5–25 mm (varies by model) |
| Height | 1–6 mm (varies by model) |
| Operating Temperature | -20°C to 60°C |
| Shelf Life | 3–10 years (depending on type) |
Pin Configuration and Descriptions
The Baterai Pin has two terminals: a positive terminal and a negative terminal. These terminals are typically located as follows:
| Pin Name | Description |
|---|---|
| Positive (+) | The flat side of the battery, marked with a "+" symbol. |
| Negative (-) | The rounded side of the battery. |
Usage Instructions
How to Use the Baterai Pin in a Circuit
- Identify the Terminals: Ensure you correctly identify the positive (+) and negative (-) terminals of the battery.
- Insert into Battery Holder: Use a compatible battery holder to secure the Baterai Pin. Ensure the terminals align with the holder's polarity markings.
- Connect to Circuit: Connect the battery holder's leads to your circuit, ensuring proper polarity to avoid damage to components.
- Power the Device: Once connected, the Baterai Pin will provide power to your circuit or device.
Important Considerations and Best Practices
- Polarity: Always connect the battery with the correct polarity. Reversing the terminals can damage the circuit or the battery.
- Storage: Store the batteries in a cool, dry place to maximize shelf life.
- Disposal: Dispose of used batteries responsibly, as they may contain harmful chemicals.
- Avoid Short Circuits: Never short-circuit the terminals, as this can cause overheating or leakage.
- Battery Holder: Use a proper battery holder to ensure secure and reliable connections.
Example: Using a Baterai Pin with an Arduino UNO
If you are using a Baterai Pin to power a small sensor or module connected to an Arduino UNO, you can follow this example:
// Example: Reading a sensor powered by a Baterai Pin
// Ensure the sensor is connected to the Arduino and powered by the Baterai Pin

const int sensorPin = A0; // Analog pin connected to the sensor output
int sensorValue = 0;      // Variable to store the sensor reading

void setup() {
  Serial.begin(9600); // Initialize serial communication
}

void loop() {
  sensorValue = analogRead(sensorPin); // Read the sensor value
  Serial.print("Sensor Value: ");
  Serial.println(sensorValue); // Print the sensor value to the Serial Monitor
  delay(1000); // Wait for 1 second before the next reading
}
Note: Ensure the sensor's voltage and current requirements are compatible with the Baterai Pin's output.
Troubleshooting and FAQs
Common Issues Users Might Face
Battery Drains Quickly:
- Cause: The connected device may draw more current than the battery's capacity.
- Solution: Use a battery with a higher capacity or reduce the power consumption of the device.
Device Does Not Power On:
- Cause: Incorrect polarity or poor connections.
- Solution: Double-check the battery's polarity and ensure secure connections in the battery holder.
Battery Leaks:
- Cause: Overheating or prolonged use beyond the battery's lifespan.
- Solution: Replace the battery immediately and clean the affected area. Avoid exposing the battery to high temperatures.
Corrosion on Terminals:
- Cause: Exposure to moisture or leakage.
- Solution: Clean the terminals with a dry cloth and ensure proper storage conditions.
FAQs
Q1: Can I recharge a Baterai Pin?
A1: Most Baterai Pins are not rechargeable. Only use rechargeable models (e.g., lithium-ion coin cells) if specified by the manufacturer.
Q2: How do I know when the battery is depleted?
A2: Devices powered by the battery may stop functioning or show reduced performance. Use a multimeter to check the battery's voltage.
Q3: Can I use a Baterai Pin in high-power devices?
A3: No, Baterai Pins are designed for low-power applications. For high-power devices, consider using larger batteries like AA or AAA cells.
Q4: What is the difference between lithium and alkaline Baterai Pins?
A4: Lithium batteries typically have a higher voltage (3V), longer shelf life, and better performance in extreme temperatures compared to alkaline batteries (1.5V).