How to Use Micro USB to USB cable: Examples, Pinouts, and Specs
Introduction
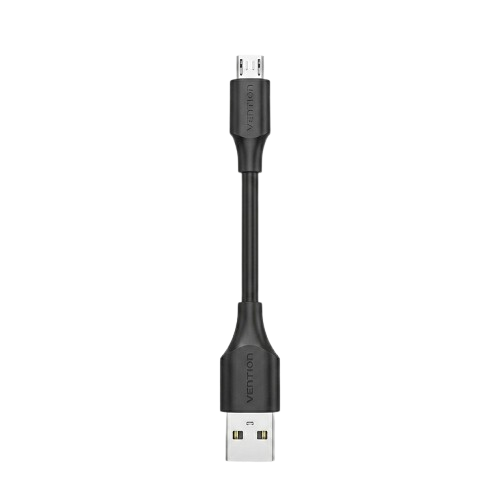
The Micro USB to USB cable is a versatile and widely used electronic component designed to connect devices with a Micro USB port to standard USB ports. It facilitates data transfer, charging, and communication between devices such as smartphones, tablets, cameras, and computers. This cable is an essential accessory for modern electronic devices, offering convenience and compatibility across a wide range of applications.
Explore Projects Built with Micro USB to USB cable


Explore Projects Built with Micro USB to USB cable
Common Applications and Use Cases
- Data Transfer: Syncing files, photos, and videos between devices.
- Charging: Powering and charging devices like smartphones, tablets, and power banks.
- Peripheral Connectivity: Connecting Micro USB devices to computers or other USB-enabled devices.
- Firmware Updates: Updating software or firmware on devices with Micro USB ports.
Technical Specifications
The Micro USB to USB cable is available in various lengths and configurations. Below are the general technical specifications:
Key Technical Details
| Parameter | Specification |
|---|---|
| Connector Type | Micro USB (Type B) to USB (Type A) |
| Cable Length | Typically 0.5m to 3m (varies by manufacturer) |
| Data Transfer Speed | Up to 480 Mbps (USB 2.0 standard) |
| Charging Current | Up to 2.4A (depending on cable quality and device) |
| Voltage Rating | 5V (standard USB voltage) |
| Compatibility | USB 1.1, USB 2.0, USB 3.0 (data transfer limited to 2.0) |
Pin Configuration and Descriptions
The Micro USB connector has five pins, while the USB Type A connector has four pins. The table below describes the pin configuration:
Micro USB Connector Pinout
| Pin Number | Name | Description |
|---|---|---|
| 1 | VBUS | +5V power supply |
| 2 | D- | Data transfer (negative) |
| 3 | D+ | Data transfer (positive) |
| 4 | ID | Identification pin (used in OTG applications) |
| 5 | GND | Ground |
USB Type A Connector Pinout
| Pin Number | Name | Description |
|---|---|---|
| 1 | VBUS | +5V power supply |
| 2 | D- | Data transfer (negative) |
| 3 | D+ | Data transfer (positive) |
| 4 | GND | Ground |
Usage Instructions
How to Use the Micro USB to USB Cable in a Circuit
- Connecting Devices:
- Plug the Micro USB end into the device with a Micro USB port (e.g., smartphone, tablet).
- Connect the USB Type A end to a computer, USB charger, or power bank.
- Data Transfer:
- Ensure the device is set to the appropriate mode (e.g., "File Transfer" or "MTP" for Android devices).
- Use a compatible operating system (e.g., Windows, macOS, Linux) to access the device's storage.
- Charging:
- Use a power adapter or USB port that supports the required current rating for your device.
- Avoid using damaged or low-quality cables to prevent overheating or slow charging.
Important Considerations and Best Practices
- Cable Quality: Use high-quality cables to ensure reliable data transfer and fast charging.
- Length: Choose a cable length that suits your application. Longer cables may introduce resistance, reducing charging speed.
- Compatibility: Verify that the cable supports the required USB standard (e.g., USB 2.0 or USB 3.0).
- OTG Functionality: For devices supporting USB On-The-Go (OTG), ensure the cable is OTG-compatible.
Example: Connecting to an Arduino UNO
The Micro USB to USB cable is not directly compatible with the Arduino UNO, as the UNO uses a USB Type B connector. However, for devices like Arduino Nano or other Micro USB-based boards, the cable can be used. Below is an example of using the cable to upload code to an Arduino Nano:
// Example Arduino code to blink an LED
// This code blinks the built-in LED on pin 13 of the Arduino Nano

void setup() {
  pinMode(13, OUTPUT); // Set pin 13 as an output
}

void loop() {
  digitalWrite(13, HIGH); // Turn the LED on
  delay(1000);            // Wait for 1 second
  digitalWrite(13, LOW);  // Turn the LED off
  delay(1000);            // Wait for 1 second
}
Troubleshooting and FAQs
Common Issues and Solutions
Device Not Recognized:
- Cause: Faulty cable or incompatible drivers.
- Solution: Test with a different cable or reinstall the device drivers on your computer.
Slow Charging:
- Cause: Low-quality cable or insufficient power supply.
- Solution: Use a high-quality cable and ensure the power adapter meets the device's requirements.
Intermittent Connection:
- Cause: Loose connectors or damaged cable.
- Solution: Inspect the cable for physical damage and ensure connectors are securely plugged in.
No Data Transfer:
- Cause: Device set to "Charging Only" mode.
- Solution: Change the device's USB mode to "File Transfer" or "MTP."
FAQs
Q: Can this cable be used for fast charging?
- A: Yes, if the cable and power adapter support fast charging standards like Quick Charge.
Q: Is this cable compatible with USB 3.0?
- A: The cable supports USB 3.0 ports but is limited to USB 2.0 data transfer speeds.
Q: Can I use this cable for OTG devices?
- A: Yes, but ensure the cable is OTG-compatible and the device supports OTG functionality.
Q: What is the maximum length for reliable performance?
- A: For charging and data transfer, cables up to 2 meters are generally reliable. Longer cables may experience voltage drops.