How to Use tof400c-vl53l1x: Examples, Pinouts, and Specs

 Design with tof400c-vl53l1x in Cirkit Designer
Introduction
The TOF400C-VL53L1X is a time-of-flight (ToF) distance sensor that uses advanced laser technology to measure distances with high precision. This compact and efficient sensor is capable of measuring distances up to 4 meters with millimeter-level accuracy. Its small form factor and low power consumption make it ideal for a wide range of applications, including robotics, automation, obstacle detection, and proximity sensing.
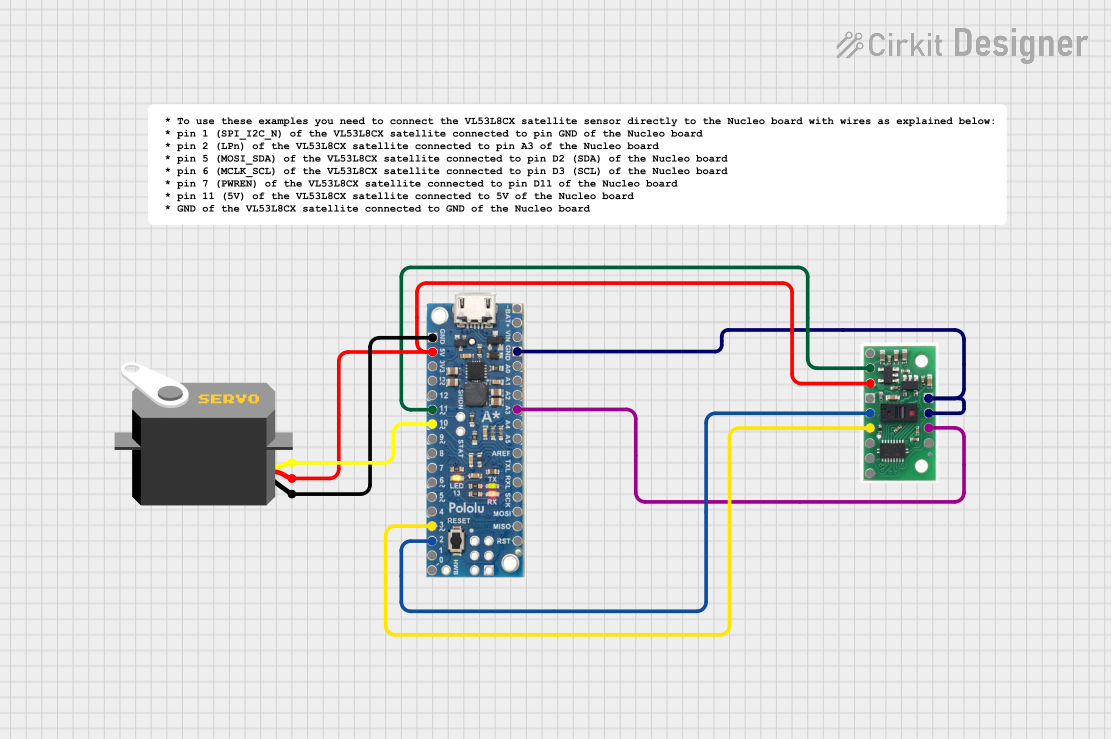
Explore Projects Built with tof400c-vl53l1x

 Open Project in Cirkit Designer
 Open Project in Cirkit Designer
 Open Project in Cirkit Designer
 Open Project in Cirkit Designer
Explore Projects Built with tof400c-vl53l1x

 Open Project in Cirkit Designer
 Open Project in Cirkit Designer
 Open Project in Cirkit Designer
 Open Project in Cirkit Designer
Common Applications:
- Robotics: Obstacle detection and navigation
- Industrial automation: Proximity sensing and object measurement
- Consumer electronics: Gesture recognition and presence detection
- Drones: Altitude measurement and collision avoidance
Technical Specifications
The TOF400C-VL53L1X is designed to deliver reliable and accurate distance measurements. Below are its key technical details:
Key Specifications:
| Parameter | Value |
|---|---|
| Measurement Range | 4 cm to 400 cm (0.04 m to 4 m) |
| Accuracy | ±1 mm |
| Operating Voltage | 2.6V to 3.5V |
| Communication Interface | I²C |
| Operating Temperature | -20°C to +85°C |
| Field of View (FoV) | 27° |
| Power Consumption | Low power mode: 20 µA |
| Dimensions | 4.4 mm x 2.4 mm x 1.0 mm |
Pin Configuration:
The TOF400C-VL53L1X sensor typically comes in a breakout board format. Below is the pinout description:
| Pin Name | Description |
|---|---|
| VIN | Power supply input (2.6V to 3.5V) |
| GND | Ground |
| SDA | I²C data line |
| SCL | I²C clock line |
| XSHUT | Shutdown pin (active low, optional) |
| GPIO1 | Interrupt output (optional, configurable) |
Usage Instructions
The TOF400C-VL53L1X is straightforward to integrate into your projects. Below are the steps and best practices for using the sensor:
Connecting the Sensor:
- Power Supply: Connect the VIN pin to a 3.3V power source and the GND pin to ground.
- I²C Communication: Connect the SDA and SCL pins to the corresponding I²C pins on your microcontroller (e.g., Arduino UNO: A4 for SDA, A5 for SCL).
- Optional Pins:
- Connect the XSHUT pin to a GPIO pin if you need to control the sensor's power state.
- Use the GPIO1 pin for interrupt-based distance measurement if required.
Arduino UNO Example Code:
Below is an example of how to use the TOF400C-VL53L1X with an Arduino UNO. This code uses the Adafruit VL53L1X library, which simplifies sensor integration.
#include <Wire.h>
#include <Adafruit_VL53L1X.h>

// Create an instance of the VL53L1X sensor
Adafruit_VL53L1X vl53 = Adafruit_VL53L1X();

void setup() {
  Serial.begin(115200);
  while (!Serial) {
    delay(10); // Wait for Serial Monitor to open
  }

  // Initialize I²C communication
  if (!vl53.begin()) {
    Serial.println("Failed to detect VL53L1X sensor. Check wiring!");
    while (1) {
      delay(10); // Halt execution if sensor is not detected
    }
  }

  Serial.println("VL53L1X sensor initialized successfully!");
  vl53.startRanging(); // Start continuous ranging mode
}

void loop() {
  // Read distance in millimeters
  uint16_t distance = vl53.read();

  if (distance != 0) {
    Serial.print("Distance: ");
    Serial.print(distance);
    Serial.println(" mm");
  } else {
    Serial.println("Error reading distance!");
  }

  delay(100); // Delay for stability
}
Best Practices:
- Power Supply: Ensure a stable 3.3V power source to avoid measurement errors.
- I²C Pull-Up Resistors: Use 4.7kΩ pull-up resistors on the SDA and SCL lines if not already included on the breakout board.
- Ambient Light: Avoid direct exposure to strong ambient light sources, as they may interfere with the sensor's laser measurements.
- FoV Considerations: Ensure no obstructions within the sensor's 27° field of view for accurate readings.
Troubleshooting and FAQs
Common Issues:
Sensor Not Detected:
- Cause: Incorrect wiring or I²C address mismatch.
- Solution: Double-check the connections and ensure the I²C address matches the library's default (0x29).
Inaccurate Measurements:
- Cause: Strong ambient light or reflective surfaces.
- Solution: Reduce ambient light or reposition the sensor to avoid reflective surfaces.
No Distance Reading:
- Cause: Sensor not initialized or XSHUT pin held low.
- Solution: Verify the sensor initialization in the code and ensure the XSHUT pin is not pulled low.
FAQs:
Can the sensor measure distances beyond 4 meters?
- No, the maximum range of the TOF400C-VL53L1X is 4 meters.
Is the sensor eye-safe?
- Yes, the sensor uses a Class 1 laser, which is safe for human eyes under normal operating conditions.
Can I use the sensor with a 5V microcontroller?
- Yes, but you must use a level shifter for the I²C lines to avoid damaging the sensor.
By following this documentation, you can effectively integrate the TOF400C-VL53L1X into your projects and troubleshoot common issues with ease.