
How to Use 1N4007 Rectifier Diode: Examples, Pinouts, and Specs

 Design with 1N4007 Rectifier Diode in Cirkit Designer
Introduction
The 1N4007 is a general-purpose silicon rectifier diode designed for a wide range of applications. It is capable of handling up to 1A of forward current and can withstand a reverse voltage of up to 1000V. This diode is commonly used in power supply circuits for converting alternating current (AC) to direct current (DC). Its robust design and high voltage rating make it suitable for use in various electronic devices, including chargers, adapters, and other power management systems.
Explore Projects Built with 1N4007 Rectifier Diode
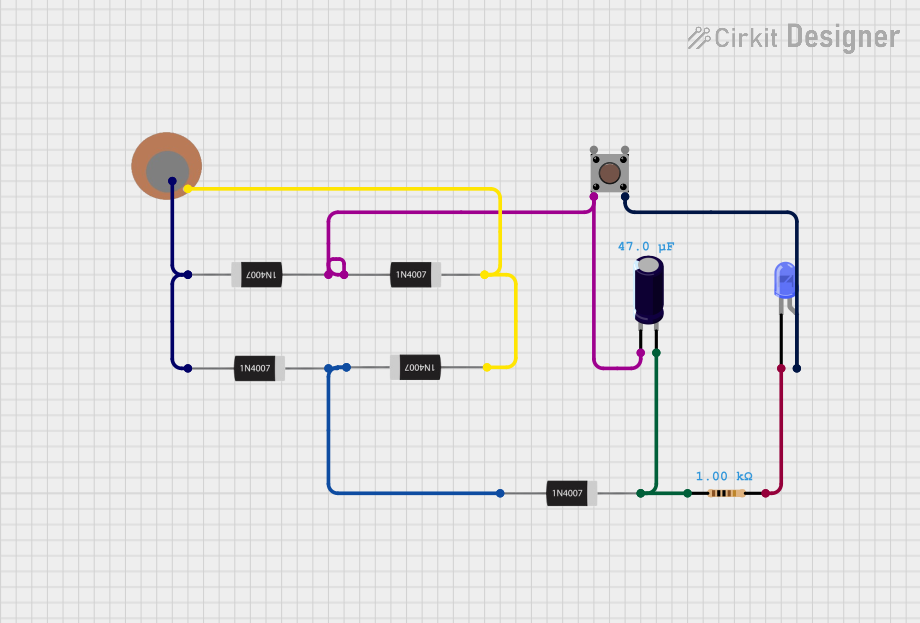 Open Project in Cirkit Designer
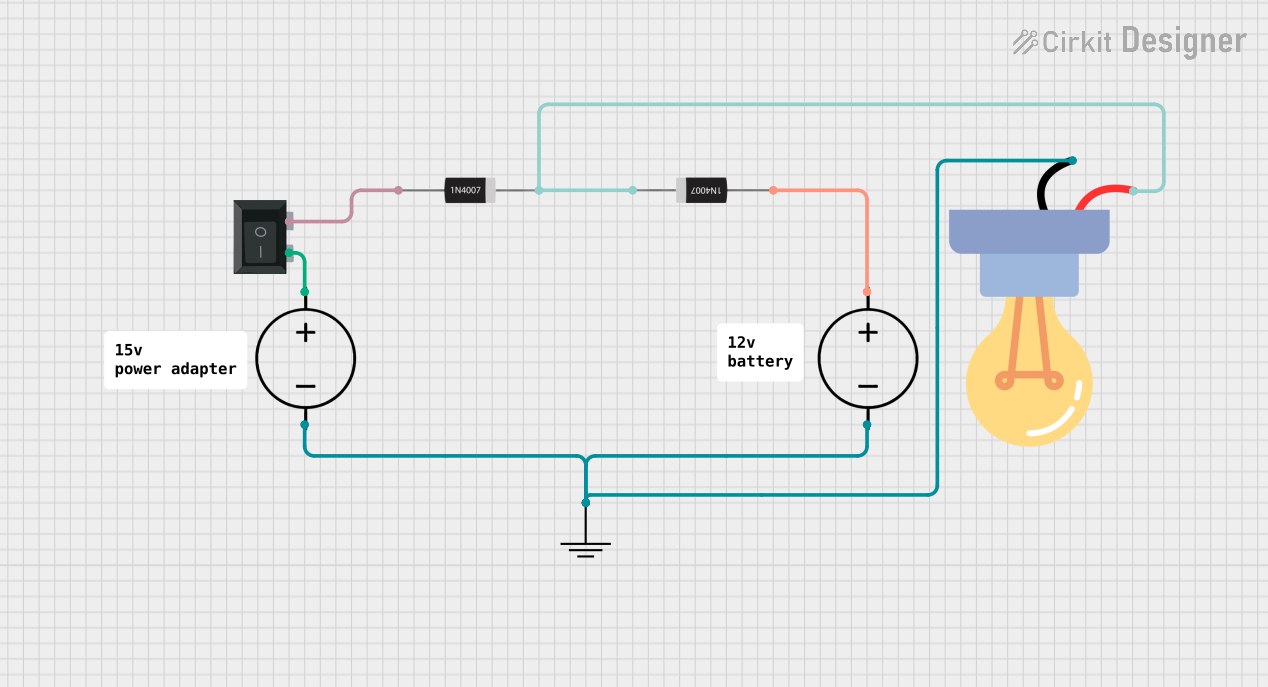 Open Project in Cirkit Designer
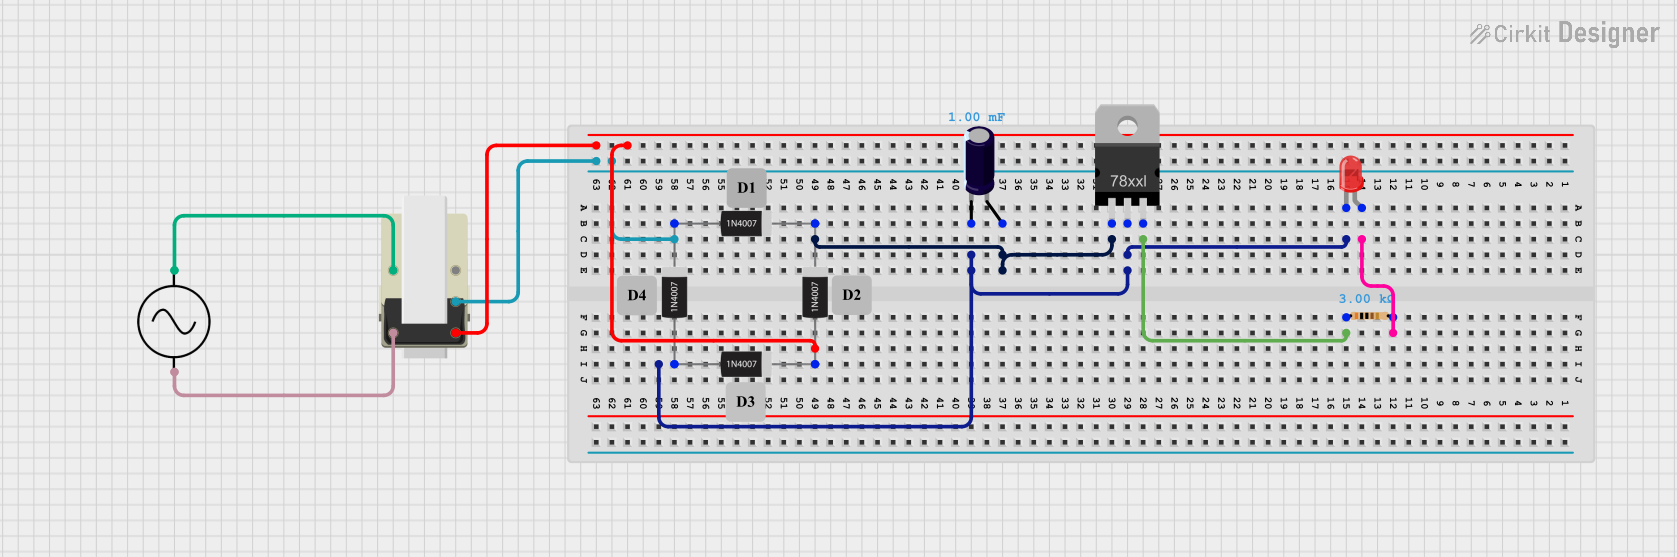 Open Project in Cirkit Designer
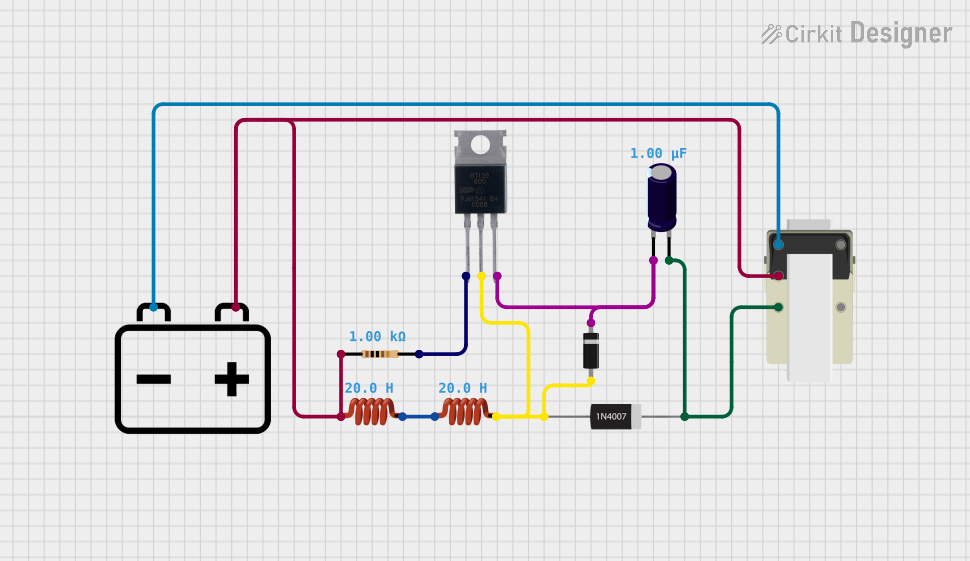 Open Project in Cirkit Designer
Explore Projects Built with 1N4007 Rectifier Diode
Open Project in Cirkit DesignerOpen Project in Cirkit DesignerOpen Project in Cirkit DesignerOpen Project in Cirkit DesignerCommon Applications
- AC to DC rectification in power supplies
- Protection against voltage spikes in circuits
- Freewheeling diode in inductive loads (e.g., motors, relays)
- General-purpose rectification in low- and medium-power circuits
Technical Specifications
Key Specifications
| Parameter | Value |
|---|---|
| Maximum Reverse Voltage | 1000V |
| Maximum Forward Current | 1A |
| Peak Surge Current | 30A (8.3ms single half-sine) |
| Forward Voltage Drop | 1.1V (at 1A) |
| Reverse Current | 5µA (at 25°C, 1000V) |
| Operating Temperature | -55°C to +150°C |
| Package Type | DO-41 axial lead |
Pin Configuration
The 1N4007 diode has two terminals:
| Pin Name | Description |
|---|---|
| Anode | Positive terminal; current enters here in forward bias. |
| Cathode | Negative terminal; current exits here in forward bias. |
The cathode is marked with a silver or white band on the diode body.
Usage Instructions
How to Use the 1N4007 in a Circuit
- Identify the Terminals: Locate the cathode (marked with a silver/white band) and the anode.
- Connect in Forward Bias for Rectification:
- Connect the anode to the positive side of the circuit.
- Connect the cathode to the negative side of the circuit.
- AC to DC Conversion:
- Use the 1N4007 in a bridge rectifier configuration for full-wave rectification.
- Alternatively, use it in a half-wave rectifier circuit for simpler applications.
- Protection Against Voltage Spikes:
- Place the diode across inductive loads (e.g., relays or motors) with the cathode connected to the positive supply to suppress back EMF.
Important Considerations
- Heat Dissipation: Ensure proper heat management if the diode operates near its maximum current rating.
- Voltage Ratings: Do not exceed the maximum reverse voltage of 1000V to avoid breakdown.
- Polarity: Always connect the diode with the correct polarity to prevent damage to the circuit.
Example: Using the 1N4007 with an Arduino UNO
The 1N4007 can be used to protect an Arduino UNO from voltage spikes caused by an inductive load, such as a relay. Below is an example circuit and code:
Circuit Setup
- Connect the relay coil between the Arduino's digital output pin and ground.
- Place the 1N4007 diode across the relay coil terminals:
- Cathode to the positive terminal of the coil.
- Anode to the negative terminal of the coil.
Arduino Code
// Example code to control a relay with an Arduino UNO
const int relayPin = 7; // Pin connected to the relay control

void setup() {
  pinMode(relayPin, OUTPUT); // Set relay pin as output
}

void loop() {
  digitalWrite(relayPin, HIGH); // Turn relay ON
  delay(1000); // Keep relay ON for 1 second
  digitalWrite(relayPin, LOW);  // Turn relay OFF
  delay(1000); // Keep relay OFF for 1 second
}
Note: The 1N4007 diode protects the Arduino from voltage spikes generated when the relay coil is de-energized.
Troubleshooting and FAQs
Common Issues
Diode Overheating:
- Cause: Exceeding the maximum forward current rating (1A).
- Solution: Use a heat sink or select a diode with a higher current rating.
Circuit Not Working:
- Cause: Incorrect polarity connection.
- Solution: Verify the anode and cathode connections. Ensure the cathode (marked with a band) is connected to the negative side of the circuit.
Diode Breakdown:
- Cause: Reverse voltage exceeds 1000V.
- Solution: Use a diode with a higher reverse voltage rating if needed.
FAQs
Q: Can the 1N4007 be used for high-frequency applications?
A: No, the 1N4007 is not suitable for high-frequency applications due to its relatively slow switching speed. Use a fast recovery or Schottky diode for such applications.
Q: What is the difference between the 1N4007 and other diodes in the 1N400x series?
A: The primary difference is the maximum reverse voltage rating. The 1N4007 has the highest rating (1000V) in the series, making it more versatile for high-voltage applications.
Q: Can I use the 1N4007 for current higher than 1A?
A: No, the 1N4007 is rated for a maximum forward current of 1A. For higher currents, consider using a diode with a higher current rating, such as the 1N5408.
By following these guidelines and best practices, you can effectively use the 1N4007 rectifier diode in your electronic projects.