How to Use 4.0" TFT 480x320 V1.1: Examples, Pinouts, and Specs
Hosyond 4.0" TFT 480x320 V1.1 Display Module Documentation
1. Introduction
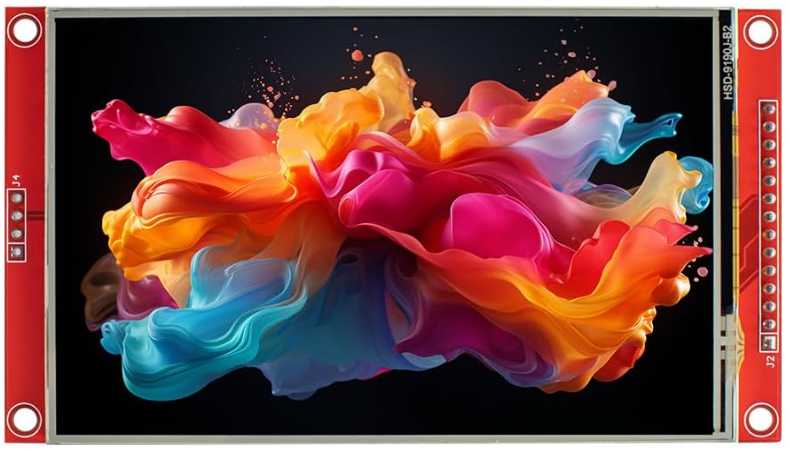
The Hosyond 4.0" TFT 480x320 V1.1 is a high-quality thin-film transistor (TFT) display module designed for use in embedded systems, microcontroller projects, and other applications requiring a graphical user interface. With a resolution of 480x320 pixels, this 4.0-inch display provides vibrant colors and sharp visuals, making it ideal for projects such as dashboards, control panels, and interactive displays.
This module is compatible with popular microcontrollers like the Arduino UNO, ESP32, and Raspberry Pi, and it supports SPI communication for efficient data transfer. Its compact size and ease of integration make it a versatile choice for hobbyists and professionals alike.
Common Applications
- Graphical user interfaces for embedded systems
- IoT dashboards and control panels
- Portable gaming devices
- Industrial monitoring systems
- Educational and prototyping projects
2. Technical Specifications
The following table outlines the key technical details of the Hosyond 4.0" TFT 480x320 V1.1 display module:
| Parameter | Specification |
|---|---|
| Display Type | TFT (Thin-Film Transistor) |
| Screen Size | 4.0 inches |
| Resolution | 480x320 pixels |
| Color Depth | 65K colors (16-bit RGB) |
| Interface | SPI (Serial Peripheral Interface) |
| Operating Voltage | 3.3V / 5V |
| Backlight Voltage | 3.3V |
| Current Consumption | ~100mA (typical) |
| Driver IC | ILI9486 |
| Dimensions | 85mm x 55mm x 5mm |
| Touchscreen | Optional (Resistive or Capacitive) |
Pin Configuration
The module features a standard pin header for easy connection. Below is the pinout description:
| Pin | Name | Description |
|---|---|---|
| 1 | GND | Ground connection |
| 2 | VCC | Power supply (3.3V or 5V) |
| 3 | CS | Chip Select (active low) |
| 4 | RESET | Reset pin (active low) |
| 5 | DC (RS) | Data/Command control pin |
| 6 | SDI (MOSI) | SPI Master Out Slave In (data input to the display) |
| 7 | SCK | SPI Clock |
| 8 | LED | Backlight control (connect to 3.3V for constant backlight) |
| 9 | SDO (MISO) | SPI Master In Slave Out (data output from the display, optional for some setups) |
| 10 | T_IRQ | Touchscreen interrupt (used only if touchscreen is enabled) |
3. Usage Instructions
Connecting the Display to an Arduino UNO
To use the Hosyond 4.0" TFT 480x320 V1.1 with an Arduino UNO, follow these steps:
- Wiring the Display: Connect the display module to the Arduino UNO as shown in the table below:
| TFT Pin | Arduino UNO Pin |
|---|---|
| GND | GND |
| VCC | 5V |
| CS | Pin 10 |
| RESET | Pin 9 |
| DC (RS) | Pin 8 |
| SDI (MOSI) | Pin 11 |
| SCK | Pin 13 |
| LED | 3.3V or 5V |
| SDO (MISO) | Not connected |
| T_IRQ | Not connected |
Install Required Libraries:
- Install the Adafruit_GFX and Adafruit_ILI9486 libraries in the Arduino IDE. These libraries provide the necessary functions to control the display.
- To install the libraries, go to Sketch > Include Library > Manage Libraries, search for the libraries, and click Install.
Upload Example Code: Use the following example code to test the display:
#include <Adafruit_GFX.h>       // Core graphics library
#include <Adafruit_ILI9486.h>   // Driver for ILI9486-based displays

// Define pins for the TFT display
#define TFT_CS   10  // Chip Select
#define TFT_RST   9  // Reset
#define TFT_DC    8  // Data/Command

// Create an instance of the display
Adafruit_ILI9486 tft = Adafruit_ILI9486(TFT_CS, TFT_DC, TFT_RST);

void setup() {
  tft.begin();  // Initialize the display
  tft.setRotation(1);  // Set display orientation (1 = landscape)
  tft.fillScreen(ILI9486_BLACK);  // Clear the screen with black color

  // Display a message
  tft.setTextColor(ILI9486_WHITE);  // Set text color to white
  tft.setTextSize(2);               // Set text size
  tft.setCursor(50, 100);           // Set text position
  tft.print("Hello, World!");       // Print message
}

void loop() {
  // Nothing to do here
}
Important Considerations
- Ensure the power supply voltage matches the module's requirements (3.3V or 5V).
- Use level shifters if your microcontroller operates at 3.3V logic levels.
- Avoid touching the display surface with sharp objects to prevent damage.
- If using the touchscreen functionality, additional libraries and connections may be required.
4. Troubleshooting and FAQs
Common Issues and Solutions
| Issue | Possible Cause | Solution |
|---|---|---|
| Display does not turn on | Incorrect wiring or insufficient power | Verify all connections and ensure a stable 3.3V or 5V power supply. |
| Screen is blank or flickering | Incorrect initialization or loose wiring | Check the code for proper initialization and secure all connections. |
| Touchscreen not responding (if used) | Touchscreen library not installed | Install the required touchscreen library and verify connections. |
| Colors appear inverted | Incorrect display orientation | Use tft.setRotation() to adjust the orientation. |
| Slow screen updates | SPI clock speed too low | Increase the SPI clock speed in the library settings (if supported). |
Frequently Asked Questions
Can I use this display with a Raspberry Pi?
- Yes, the display is compatible with Raspberry Pi. You will need to configure the SPI interface and use appropriate libraries.
Does the module support capacitive touch?
- The module supports both resistive and capacitive touch, but the specific version you have may vary. Check the product details for confirmation.
What is the maximum SPI clock speed supported?
- The ILI9486 driver typically supports SPI clock speeds up to 40 MHz, but this may vary depending on your microcontroller.
Can I power the backlight separately?
- Yes, the backlight can be powered independently by connecting the LED pin to a 3.3V or 5V source.
This documentation provides a comprehensive guide to using the Hosyond 4.0" TFT 480x320 V1.1 display module. For further assistance, refer to the manufacturer's datasheet or community forums. Happy building!
Explore Projects Built with 4.0" TFT 480x320 V1.1


Explore Projects Built with 4.0" TFT 480x320 V1.1