Cirkit Designer Logo
Cirkit Designer
Your all-in-one circuit design IDE
Home / 
Component Documentation

How to Use SOIL PH: Examples, Pinouts, and Specs

Image of SOIL PH
Cirkit Designer LogoDesign with SOIL PH in Cirkit Designer

Introduction

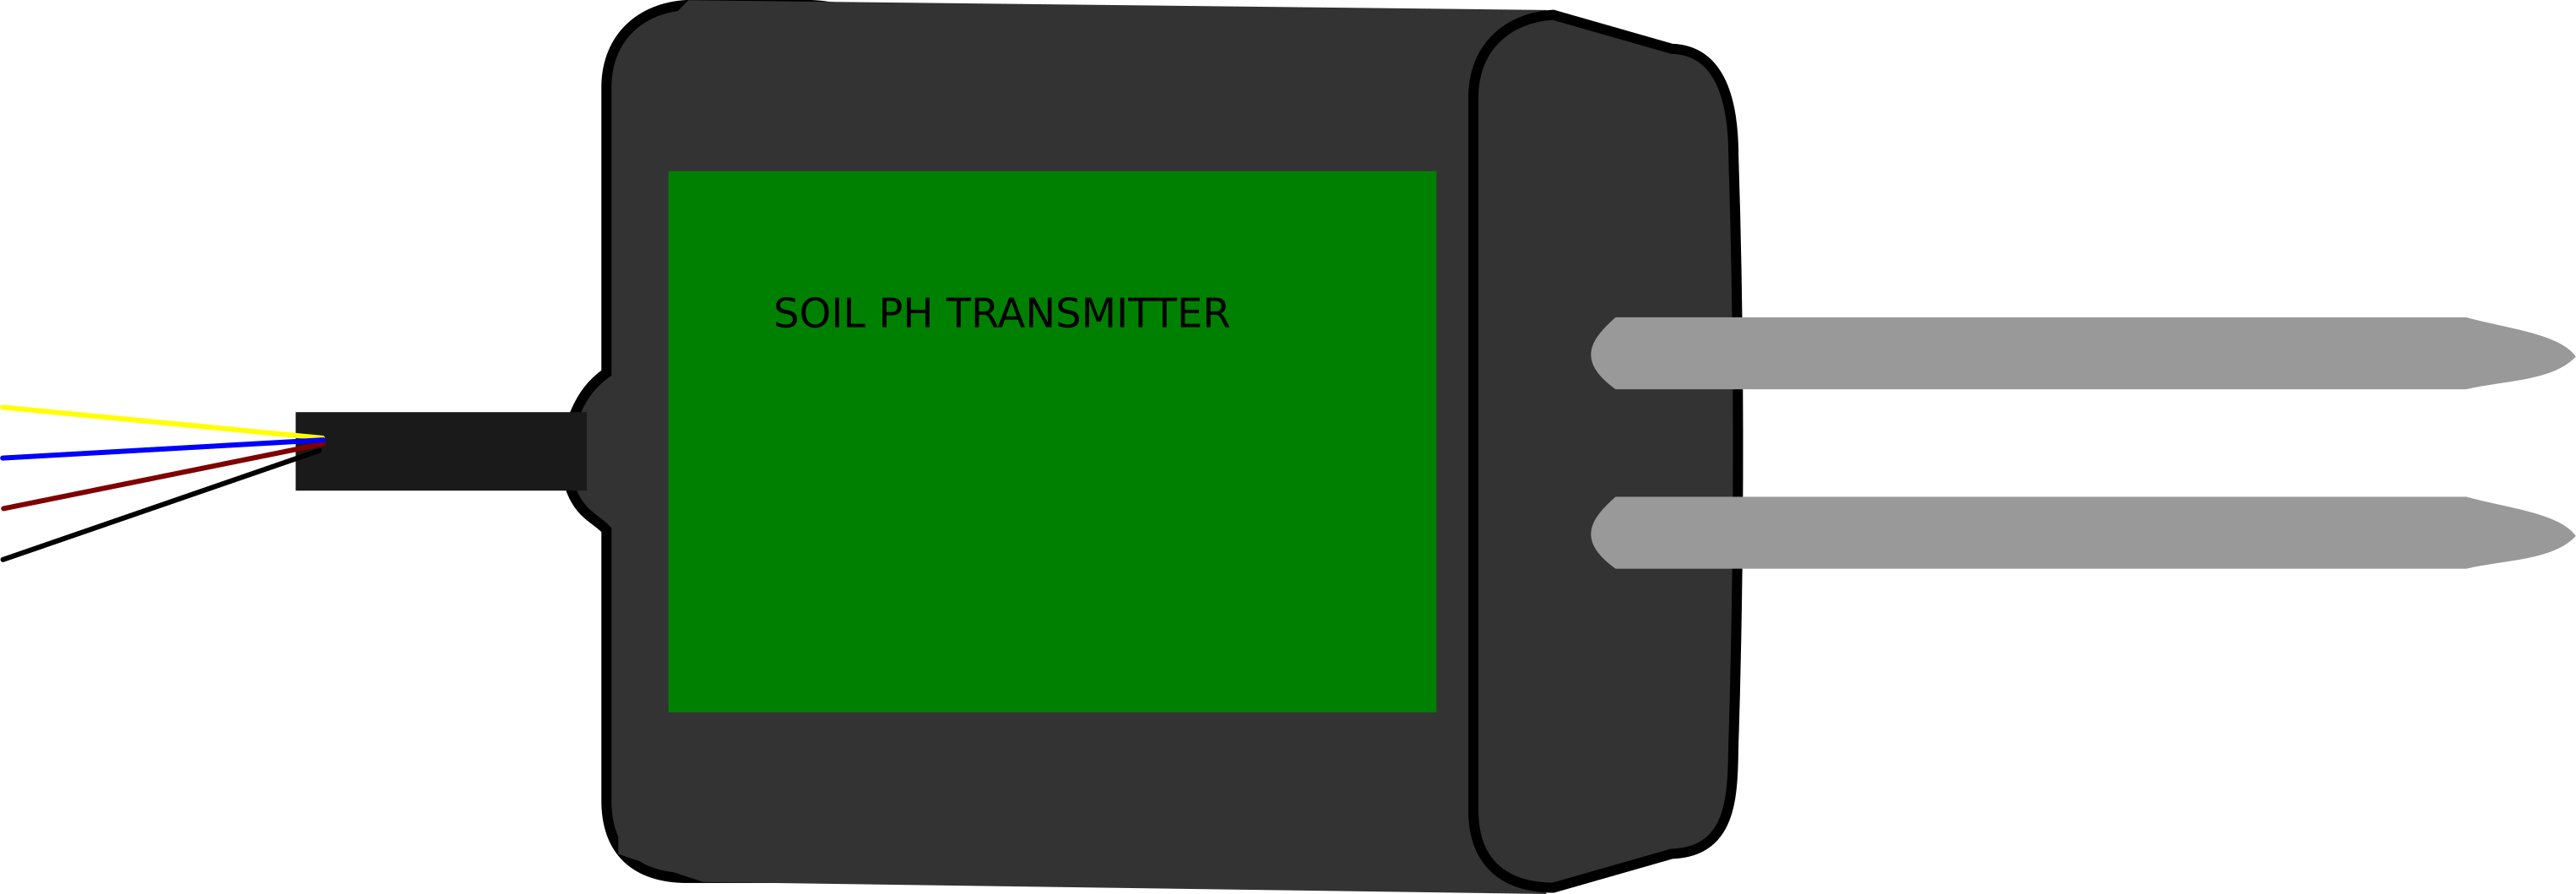
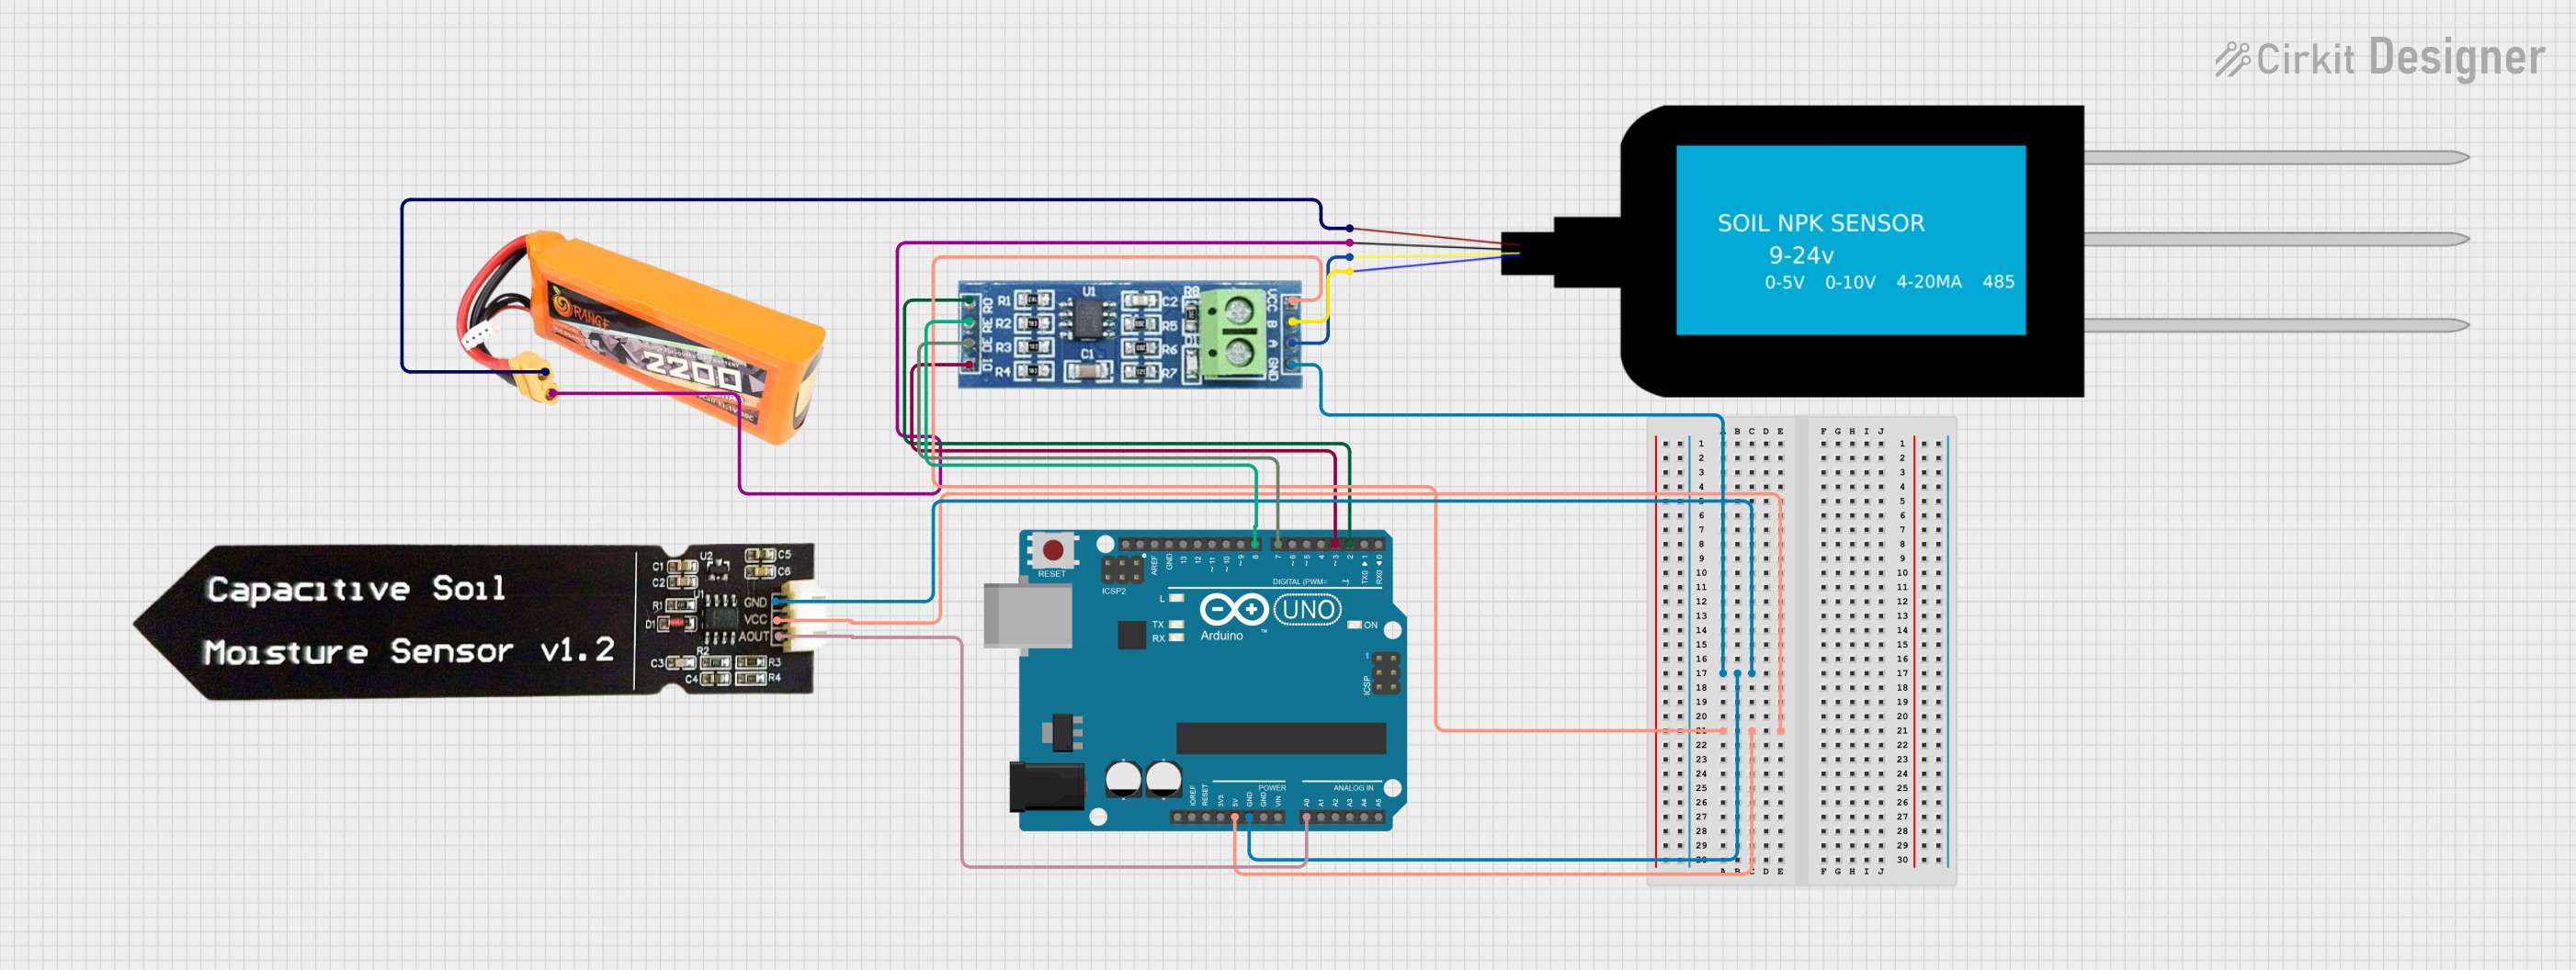
The Soil pH Sensor is an essential tool for measuring the acidity or alkalinity of soil. It provides a pH value that helps in determining soil health and suitability for various plants. This sensor is widely used in agriculture, gardening, and environmental monitoring to ensure optimal growing conditions.

Explore Projects Built with SOIL PH

Use Cirkit Designer to design, explore, and prototype these projects online. Some projects support real-time simulation. Click "Open Project" to start designing instantly!
Arduino-Based Smart Irrigation System with Soil Moisture and pH Sensors, GSM Connectivity, and Battery Power
Image of Diagram: A project utilizing SOIL PH in a practical application
This circuit is an automated soil monitoring and irrigation system. It uses an Arduino UNO to read data from a soil moisture sensor and a pH meter, and controls a water pump via a relay module. The system can also communicate data through a SIM 800L GSM module.
Cirkit Designer LogoOpen Project in Cirkit Designer
Arduino UNO-Based Soil Monitoring System with RS485 and Capacitive Moisture Sensor
Image of NPK -pH sensor design: A project utilizing SOIL PH in a practical application
This circuit uses an Arduino UNO to read and display soil nutrient levels (Nitrogen, Phosphorous, Potassium) and moisture content. It interfaces with an NPK Soil Sensor via an RS485 module and a Capacitive Soil Moisture Sensor, displaying the data on an LCD screen.
Cirkit Designer LogoOpen Project in Cirkit Designer
Arduino UNO-Based Soil Nutrient and Moisture Monitoring System with RS485 Communication
Image of NPK final: A project utilizing SOIL PH in a practical application
This circuit uses an Arduino UNO to read soil nutrient levels (Nitrogen, Phosphorous, and Potassium) via an NPK Soil Sensor connected through an RS485 module, and soil moisture levels via a Capacitive Soil Moisture Sensor. The data is then printed to the Serial Monitor for analysis.
Cirkit Designer LogoOpen Project in Cirkit Designer
Arduino UNO-Based Soil Nutrient and Moisture Monitoring System with RS485 and Battery Power
Image of SOIL NUTRIENTS, NPK: A project utilizing SOIL PH in a practical application
This circuit uses an Arduino UNO to read soil nutrient levels (Nitrogen, Phosphorous, and Potassium) from an NPK Soil Sensor via an RS485 module and soil moisture levels from a Capacitive Soil Moisture Sensor. The data is then printed to the Serial Monitor for monitoring purposes.
Cirkit Designer LogoOpen Project in Cirkit Designer

Explore Projects Built with SOIL PH

Use Cirkit Designer to design, explore, and prototype these projects online. Some projects support real-time simulation. Click "Open Project" to start designing instantly!
Image of Diagram: A project utilizing SOIL PH in a practical application
Arduino-Based Smart Irrigation System with Soil Moisture and pH Sensors, GSM Connectivity, and Battery Power
This circuit is an automated soil monitoring and irrigation system. It uses an Arduino UNO to read data from a soil moisture sensor and a pH meter, and controls a water pump via a relay module. The system can also communicate data through a SIM 800L GSM module.
Cirkit Designer LogoOpen Project in Cirkit Designer
Image of NPK -pH sensor design: A project utilizing SOIL PH in a practical application
Arduino UNO-Based Soil Monitoring System with RS485 and Capacitive Moisture Sensor
This circuit uses an Arduino UNO to read and display soil nutrient levels (Nitrogen, Phosphorous, Potassium) and moisture content. It interfaces with an NPK Soil Sensor via an RS485 module and a Capacitive Soil Moisture Sensor, displaying the data on an LCD screen.
Cirkit Designer LogoOpen Project in Cirkit Designer
Image of NPK final: A project utilizing SOIL PH in a practical application
Arduino UNO-Based Soil Nutrient and Moisture Monitoring System with RS485 Communication
This circuit uses an Arduino UNO to read soil nutrient levels (Nitrogen, Phosphorous, and Potassium) via an NPK Soil Sensor connected through an RS485 module, and soil moisture levels via a Capacitive Soil Moisture Sensor. The data is then printed to the Serial Monitor for analysis.
Cirkit Designer LogoOpen Project in Cirkit Designer
Image of SOIL NUTRIENTS, NPK: A project utilizing SOIL PH in a practical application
Arduino UNO-Based Soil Nutrient and Moisture Monitoring System with RS485 and Battery Power
This circuit uses an Arduino UNO to read soil nutrient levels (Nitrogen, Phosphorous, and Potassium) from an NPK Soil Sensor via an RS485 module and soil moisture levels from a Capacitive Soil Moisture Sensor. The data is then printed to the Serial Monitor for monitoring purposes.
Cirkit Designer LogoOpen Project in Cirkit Designer

Technical Specifications

Key Technical Details

Parameter Value
Operating Voltage 3.3V - 5V
Operating Current < 10mA
pH Range 0 - 14 pH
Accuracy ±0.1 pH
Response Time < 1 minute
Temperature Range 0°C - 60°C
Output Type Analog

Pin Configuration and Descriptions

Pin Number Pin Name Description
1 VCC Power supply (3.3V - 5V)
2 GND Ground
3 AO Analog output (pH value as voltage)

Usage Instructions

How to Use the Component in a Circuit

  1. Connect the Sensor:

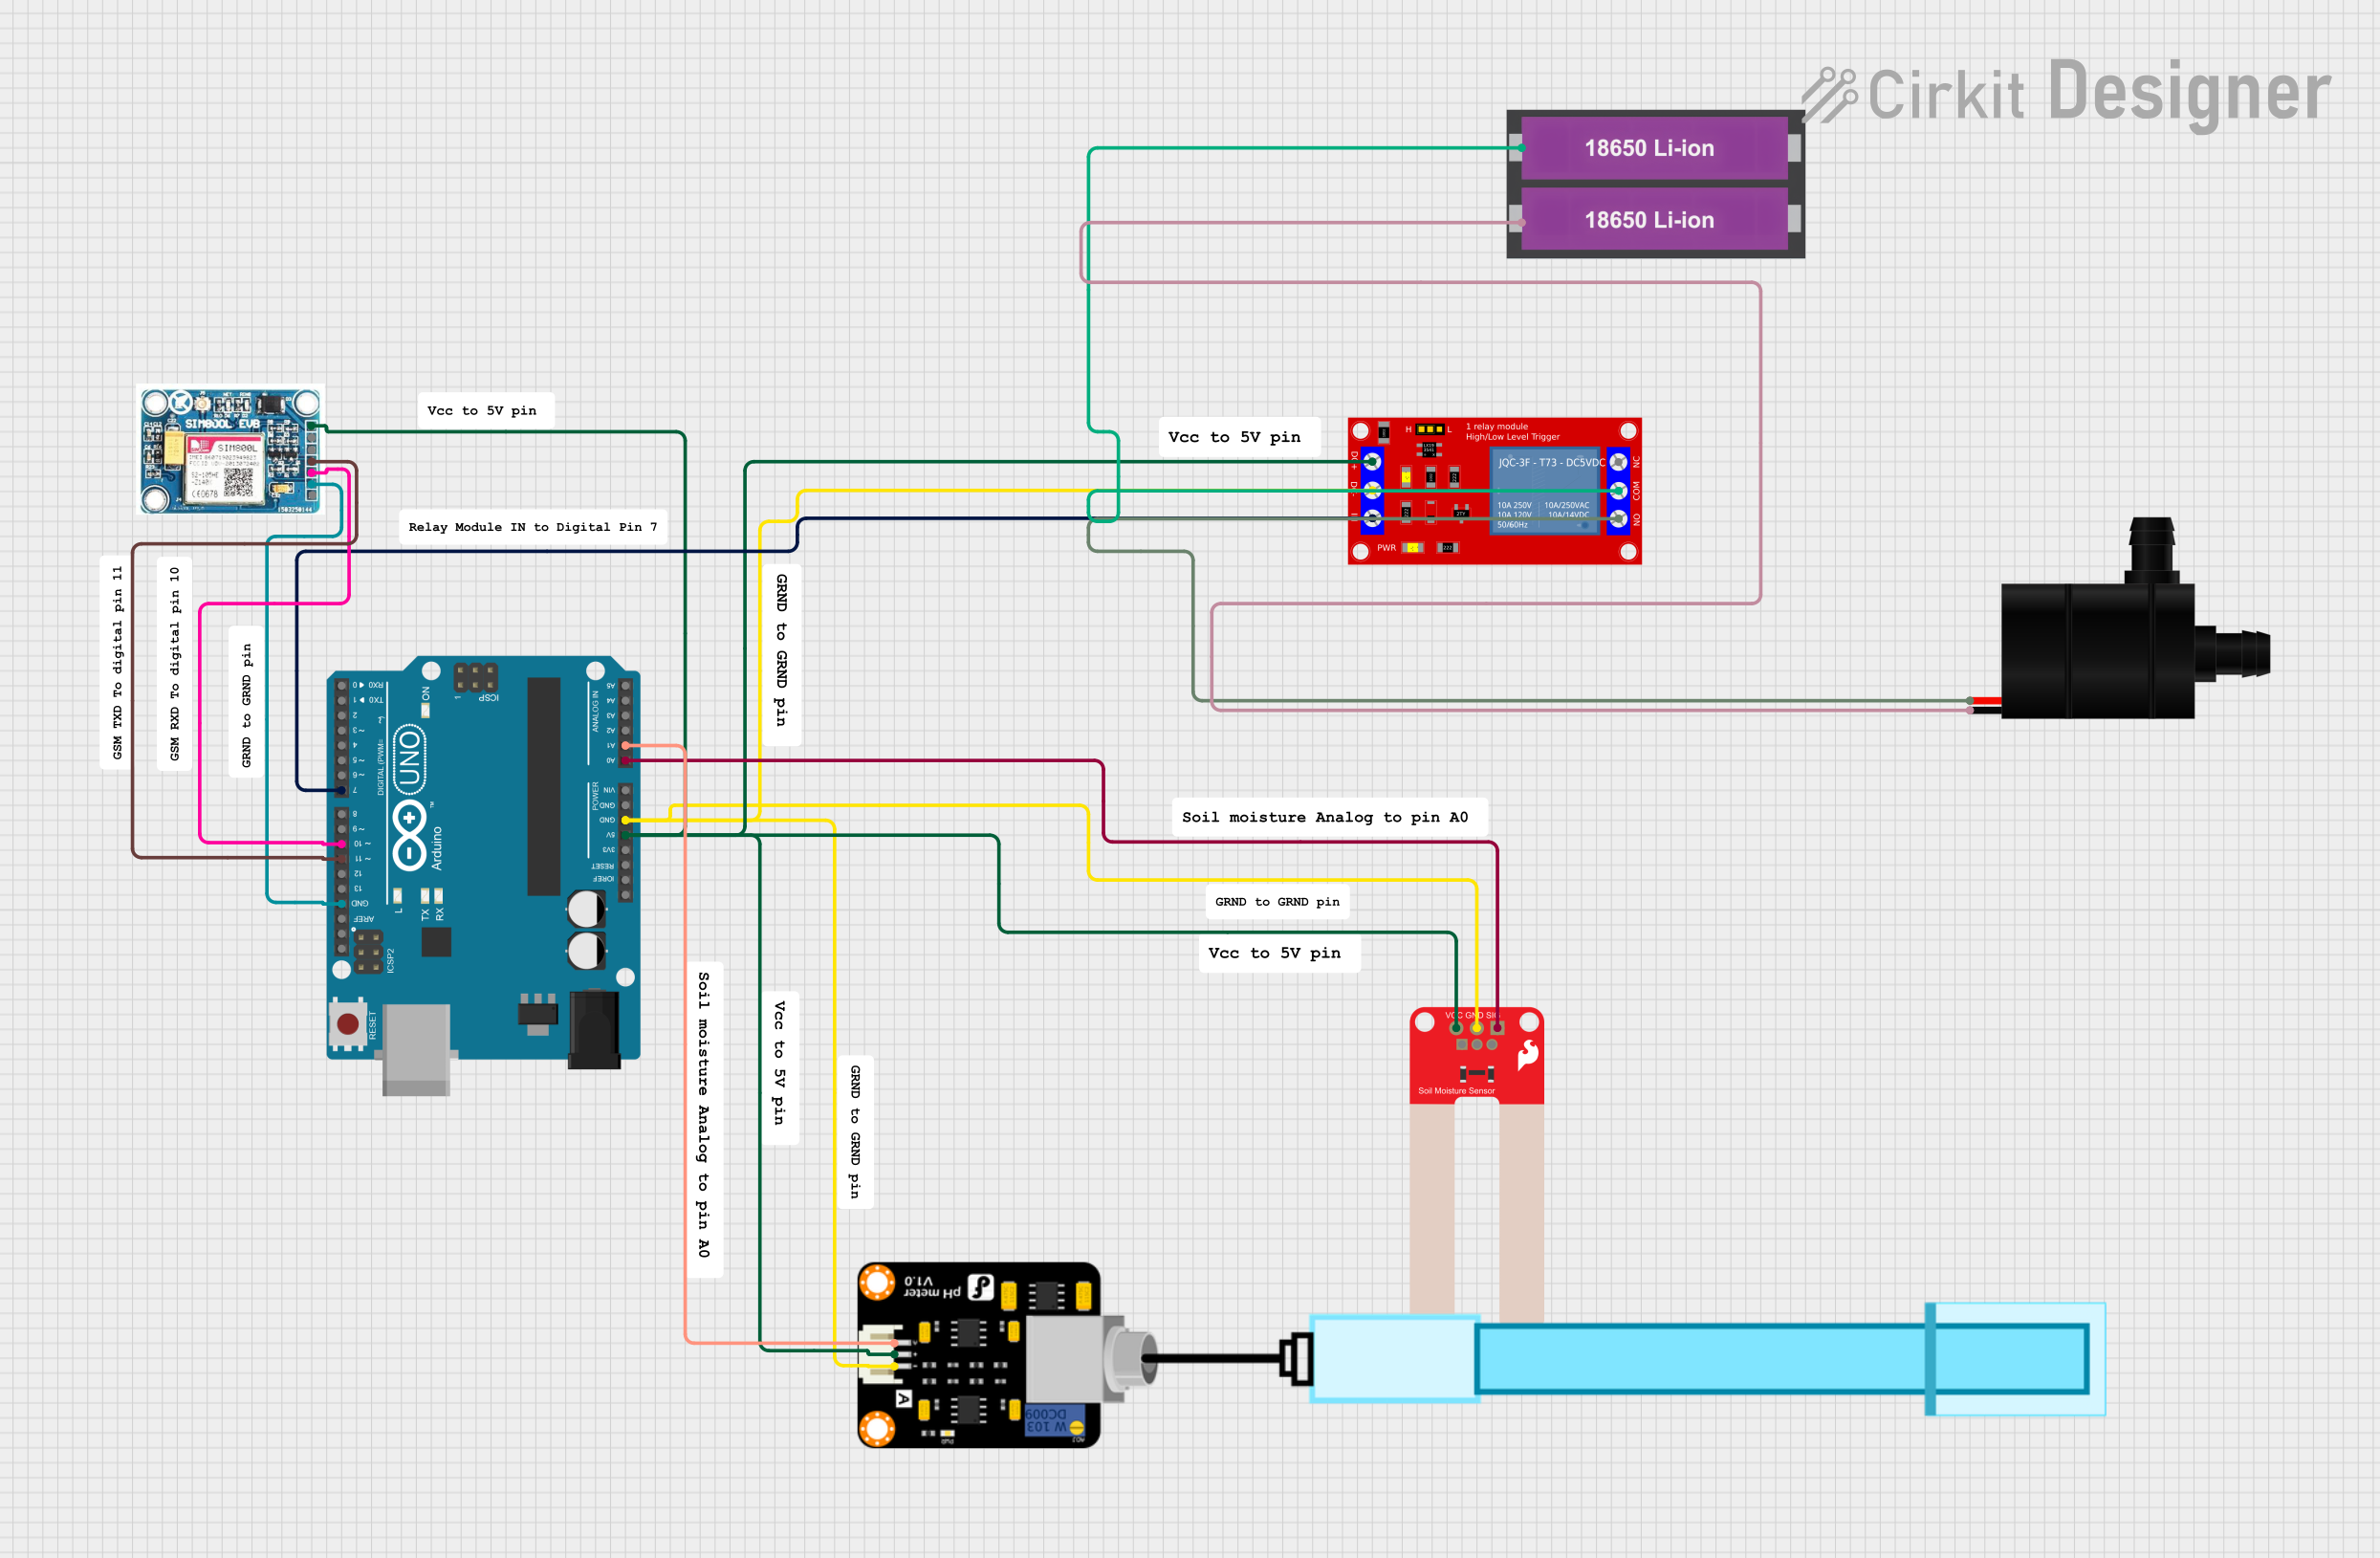
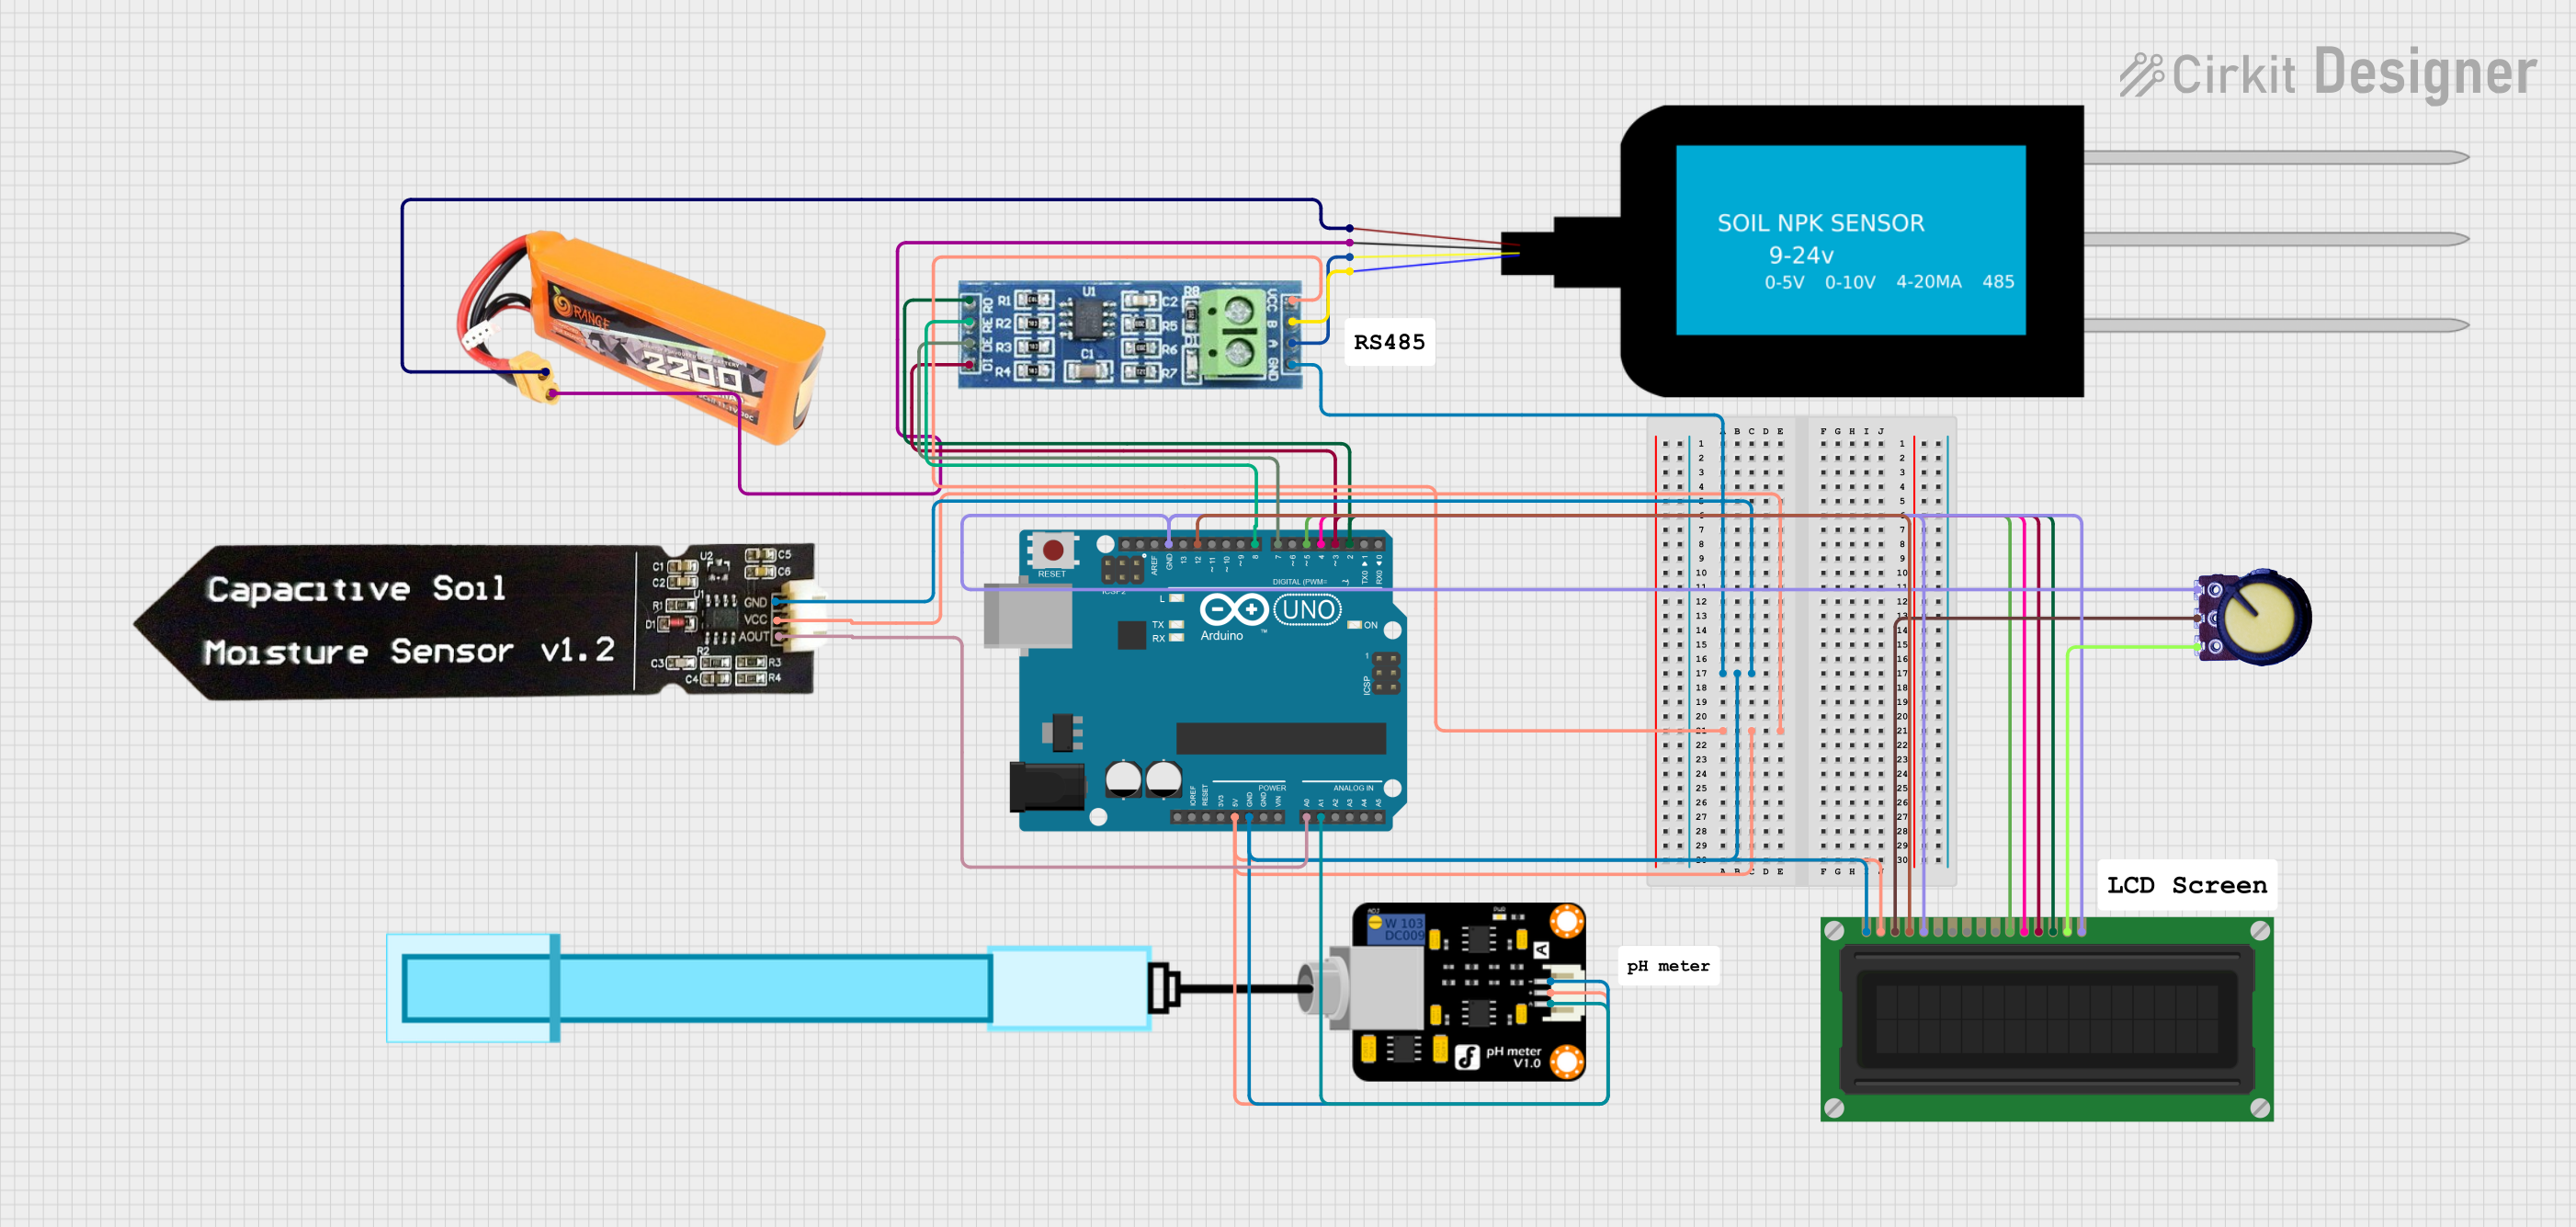
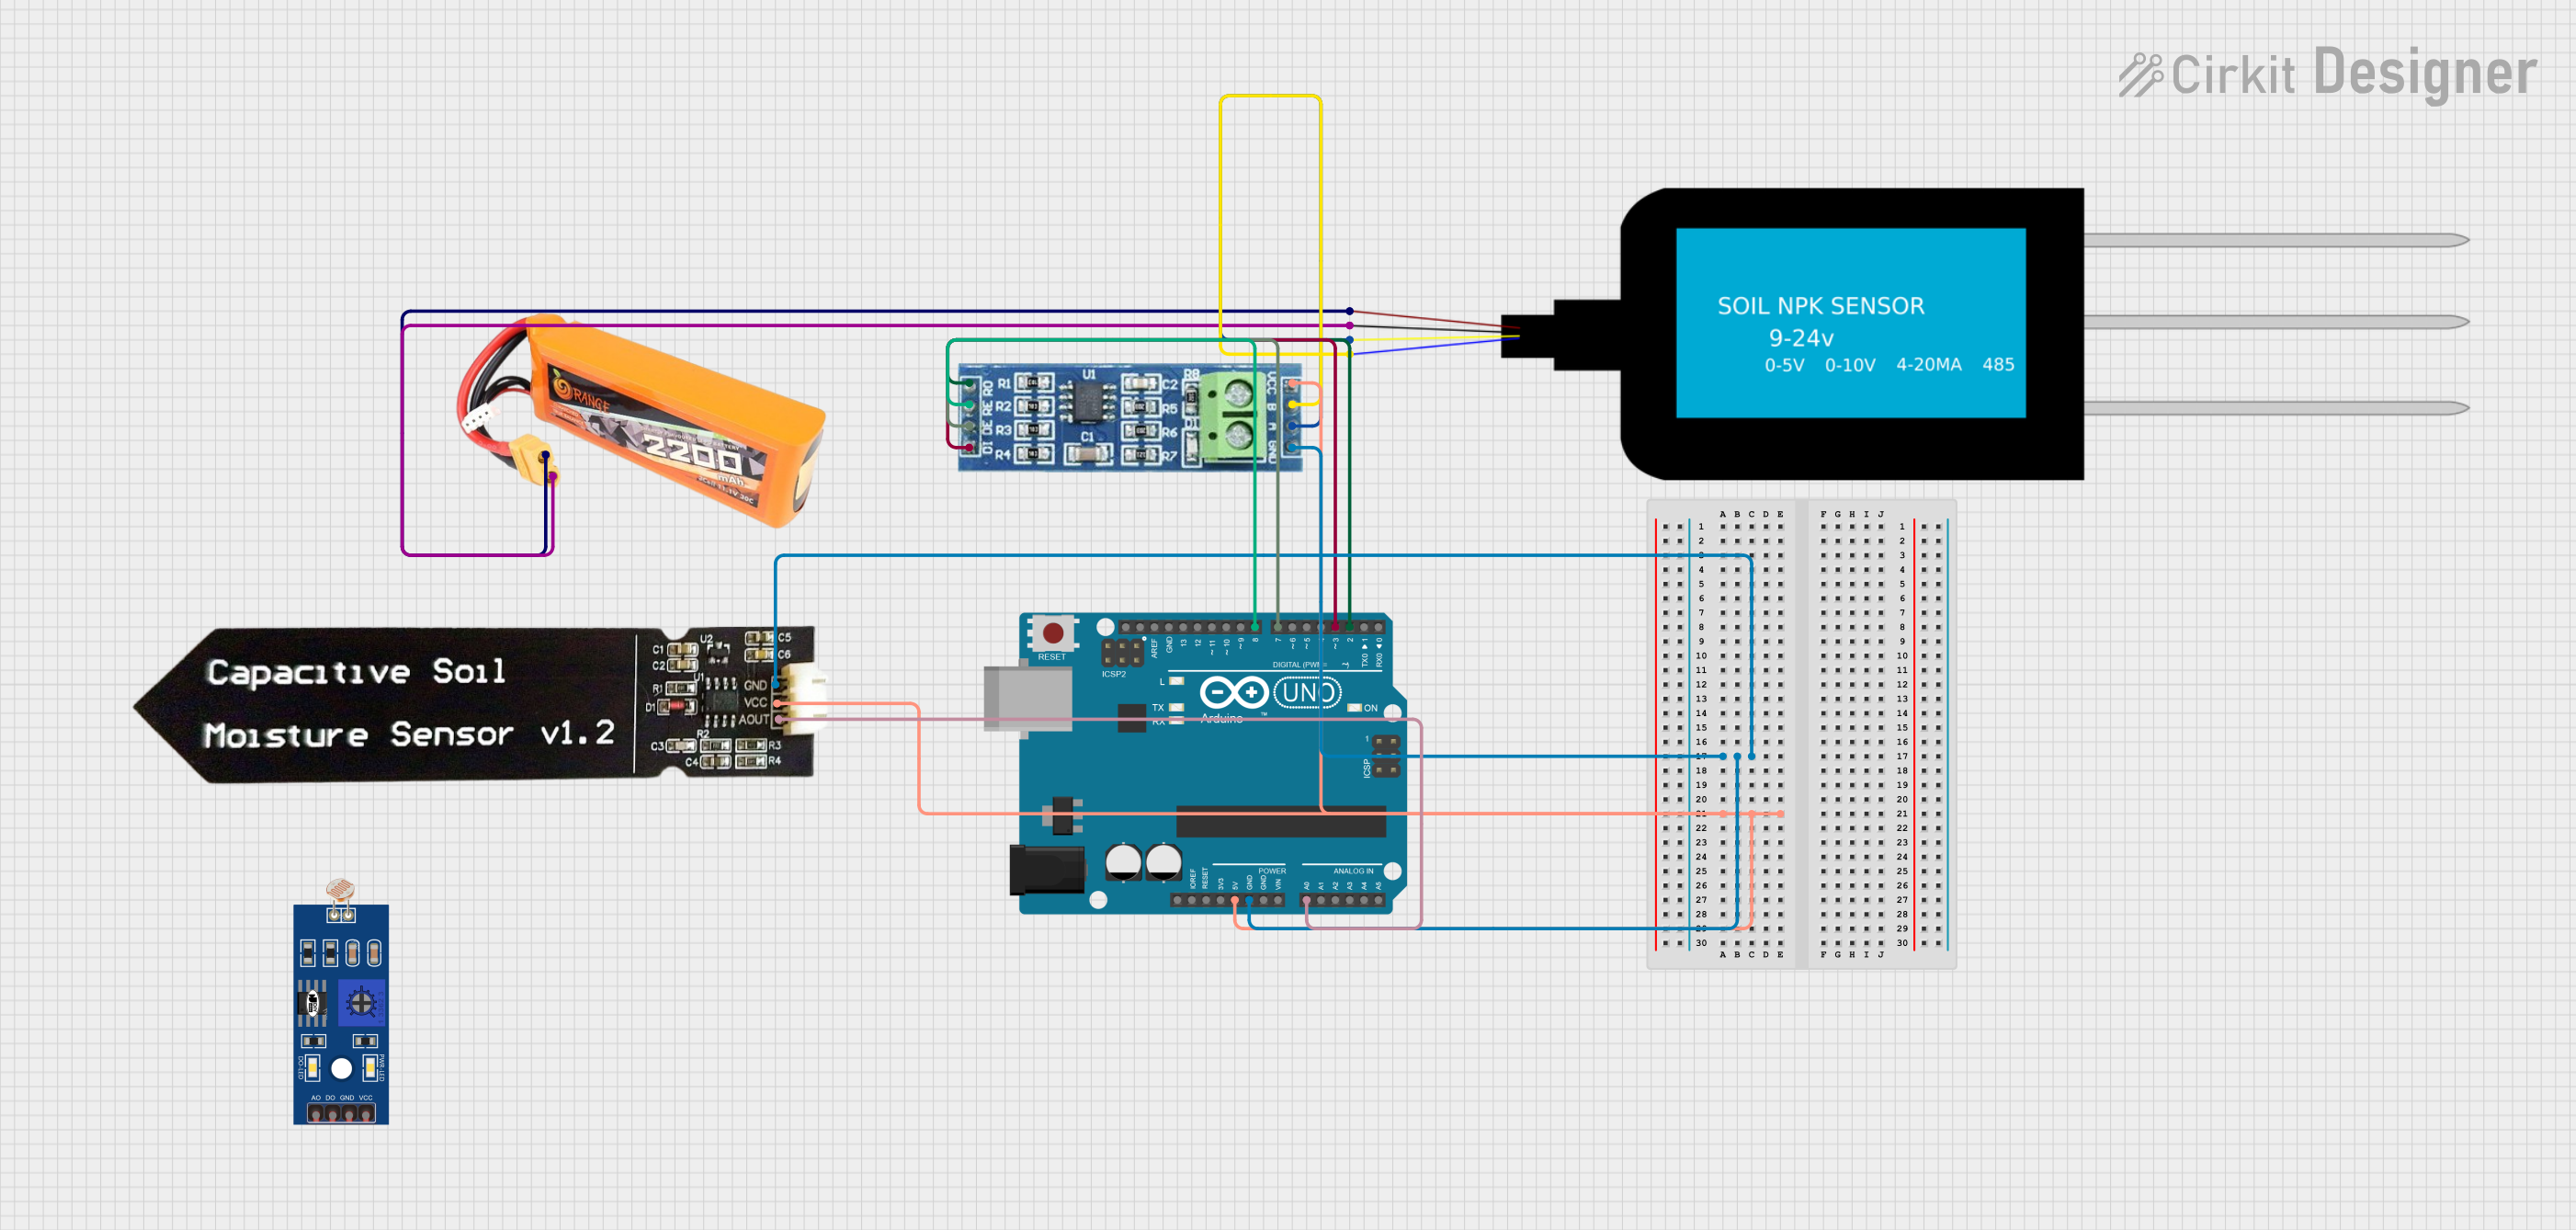
    • Connect the VCC pin to the 3.3V or 5V power supply of your microcontroller.
    • Connect the GND pin to the ground of your microcontroller.
    • Connect the AO pin to an analog input pin of your microcontroller (e.g., A0 on an Arduino UNO).
  2. Calibrate the Sensor:

    • Immerse the sensor in a standard buffer solution (e.g., pH 7.0).
    • Adjust the calibration potentiometer on the sensor module until the output voltage corresponds to the pH value of the buffer solution.
  3. Read the pH Value:

    • Use the analog input of your microcontroller to read the voltage output from the sensor.
    • Convert the voltage to a pH value using the appropriate formula or calibration curve.

Important Considerations and Best Practices

  • Calibration: Regularly calibrate the sensor using standard buffer solutions to ensure accurate readings.
  • Cleaning: Clean the sensor probe with distilled water after each use to prevent contamination.
  • Storage: Store the sensor in a moist environment to maintain the integrity of the probe.
  • Temperature Compensation: Be aware that temperature can affect pH readings. Use a temperature compensation method if precise measurements are required.

Example Code for Arduino UNO

// Soil pH Sensor Example Code for Arduino UNO

const int sensorPin = A0; // Analog input pin for the pH sensor
float voltage;
float pHValue;

void setup() {
  Serial.begin(9600); // Initialize serial communication
}

void loop() {
  int sensorValue = analogRead(sensorPin); // Read the analog value from the sensor
  voltage = sensorValue * (5.0 / 1023.0); // Convert the analog value to voltage
  pHValue = 3.5 * voltage; // Convert the voltage to pH value (example calibration)
  
  Serial.print("Voltage: ");
  Serial.print(voltage);
  Serial.print(" V, pH Value: ");
  Serial.println(pHValue);
  
  delay(1000); // Wait for 1 second before the next reading
}

Troubleshooting and FAQs

Common Issues Users Might Face

  1. Inaccurate Readings:

    • Solution: Ensure the sensor is properly calibrated using standard buffer solutions. Check for any contamination on the sensor probe and clean it if necessary.
  2. No Output or Fluctuating Readings:

    • Solution: Verify all connections are secure and correct. Ensure the power supply voltage is within the specified range. Check for any loose wires or poor connections.
  3. Sensor Not Responding:

    • Solution: Ensure the sensor is properly connected to the microcontroller. Check the sensor for any physical damage. Try using a different analog input pin on the microcontroller.

FAQs

Q: How often should I calibrate the soil pH sensor? A: It is recommended to calibrate the sensor before each use or at least once a month to ensure accurate readings.

Q: Can the soil pH sensor be used in water? A: While the sensor is designed for soil, it can be used in water for pH measurements. However, ensure the sensor is properly cleaned and calibrated for accurate results.

Q: What is the lifespan of the soil pH sensor? A: The lifespan of the sensor depends on usage and maintenance. With proper care and regular calibration, the sensor can last for several years.

Q: Can I use the soil pH sensor with other microcontrollers? A: Yes, the soil pH sensor can be used with other microcontrollers that have analog input capabilities, such as ESP32, Raspberry Pi, etc.


This documentation provides a comprehensive guide to using the Soil pH Sensor, ensuring accurate and reliable measurements for various applications.