
How to Use Adafruit 8x16 LED Matrix FeatherWing - White: Examples, Pinouts, and Specs
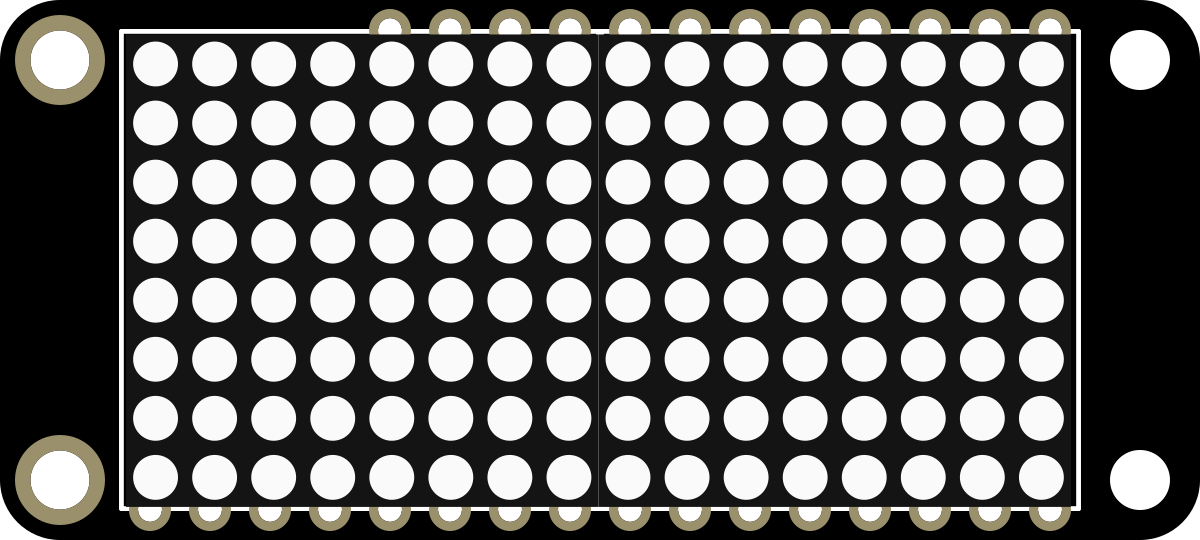
 Design with Adafruit 8x16 LED Matrix FeatherWing - White in Cirkit Designer
Introduction
The Adafruit 8x16 LED Matrix FeatherWing - White (Manufacturer Part ID: 3149) is a compact LED matrix display module featuring 128 white LEDs arranged in an 8x16 grid. Designed specifically for use with Adafruit Feather boards, this module provides an easy way to add visual output to your projects. It is ideal for displaying text, animations, and simple graphics, making it a versatile choice for hobbyists and professionals alike.
Explore Projects Built with Adafruit 8x16 LED Matrix FeatherWing - White
 Open Project in Cirkit Designer
 Open Project in Cirkit Designer
 Open Project in Cirkit Designer
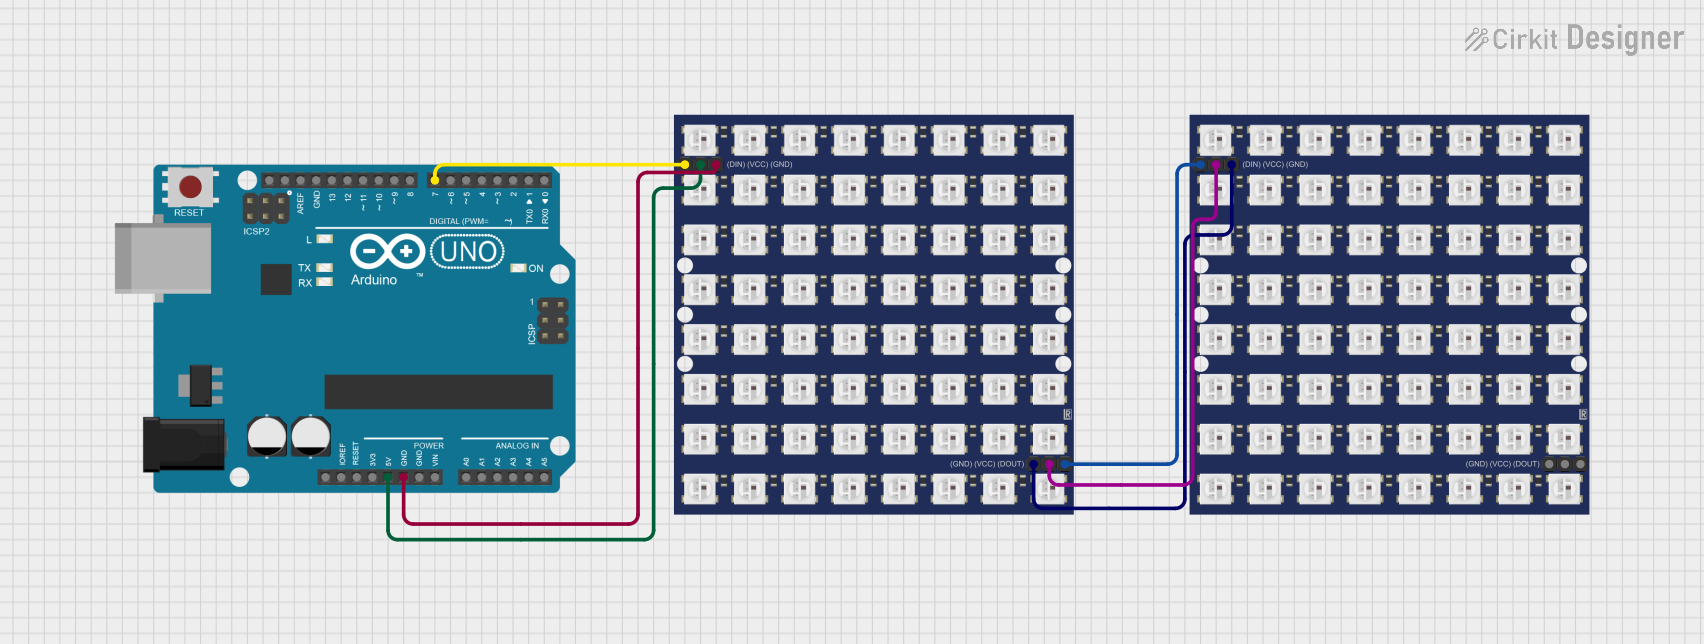 Open Project in Cirkit Designer
Explore Projects Built with Adafruit 8x16 LED Matrix FeatherWing - White
Open Project in Cirkit DesignerOpen Project in Cirkit DesignerOpen Project in Cirkit DesignerOpen Project in Cirkit DesignerCommon Applications and Use Cases
- Scrolling text displays
- Visual indicators for IoT projects
- Simple animations and graphics
- Debugging and status displays
- Educational and prototyping purposes
Technical Specifications
Below are the key technical details of the Adafruit 8x16 LED Matrix FeatherWing - White:
| Specification | Details |
|---|---|
| Manufacturer | Adafruit |
| Manufacturer Part ID | 3149 |
| LED Configuration | 8x16 grid (128 white LEDs) |
| Operating Voltage | 3.3V (compatible with Feather boards) |
| Communication Protocol | I2C |
| I2C Address | Configurable between 0x70 to 0x77 |
| Dimensions | 50.8mm x 22.8mm x 6.5mm (2.0" x 0.9" x 0.26") |
| Weight | 5.4g |
| Current Consumption | ~20mA (varies depending on the number of LEDs lit) |
| LED Driver Chip | HT16K33 |
Pin Configuration and Descriptions
The FeatherWing connects directly to Adafruit Feather boards via the Feather header pins. Below is the pin configuration:
| Pin | Description |
|---|---|
| 3V | Power supply (3.3V) |
| GND | Ground |
| SCL | I2C clock line |
| SDA | I2C data line |
Usage Instructions
How to Use the Component in a Circuit
- Attach the FeatherWing to a Feather Board: Align the FeatherWing with the Feather board's headers and press it into place. Ensure proper alignment of the pins.
- Connect Power and I2C Lines: The FeatherWing uses the Feather board's 3.3V power supply and communicates via the I2C protocol (SCL and SDA lines).
- Install Required Libraries: Download and install the Adafruit
Adafruit_GFXandAdafruit_LED_Backpacklibraries in your Arduino IDE. These libraries provide functions for controlling the LED matrix. - Write and Upload Code: Use the example code provided below or write your own to control the LED matrix.
Important Considerations and Best Practices
- Power Supply: Ensure your Feather board can supply sufficient current for the LEDs. If many LEDs are lit simultaneously, the current draw may increase.
- I2C Address Conflicts: If using multiple I2C devices, ensure each device has a unique address. The FeatherWing's address can be configured using solder jumpers on the back of the board.
- Brightness Control: Use the library functions to adjust brightness levels to suit your application and conserve power.
- Avoid Overheating: Prolonged use of high brightness levels may cause the module to heat up. Use moderate brightness settings for extended operation.
Example Code for Arduino UNO
Below is an example code snippet to display scrolling text on the LED matrix:
#include <Wire.h>
#include <Adafruit_GFX.h>
#include <Adafruit_LEDBackpack.h>

// Create an instance of the LED matrix object
Adafruit_8x16matrix matrix = Adafruit_8x16matrix();

void setup() {
  // Initialize the LED matrix
  matrix.begin(0x70); // Default I2C address is 0x70

  // Set brightness (0 = dim, 15 = max brightness)
  matrix.setBrightness(10);

  // Clear the display
  matrix.clear();
  matrix.writeDisplay();
}

void loop() {
  // Display scrolling text
  matrix.clear();
  matrix.setTextSize(1);          // Set text size to 1
  matrix.setTextWrap(false);      // Disable text wrapping
  matrix.setTextColor(LED_ON);    // Set text color to ON
  matrix.setCursor(0, 0);         // Set cursor position
  matrix.print("Hello!");         // Print text to display
  matrix.writeDisplay();          // Update the display
  delay(500);                     // Wait for 500ms

  // Scroll text to the left
  for (int i = 0; i < 8; i++) {
    matrix.scrollDisplayLeft();   // Scroll display left by one column
    matrix.writeDisplay();        // Update the display
    delay(200);                   // Wait for 200ms
  }
}
Troubleshooting and FAQs
Common Issues and Solutions
LED Matrix Not Lighting Up
- Cause: Improper connection or insufficient power.
- Solution: Ensure the FeatherWing is securely connected to the Feather board. Verify that the Feather board is powered and supplying 3.3V.
Text or Graphics Not Displaying Correctly
- Cause: Incorrect I2C address or library setup.
- Solution: Check the I2C address in your code and ensure it matches the FeatherWing's address. Verify that the
Adafruit_GFXandAdafruit_LED_Backpacklibraries are installed and up to date.
Flickering LEDs
- Cause: Excessive current draw or loose connections.
- Solution: Reduce the number of LEDs lit simultaneously or lower the brightness. Check all connections for stability.
I2C Address Conflict
- Cause: Multiple devices on the same I2C bus with the same address.
- Solution: Change the FeatherWing's I2C address by modifying the solder jumpers on the back of the board.
FAQs
Can I use this FeatherWing with non-Adafruit boards? Yes, as long as the board supports 3.3V logic and I2C communication. However, you may need to use jumper wires for connections.
How do I change the I2C address? The I2C address can be changed by soldering the address jumpers on the back of the FeatherWing. Refer to the Adafruit guide for detailed instructions.
What is the maximum brightness level? The brightness level ranges from 0 (dim) to 15 (maximum). Use the
setBrightness()function to adjust it.Can I chain multiple FeatherWings together? Yes, you can chain multiple FeatherWings by assigning each one a unique I2C address and connecting them to the same I2C bus.
This concludes the documentation for the Adafruit 8x16 LED Matrix FeatherWing - White. For additional support, visit the Adafruit website.