How to Use LEVEL-1: Examples, Pinouts, and Specs

Introduction
The 18650 Lithium-Ion Battery, manufactured by Battery, is a high-capacity rechargeable battery commonly used in a variety of electronic devices. Known for its high energy density, long cycle life, and stable discharge characteristics, the 18650 battery is a popular choice for applications ranging from portable electronics to electric vehicles and energy storage systems.
Explore Projects Built with LEVEL-1


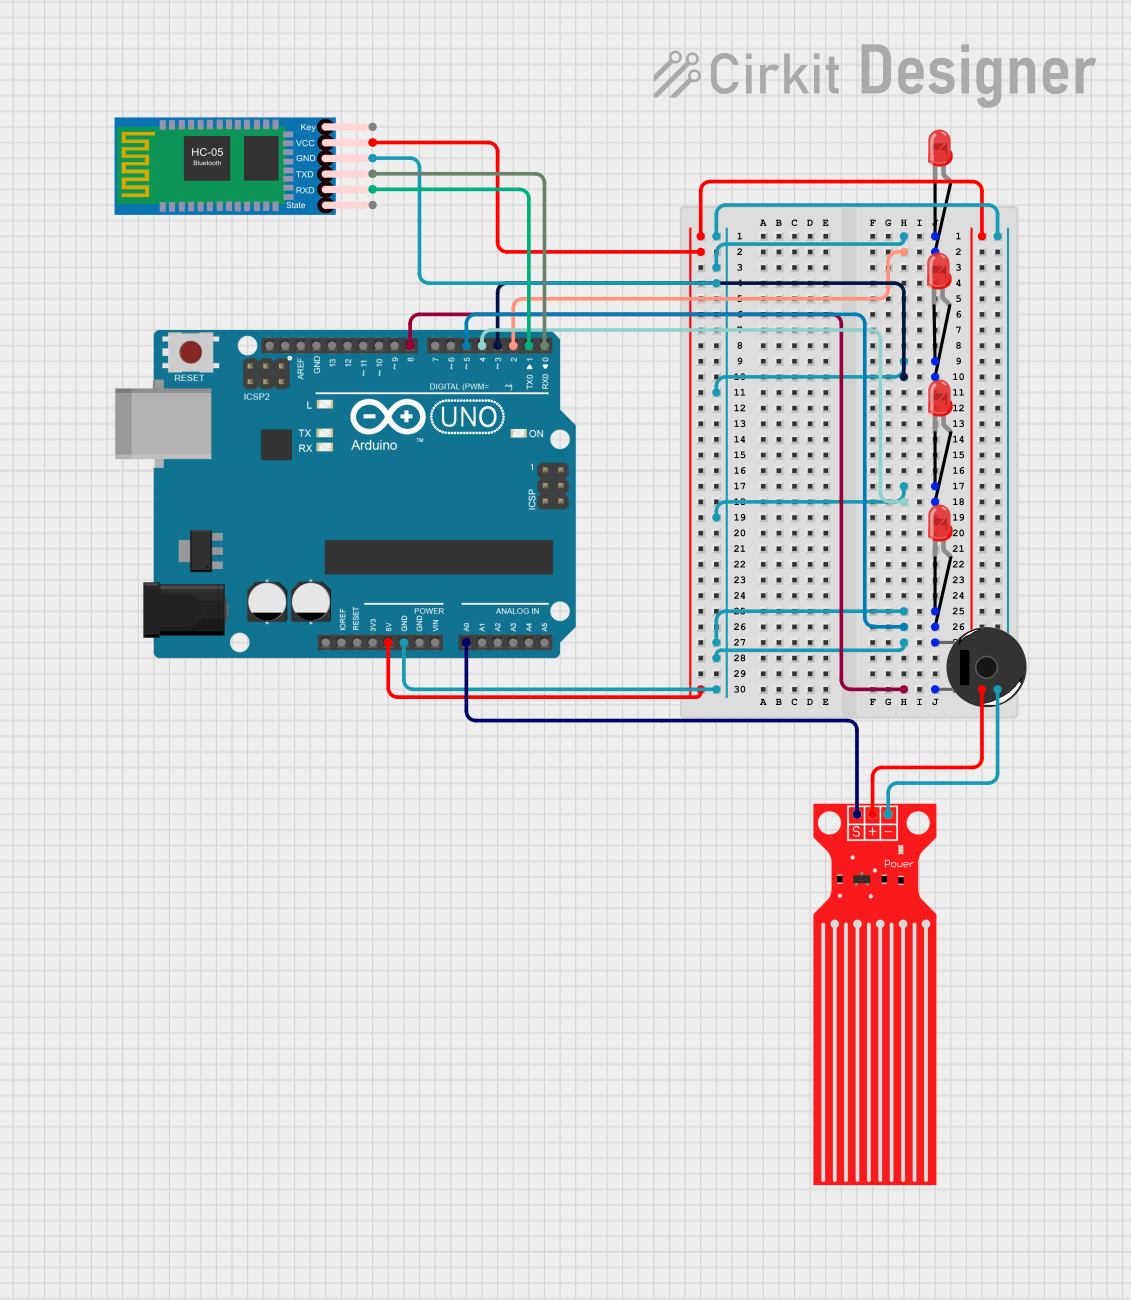
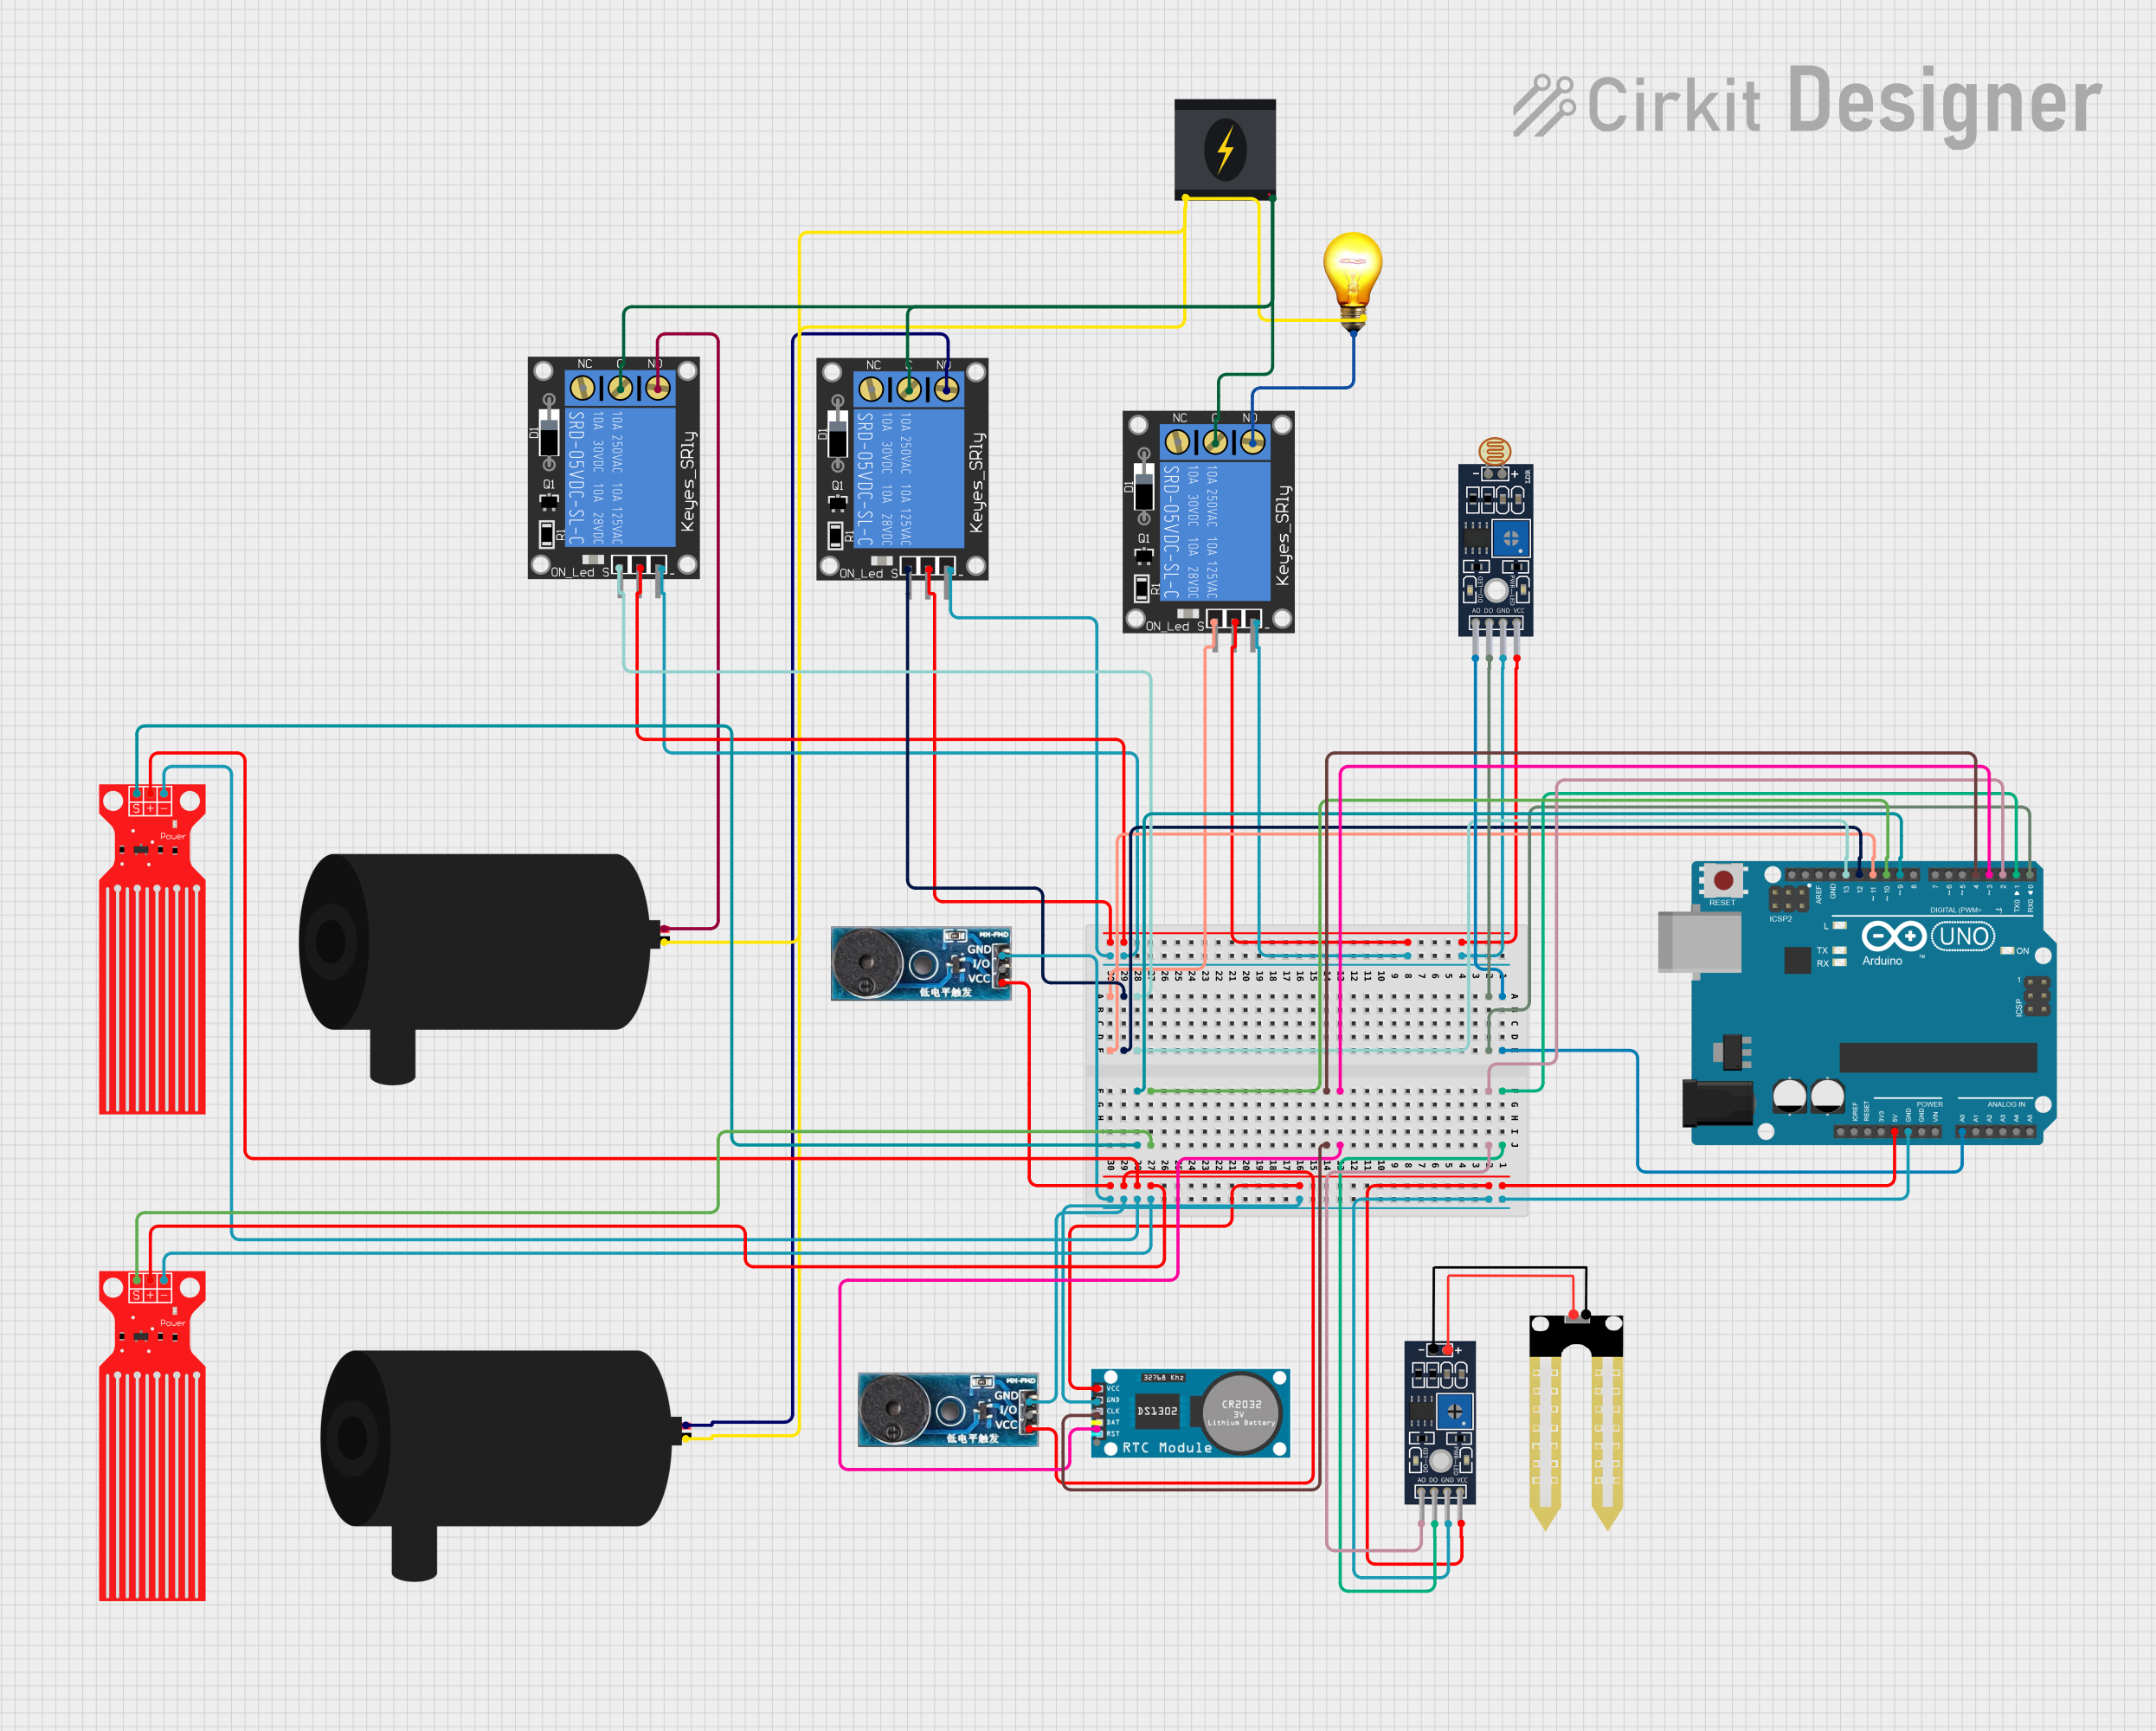
Explore Projects Built with LEVEL-1
Common Applications and Use Cases
- Portable Electronics: Laptops, flashlights, and power banks.
- Electric Vehicles: E-bikes, scooters, and electric cars.
- Energy Storage: Solar power systems and uninterruptible power supplies (UPS).
- DIY Projects: Robotics, Arduino projects, and other hobbyist electronics.
Technical Specifications
| Parameter | Value |
|---|---|
| Nominal Voltage | 3.7V |
| Capacity | 2500mAh - 3500mAh |
| Maximum Discharge Current | 10A - 30A |
| Charging Voltage | 4.2V |
| Charging Current | 0.5C - 1C |
| Dimensions | 18mm (diameter) x 65mm (length) |
| Weight | 45g - 50g |
| Operating Temperature | -20°C to 60°C |
Pin Configuration and Descriptions
| Pin | Description |
|---|---|
| + | Positive Terminal |
| - | Negative Terminal |
Usage Instructions
How to Use the 18650 Battery in a Circuit
- Identify the Terminals: Ensure you correctly identify the positive (+) and negative (-) terminals of the battery.
- Battery Holder: Use a suitable 18650 battery holder to securely mount the battery in your circuit.
- Connection: Connect the positive terminal to the positive rail of your circuit and the negative terminal to the ground.
- Charging: Use a dedicated 18650 battery charger to safely charge the battery. Ensure the charger is set to the correct voltage (4.2V) and current (0.5C - 1C).
Important Considerations and Best Practices
- Avoid Overcharging: Overcharging can damage the battery and pose safety risks. Always use a charger with overcharge protection.
- Avoid Deep Discharge: Discharging the battery below 2.5V can reduce its lifespan. Use a battery management system (BMS) to prevent deep discharge.
- Temperature Monitoring: Avoid using the battery in extreme temperatures. High temperatures can cause thermal runaway, while low temperatures can reduce performance.
- Storage: Store the battery in a cool, dry place. If storing for an extended period, keep the battery at around 50% charge.
Troubleshooting and FAQs
Common Issues Users Might Face
Battery Not Charging:
- Solution: Check the charger and ensure it is functioning correctly. Verify the connections and ensure the battery is properly seated in the charger.
Battery Drains Quickly:
- Solution: Check for any short circuits or high current draws in your circuit. Ensure the battery is not being discharged below its minimum voltage.
Battery Overheating:
- Solution: Ensure the battery is not exposed to high temperatures. Check for any excessive current draw that might be causing the battery to overheat.
FAQs
Q: Can I use an 18650 battery with an Arduino UNO? A: Yes, you can use an 18650 battery to power an Arduino UNO. However, you will need a voltage regulator to step down the voltage to 5V, which is the operating voltage of the Arduino UNO.
Q: How do I safely dispose of an 18650 battery? A: Do not dispose of 18650 batteries in regular trash. Take them to a designated battery recycling center or follow local regulations for battery disposal.
Q: Can I use multiple 18650 batteries in series or parallel? A: Yes, you can connect multiple 18650 batteries in series to increase voltage or in parallel to increase capacity. Ensure you use a proper battery management system (BMS) to balance the cells and protect them from overcharge and over-discharge.
Example Code for Arduino UNO
Here is an example of how to use an 18650 battery to power an Arduino UNO with a voltage regulator:
// Example code to read analog input from a sensor powered by an 18650 battery

const int sensorPin = A0; // Analog input pin for the sensor
int sensorValue = 0;      // Variable to store the sensor value

void setup() {
  Serial.begin(9600); // Initialize serial communication at 9600 baud
}

void loop() {
  sensorValue = analogRead(sensorPin); // Read the analog input
  Serial.print("Sensor Value: ");
  Serial.println(sensorValue); // Print the sensor value to the serial monitor
  delay(1000); // Wait for 1 second before the next reading
}
Note: Ensure you use a voltage regulator to step down the 3.7V from the 18650 battery to 5V for the Arduino UNO.
This documentation provides a comprehensive overview of the 18650 Lithium-Ion Battery, including its technical specifications, usage instructions, and troubleshooting tips. Whether you are a beginner or an experienced user, this guide will help you effectively utilize the 18650 battery in your projects.