
How to Use Terminal Block: Examples, Pinouts, and Specs
 Design with Terminal Block in Cirkit Designer
Introduction
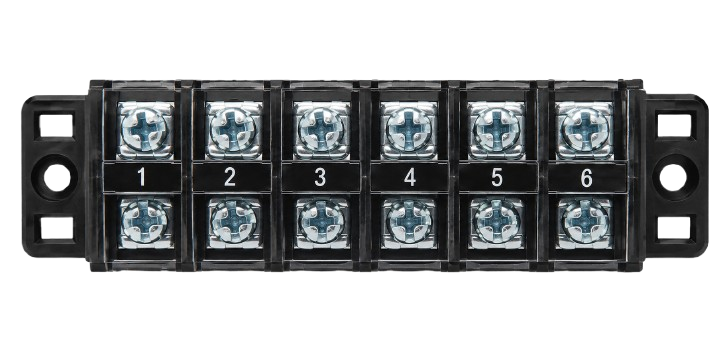
A terminal block is a modular, insulated block designed to secure two or more wires together. It provides a convenient and reliable way to connect and disconnect electrical circuits, ensuring safe and organized wiring. Terminal blocks are widely used in electrical and electronic systems due to their simplicity, durability, and versatility.
Explore Projects Built with Terminal Block
 Open Project in Cirkit Designer
 Open Project in Cirkit Designer
 Open Project in Cirkit Designer
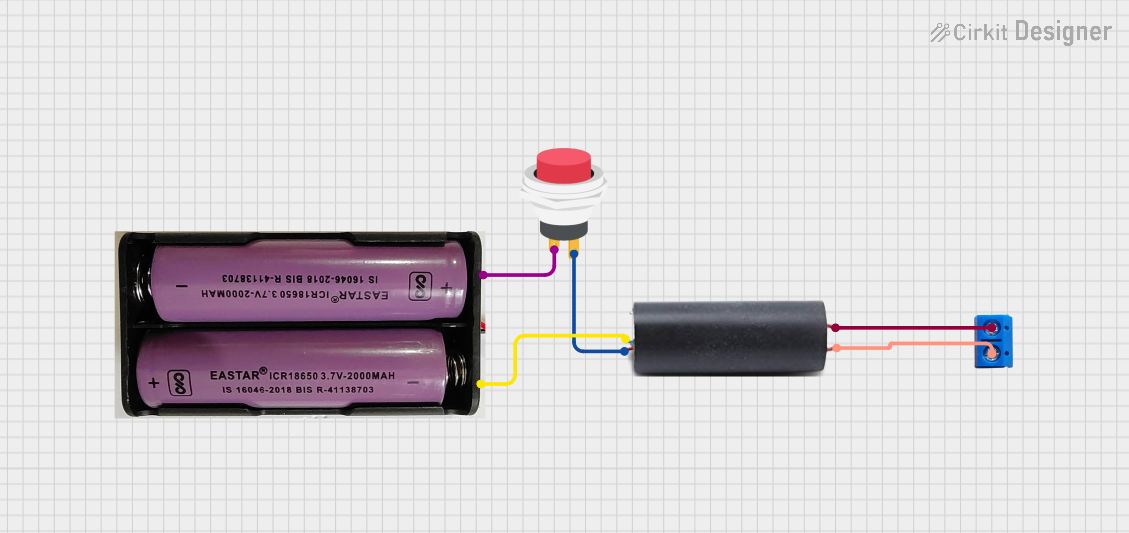 Open Project in Cirkit Designer
Explore Projects Built with Terminal Block
Open Project in Cirkit DesignerOpen Project in Cirkit DesignerOpen Project in Cirkit DesignerOpen Project in Cirkit DesignerCommon Applications and Use Cases
- Industrial control panels and automation systems
- Electrical distribution boards
- Audio and speaker connections
- Power supply connections in electronic devices
- Prototyping and testing circuits
- Renewable energy systems (e.g., solar panels)
Technical Specifications
Terminal blocks come in various types and configurations, depending on the application. Below are the general technical specifications for a standard screw-type terminal block:
| Parameter | Specification |
|---|---|
| Voltage Rating | 250V to 1000V (varies by model) |
| Current Rating | 10A to 125A (varies by model) |
| Wire Size Compatibility | 22 AWG to 2 AWG |
| Insulation Material | Polyamide (PA66), PVC, or similar |
| Operating Temperature | -40°C to +105°C |
| Mounting Type | DIN rail, PCB mount, or panel mount |
| Connection Type | Screw, spring clamp, or push-in |
Pin Configuration and Descriptions
Terminal blocks do not have traditional "pins" like ICs or connectors, but they have terminals for wire connections. Below is a description of the key parts of a screw-type terminal block:
| Part | Description |
|---|---|
| Terminal Screw | Secures the wire in place by tightening it against the conductor. |
| Conductor Clamp | Holds the wire securely and ensures a reliable electrical connection. |
| Insulation Barrier | Prevents short circuits by separating adjacent terminals. |
| Mounting Slot | Allows the terminal block to be mounted on a DIN rail, PCB, or panel. |
| Wire Entry Point | The opening where the wire is inserted before being clamped. |
Usage Instructions
How to Use a Terminal Block in a Circuit
- Select the Appropriate Terminal Block: Choose a terminal block that matches the voltage, current, and wire size requirements of your circuit.
- Prepare the Wires:
- Strip the insulation from the wire ends (typically 5-10mm, depending on the terminal block).
- Ensure the exposed conductor is clean and free of damage.
- Insert the Wires:
- Insert the stripped wire end into the wire entry point of the terminal block.
- For multi-wire connections, ensure all wires are properly aligned and inserted.
- Secure the Connection:
- Tighten the terminal screw using a screwdriver until the wire is firmly clamped.
- Avoid overtightening, as this may damage the wire or terminal block.
- Verify the Connection:
- Gently tug on the wire to ensure it is securely held in place.
- Check for any exposed conductor that could cause a short circuit.
- Mount the Terminal Block:
- Attach the terminal block to a DIN rail, PCB, or panel as required.
Important Considerations and Best Practices
- Wire Compatibility: Always use wires within the specified size range of the terminal block.
- Torque Settings: Follow the manufacturer's recommended torque settings for tightening screws.
- Insulation Check: Ensure no part of the conductor is exposed outside the terminal block.
- Environmental Conditions: Use terminal blocks rated for the operating temperature and environmental conditions of your application.
- Periodic Maintenance: Periodically check and retighten screws to maintain a secure connection, especially in high-vibration environments.
Example: Connecting a Terminal Block to an Arduino UNO
While terminal blocks are not directly connected to an Arduino UNO, they can be used to organize and distribute power or signals in a circuit. Below is an example of using a terminal block to distribute power to multiple components:
// Example: Distributing 5V power from Arduino UNO to multiple components
// Terminal block is used to organize and distribute the 5V and GND connections

void setup() {
  // No specific code is required for the terminal block itself
  // Ensure proper wiring:
  // - Connect Arduino 5V pin to one terminal of the block
  // - Connect Arduino GND pin to another terminal of the block
  // - Use the remaining terminals to distribute power to other components
}

void loop() {
  // Your main code logic goes here
  // Terminal block simply acts as a passive connection point
}
Troubleshooting and FAQs
Common Issues and Solutions
| Issue | Solution |
|---|---|
| Wire slips out of the terminal block | Ensure the wire is properly stripped and inserted. Tighten the screw securely. |
| Loose connection causing intermittent issues | Check and retighten the screws. Use the correct torque settings. |
| Short circuit between adjacent terminals | Verify that no exposed conductor is touching adjacent terminals. |
| Terminal block overheating | Ensure the current does not exceed the terminal block's rated capacity. |
| Difficulty inserting wires | Check if the wire size is compatible with the terminal block. |
FAQs
Can I use a terminal block for high-frequency signals?
- Yes, but ensure the terminal block is designed for low-resistance and low-inductance connections to minimize signal degradation.
Are terminal blocks reusable?
- Yes, terminal blocks can be reused, but ensure the screws and clamps are not damaged during repeated use.
What is the difference between screw and spring clamp terminal blocks?
- Screw terminal blocks use screws to secure wires, while spring clamp terminal blocks use a spring mechanism for faster and tool-free connections.
Can terminal blocks be used outdoors?
- Only if they are rated for outdoor use and have appropriate weatherproofing.
How do I choose the right terminal block for my application?
- Consider the voltage, current, wire size, mounting type, and environmental conditions when selecting a terminal block.