
How to Use LVD: Examples, Pinouts, and Specs
 Design with LVD in Cirkit Designer
Introduction
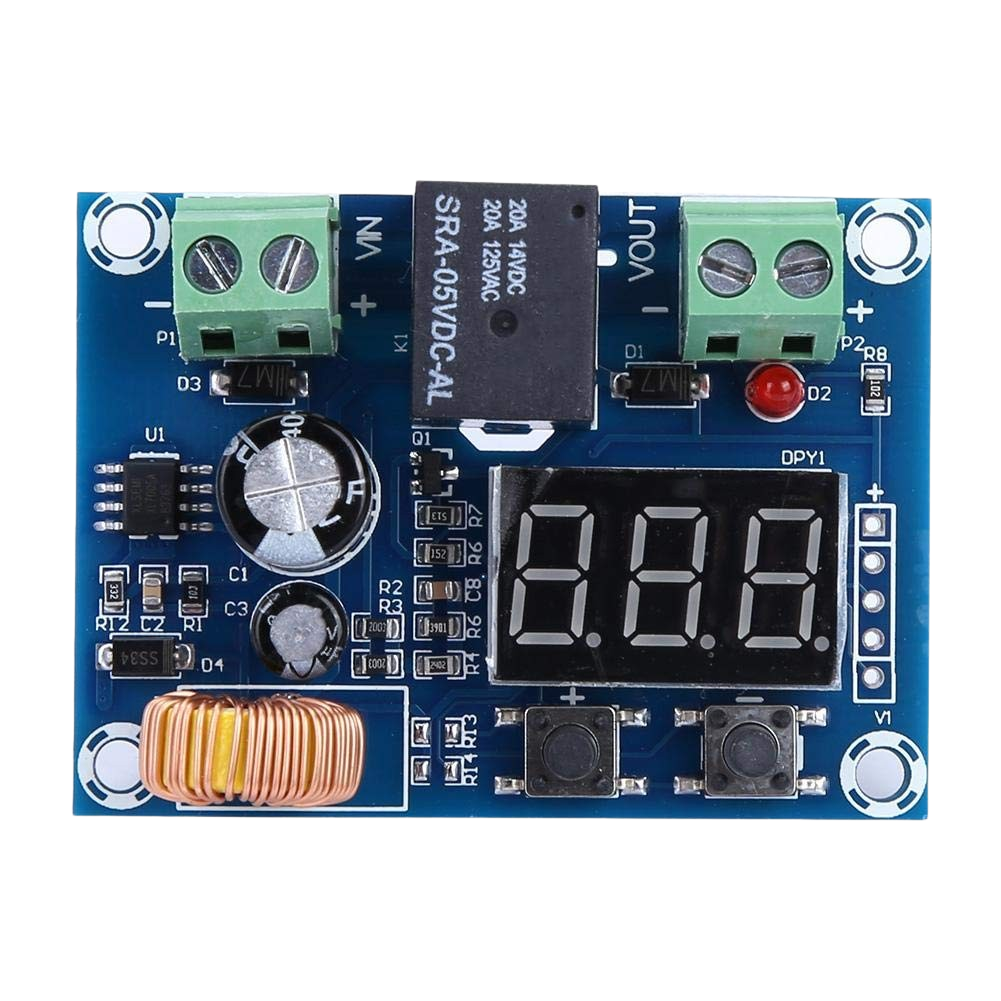
A Low Voltage Disconnect (LVD) is a protective device designed to disconnect a battery from its load when the battery voltage falls below a predefined threshold. This functionality prevents the battery from over-discharging, which can lead to reduced battery lifespan or permanent damage. LVDs are commonly used in renewable energy systems, automotive applications, and backup power systems to ensure reliable operation and battery health.
Explore Projects Built with LVD
 Open Project in Cirkit Designer
 Open Project in Cirkit Designer
 Open Project in Cirkit Designer
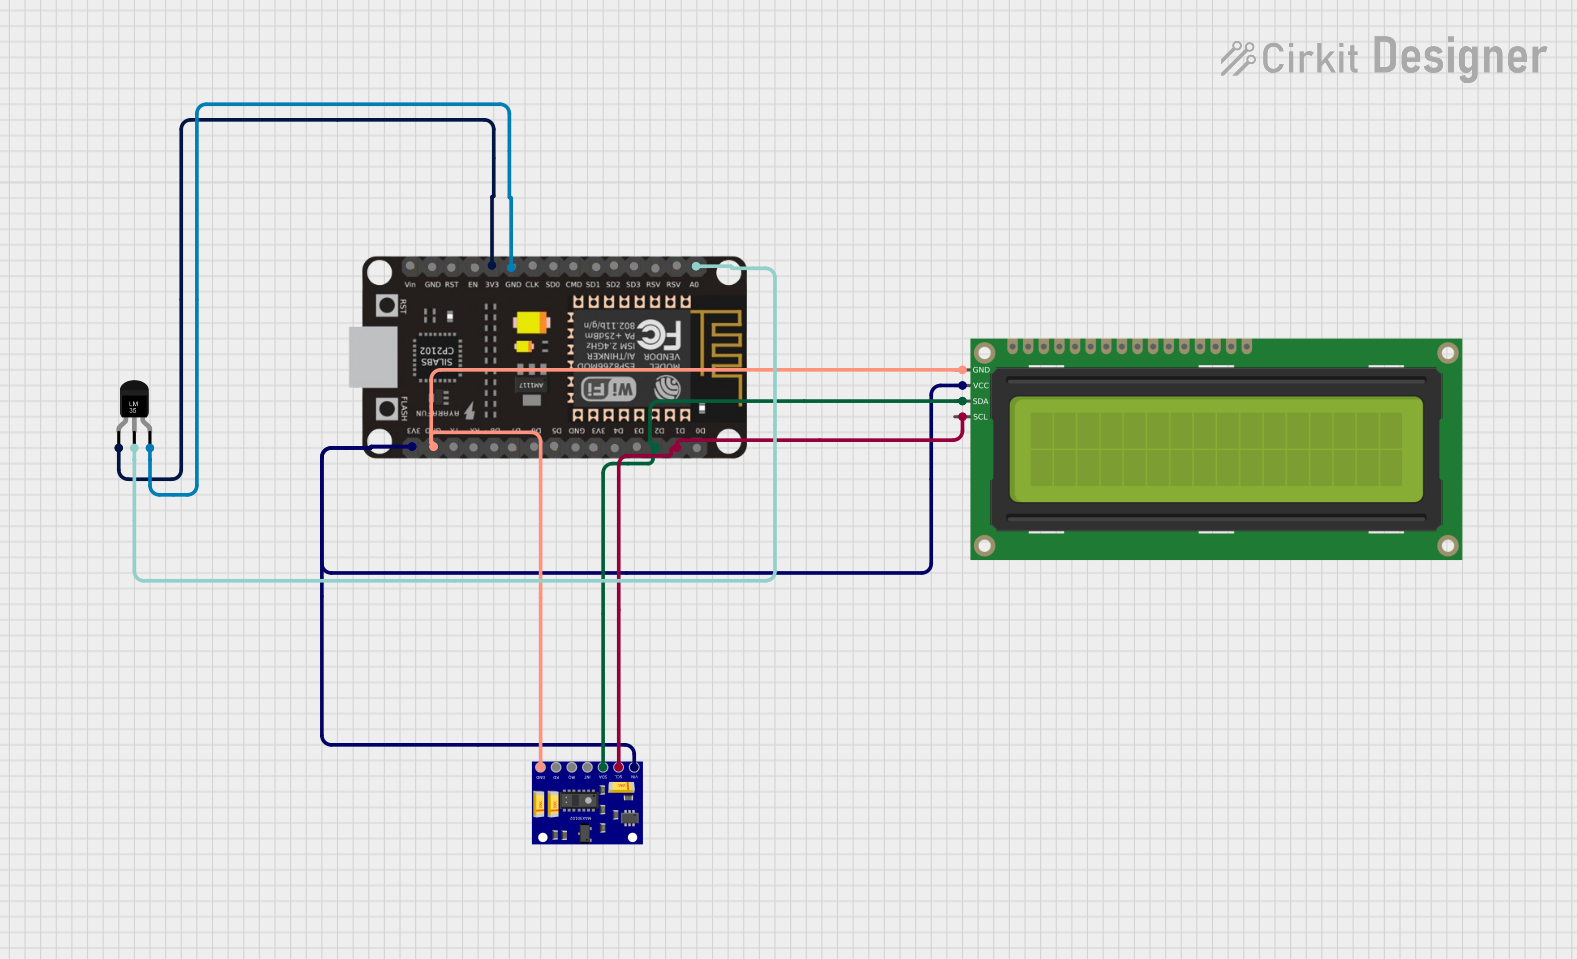 Open Project in Cirkit Designer
Explore Projects Built with LVD
Open Project in Cirkit DesignerOpen Project in Cirkit DesignerOpen Project in Cirkit DesignerOpen Project in Cirkit DesignerCommon Applications and Use Cases
- Solar power systems to protect deep-cycle batteries.
- Automotive systems to prevent battery drain from auxiliary loads.
- Uninterruptible Power Supplies (UPS) for battery protection.
- Off-grid power systems to maintain battery longevity.
Technical Specifications
Below are the general technical specifications for a typical LVD. Note that specific models may vary, so always refer to the manufacturer's datasheet for exact details.
Key Technical Details
- Operating Voltage Range: 6V to 48V (varies by model)
- Disconnect Voltage Threshold: Adjustable, typically 10.5V to 12V for 12V systems
- Reconnect Voltage Threshold: Adjustable, typically 12.5V to 13V for 12V systems
- Maximum Load Current: 10A to 100A (depending on the model)
- Power Consumption: < 10mA in standby mode
- Operating Temperature: -40°C to +85°C
- Hysteresis: 0.5V to 1V (to prevent rapid switching)
Pin Configuration and Descriptions
The LVD typically has a simple pinout for connection. Below is an example of a 4-pin configuration:
| Pin Name | Description |
|---|---|
| Battery (+) | Positive terminal of the battery. |
| Battery (-) | Negative terminal of the battery (ground). |
| Load (+) | Positive terminal of the load. |
| Load (-) | Negative terminal of the load (ground). |
Some advanced LVDs may include additional pins for features like remote control or status indication.
Usage Instructions
How to Use the LVD in a Circuit
- Connect the Battery:
- Attach the positive terminal of the battery to the
Battery (+)pin. - Attach the negative terminal of the battery to the
Battery (-)pin.
- Attach the positive terminal of the battery to the
- Connect the Load:
- Connect the positive terminal of the load to the
Load (+)pin. - Connect the negative terminal of the load to the
Load (-)pin.
- Connect the positive terminal of the load to the
- Adjust Voltage Thresholds (if applicable):
- Use the onboard potentiometer or configuration interface to set the disconnect and reconnect voltage thresholds according to your battery's specifications.
- Power On:
- Once connected, the LVD will monitor the battery voltage and automatically disconnect the load if the voltage drops below the set threshold.
Important Considerations and Best Practices
- Voltage Thresholds: Ensure the disconnect and reconnect thresholds are set appropriately for your battery type (e.g., lead-acid, lithium-ion).
- Load Current: Verify that the LVD's maximum load current rating exceeds the current draw of your load.
- Hysteresis: Use the hysteresis feature to prevent rapid on/off cycling when the battery voltage hovers near the threshold.
- Wiring: Use appropriately rated wires and connectors to handle the current without overheating.
- Testing: Test the LVD functionality before deploying it in critical systems.
Example Arduino Code for Monitoring LVD Status
If your LVD includes a status output pin, you can monitor its state using an Arduino UNO. Below is an example code snippet:
// Define the pin connected to the LVD status output
const int lvdStatusPin = 2; // Digital pin 2

void setup() {
  pinMode(lvdStatusPin, INPUT); // Set the LVD status pin as input
  Serial.begin(9600); // Initialize serial communication
}

void loop() {
  int lvdStatus = digitalRead(lvdStatusPin); // Read the LVD status pin

  if (lvdStatus == HIGH) {
    // If the status pin is HIGH, the load is connected
    Serial.println("LVD Status: Load Connected");
  } else {
    // If the status pin is LOW, the load is disconnected
    Serial.println("LVD Status: Load Disconnected");
  }

  delay(1000); // Wait for 1 second before checking again
}
Troubleshooting and FAQs
Common Issues and Solutions
LVD Does Not Disconnect the Load:
- Cause: Voltage thresholds are not set correctly.
- Solution: Recheck and adjust the disconnect voltage threshold.
LVD Disconnects Too Frequently:
- Cause: Hysteresis is too small or battery voltage fluctuates.
- Solution: Increase the hysteresis setting or check the battery's health.
LVD Overheats:
- Cause: Load current exceeds the LVD's maximum rating.
- Solution: Use an LVD with a higher current rating or reduce the load.
No Power to the Load:
- Cause: Incorrect wiring or a blown fuse.
- Solution: Verify all connections and replace the fuse if necessary.
FAQs
Q: Can I use an LVD with a lithium-ion battery?
A: Yes, but ensure the voltage thresholds are compatible with the lithium-ion battery's specifications.Q: What happens if the LVD fails?
A: In most cases, the load will remain disconnected to protect the battery. However, always use a reliable LVD from a trusted manufacturer.Q: Can I use an LVD in a 24V system?
A: Yes, as long as the LVD's operating voltage range supports 24V systems.Q: How do I know if the LVD is working?
A: Test the LVD by gradually lowering the battery voltage and observing if it disconnects the load at the set threshold.
By following this documentation, you can effectively integrate and troubleshoot an LVD in your system to ensure optimal battery protection and performance.