How to Use Flash LED Strobe Light Wired Siren 12V: Examples, Pinouts, and Specs
Introduction
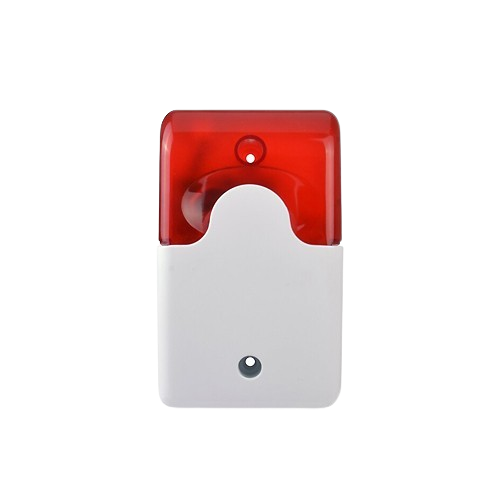
The Flash LED Strobe Light Wired Siren 12V (Manufacturer: abc, Part ID: alrm) is a versatile signaling device designed for a wide range of applications. It emits bright, attention-grabbing flashes of light and is equipped with a wired connection for straightforward installation. This component is commonly used in security systems, emergency vehicles, industrial alert systems, and other environments where visual signaling is required.
Explore Projects Built with Flash LED Strobe Light Wired Siren 12V

Explore Projects Built with Flash LED Strobe Light Wired Siren 12V
Common Applications:
- Security alarms and intrusion detection systems
- Emergency vehicles (e.g., police cars, ambulances)
- Industrial machinery alerts
- Fire alarm systems
- Warning signals in hazardous areas
Technical Specifications
Below are the key technical details for the Flash LED Strobe Light Wired Siren 12V:
| Parameter | Value |
|---|---|
| Operating Voltage | 12V DC |
| Current Consumption | 150-200 mA |
| Light Output | Bright LED strobe flashes |
| Flash Frequency | 1-3 flashes per second |
| Connection Type | Wired |
| Dimensions | 85mm x 85mm x 50mm |
| Operating Temperature | -20°C to 50°C |
| Housing Material | Durable ABS plastic |
| Mounting Type | Surface mount with screws |
Pin Configuration and Descriptions
The component has a simple two-wire connection for power input:
| Wire Color | Function | Description |
|---|---|---|
| Red | Positive (+) | Connect to the positive terminal of the 12V power supply. |
| Black | Negative (-) | Connect to the ground (GND) of the power supply. |
Usage Instructions
How to Use the Component in a Circuit
- Power Supply: Ensure you have a stable 12V DC power source capable of supplying at least 200 mA.
- Wiring:
- Connect the red wire to the positive terminal of the 12V power supply.
- Connect the black wire to the ground (GND) terminal of the power supply.
- Mounting:
- Use the provided mounting holes to securely attach the strobe light to a surface.
- Ensure the light is positioned in a location where it is visible and unobstructed.
- Testing:
- Power on the circuit and verify that the strobe light emits bright flashes.
Important Considerations and Best Practices
- Polarity: Double-check the polarity of the connections. Reversing the polarity may damage the component.
- Power Supply: Use a regulated 12V DC power supply to avoid voltage fluctuations that could affect performance.
- Environment: Ensure the component is installed in a location within its operating temperature range (-20°C to 50°C).
- Safety: Avoid looking directly at the strobe light when it is operating, as the bright flashes can cause discomfort or temporary vision impairment.
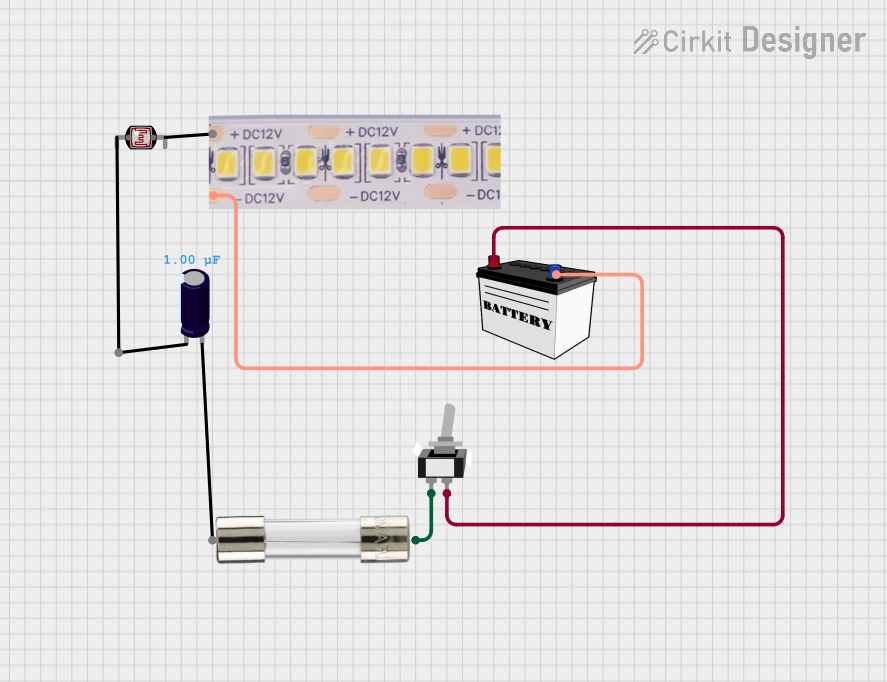
Example: Connecting to an Arduino UNO
The Flash LED Strobe Light can be controlled using an Arduino UNO to turn it on or off programmatically. Below is an example circuit and code:
Circuit:
- Connect the red wire of the strobe light to a digital pin on the Arduino (e.g., Pin 9) through a suitable NPN transistor (e.g., 2N2222) for current control.
- Connect the black wire to the ground (GND) of the Arduino.
- Use a 1kΩ resistor between the Arduino pin and the transistor base.
Code:
// Arduino code to control the Flash LED Strobe Light
// The strobe light is connected to Pin 9 via a transistor.

const int strobePin = 9; // Define the pin connected to the strobe light

void setup() {
  pinMode(strobePin, OUTPUT); // Set the strobe pin as an output
}

void loop() {
  digitalWrite(strobePin, HIGH); // Turn on the strobe light
  delay(1000);                   // Keep it on for 1 second
  digitalWrite(strobePin, LOW);  // Turn off the strobe light
  delay(1000);                   // Keep it off for 1 second
}
Troubleshooting and FAQs
Common Issues and Solutions
- The strobe light does not turn on:
- Solution: Check the power supply voltage and ensure it is 12V DC. Verify the wiring connections for proper polarity.
- The light is dim or flickering:
- Solution: Ensure the power supply can provide sufficient current (at least 200 mA). Check for loose or corroded connections.
- The strobe light gets too hot:
- Solution: Verify that the operating environment is within the specified temperature range. Ensure proper ventilation around the component.
- The light does not flash at the expected frequency:
- Solution: The flash frequency is fixed and cannot be adjusted. If the frequency seems incorrect, test the component with a stable 12V power supply.
FAQs
- Can I use this strobe light with a 24V power supply?
- No, this component is designed for 12V DC operation. Using a higher voltage may damage the device.
- Is the strobe light waterproof?
- No, the housing is not waterproof. It should be installed in a dry location or within a protective enclosure if used outdoors.
- Can I adjust the flash frequency?
- No, the flash frequency is fixed at 1-3 flashes per second and cannot be modified.
- Can I use this with a battery?
- Yes, you can use a 12V battery as the power source, provided it can supply sufficient current.
This concludes the documentation for the Flash LED Strobe Light Wired Siren 12V.