
How to Use AM2302 Humidity and Temperature Sensor: Examples, Pinouts, and Specs
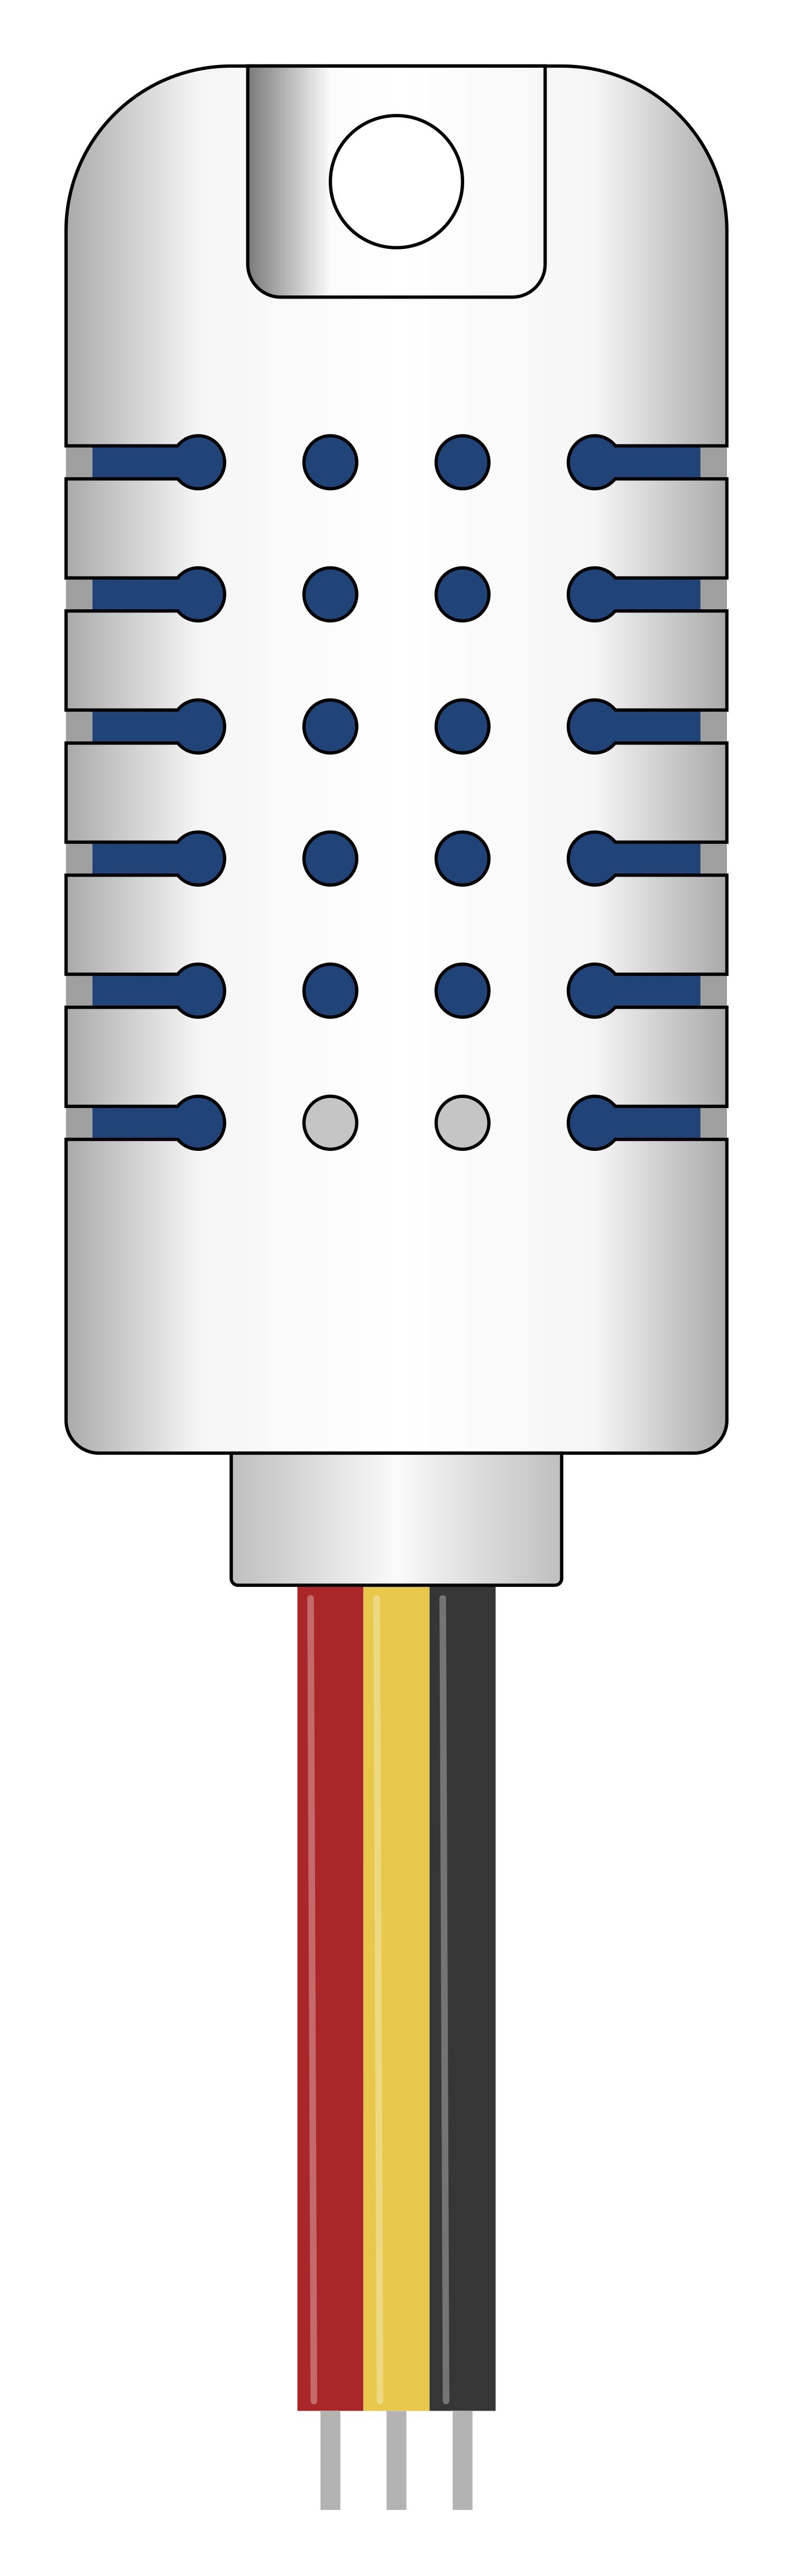
 Design with AM2302 Humidity and Temperature Sensor in Cirkit Designer
Introduction
The AM2302 is a digital sensor designed to measure both humidity and temperature with high accuracy. It is widely used in environmental monitoring applications, such as weather stations, HVAC systems, and indoor air quality monitoring. The sensor features a single-wire communication interface, which simplifies integration with microcontrollers like Arduino, Raspberry Pi, and other embedded systems.
Key features of the AM2302 include:
- High accuracy for both temperature and humidity measurements.
- Digital output, eliminating the need for analog-to-digital conversion.
- Low power consumption, making it suitable for battery-powered applications.
Explore Projects Built with AM2302 Humidity and Temperature Sensor
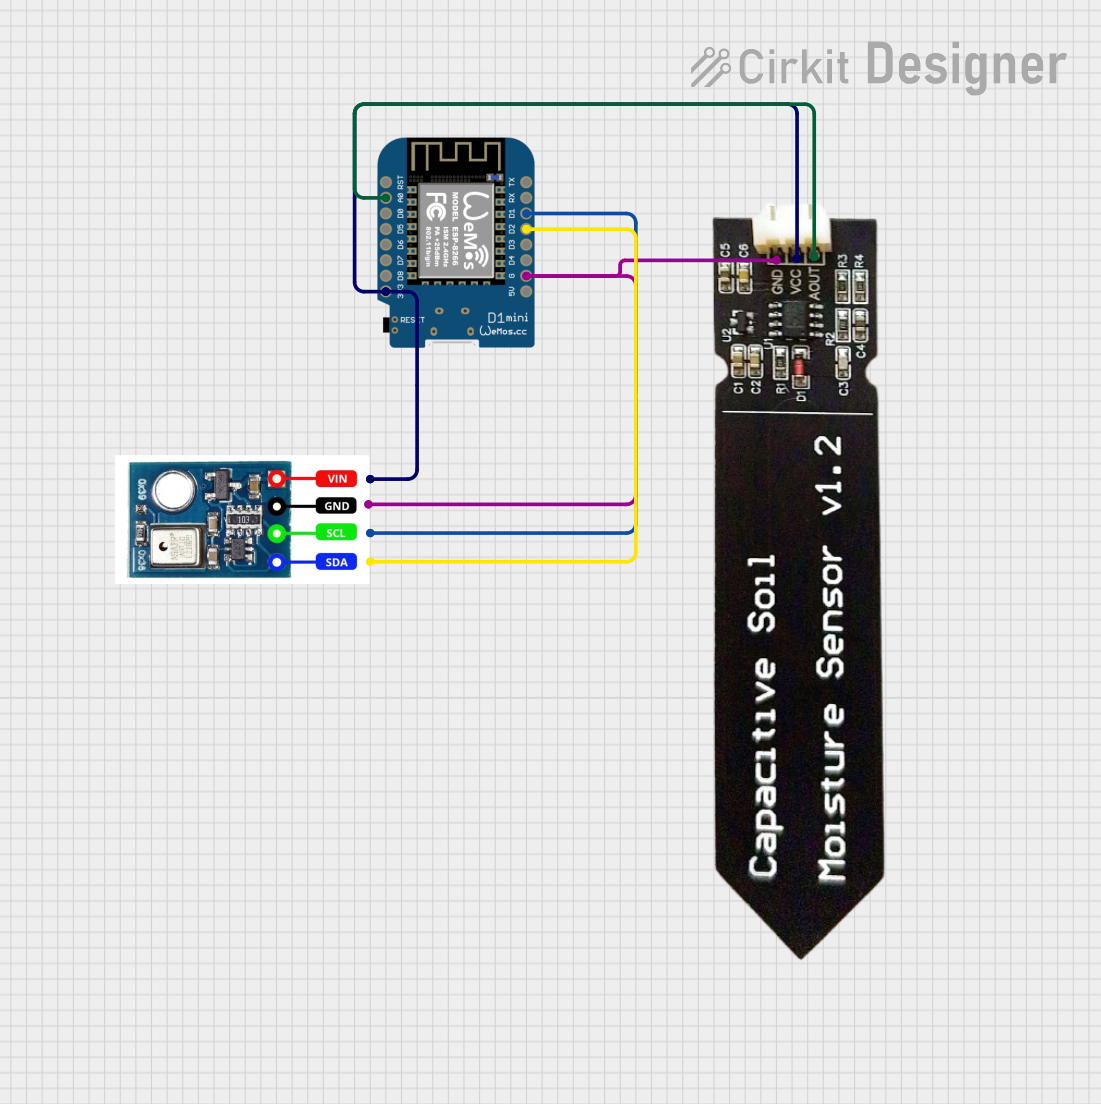 Open Project in Cirkit Designer
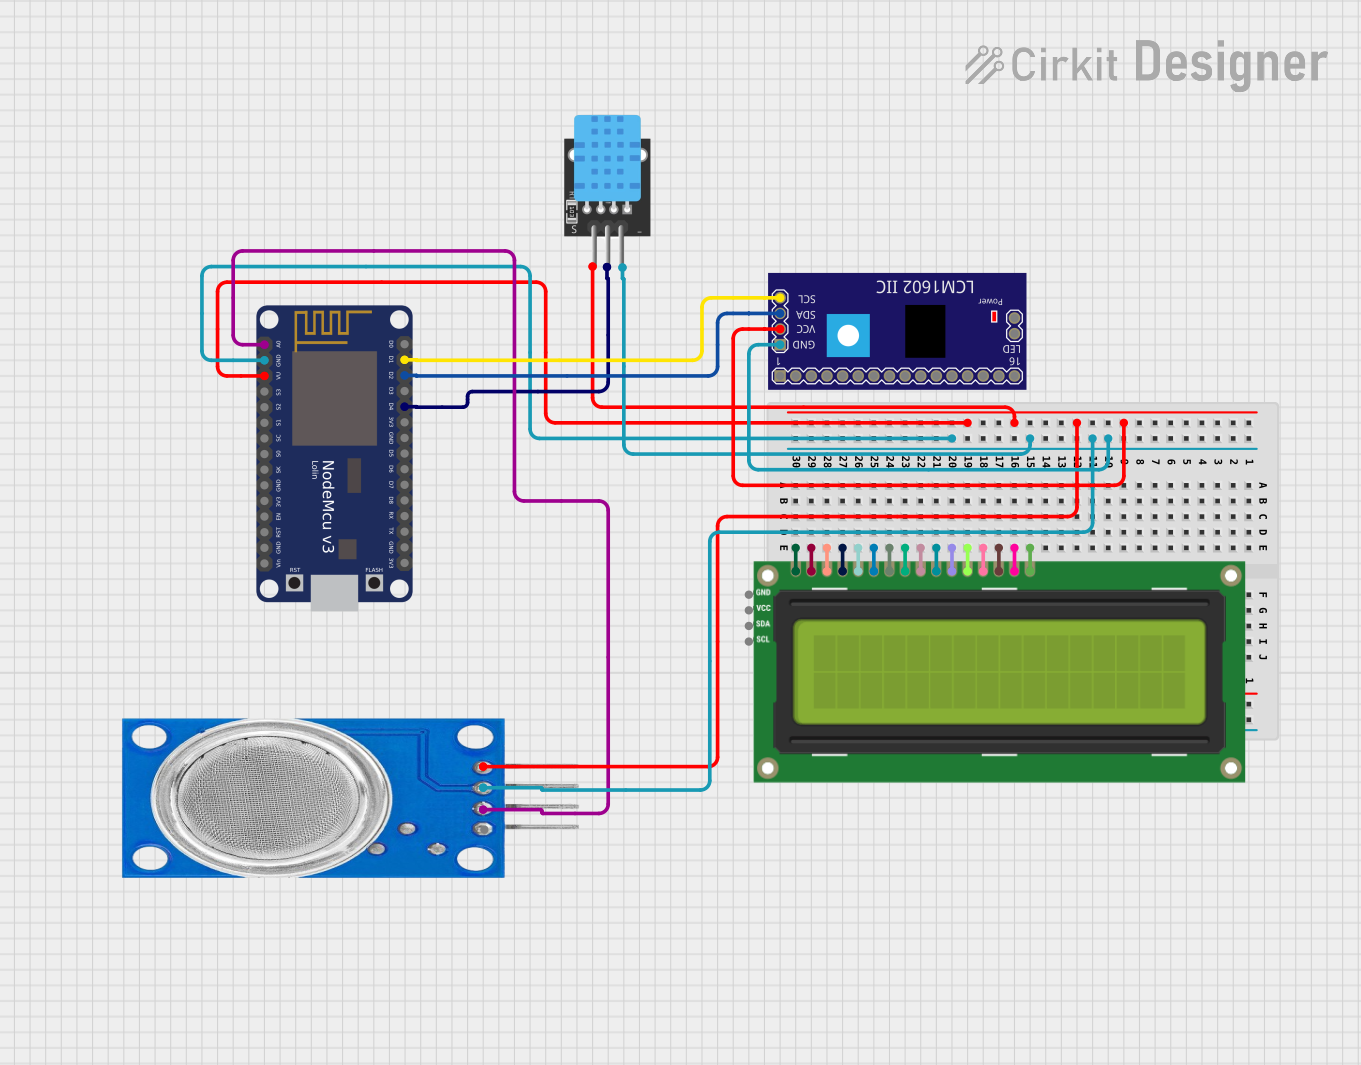 Open Project in Cirkit Designer
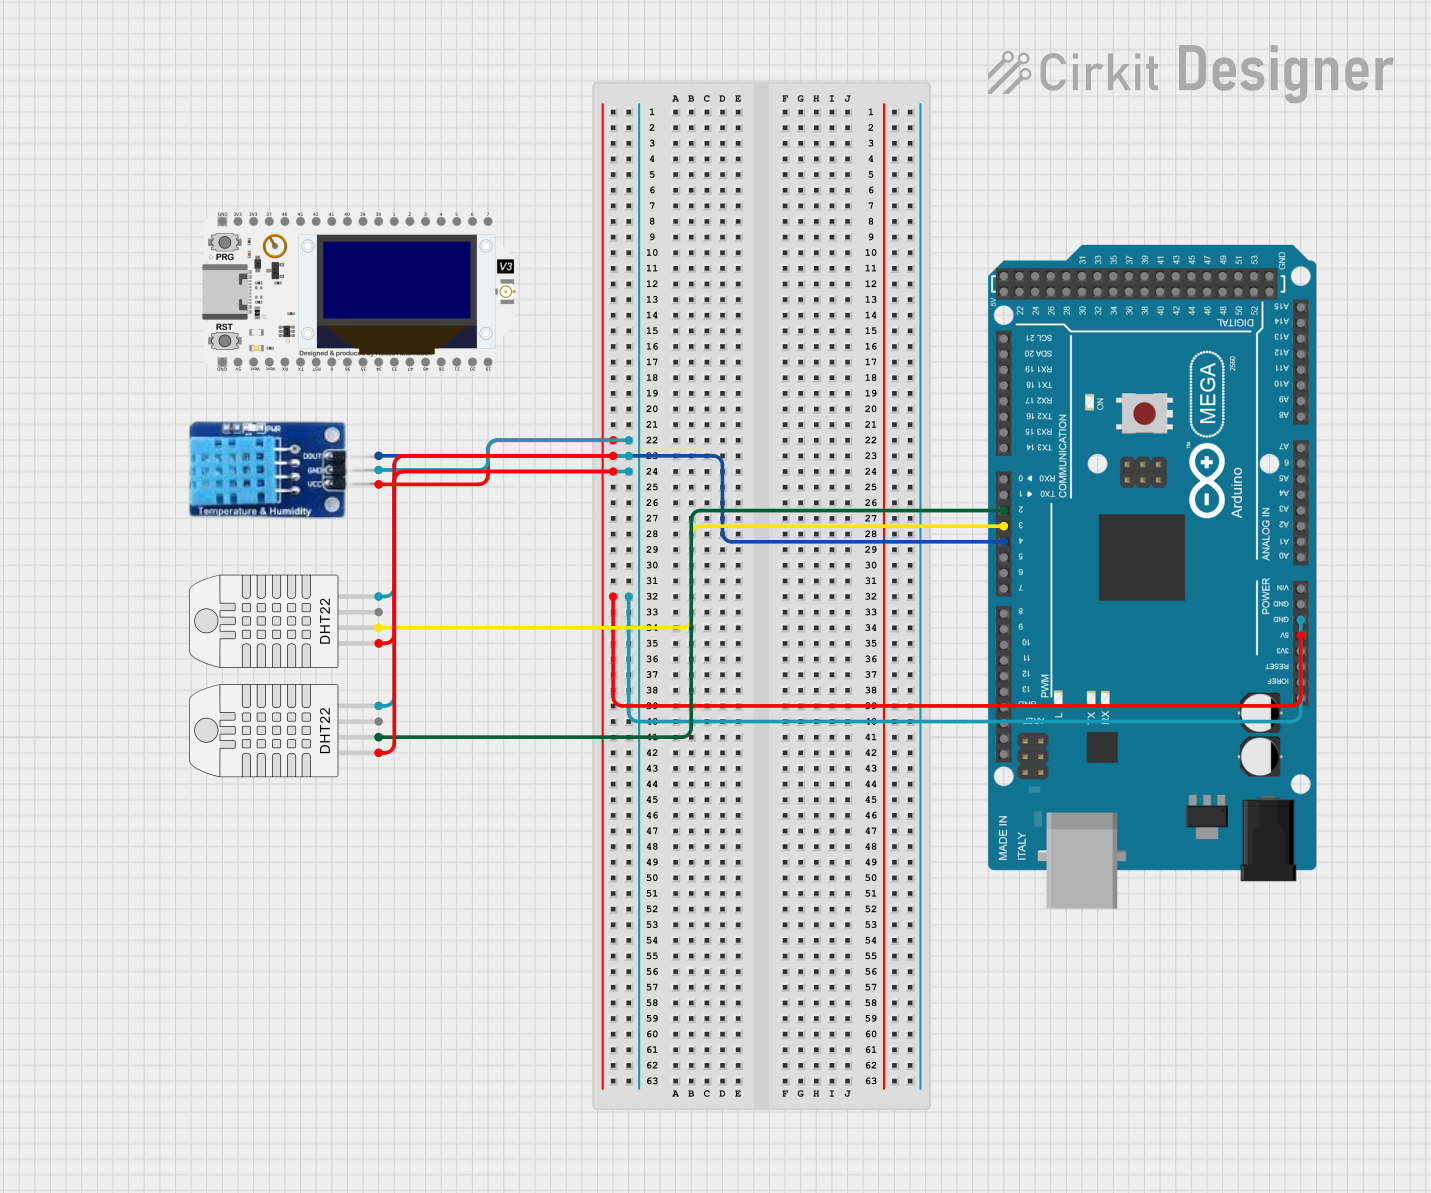 Open Project in Cirkit Designer
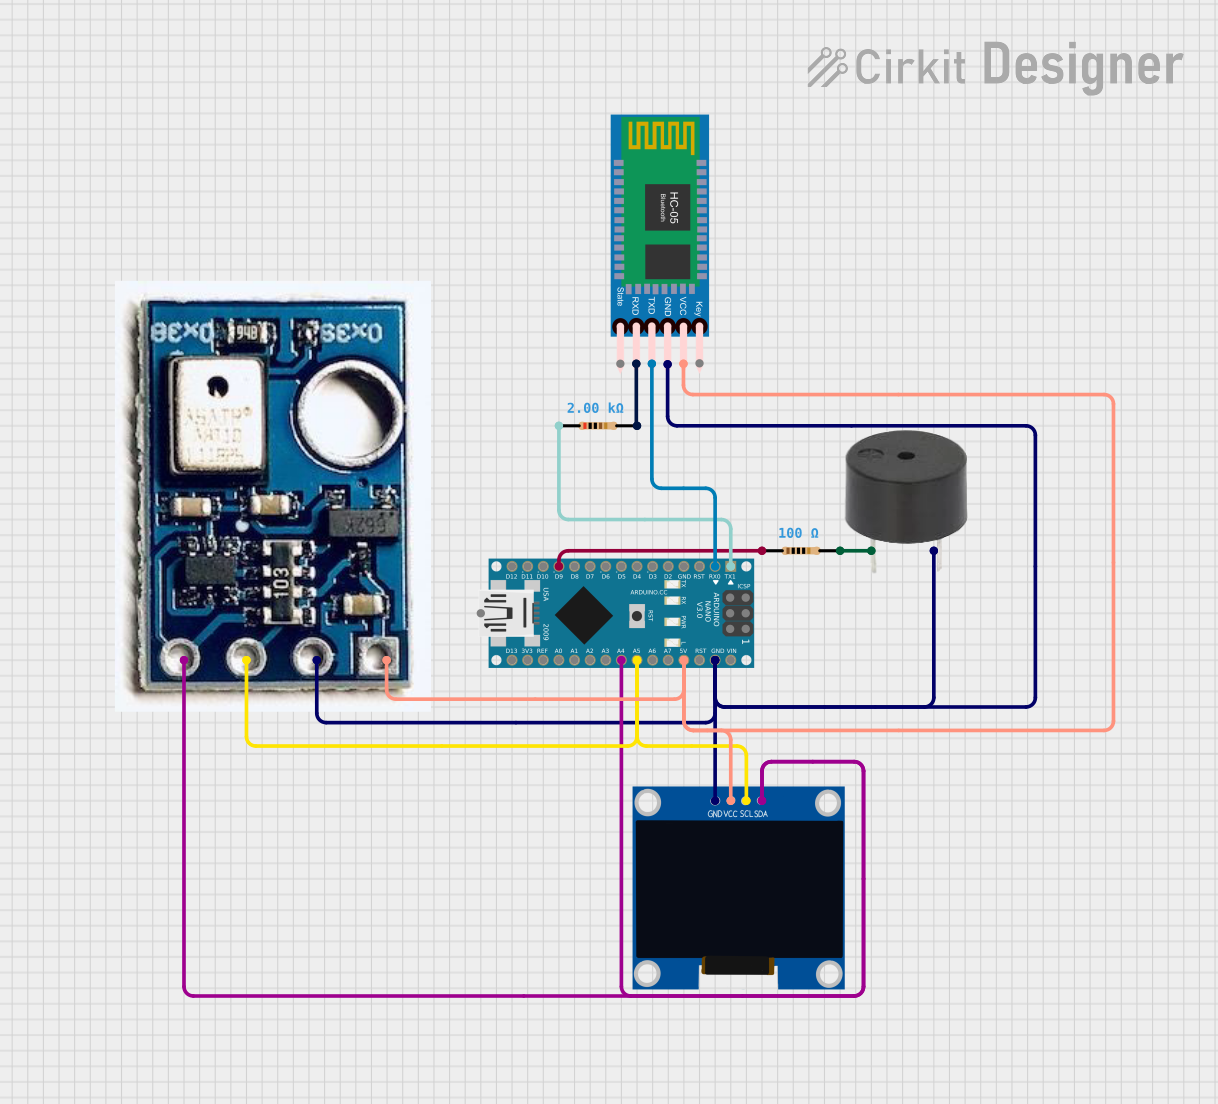 Open Project in Cirkit Designer
Explore Projects Built with AM2302 Humidity and Temperature Sensor
Open Project in Cirkit DesignerOpen Project in Cirkit DesignerOpen Project in Cirkit DesignerOpen Project in Cirkit DesignerTechnical Specifications
The following table outlines the key technical details of the AM2302 sensor:
| Parameter | Value |
|---|---|
| Supply Voltage | 3.3V to 5.5V |
| Operating Current | 1.5 mA (measuring) |
| Standby Current | 40 µA |
| Humidity Range | 0% to 100% RH |
| Humidity Accuracy | ±2% RH (25°C, 20%–80% RH) |
| Temperature Range | -40°C to +80°C |
| Temperature Accuracy | ±0.5°C (25°C) |
| Communication Protocol | Single-wire digital interface |
| Sampling Period | ≥ 2 seconds |
Pin Configuration
The AM2302 sensor has four pins, as described in the table below:
| Pin Number | Name | Description |
|---|---|---|
| 1 | VCC | Power supply (3.3V to 5.5V) |
| 2 | DATA | Single-wire data communication pin |
| 3 | NC | Not connected (leave unconnected) |
| 4 | GND | Ground (0V reference) |
Note: A pull-up resistor (typically 10kΩ) is required on the DATA pin for proper communication.
Usage Instructions
Connecting the AM2302 to a Microcontroller
To use the AM2302 sensor in a circuit, follow these steps:
- Connect the VCC pin to a 3.3V or 5V power supply.
- Connect the GND pin to the ground of your circuit.
- Connect the DATA pin to a digital input pin on your microcontroller. Add a 10kΩ pull-up resistor between the DATA pin and the VCC pin.
- Leave the NC pin unconnected.
Example: Using the AM2302 with an Arduino UNO
Below is an example of how to use the AM2302 sensor with an Arduino UNO. This example uses the popular DHT library, which supports the AM2302.
Wiring Diagram
- VCC → 5V on Arduino
- GND → GND on Arduino
- DATA → Digital Pin 2 on Arduino (with a 10kΩ pull-up resistor to 5V)
Arduino Code
#include "DHT.h"

// Define the pin where the sensor is connected
#define DHTPIN 2

// Define the sensor type (DHT22 is compatible with AM2302)
#define DHTTYPE DHT22

// Initialize the DHT sensor
DHT dht(DHTPIN, DHTTYPE);

void setup() {
  Serial.begin(9600); // Start serial communication
  Serial.println("AM2302 Sensor Test");
  dht.begin(); // Initialize the sensor
}

void loop() {
  delay(2000); // Wait at least 2 seconds between readings

  // Read humidity and temperature
  float humidity = dht.readHumidity();
  float temperature = dht.readTemperature();

  // Check if the readings are valid
  if (isnan(humidity) || isnan(temperature)) {
    Serial.println("Failed to read from AM2302 sensor!");
    return;
  }

  // Print the results to the Serial Monitor
  Serial.print("Humidity: ");
  Serial.print(humidity);
  Serial.print(" %\t");
  Serial.print("Temperature: ");
  Serial.print(temperature);
  Serial.println(" °C");
}
Important Considerations
- Ensure the sensor is not exposed to water or condensation, as this may damage it.
- Allow the sensor to stabilize for a few seconds after powering it on before taking readings.
- The AM2302 has a minimum sampling period of 2 seconds. Avoid polling the sensor more frequently to prevent communication errors.
Troubleshooting and FAQs
Common Issues
No data or incorrect readings:
- Ensure the pull-up resistor (10kΩ) is correctly connected between the DATA pin and VCC.
- Verify that the sensor is powered with the correct voltage (3.3V to 5.5V).
- Check the wiring and ensure all connections are secure.
"Failed to read from AM2302 sensor!" message in Arduino:
- Ensure the correct pin number is defined in the code.
- Verify that the sensor is not being polled more frequently than every 2 seconds.
Inconsistent or fluctuating readings:
- Avoid placing the sensor near heat sources or in areas with strong airflow.
- Ensure the sensor is not exposed to high humidity for extended periods, as this may affect accuracy.
FAQs
Q: Can the AM2302 be used outdoors?
A: Yes, but it should be housed in a protective enclosure to shield it from direct exposure to water, dust, and extreme environmental conditions.
Q: What is the difference between the AM2302 and DHT22?
A: The AM2302 and DHT22 are functionally identical. The AM2302 is typically sold in a more robust casing, making it easier to handle and mount.
Q: Can I use the AM2302 with a 3.3V microcontroller?
A: Yes, the AM2302 operates within a voltage range of 3.3V to 5.5V, making it compatible with both 3.3V and 5V systems.
Q: How long does the sensor take to stabilize after power-up?
A: The sensor typically stabilizes within 1-2 seconds after power-up.