
How to Use TFT LCD Touch Screen: Examples, Pinouts, and Specs
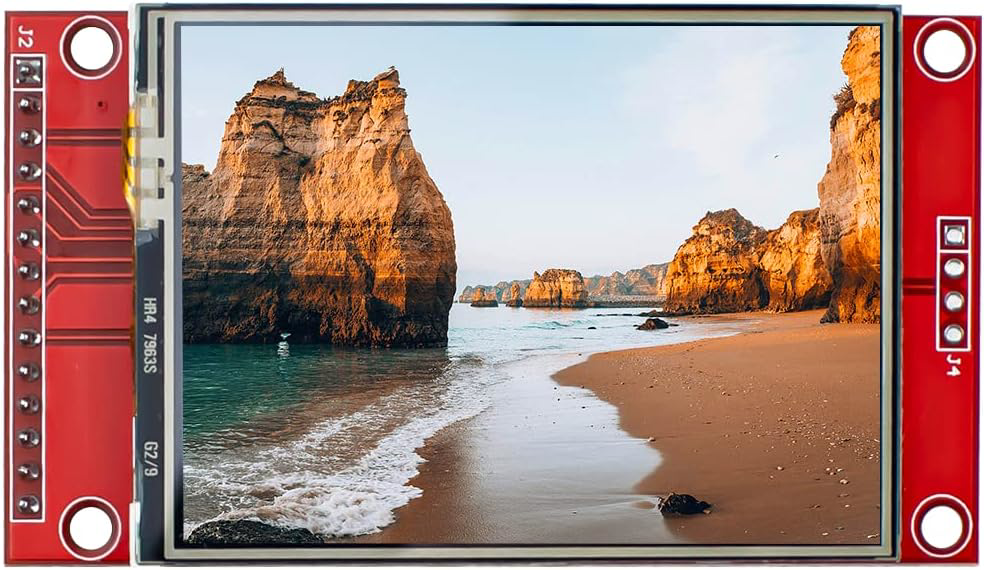
 Design with TFT LCD Touch Screen in Cirkit Designer
Introduction
The Hosyond ILI9341 TFT LCD Touch Screen is a high-performance display module that integrates a Thin-Film Transistor Liquid Crystal Display (TFT LCD) with a touch-sensitive interface. This component is designed to deliver high-resolution images with vibrant colors while enabling user interaction through touch gestures. It is widely used in applications such as smartphones, tablets, handheld gaming devices, and embedded systems.
Explore Projects Built with TFT LCD Touch Screen
 Open Project in Cirkit Designer
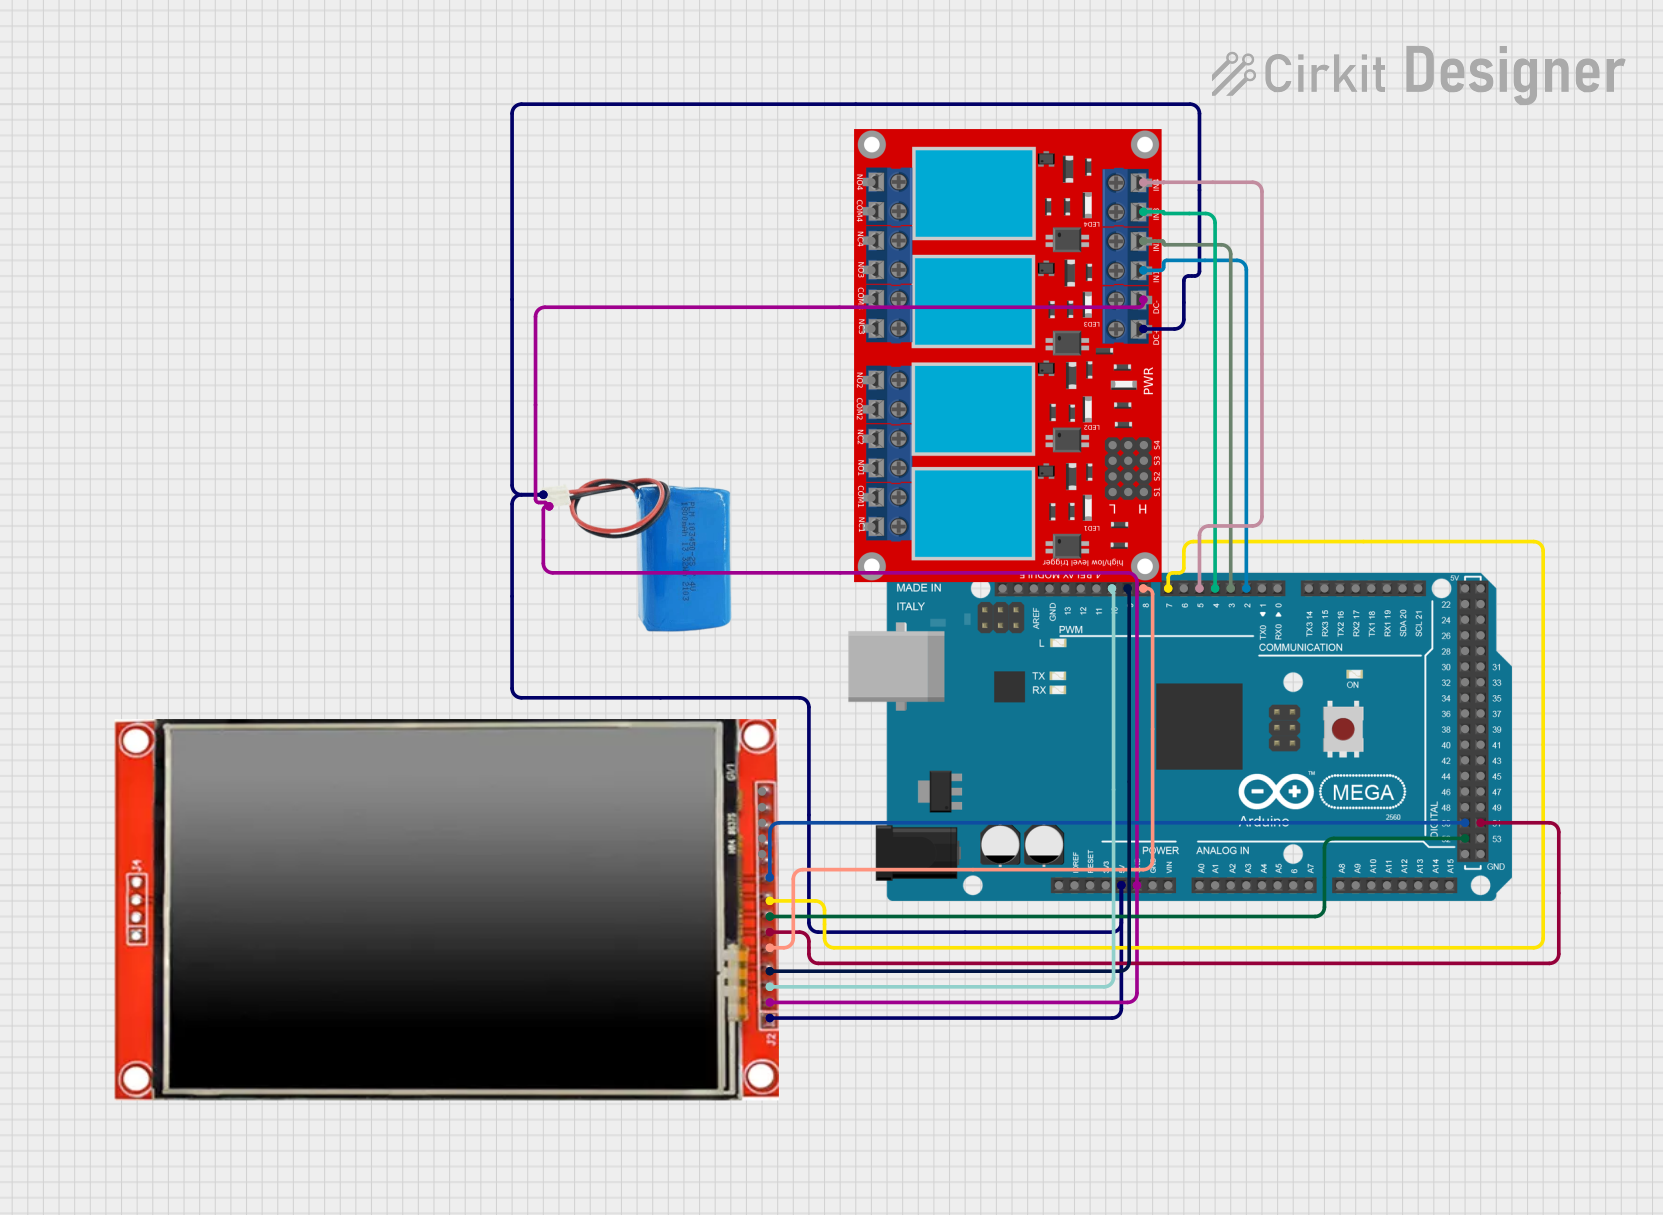 Open Project in Cirkit Designer
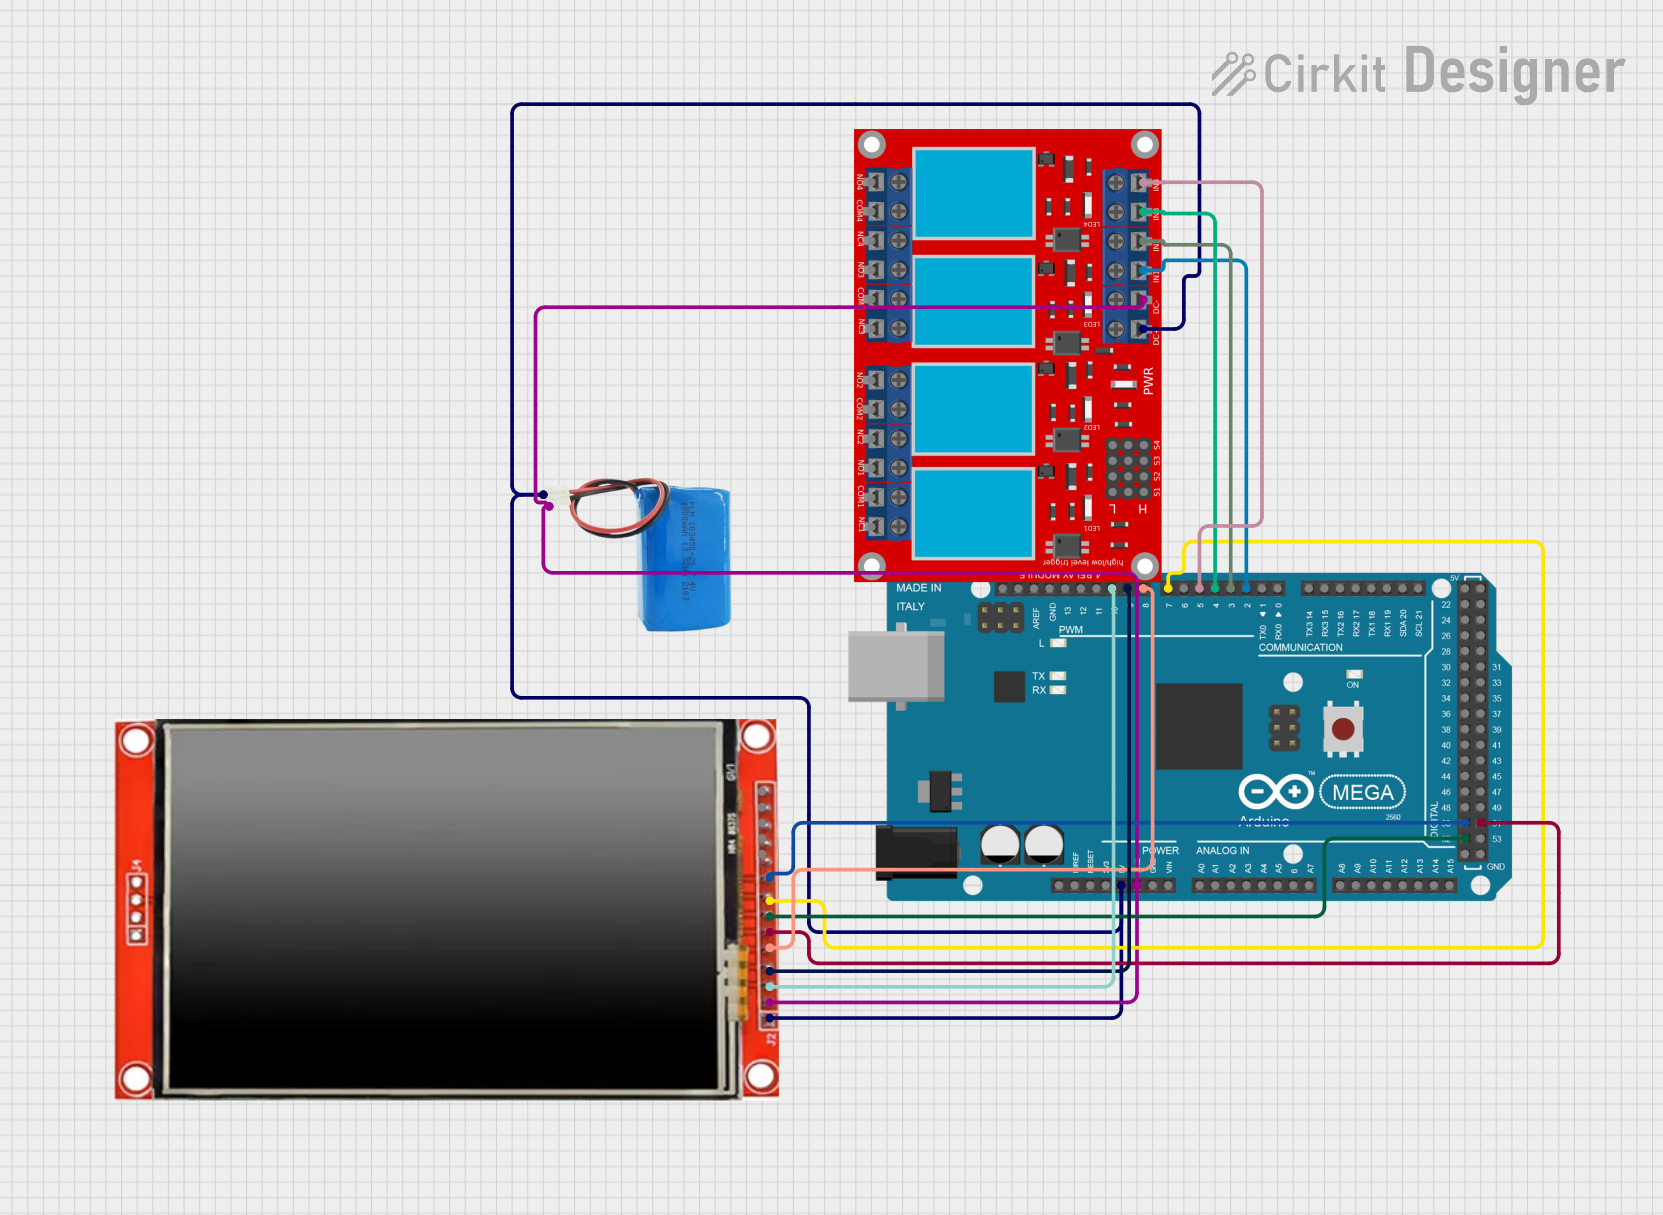 Open Project in Cirkit Designer
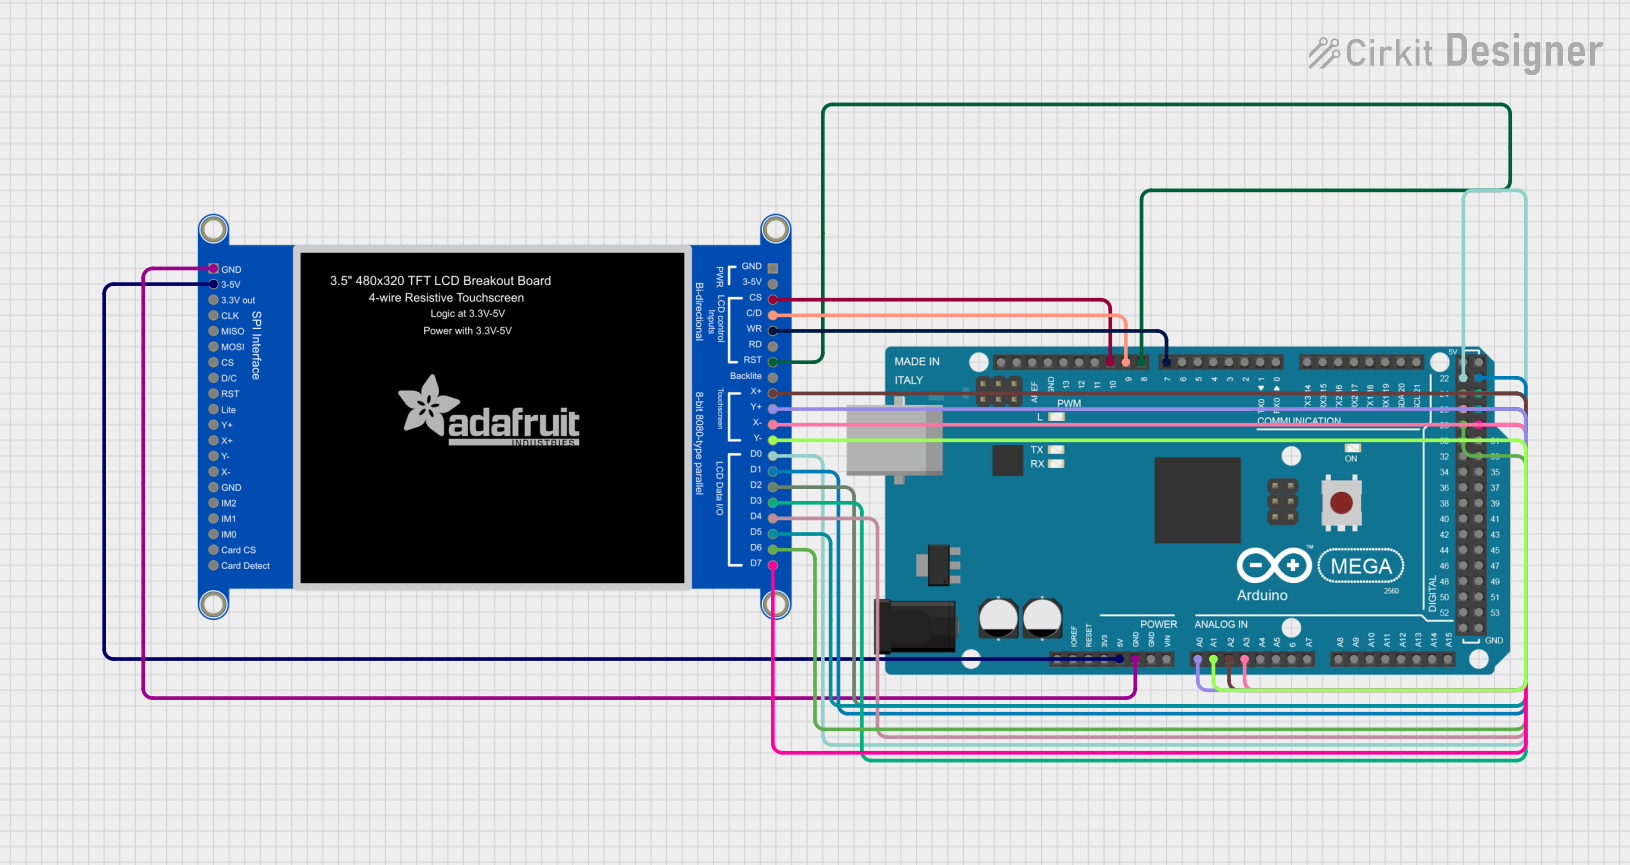 Open Project in Cirkit Designer
Explore Projects Built with TFT LCD Touch Screen
Open Project in Cirkit DesignerOpen Project in Cirkit DesignerOpen Project in Cirkit DesignerOpen Project in Cirkit DesignerCommon Applications and Use Cases
- Consumer Electronics: Smartphones, tablets, and portable media players.
- Embedded Systems: User interfaces for microcontroller-based projects.
- Industrial Control Panels: Touch-enabled displays for machinery and equipment.
- DIY Projects: Arduino and Raspberry Pi-based projects requiring a graphical interface.
- Gaming Devices: Handheld consoles and interactive displays.
Technical Specifications
Key Technical Details
| Parameter | Value |
|---|---|
| Manufacturer | Hosyond |
| Part ID | ILI9341 |
| Display Type | TFT LCD |
| Touch Interface | Resistive or Capacitive (varies by model) |
| Screen Size | 2.4 inches |
| Resolution | 240 x 320 pixels |
| Color Depth | 16-bit (65,536 colors) |
| Operating Voltage | 3.3V (logic) |
| Backlight Voltage | 3.3V to 5V |
| Communication Interface | SPI (Serial Peripheral Interface) |
| Operating Temperature | -20°C to 70°C |
Pin Configuration and Descriptions
| Pin Name | Pin Number | Description |
|---|---|---|
| VCC | 1 | Power supply input (3.3V or 5V for backlight). |
| GND | 2 | Ground connection. |
| CS | 3 | Chip Select pin for SPI communication. |
| RESET | 4 | Reset pin to initialize the display. |
| DC/RS | 5 | Data/Command pin to differentiate data and commands. |
| SDI/MOSI | 6 | SPI Master Out Slave In (data input). |
| SCK | 7 | SPI Clock pin. |
| LED | 8 | Backlight control pin. |
| T_CLK | 9 | Touch screen SPI clock pin. |
| T_CS | 10 | Touch screen chip select pin. |
| T_DIN | 11 | Touch screen SPI data input. |
| T_DO | 12 | Touch screen SPI data output. |
| T_IRQ | 13 | Touch screen interrupt pin (optional). |
Usage Instructions
How to Use the Component in a Circuit
- Power Supply: Connect the VCC pin to a 3.3V or 5V power source and the GND pin to ground.
- SPI Communication: Connect the SPI pins (CS, SCK, SDI/MOSI, and DC/RS) to the corresponding SPI pins on your microcontroller.
- Touch Interface: If using the touch functionality, connect the touch-related pins (T_CLK, T_CS, T_DIN, T_DO, and T_IRQ) to the microcontroller.
- Backlight Control: Use the LED pin to control the backlight. It can be connected to a PWM pin for brightness adjustment.
- Reset: Connect the RESET pin to a GPIO pin on the microcontroller or pull it high for normal operation.
Important Considerations and Best Practices
- Voltage Levels: Ensure the logic voltage levels of your microcontroller match the display's requirements (3.3V).
- SPI Speed: Use an appropriate SPI clock speed (typically up to 10 MHz) to avoid communication errors.
- Initialization: Properly initialize the display using the manufacturer's recommended initialization sequence.
- Touch Calibration: If using the touch interface, calibrate it for accurate touch detection.
- ESD Protection: Handle the display carefully to avoid electrostatic discharge damage.
Example Code for Arduino UNO
Below is an example of how to interface the ILI9341 TFT LCD Touch Screen with an Arduino UNO using the Adafruit ILI9341 library:
#include <Adafruit_GFX.h>    // Core graphics library
#include <Adafruit_ILI9341.h> // ILI9341 driver library

// Define pin connections
#define TFT_CS   10  // Chip Select pin
#define TFT_DC   9   // Data/Command pin
#define TFT_RST  8   // Reset pin

// Create an instance of the display
Adafruit_ILI9341 tft = Adafruit_ILI9341(TFT_CS, TFT_DC, TFT_RST);

void setup() {
  // Initialize the display
  tft.begin();

  // Set rotation (0-3)
  tft.setRotation(1);

  // Fill the screen with a color
  tft.fillScreen(ILI9341_BLUE);

  // Display text
  tft.setTextColor(ILI9341_WHITE);
  tft.setTextSize(2);
  tft.setCursor(10, 10);
  tft.println("Hello, TFT!");
}

void loop() {
  // Add your code here for dynamic updates
}
Troubleshooting and FAQs
Common Issues and Solutions
Display Not Turning On:
- Verify the power supply connections (VCC and GND).
- Check if the RESET pin is properly connected or pulled high.
No Image or Distorted Image:
- Ensure the SPI connections (CS, SCK, SDI/MOSI, and DC/RS) are correct.
- Verify the initialization sequence in your code.
Touch Screen Not Responding:
- Check the touch interface connections (T_CLK, T_CS, T_DIN, T_DO, and T_IRQ).
- Calibrate the touch screen if necessary.
Backlight Not Working:
- Confirm the LED pin is connected to a power source or PWM pin.
- Check the backlight voltage (3.3V to 5V).
FAQs
Q: Can I use this display with a 5V microcontroller like Arduino UNO?
A: Yes, but you may need level shifters for the SPI pins to ensure compatibility with the 3.3V logic of the display.
Q: What is the maximum SPI clock speed supported?
A: The ILI9341 typically supports SPI clock speeds up to 10 MHz.
Q: How do I adjust the screen brightness?
A: Use a PWM signal on the LED pin to control the backlight brightness.
Q: Is the touch interface resistive or capacitive?
A: The touch interface type depends on the specific model. Check the product datasheet for details.