How to Use 6N137: Examples, Pinouts, and Specs

Introduction
The 6N137 is a high-speed optocoupler designed to provide electrical isolation between its input and output. It features a photodiode and a high-gain transistor output, enabling it to transmit digital signals while maintaining isolation between two circuits. This makes it ideal for applications where signal integrity and safety are critical, such as in microcontroller interfacing, industrial automation, and communication systems.
Explore Projects Built with 6N137

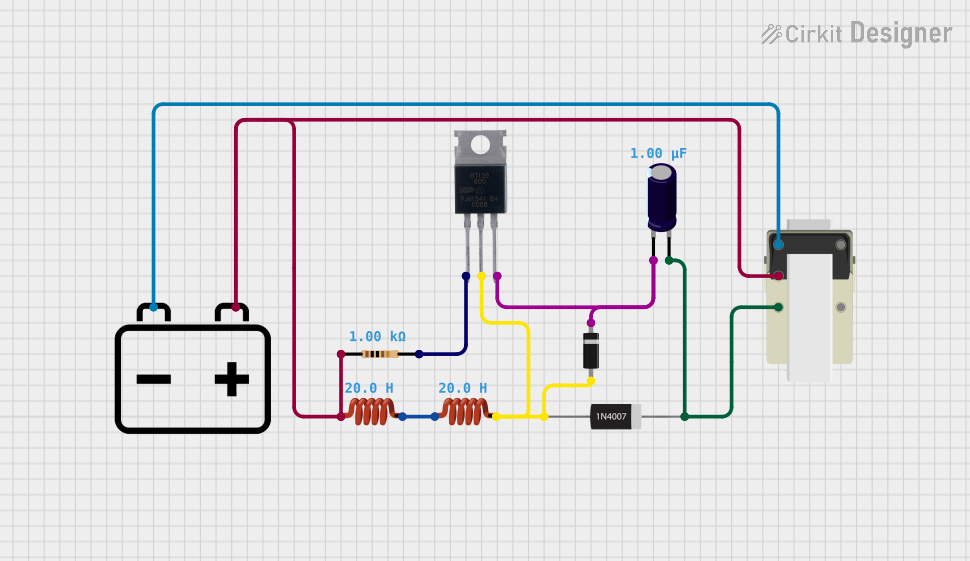
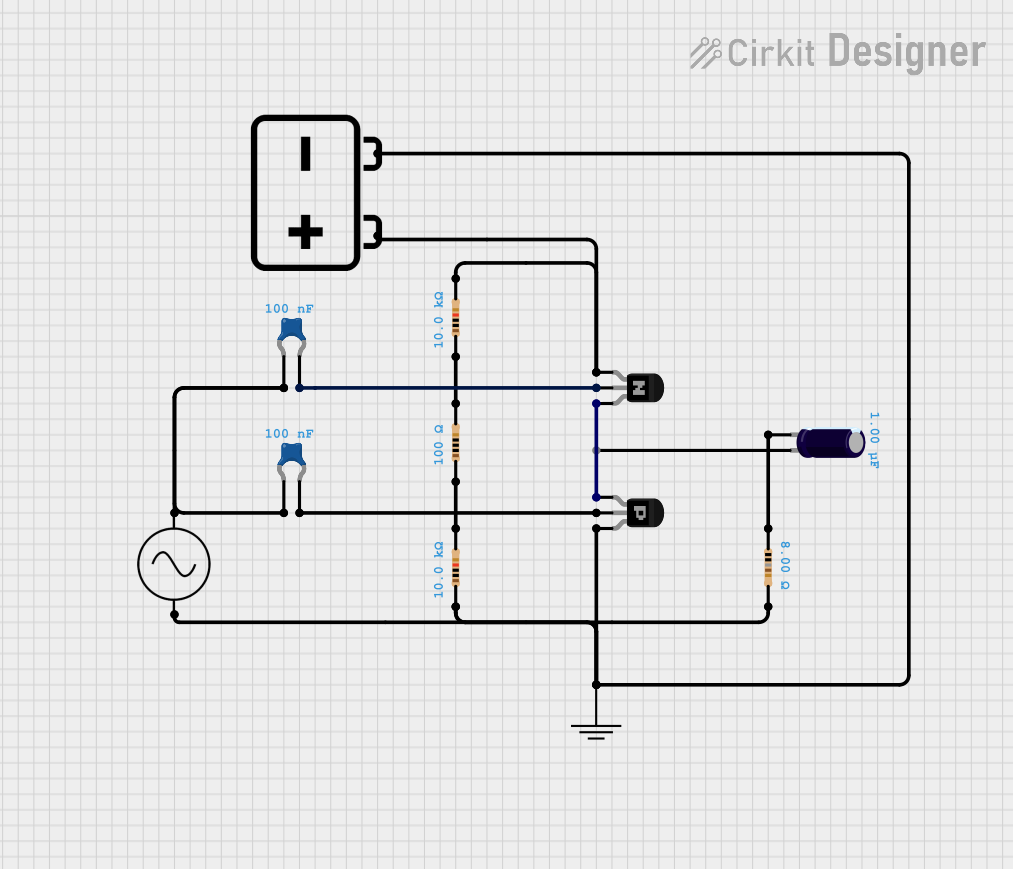

Explore Projects Built with 6N137
Common Applications:
- Signal isolation in digital circuits
- Microcontroller and PLC interfacing
- High-speed data communication
- Protection of low-voltage systems from high-voltage transients
- Noise suppression in industrial environments
Technical Specifications
The 6N137 is designed for high-speed operation and reliable isolation. Below are its key technical details:
| Parameter | Value |
|---|---|
| Isolation Voltage | 5000 Vrms |
| Maximum Data Rate | 10 Mbps |
| Forward Voltage (Input LED) | 1.2 V (typical) |
| Input Current (IF) | 10 mA (typical), 20 mA (maximum) |
| Supply Voltage (VCC) | 4.5 V to 5.5 V |
| Low-Level Output Voltage | 0.1 V (typical) |
| High-Level Output Voltage | VCC - 0.1 V (typical) |
| Propagation Delay (tPLH/tPHL) | 40 ns (typical) |
| Operating Temperature Range | -40°C to +85°C |
Pin Configuration and Descriptions
The 6N137 is an 8-pin DIP or SOIC package. Below is the pinout and description:
| Pin Number | Pin Name | Description |
|---|---|---|
| 1 | Anode | Positive terminal of the input LED. Connect to the input signal through a resistor. |
| 2 | Cathode | Negative terminal of the input LED. Connect to ground. |
| 3 | NC | No connection. Leave unconnected or grounded. |
| 4 | GND | Ground pin for the output side. |
| 5 | VOUT | Output pin. Provides the isolated digital signal. |
| 6 | VCC | Supply voltage for the output side (4.5 V to 5.5 V). |
| 7 | ENABLE | Active-low enable pin. Pull low to enable the output. |
| 8 | NC | No connection. Leave unconnected or grounded. |
Usage Instructions
How to Use the 6N137 in a Circuit
Input Side (LED):
- Connect the anode (Pin 1) to the input signal through a current-limiting resistor. The resistor value can be calculated using Ohm's law:
[ R = \frac{V_{IN} - V_F}{I_F} ]
where ( V_{IN} ) is the input voltage, ( V_F ) is the forward voltage of the LED (1.2 V typical), and ( I_F ) is the desired forward current (10 mA typical). - Connect the cathode (Pin 2) to ground.
- Connect the anode (Pin 1) to the input signal through a current-limiting resistor. The resistor value can be calculated using Ohm's law:
Output Side:
- Connect Pin 6 (VCC) to a 5 V power supply and Pin 4 (GND) to ground.
- The output signal is available on Pin 5 (VOUT). Use a pull-up resistor (e.g., 10 kΩ) if required by your circuit.
- If the ENABLE pin (Pin 7) is not used, connect it to ground to enable the output.
Isolation:
- Ensure that the input and output sides share no direct electrical connection to maintain isolation.
Example Circuit with Arduino UNO
The following example demonstrates how to use the 6N137 to isolate a digital signal between an Arduino UNO and another circuit.
Circuit Diagram
- Input Side: Connect a digital signal (e.g., from a sensor) to the anode (Pin 1) through a 330 Ω resistor.
- Output Side: Connect Pin 5 (VOUT) to an Arduino digital input pin (e.g., D2).
Arduino Code
// Example code for using the 6N137 optocoupler with Arduino UNO
const int inputPin = 2;  // Pin connected to 6N137 output (VOUT)
const int ledPin = 13;   // Onboard LED for status indication

void setup() {
  pinMode(inputPin, INPUT);  // Set the input pin as an input
  pinMode(ledPin, OUTPUT);   // Set the LED pin as an output
  Serial.begin(9600);        // Initialize serial communication
}

void loop() {
  int signal = digitalRead(inputPin);  // Read the signal from the 6N137
  if (signal == HIGH) {
    digitalWrite(ledPin, HIGH);  // Turn on the LED if signal is HIGH
    Serial.println("Signal HIGH");  // Print status to serial monitor
  } else {
    digitalWrite(ledPin, LOW);   // Turn off the LED if signal is LOW
    Serial.println("Signal LOW");  // Print status to serial monitor
  }
  delay(100);  // Small delay for stability
}
Important Considerations:
- Use a proper current-limiting resistor on the input side to prevent damage to the internal LED.
- Ensure the ENABLE pin is pulled low to activate the output.
- Avoid exceeding the maximum ratings for voltage, current, and temperature.
Troubleshooting and FAQs
Common Issues and Solutions
No Output Signal:
- Verify that the ENABLE pin (Pin 7) is connected to ground.
- Check the input signal and ensure the current-limiting resistor is correctly calculated.
- Confirm that the VCC and GND pins are properly connected.
Output Signal is Unstable:
- Add a pull-up resistor to the output pin (VOUT) if the signal is floating.
- Check for noise or interference on the input signal.
Excessive Heat:
- Ensure the input current does not exceed the maximum rating (20 mA).
- Verify that the supply voltage (VCC) is within the specified range (4.5 V to 5.5 V).
FAQs
Q: Can the 6N137 be used for analog signals?
A: No, the 6N137 is designed for digital signals only. It is optimized for high-speed digital communication.
Q: What is the purpose of the ENABLE pin?
A: The ENABLE pin allows you to disable the output when pulled high. This can be useful in applications where you need to control the output state.
Q: Can I use the 6N137 with a 3.3 V system?
A: The 6N137 requires a supply voltage (VCC) of 4.5 V to 5.5 V. However, the output can interface with 3.3 V systems if a proper pull-up resistor is used.
By following this documentation, you can effectively integrate the 6N137 optocoupler into your projects for safe and reliable signal isolation.