How to Use Vibration Motor: Examples, Pinouts, and Specs

Introduction
A vibration motor is a compact and lightweight electromechanical device designed to generate vibratory motion. It is commonly used in a variety of applications, including but not limited to mobile phones, wearable devices, haptic feedback systems, and industrial machinery for material handling and compaction. The vibration is typically created by an unbalanced mass on a motor shaft, which when rotated, causes the motor to wobble and produce vibrations.
Explore Projects Built with Vibration Motor
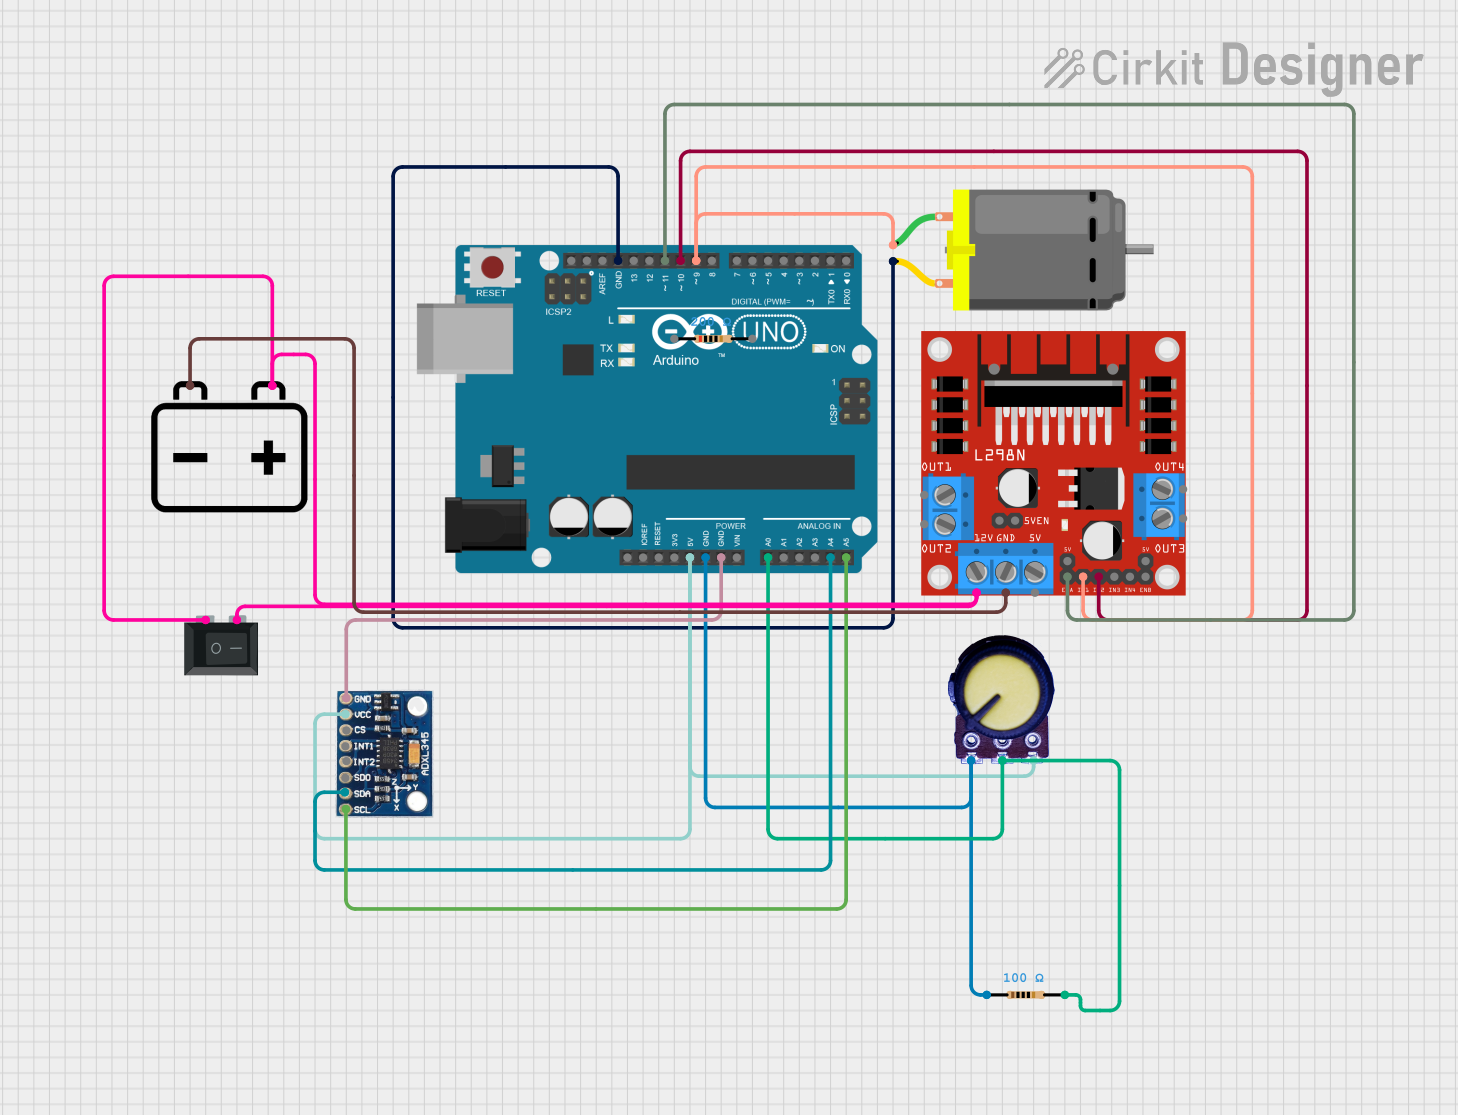
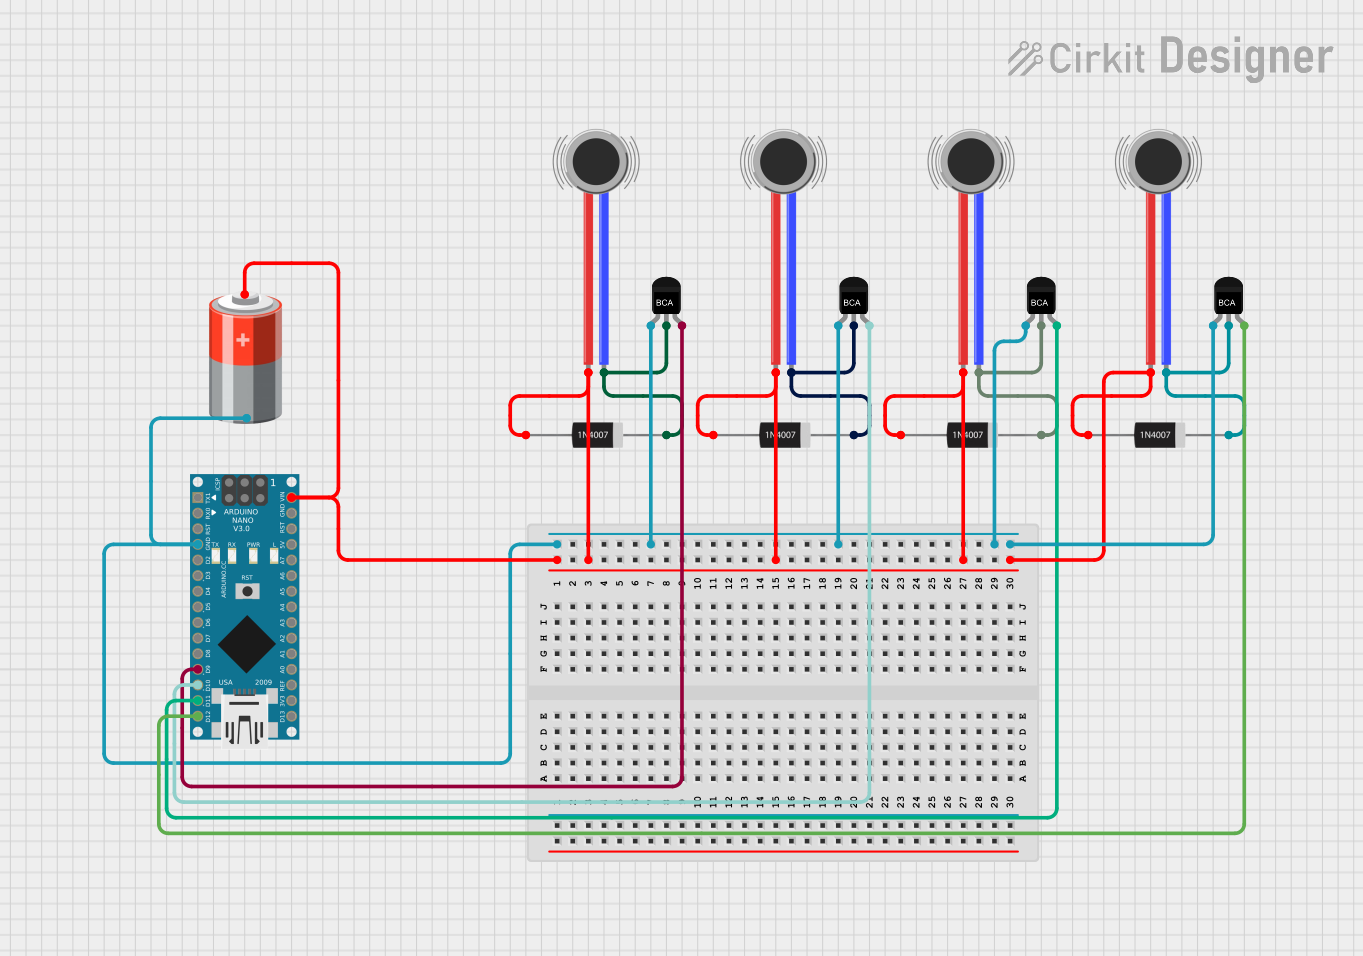
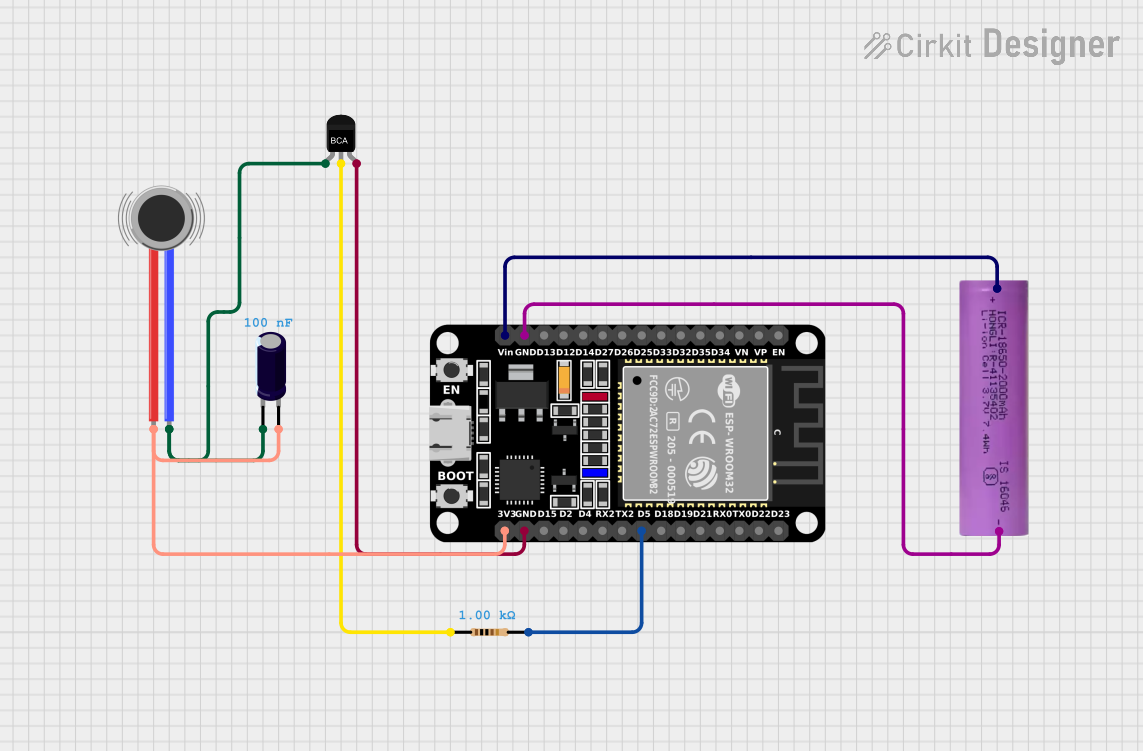
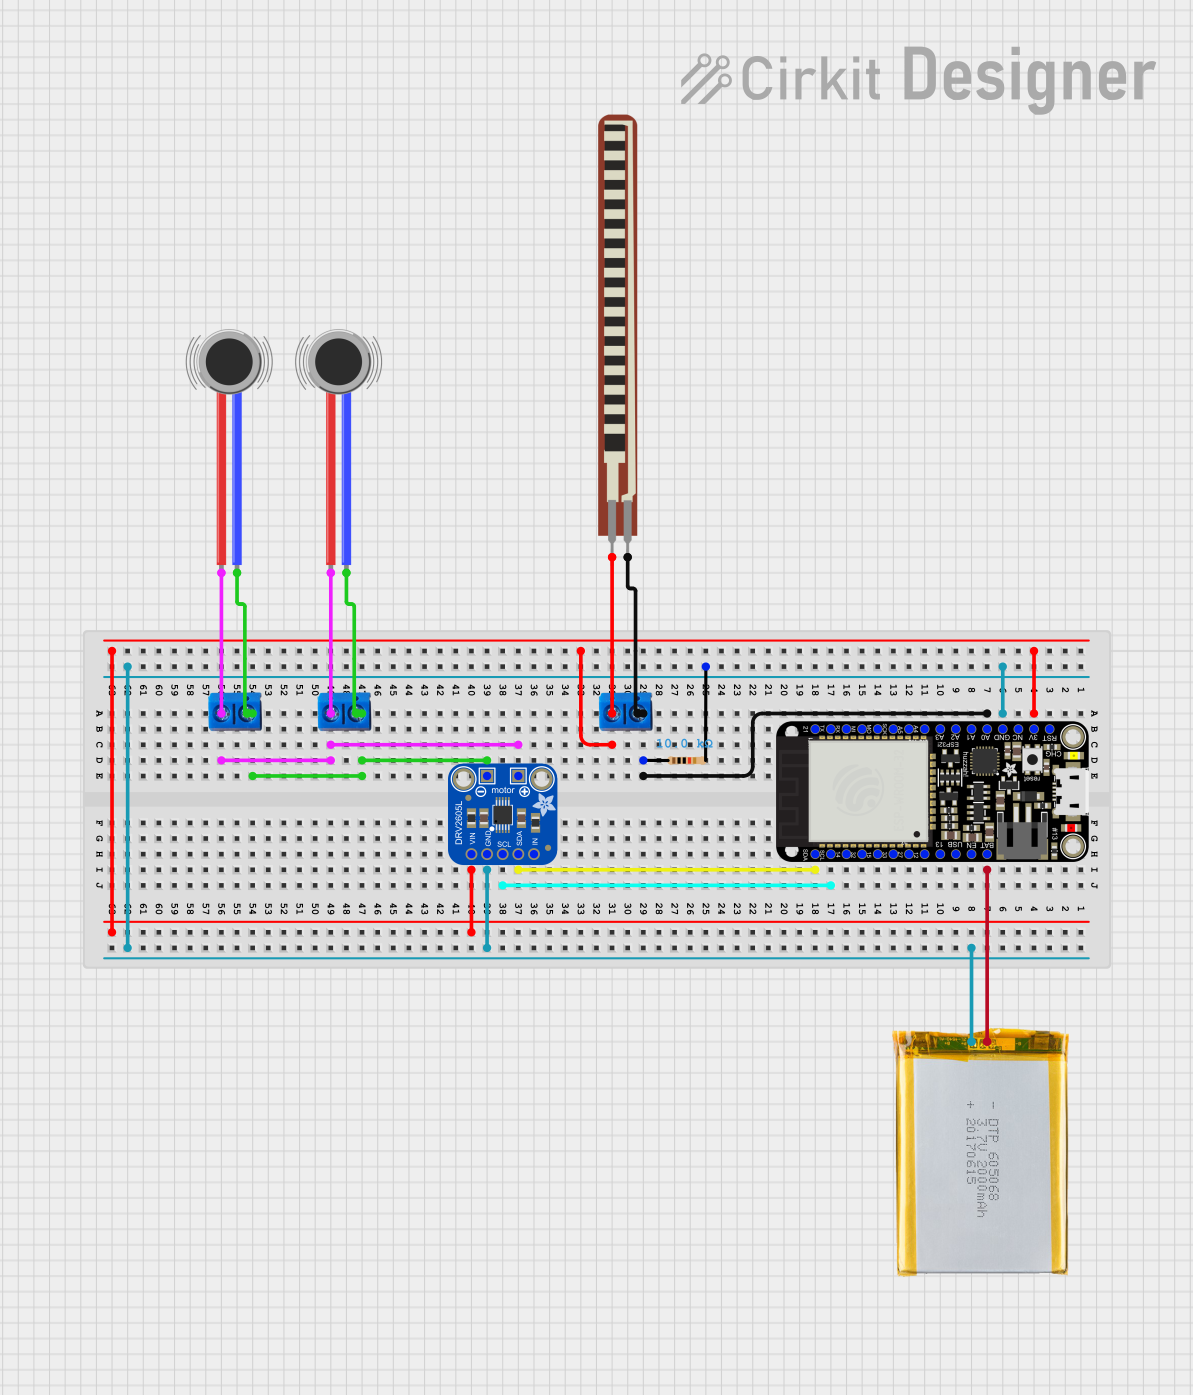
Explore Projects Built with Vibration Motor
Technical Specifications
General Characteristics
- Operating Voltage: Typically 1.5V to 12V DC
- Current Consumption: Varies with model (e.g., 60mA to 250mA)
- Vibration Frequency: Depends on the motor's construction and power supply, often ranging from 100 Hz to 200 Hz
- Power Ratings: Varies with size and model, generally from 0.1W to 3W
Pin Configuration and Descriptions
| Pin Number | Description |
|---|---|
| 1 | Positive Power Supply (V+) |
| 2 | Ground (GND) |
Usage Instructions
Integration into a Circuit
- Power Supply: Connect the positive terminal of the vibration motor to a suitable DC power supply. The voltage should match the motor's rated operating voltage.
- Ground Connection: Connect the ground terminal of the motor to the ground of the power supply.
- Control Mechanism: To control the motor, you can use a transistor, MOSFET, or a relay, which in turn can be controlled by a microcontroller like an Arduino UNO.
Best Practices
- Voltage Matching: Ensure that the power supply voltage does not exceed the motor's rated voltage to prevent damage.
- Current Limiting: If the motor draws more current than the controlling device (e.g., Arduino) can handle, use an external power source with a current limiting resistor or a current driver circuit.
- Isolation: Use a diode to prevent back EMF from damaging other components in the circuit when the motor turns off.
- Mounting: Secure the motor firmly to prevent excessive movement that could lead to mechanical failure or inconsistent vibration.
Example Code for Arduino UNO
// Define the pin connected to the vibration motor
const int motorPin = 3;

void setup() {
  // Set the motor pin as an output
  pinMode(motorPin, OUTPUT);
}

void loop() {
  // Turn on the vibration motor
  digitalWrite(motorPin, HIGH);
  delay(1000); // Motor runs for 1 second

  // Turn off the vibration motor
  digitalWrite(motorPin, LOW);
  delay(1000); // Motor is off for 1 second
}
Note: The above code assumes the use of a digital pin for simple ON/OFF control. For variable intensity control, use an analog output (PWM) and the analogWrite() function.
Troubleshooting and FAQs
Common Issues
- Motor Does Not Vibrate: Check the power supply and connections. Ensure the voltage is within the rated range.
- Weak Vibration: Ensure the motor is securely mounted. Check if the voltage is too low or if there is a high resistance in the circuit.
- Motor Overheats: This could be due to overvoltage or continuous operation beyond the motor's rated duty cycle. Ensure proper voltage and allow intervals for cooling.
FAQs
Q: Can I control the vibration intensity? A: Yes, by using pulse-width modulation (PWM) on a microcontroller, you can vary the intensity of the vibrations.
Q: Is it possible to run the vibration motor at a specific frequency? A: The vibration frequency is primarily determined by the motor's construction and the voltage applied. Precise control over frequency would require a variable frequency drive or a specialized motor design.
Q: How do I extend the life of my vibration motor? A: Avoid running the motor continuously at its maximum ratings, and ensure it is mounted securely to prevent mechanical stress.
Q: Can I power the vibration motor directly from an Arduino pin? A: It is not recommended to power the motor directly from an Arduino pin due to current limitations. Use an external power source and a switching component like a transistor or MOSFET.
This documentation provides a comprehensive guide to using a vibration motor with an emphasis on safe operation and best practices. Always consult the specific datasheet of your vibration motor model for precise specifications and recommendations.