
How to Use Adafruit DragonTail for micro:bit: Examples, Pinouts, and Specs
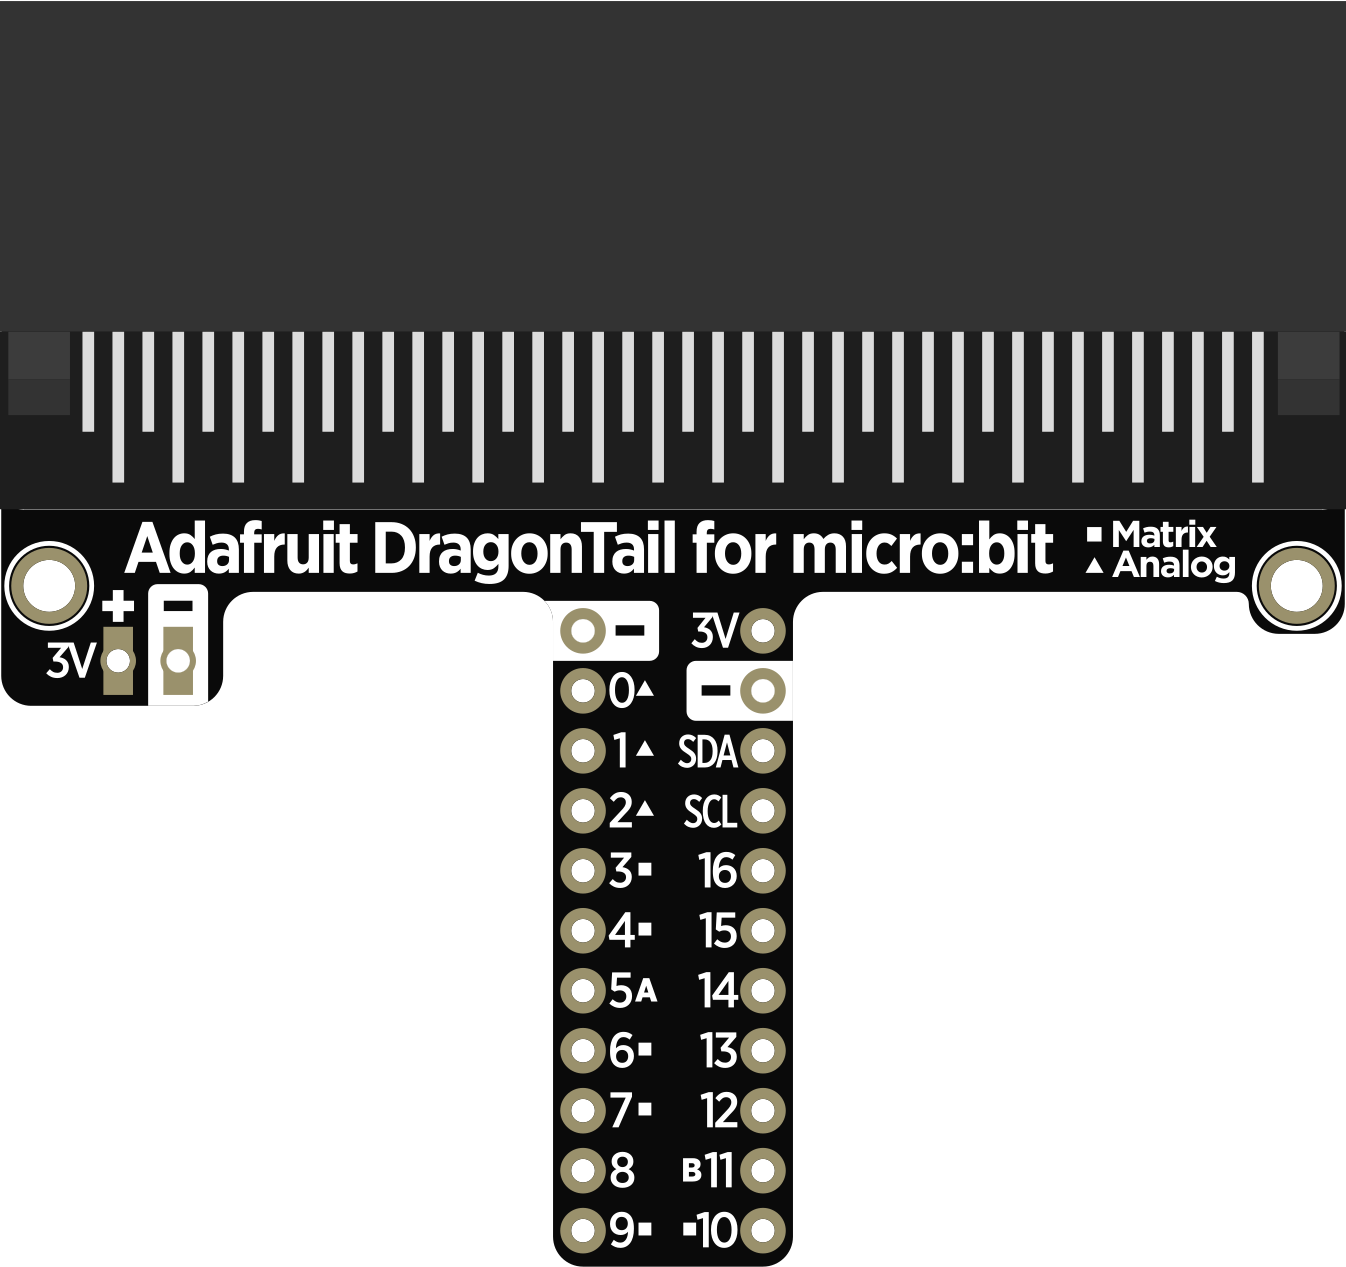
 Design with Adafruit DragonTail for micro:bit in Cirkit Designer
Introduction
The Adafruit DragonTail for micro:bit (Manufacturer Part ID: 3695) is a versatile add-on board designed to expand the functionality of the BBC micro:bit. It provides additional connectivity options, including headers for easy access to GPIO pins, and allows for seamless integration of various sensors, modules, and external components. This board is ideal for prototyping, educational projects, and IoT applications.
Explore Projects Built with Adafruit DragonTail for micro:bit
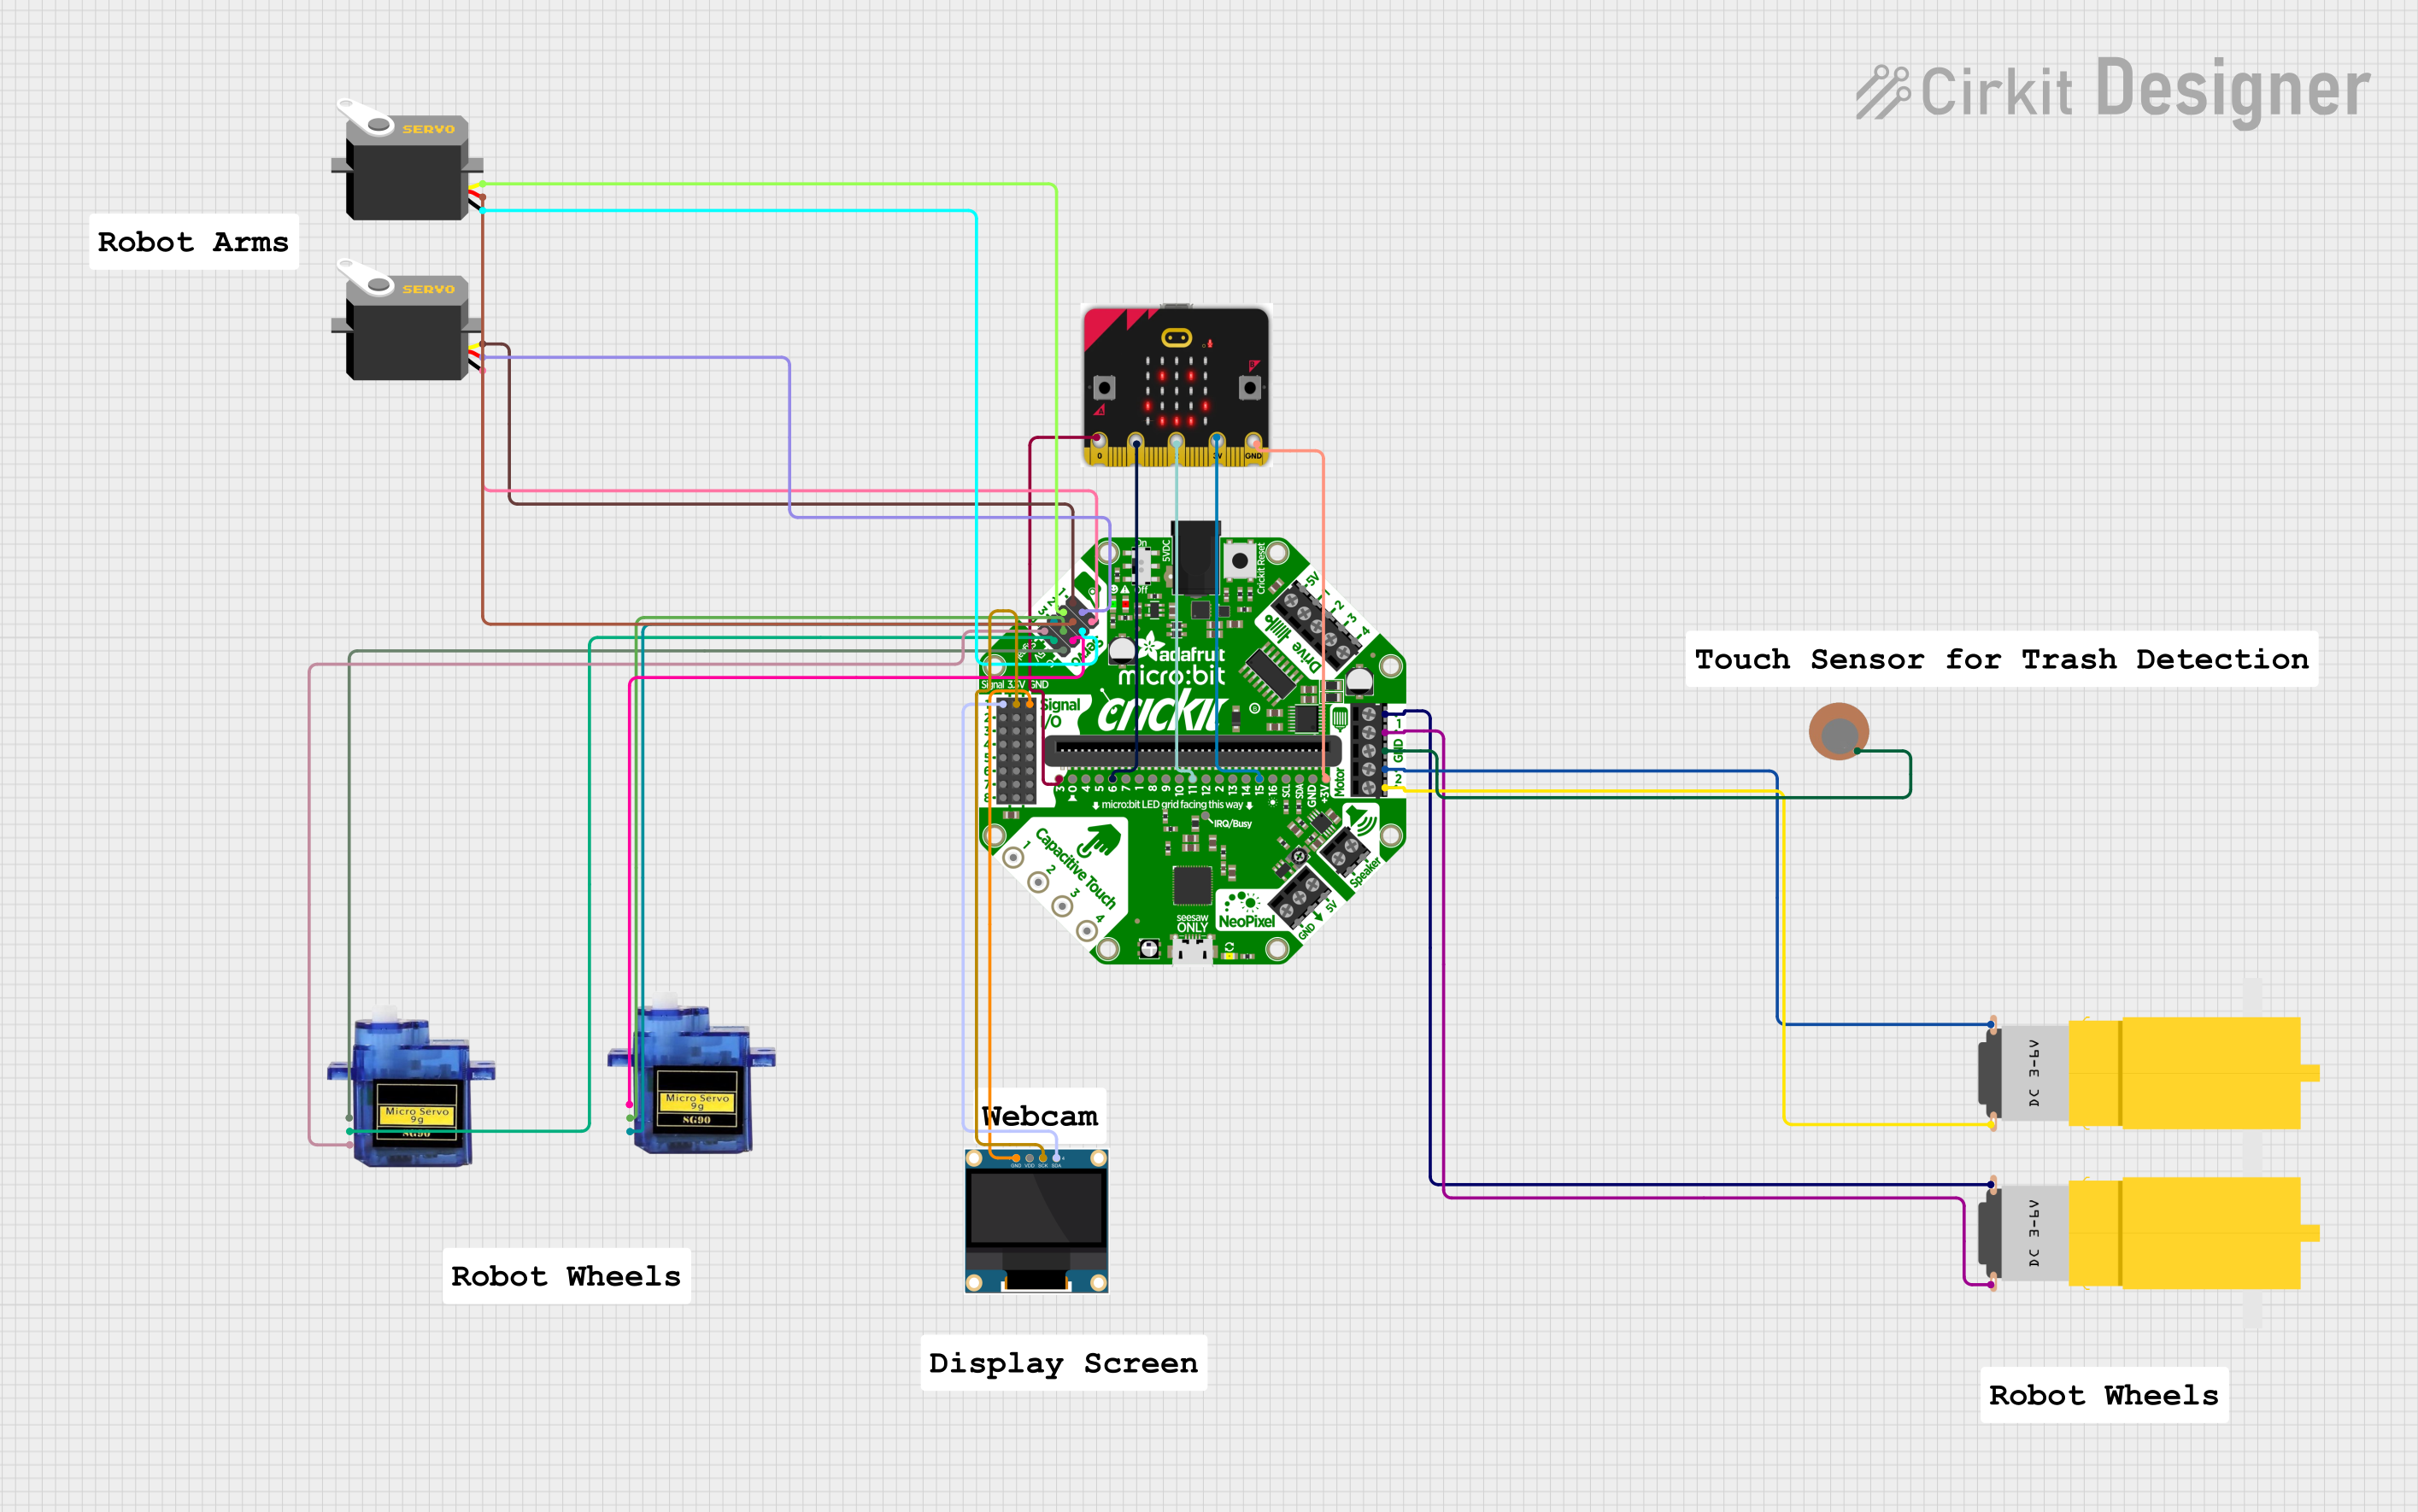 Open Project in Cirkit Designer
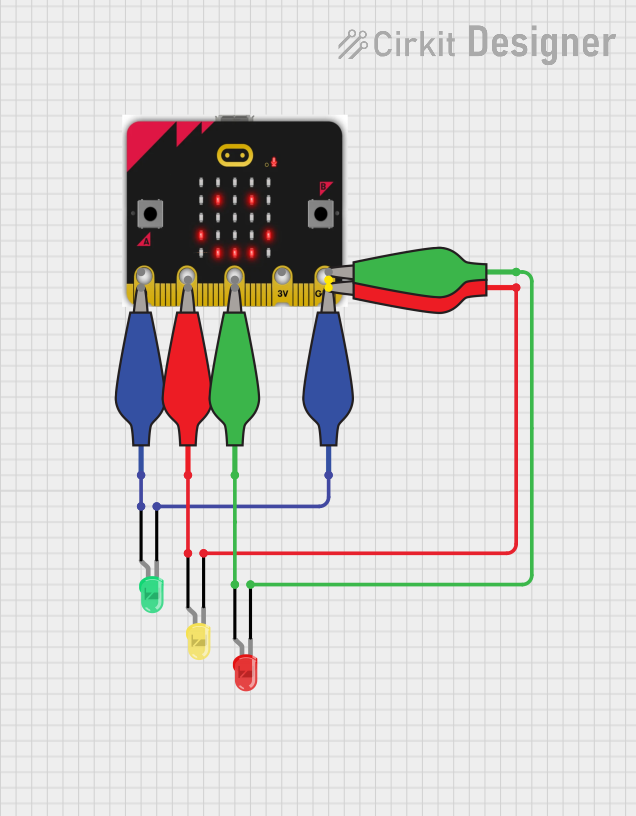 Open Project in Cirkit Designer
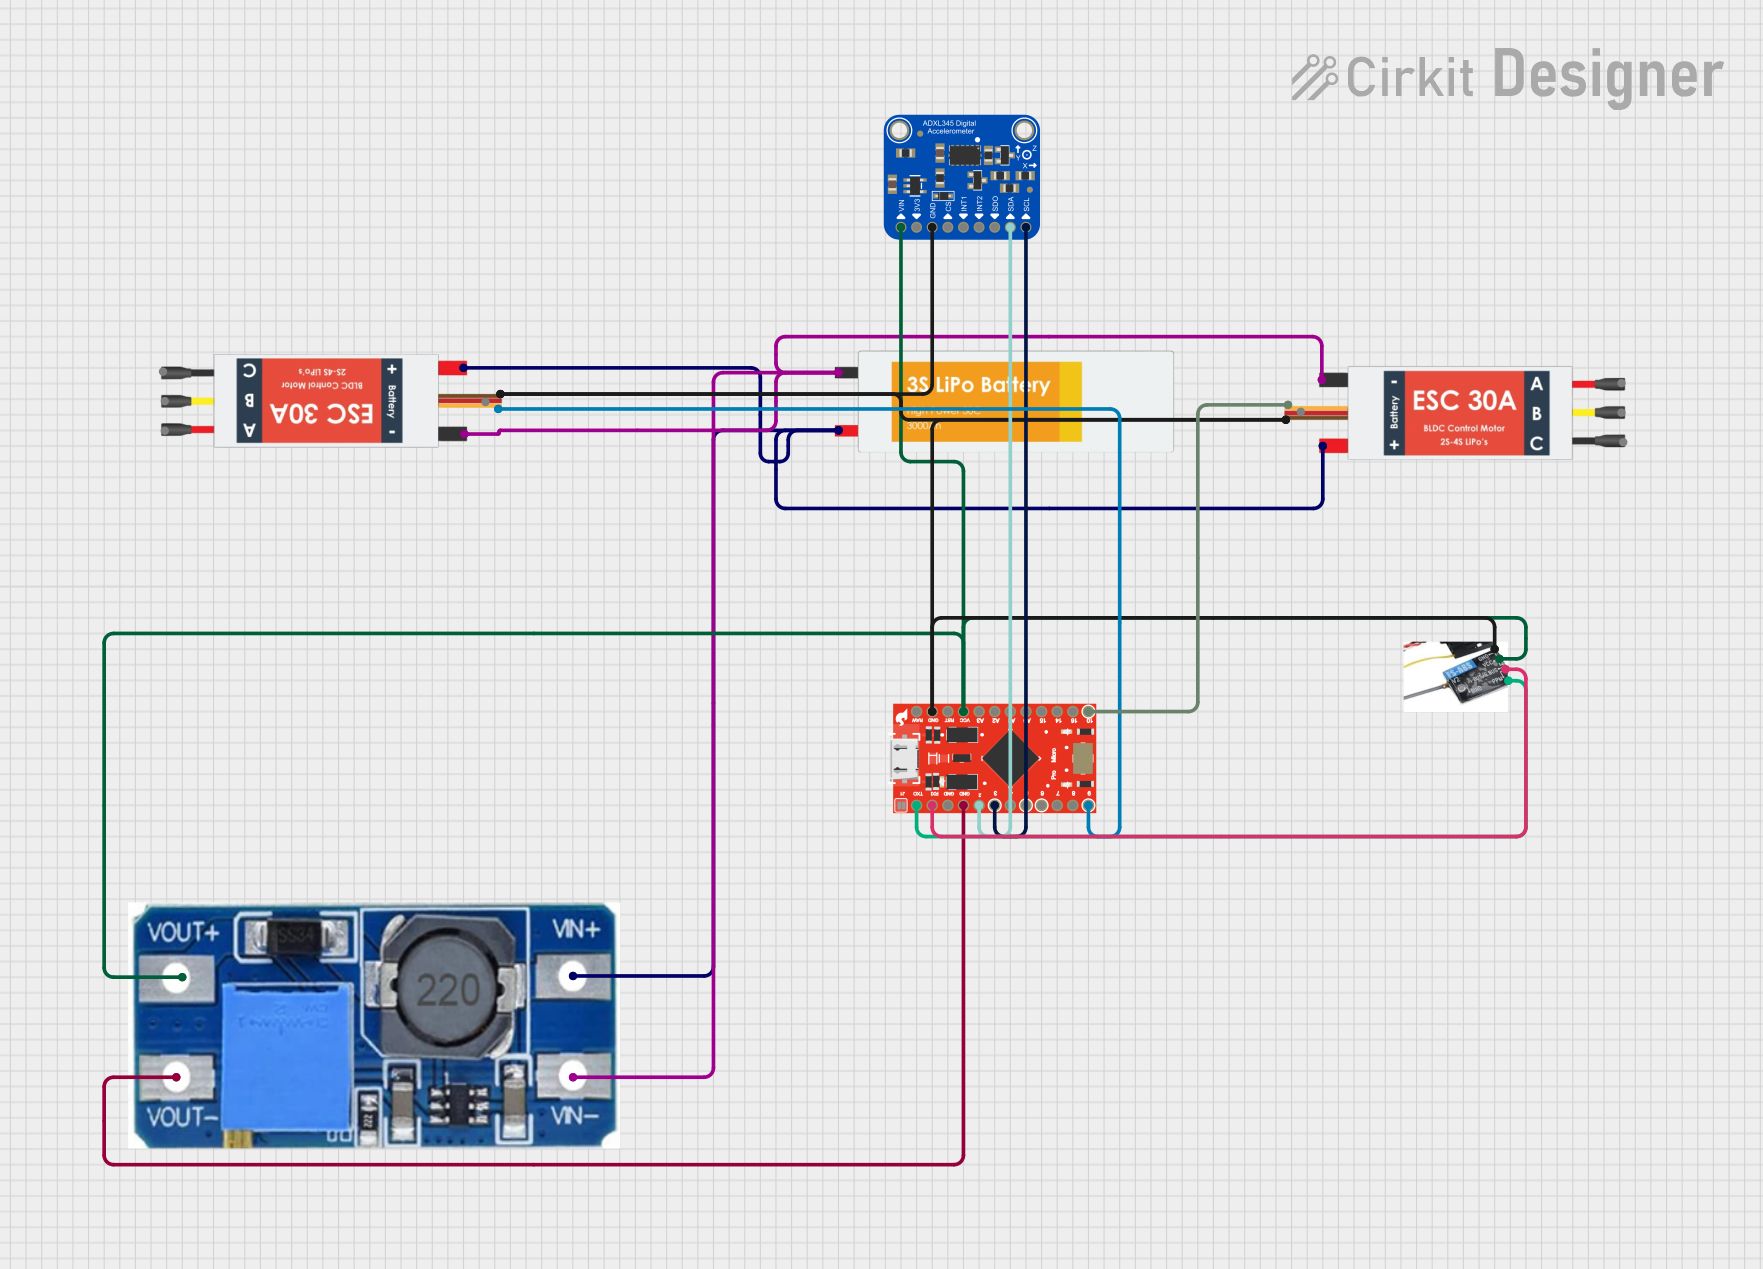 Open Project in Cirkit Designer
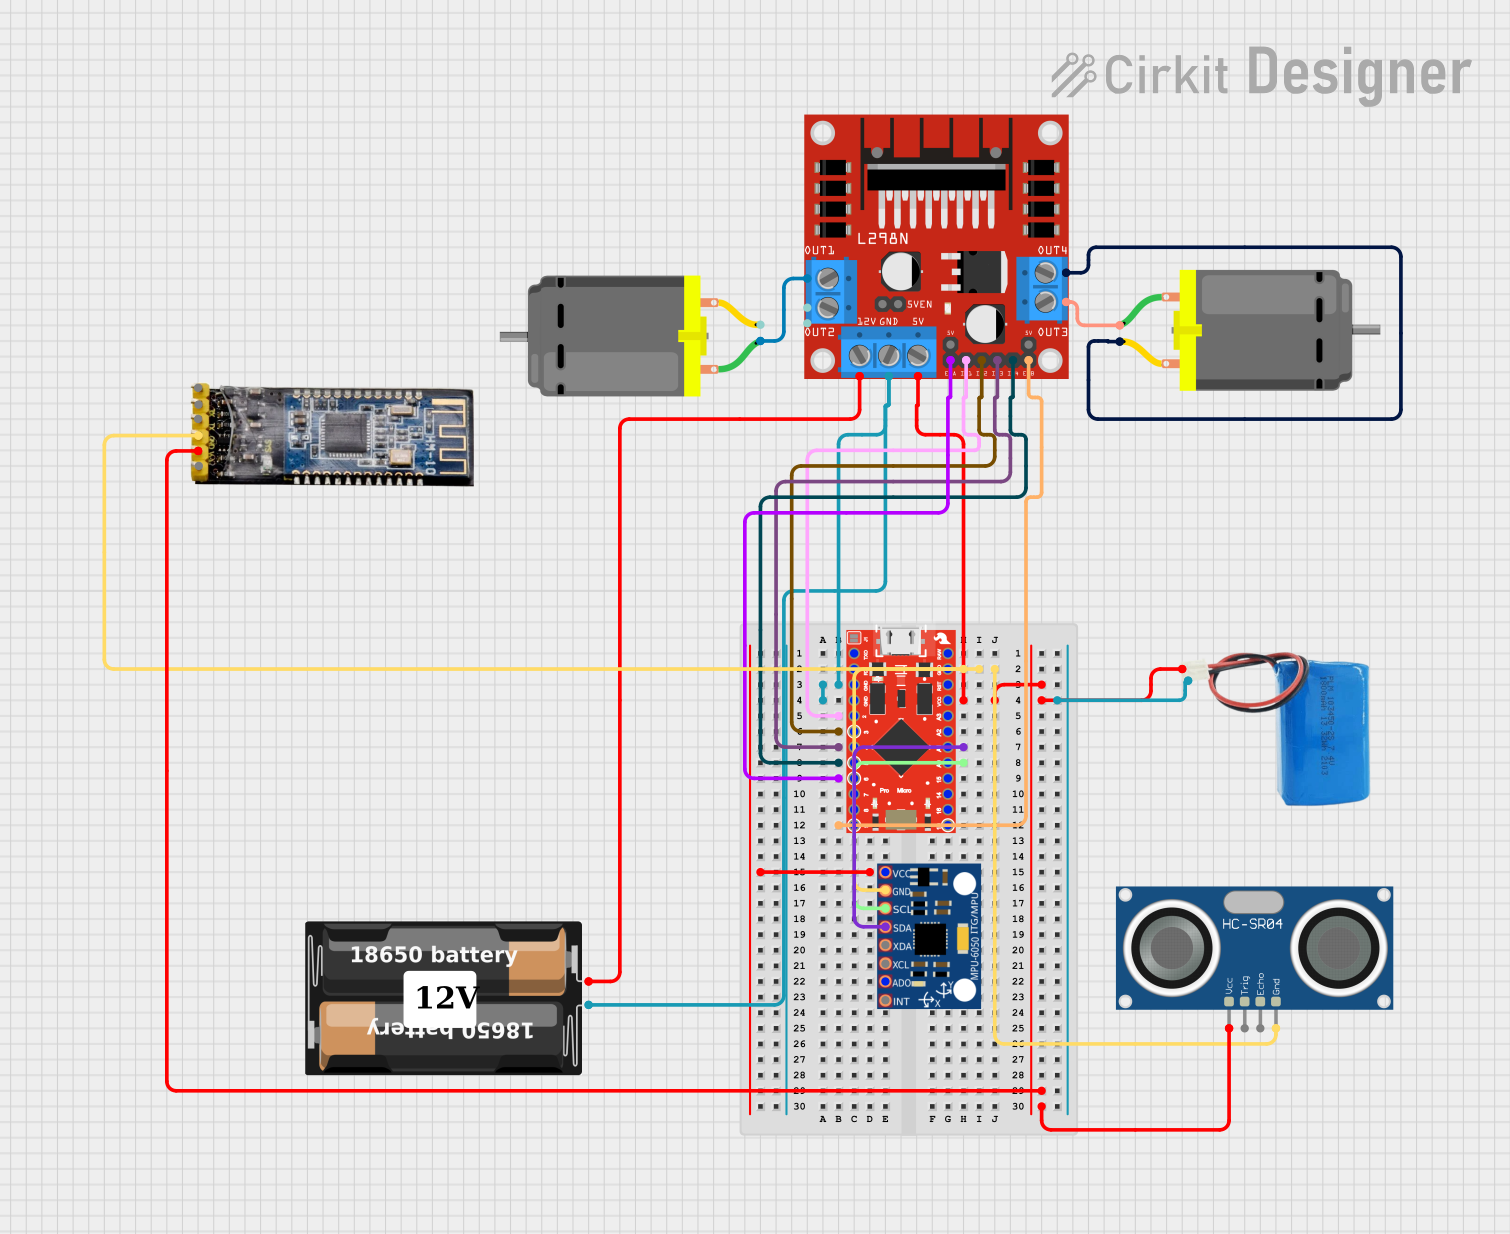 Open Project in Cirkit Designer
Explore Projects Built with Adafruit DragonTail for micro:bit
Open Project in Cirkit DesignerOpen Project in Cirkit DesignerOpen Project in Cirkit DesignerOpen Project in Cirkit DesignerCommon Applications and Use Cases
- Prototyping with sensors and actuators
- Educational projects for learning electronics and programming
- IoT applications requiring additional connectivity
- Robotics and automation projects
- Expanding the micro:bit's GPIO capabilities for advanced projects
Technical Specifications
The Adafruit DragonTail for micro:bit is designed to enhance the micro:bit's functionality by providing easy access to its GPIO pins and additional features. Below are the key technical details:
Key Specifications
| Specification | Value |
|---|---|
| Manufacturer | Adafruit |
| Part ID | 3695 |
| Compatibility | BBC micro:bit (v1 and v2) |
| GPIO Pin Access | 21-pin edge connector and breakout headers |
| Power Input | 3.3V (from micro:bit) |
| Dimensions | 65mm x 50mm x 10mm |
| Weight | 10g |
Pin Configuration and Descriptions
The DragonTail provides access to the micro:bit's GPIO pins via labeled headers. Below is the pinout description:
| Pin Label | micro:bit Pin | Description |
|---|---|---|
| 3V | 3.3V | Power output for external components |
| GND | GND | Ground connection |
| P0 | P0 | General-purpose I/O pin |
| P1 | P1 | General-purpose I/O pin |
| P2 | P2 | General-purpose I/O pin |
| P3 | P3 | General-purpose I/O pin |
| P4 | P4 | General-purpose I/O pin |
| P5 | P5 | General-purpose I/O pin (shared with button A) |
| P6-P20 | P6-P20 | Additional GPIO pins |
Usage Instructions
The Adafruit DragonTail for micro:bit is straightforward to use and provides a convenient way to connect external components to the micro:bit. Follow the steps below to get started:
Connecting the DragonTail to the micro:bit
- Align the micro:bit's edge connector with the DragonTail's slot.
- Gently slide the micro:bit into the DragonTail until it is securely seated.
- Ensure the micro:bit's LED matrix is facing outward for proper orientation.
Connecting External Components
- Use the labeled headers on the DragonTail to connect sensors, actuators, or other modules.
- Ensure that the voltage and current requirements of the connected components are compatible with the micro:bit's 3.3V power supply.
- Use jumper wires or compatible connectors to make secure connections.
Example: Using a Temperature Sensor with the DragonTail
Below is an example of connecting a TMP36 temperature sensor to the DragonTail and reading its data using the micro:bit.
Wiring
- Connect the TMP36's
VCCpin to the3Vpin on the DragonTail. - Connect the TMP36's
GNDpin to theGNDpin on the DragonTail. - Connect the TMP36's
OUTpin to theP0pin on the DragonTail.
Code Example
Import the micro:bit module
from microbit import *
Function to convert analog reading to temperature in Celsius
def read_temperature(pin): # Read the analog value from the TMP36 sensor analog_value = pin.read_analog() # Convert the analog value to voltage (3.3V reference) voltage = analog_value * (3.3 / 1023) # Convert voltage to temperature in Celsius temperature = (voltage - 0.5) * 100 return temperature
while True: # Read temperature from TMP36 connected to pin P0 temp_celsius = read_temperature(pin0) # Display the temperature on the micro:bit's LED matrix display.scroll("Temp: {:.1f}C".format(temp_celsius)) # Wait for 1 second before the next reading sleep(1000)
Important Considerations and Best Practices
- Ensure that the micro:bit is powered off before connecting or disconnecting the DragonTail.
- Avoid exceeding the micro:bit's current limits when connecting multiple components.
- Use proper pull-up or pull-down resistors for components that require them.
- Double-check all connections to prevent short circuits or damage to the micro:bit.
Troubleshooting and FAQs
Common Issues and Solutions
The micro:bit does not power on when connected to the DragonTail.
- Ensure the micro:bit is properly seated in the DragonTail's edge connector.
- Check the power source connected to the micro:bit.
External components are not functioning as expected.
- Verify that the components are connected to the correct pins on the DragonTail.
- Check the voltage and current requirements of the components.
- Ensure the micro:bit's code is correctly configured to control the connected components.
The micro:bit's LED matrix is not displaying anything.
- Confirm that the micro:bit is powered on and running the correct program.
- Check for any loose connections between the micro:bit and the DragonTail.
FAQs
Q: Can I use the DragonTail with micro:bit v2?
A: Yes, the DragonTail is compatible with both micro:bit v1 and v2.
Q: What is the maximum current I can draw from the 3.3V pin?
A: The maximum current available depends on the micro:bit's power source. Typically, it is around 90mA when powered via USB.
Q: Can I use the DragonTail with other microcontrollers?
A: No, the DragonTail is specifically designed for the BBC micro:bit and its edge connector.
Q: Do I need additional drivers or libraries to use the DragonTail?
A: No, the DragonTail is a hardware breakout board and does not require additional drivers. However, you may need libraries for specific sensors or modules connected to it.
By following this documentation, you can effectively utilize the Adafruit DragonTail for micro:bit in your projects and expand the capabilities of your micro:bit with ease!