How to Use E-Paper Driver HAT: Examples, Pinouts, and Specs
Introduction
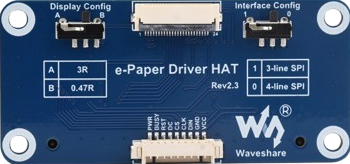
The E-Paper Driver HAT by Waveshare is a versatile hardware accessory designed for the Raspberry Pi. It enables seamless interfacing with e-paper displays, which are known for their low power consumption and high contrast. This makes the E-Paper Driver HAT ideal for applications such as e-readers, digital signage, and other projects where a persistent display is beneficial.
Explore Projects Built with E-Paper Driver HAT

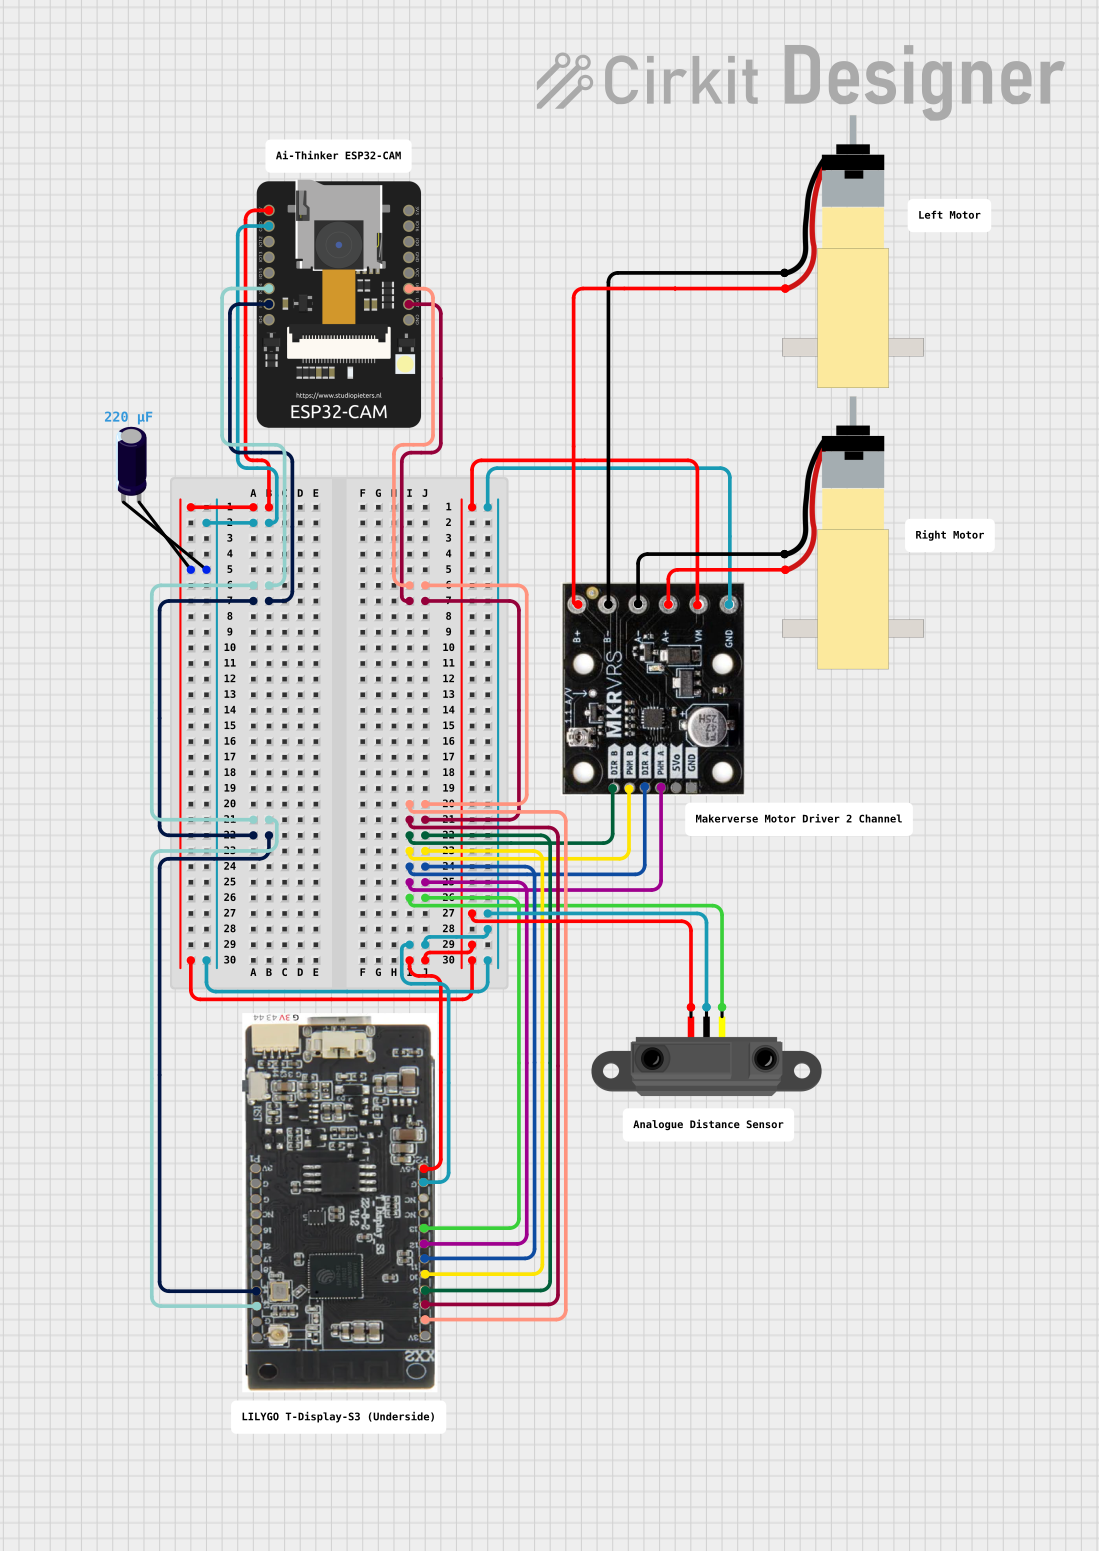

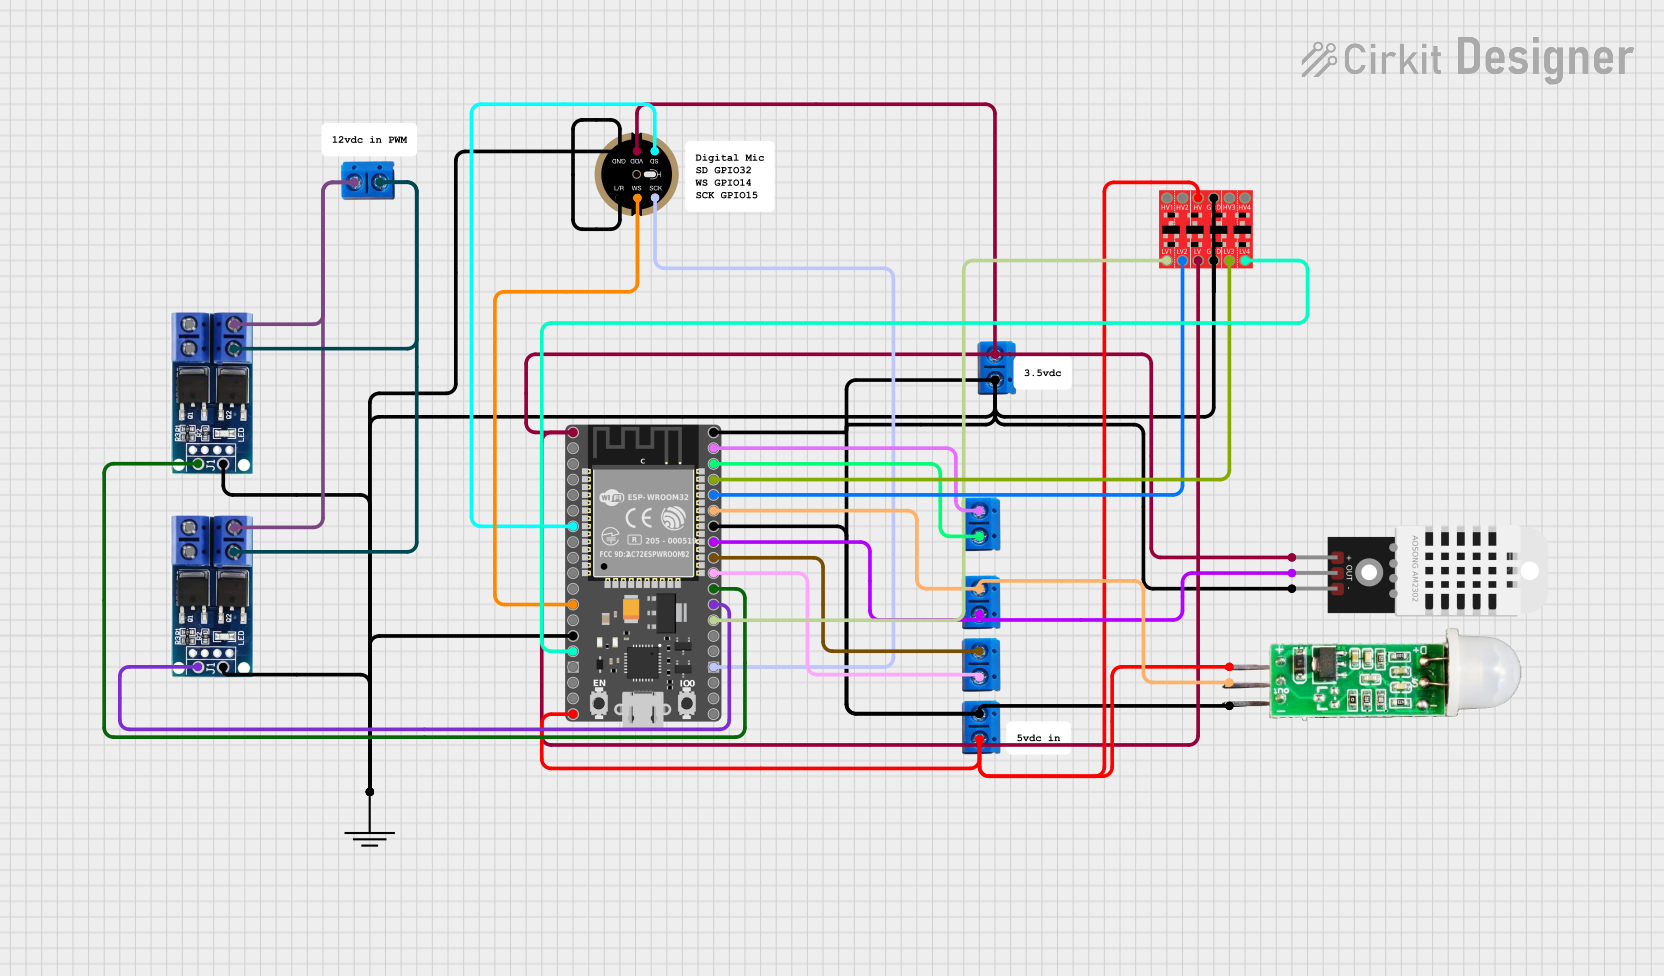
Explore Projects Built with E-Paper Driver HAT
Common Applications and Use Cases
- E-Readers: Low power consumption makes it perfect for battery-operated devices.
- Digital Signage: High contrast and readability in various lighting conditions.
- IoT Displays: Ideal for smart home devices that require infrequent updates.
- Information Boards: Suitable for public information displays that need to be updated periodically.
Technical Specifications
Key Technical Details
| Specification | Value |
|---|---|
| Operating Voltage | 3.3V/5V |
| Interface | SPI |
| Compatible Displays | 1.54", 2.13", 2.7", 4.2" |
| Dimensions | 65mm x 30mm |
| Power Consumption | Ultra-low during updates |
| Operating Temperature | -20°C to 70°C |
Pin Configuration and Descriptions
| Pin Number | Pin Name | Description |
|---|---|---|
| 1 | 3.3V | Power supply (3.3V) |
| 2 | 5V | Power supply (5V) |
| 3 | GND | Ground |
| 4 | CS | Chip Select for SPI |
| 5 | SCK | Serial Clock for SPI |
| 6 | MOSI | Master Out Slave In for SPI |
| 7 | MISO | Master In Slave Out for SPI |
| 8 | DC | Data/Command control |
| 9 | RST | Reset |
| 10 | BUSY | Busy signal from e-paper display |
Usage Instructions
How to Use the Component in a Circuit
Connect the E-Paper Driver HAT to the Raspberry Pi:
- Align the HAT with the GPIO pins on the Raspberry Pi.
- Ensure that the pins are correctly aligned and gently press the HAT onto the GPIO header.
Connect the E-Paper Display:
- Use the provided connector to attach the e-paper display to the HAT.
- Ensure that the connection is secure and that the display is properly oriented.
Power Up the Raspberry Pi:
- Connect the Raspberry Pi to a power source.
- The E-Paper Driver HAT will draw power from the Raspberry Pi.
Install Required Libraries:
- Use the following commands to install the necessary libraries:
sudo apt-get update
sudo apt-get install python3-pip
sudo pip3 install RPi.GPIO spidev
- Use the following commands to install the necessary libraries:
Run Example Code:
- Create a Python script to test the e-paper display:
import spidev
import RPi.GPIO as GPIO
from time import sleep

# Pin configuration
RST_PIN = 17
DC_PIN = 25
CS_PIN = 8
BUSY_PIN = 24

# Initialize GPIO
GPIO.setmode(GPIO.BCM)
GPIO.setup(RST_PIN, GPIO.OUT)
GPIO.setup(DC_PIN, GPIO.OUT)
GPIO.setup(CS_PIN, GPIO.OUT)
GPIO.setup(BUSY_PIN, GPIO.IN)

# Initialize SPI
spi = spidev.SpiDev()
spi.open(0, 0)
spi.max_speed_hz = 2000000

def reset():
    GPIO.output(RST_PIN, GPIO.HIGH)
    sleep(0.2)
    GPIO.output(RST_PIN, GPIO.LOW)
    sleep(0.2)
    GPIO.output(RST_PIN, GPIO.HIGH)
    sleep(0.2)

def send_command(command):
    GPIO.output(DC_PIN, GPIO.LOW)
    GPIO.output(CS_PIN, GPIO.LOW)
    spi.writebytes([command])
    GPIO.output(CS_PIN, GPIO.HIGH)

def send_data(data):
    GPIO.output(DC_PIN, GPIO.HIGH)
    GPIO.output(CS_PIN, GPIO.LOW)
    spi.writebytes([data])
    GPIO.output(CS_PIN, GPIO.HIGH)

def init_display():
    reset()
    send_command(0x01)  # Power setting
    send_data(0x03)
    send_data(0x00)
    send_data(0x2b)
    send_data(0x2b)
    send_command(0x06)  # Booster soft start
    send_data(0x17)
    send_data(0x17)
    send_data(0x17)
    send_command(0x04)  # Power on
    sleep(0.1)
    send_command(0x00)  # Panel setting
    send_data(0xbf)
    send_data(0x0d)

init_display()
print("E-Paper display initialized")
- Create a Python script to test the e-paper display:
Important Considerations and Best Practices
- Power Supply: Ensure that the Raspberry Pi is powered by a stable power source to avoid display issues.
- Handling: E-paper displays are delicate; handle them with care to avoid damage.
- Environment: Operate within the specified temperature range to ensure optimal performance.
- Library Updates: Regularly check for updates to the libraries to ensure compatibility and access to new features.
Troubleshooting and FAQs
Common Issues Users Might Face
Display Not Updating:
- Solution: Check the connections between the HAT and the e-paper display. Ensure that the SPI interface is correctly configured.
Power Issues:
- Solution: Verify that the Raspberry Pi is receiving adequate power. Use a power supply that meets the recommended specifications.
Partial Updates or Artifacts:
- Solution: Ensure that the display is properly reset before each update. Check the initialization sequence in the code.
Solutions and Tips for Troubleshooting
- Check Connections: Ensure all connections are secure and correctly oriented.
- Review Code: Verify that the code is correctly setting up the SPI interface and sending the appropriate commands.
- Consult Documentation: Refer to the e-paper display's datasheet for specific command sequences and initialization procedures.
- Use Diagnostic Tools: Utilize tools like multimeters to check for continuity and proper voltage levels.
By following this documentation, users can effectively integrate the E-Paper Driver HAT into their Raspberry Pi projects, leveraging the benefits of e-paper technology for a variety of applications.