How to Use Sensor_O3: Examples, Pinouts, and Specs
Introduction
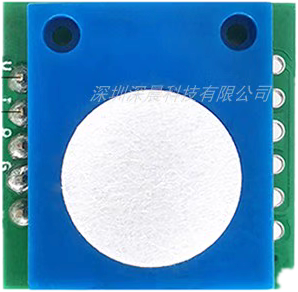
The Sensor_O3 is a specialized electronic component designed to detect and measure the concentration of ozone (O3) in the air. It is widely used in environmental monitoring systems, air quality assessment devices, and industrial safety applications. This sensor provides accurate and reliable ozone level readings, making it an essential tool for maintaining healthy air quality and ensuring compliance with environmental regulations.
Explore Projects Built with Sensor_O3
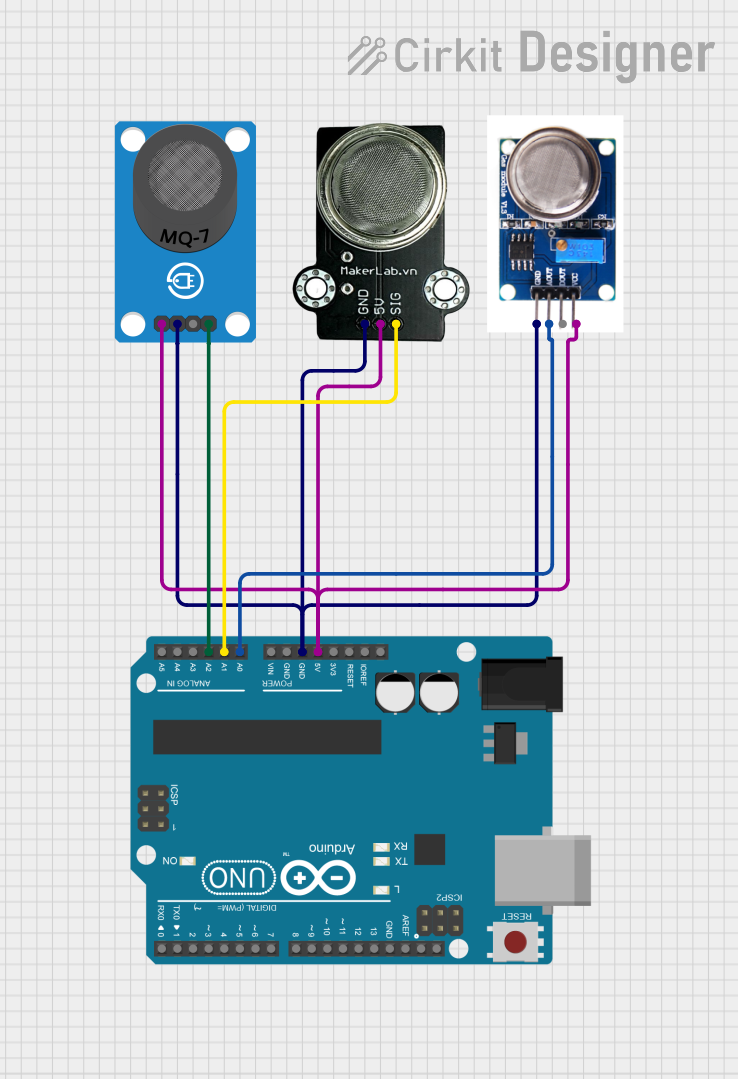

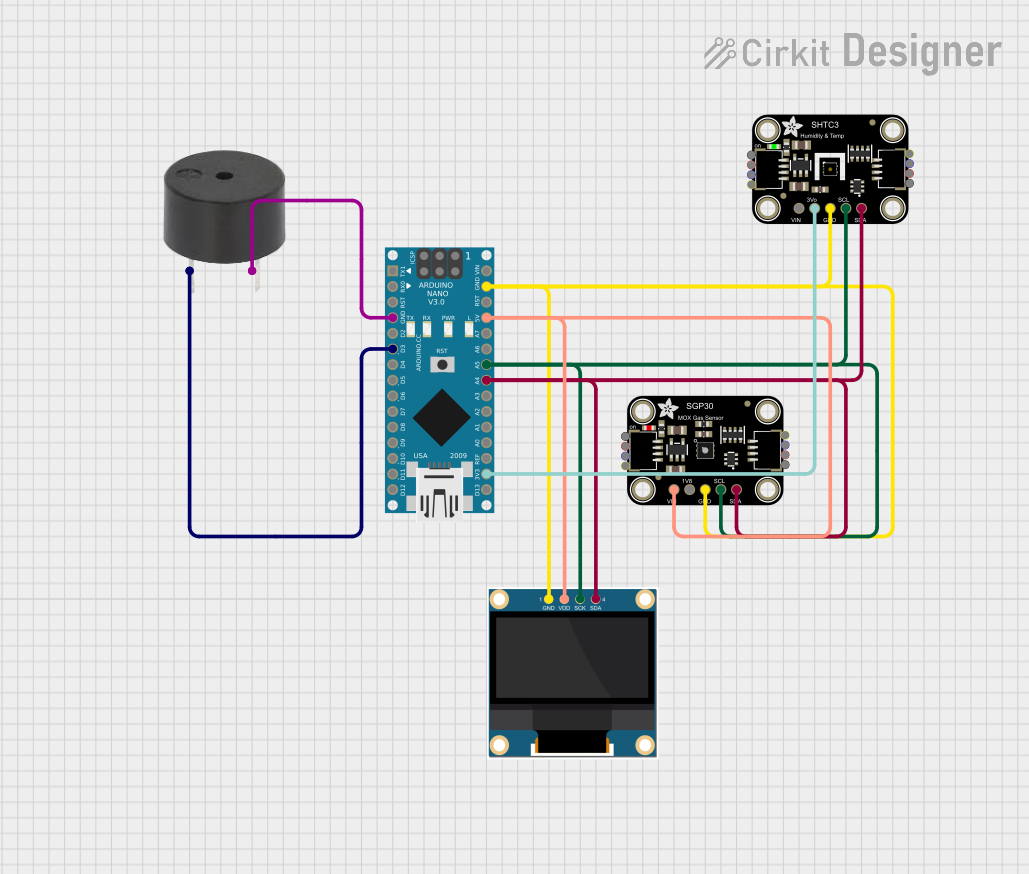
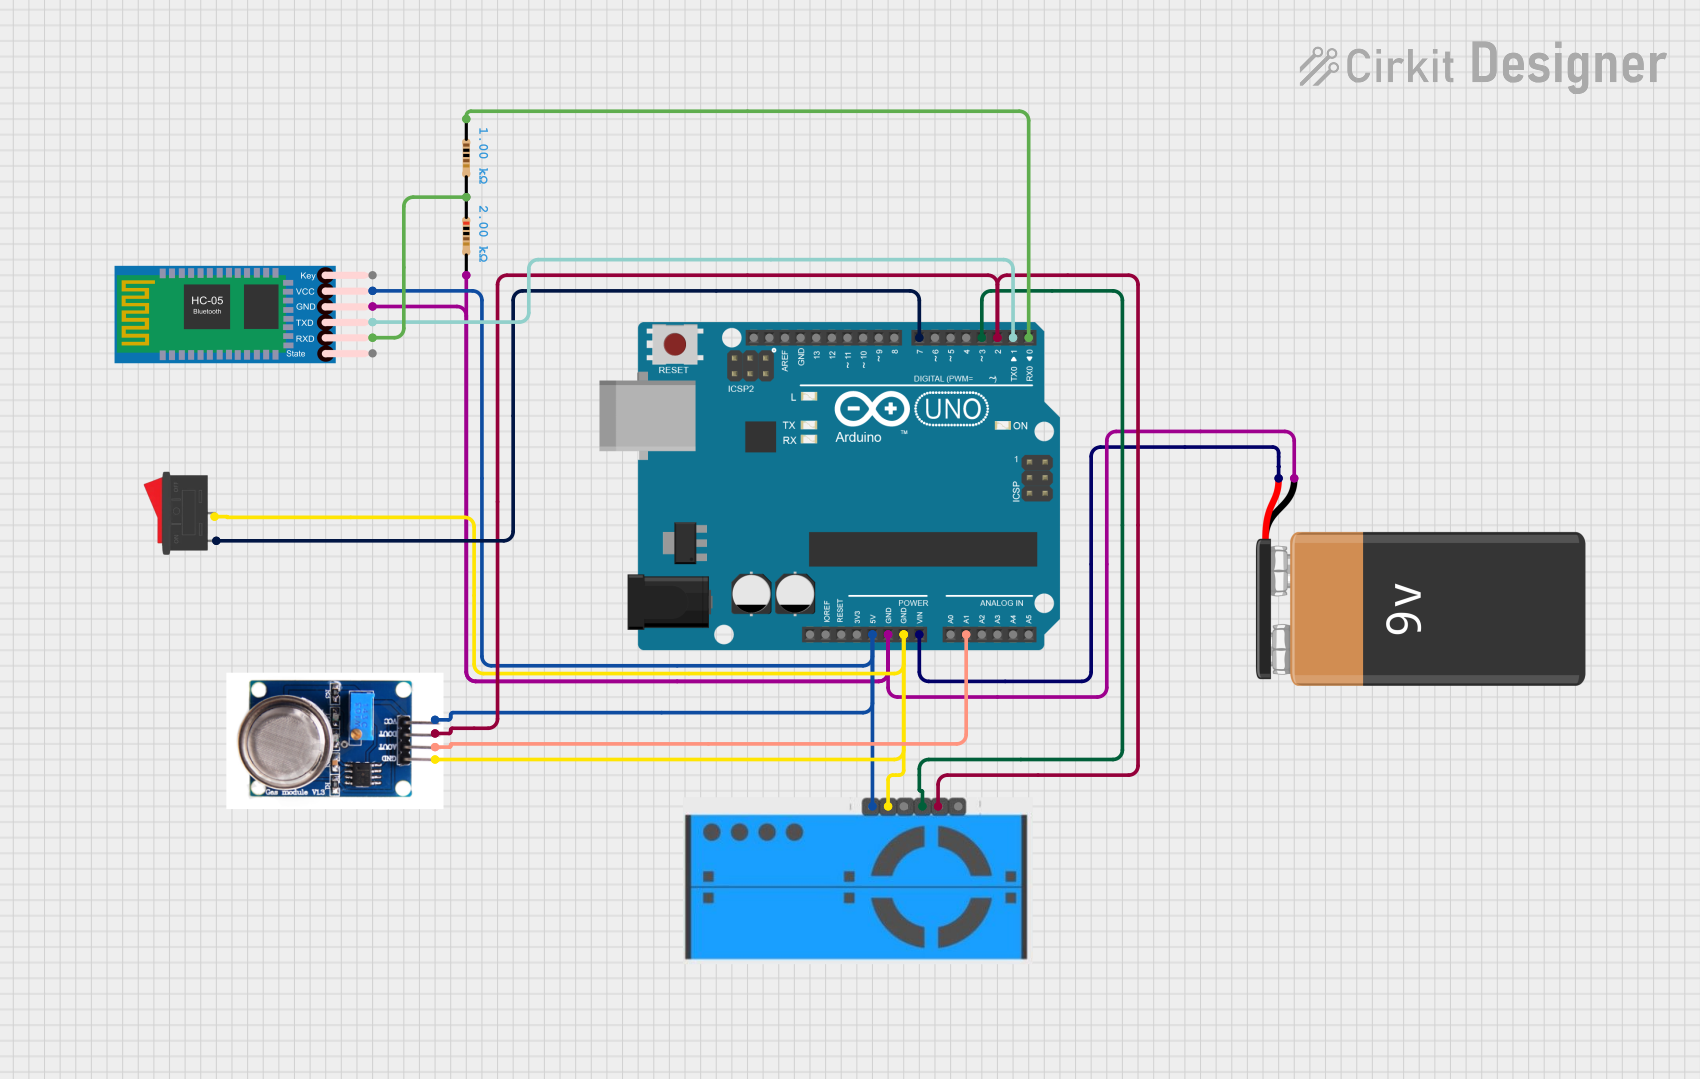
Explore Projects Built with Sensor_O3
Common Applications
- Environmental monitoring stations
- Air purifiers and HVAC systems
- Industrial safety and workplace monitoring
- Research and development in atmospheric studies
- Smart city air quality networks
Technical Specifications
The Sensor_O3 is designed to operate efficiently in a variety of environments. Below are its key technical details:
| Parameter | Value |
|---|---|
| Detection Range | 0–10 ppm (parts per million) |
| Sensitivity | 0.1 ppm |
| Operating Voltage | 5V DC |
| Operating Current | ≤ 50 mA |
| Output Signal Type | Analog voltage (0–5V) |
| Response Time | ≤ 30 seconds |
| Operating Temperature | -20°C to 50°C |
| Humidity Range | 15%–90% RH (non-condensing) |
| Lifetime | ≥ 2 years |
Pin Configuration
The Sensor_O3 typically comes with a 4-pin interface. Below is the pinout description:
| Pin | Name | Description |
|---|---|---|
| 1 | VCC | Power supply input (5V DC) |
| 2 | GND | Ground connection |
| 3 | AOUT | Analog output signal proportional to ozone level |
| 4 | DOUT | Digital output signal (threshold-based, optional) |
Usage Instructions
Connecting the Sensor_O3
To use the Sensor_O3 in a circuit, follow these steps:
- Connect the VCC pin to a 5V DC power source.
- Connect the GND pin to the ground of your circuit.
- Connect the AOUT pin to an analog input pin of your microcontroller (e.g., Arduino UNO) to read the ozone concentration as an analog voltage.
- (Optional) Connect the DOUT pin to a digital input pin if you want to use the threshold-based digital output.
Important Considerations
- Preheating: Allow the sensor to preheat for 2–3 minutes after powering it on to ensure accurate readings.
- Calibration: For precise measurements, calibrate the sensor in a clean air environment (0 ppm ozone) before use.
- Placement: Avoid placing the sensor in areas with high humidity or condensation, as this may affect its performance.
- Power Supply: Use a stable 5V DC power source to prevent fluctuations in readings.
Example Code for Arduino UNO
Below is an example of how to interface the Sensor_O3 with an Arduino UNO to read and display ozone concentration:
// Sensor_O3 Arduino Example Code
// Reads analog output from the sensor and displays ozone concentration in ppm

const int sensorPin = A0; // Connect AOUT pin of Sensor_O3 to Arduino A0
float sensorValue;        // Variable to store the analog reading
float ozoneConcentration; // Variable to store calculated ozone concentration

void setup() {
  Serial.begin(9600); // Initialize serial communication at 9600 baud
  pinMode(sensorPin, INPUT); // Set sensor pin as input
}

void loop() {
  // Read the analog value from the sensor
  sensorValue = analogRead(sensorPin);

  // Convert the analog value to ozone concentration (example conversion)
  // Assuming a linear relationship: 0V = 0 ppm, 5V = 10 ppm
  ozoneConcentration = (sensorValue / 1023.0) * 10.0;

  // Print the ozone concentration to the Serial Monitor
  Serial.print("Ozone Concentration: ");
  Serial.print(ozoneConcentration);
  Serial.println(" ppm");

  delay(1000); // Wait for 1 second before the next reading
}
Notes on Code
- The conversion formula in the code assumes a linear relationship between the sensor's analog output and ozone concentration. Refer to the sensor's datasheet for precise calibration details.
- Use the Serial Monitor in the Arduino IDE to view the ozone concentration readings.
Troubleshooting and FAQs
Common Issues
No Output Signal
- Cause: Incorrect wiring or loose connections.
- Solution: Double-check all connections, ensuring the VCC and GND pins are properly connected.
Inaccurate Readings
- Cause: Insufficient preheating time or lack of calibration.
- Solution: Allow the sensor to preheat for 2–3 minutes and calibrate it in clean air.
Fluctuating Readings
- Cause: Unstable power supply or environmental interference.
- Solution: Use a regulated 5V DC power source and avoid placing the sensor near strong electromagnetic fields.
Sensor Not Responding
- Cause: Sensor may have reached the end of its lifetime.
- Solution: Replace the sensor if it has been in use for over 2 years or shows signs of degradation.
FAQs
Can the Sensor_O3 detect other gases?
- No, the Sensor_O3 is specifically designed to detect ozone (O3) and may not provide accurate readings for other gases.
How do I calibrate the sensor?
- Place the sensor in a clean air environment (0 ppm ozone) and adjust the calibration settings as per the manufacturer's instructions.
What is the response time of the sensor?
- The Sensor_O3 has a response time of ≤ 30 seconds, making it suitable for real-time monitoring.
Can I use the sensor outdoors?
- Yes, but ensure it is protected from direct exposure to rain or extreme humidity to maintain accuracy and longevity.
By following this documentation, you can effectively integrate the Sensor_O3 into your projects and ensure reliable ozone level monitoring.