
How to Use Borne 10 pinos: Examples, Pinouts, and Specs

 Design with Borne 10 pinos in Cirkit Designer
Introduction
The Borne 10 Pinos is a 10-pin terminal block designed for connecting multiple wires in a circuit. It provides a secure and reliable way to establish connections, making it ideal for both prototyping and permanent installations. This component is widely used in industrial, commercial, and DIY electronics projects due to its ease of use and robust design.
Explore Projects Built with Borne 10 pinos
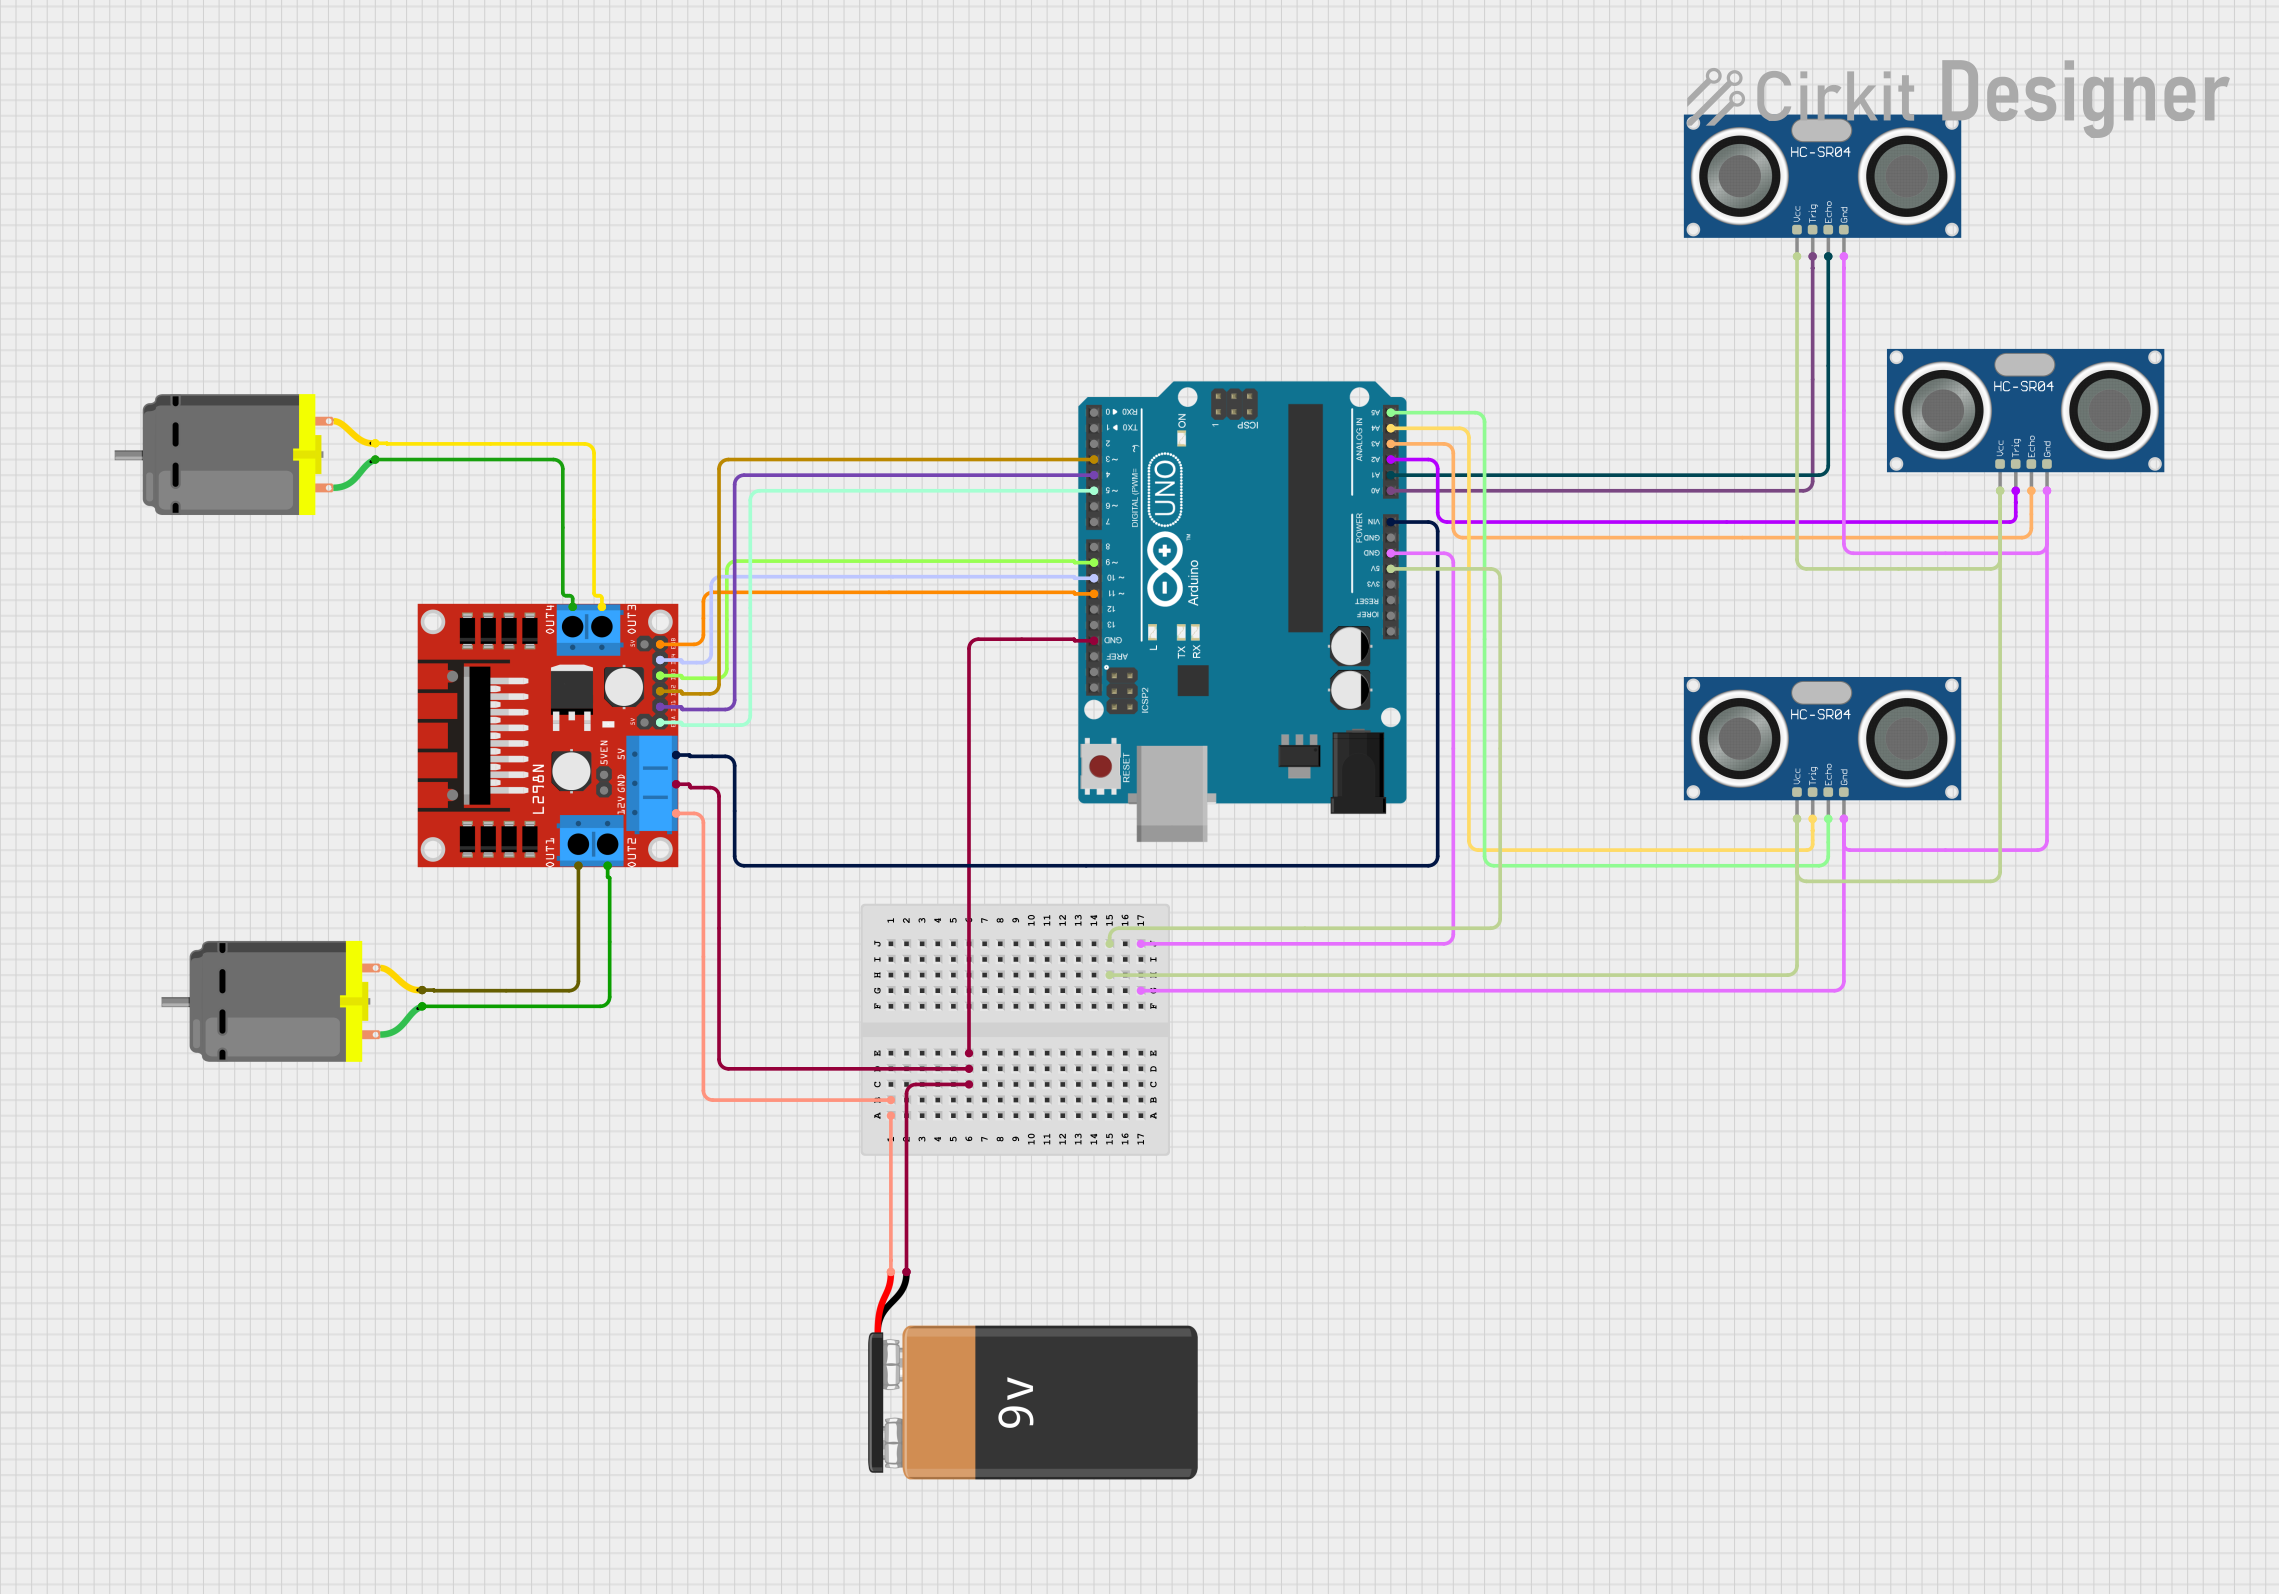 Open Project in Cirkit Designer
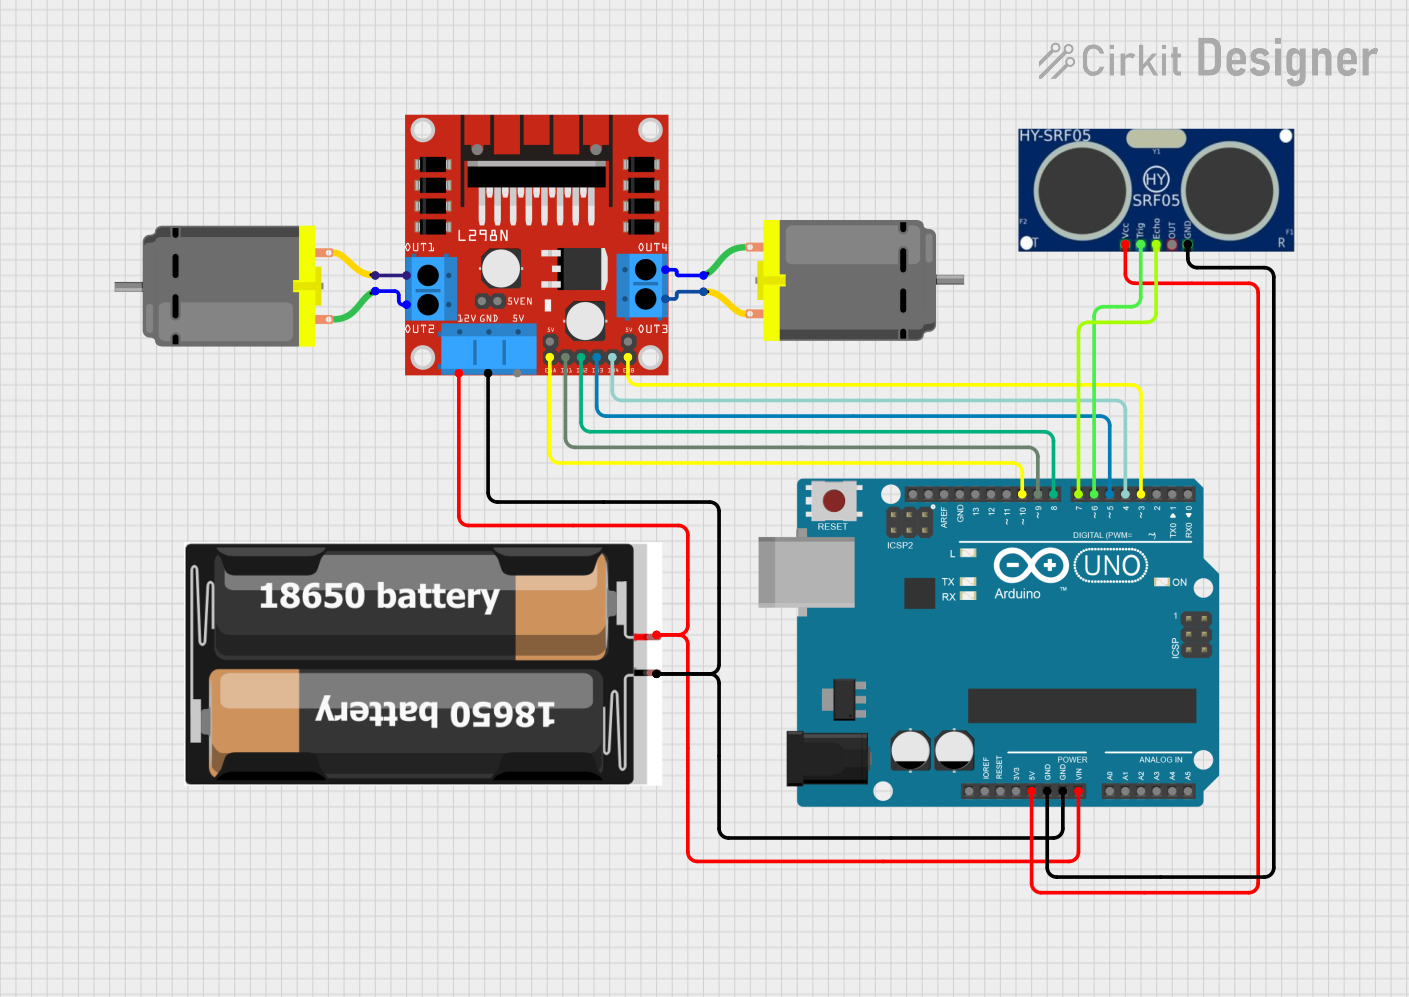 Open Project in Cirkit Designer
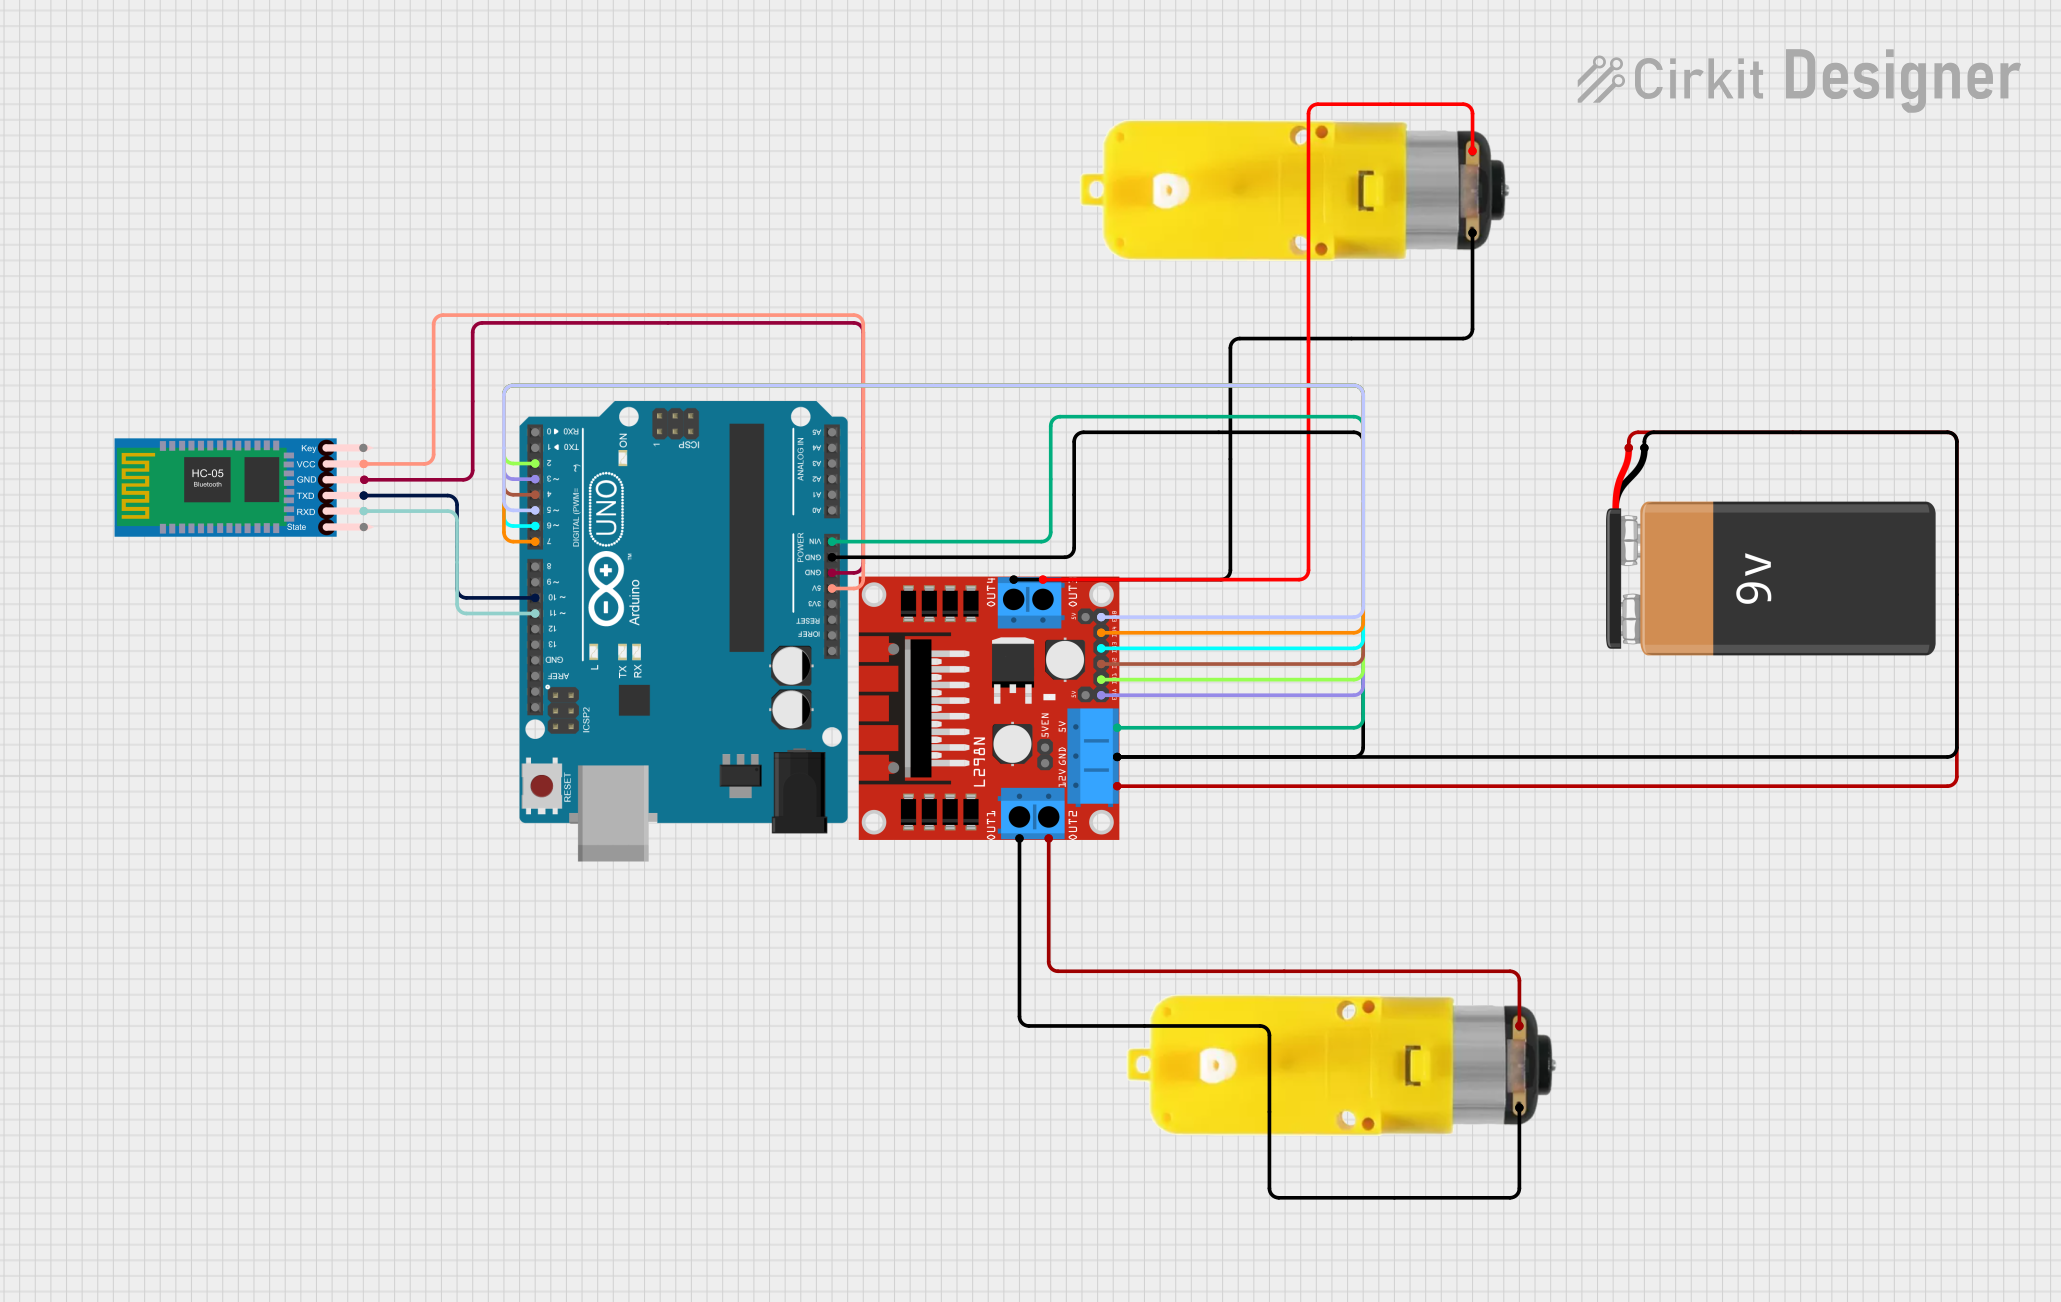 Open Project in Cirkit Designer
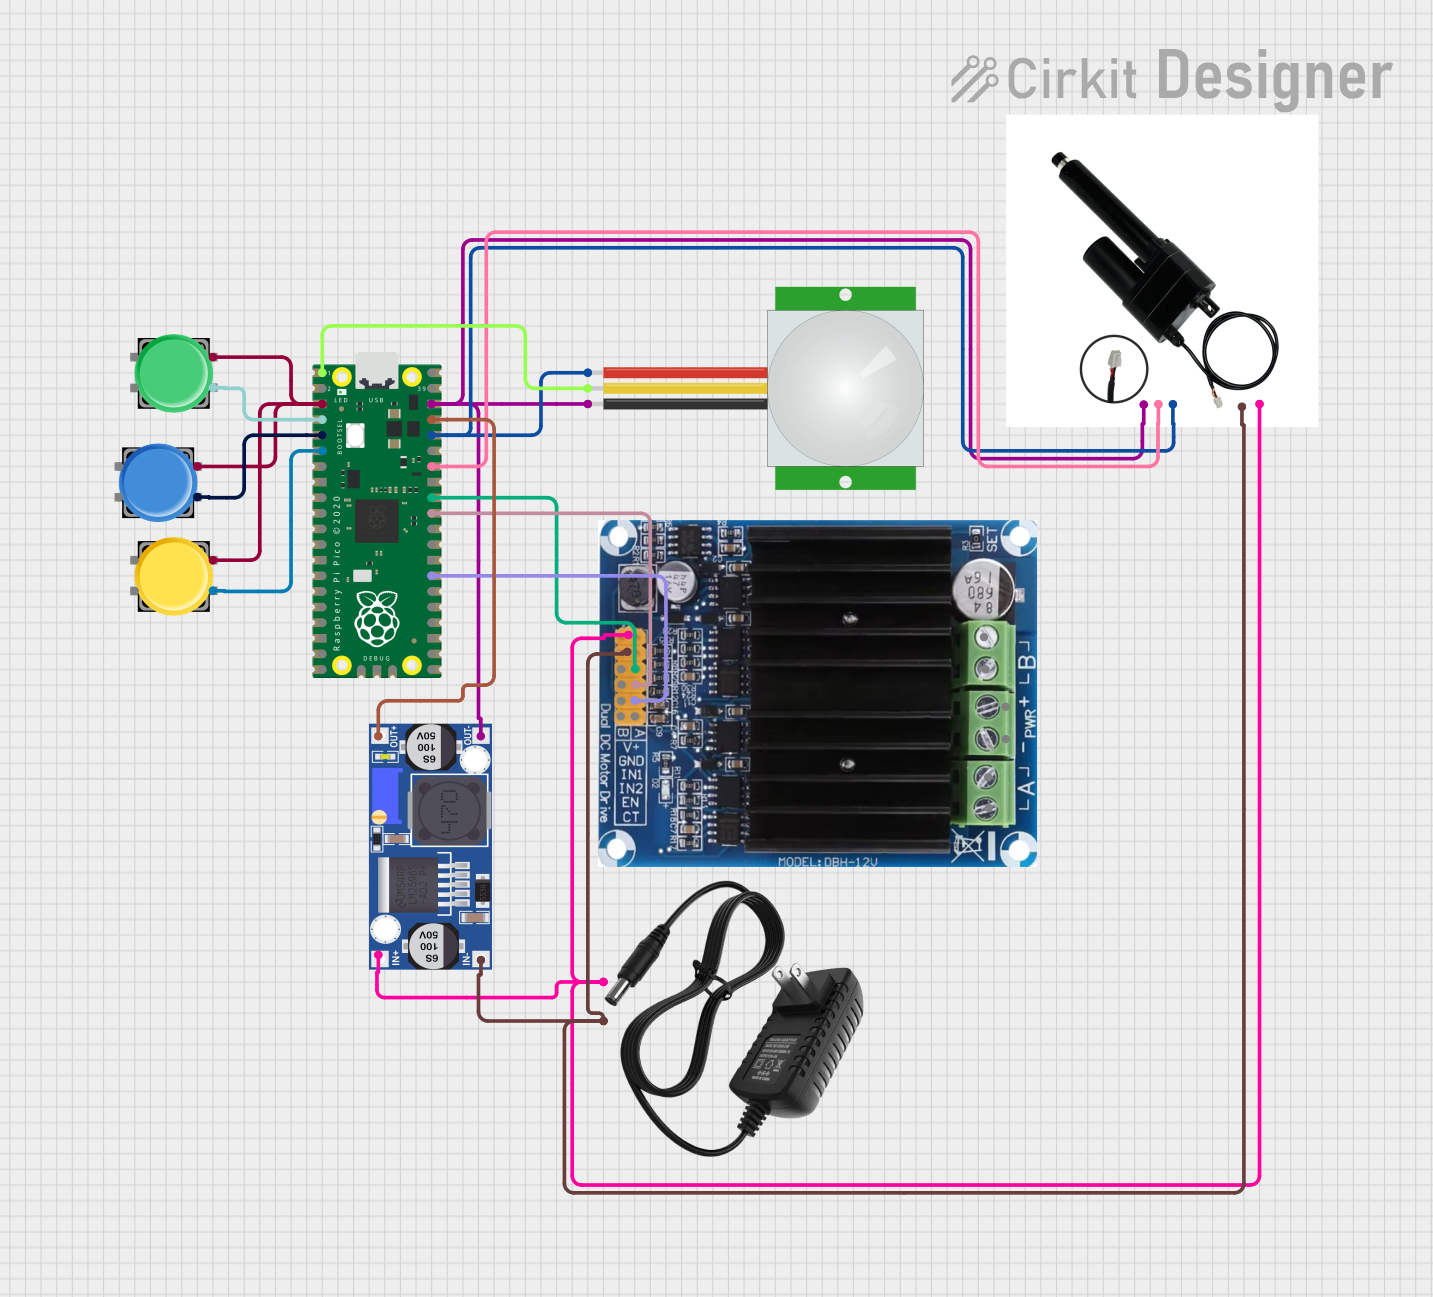 Open Project in Cirkit Designer
Explore Projects Built with Borne 10 pinos
Open Project in Cirkit DesignerOpen Project in Cirkit DesignerOpen Project in Cirkit DesignerOpen Project in Cirkit DesignerCommon Applications
- Connecting multiple wires in control panels or distribution boards
- Prototyping circuits with multiple connections
- Industrial automation systems
- Audio and signal distribution
- Power distribution in low-voltage systems
Technical Specifications
The following table outlines the key technical details of the Borne 10 Pinos:
| Parameter | Specification |
|---|---|
| Number of Pins | 10 |
| Rated Voltage | 300V AC/DC |
| Rated Current | 15A |
| Wire Size Compatibility | 22-12 AWG |
| Material | Flame-retardant thermoplastic (UL94V-0) |
| Mounting Type | PCB mount or screw terminal |
| Operating Temperature | -40°C to +105°C |
| Screw Type | M3 steel screws |
Pin Configuration and Descriptions
The Borne 10 Pinos does not have a specific pinout as it is a terminal block. Each pin corresponds to a screw terminal that connects to a wire. Below is a general description of the pin layout:
| Pin Number | Description |
|---|---|
| 1-10 | Individual screw terminals for wire connections |
Usage Instructions
How to Use the Borne 10 Pinos in a Circuit
- Prepare the Wires: Strip the insulation from the ends of the wires you want to connect. Ensure the exposed wire length matches the terminal block's specifications (typically 5-7mm).
- Insert the Wires: Loosen the screws on the terminal block, insert the stripped wire ends into the corresponding slots, and tighten the screws securely.
- Mount the Terminal Block: If using the PCB mount version, solder the pins to the PCB. For screw-mounted versions, attach the terminal block to a panel or enclosure using screws.
- Verify Connections: Double-check that all wires are securely fastened and that there are no loose connections.
Important Considerations and Best Practices
- Wire Gauge: Ensure the wires used are within the supported range (22-12 AWG) to avoid poor connections or damage.
- Tightening Screws: Do not overtighten the screws, as this may damage the terminal block or the wires.
- Current and Voltage Ratings: Do not exceed the rated current (15A) or voltage (300V) to prevent overheating or failure.
- Environmental Conditions: Use the terminal block within the specified operating temperature range (-40°C to +105°C) for optimal performance.
Example: Connecting to an Arduino UNO
The Borne 10 Pinos can be used to connect multiple sensors or devices to an Arduino UNO. Below is an example of wiring a temperature sensor and an LED to an Arduino using the terminal block:
// Example: Connecting a temperature sensor and an LED via Borne 10 Pinos
// Pin 1: VCC (5V from Arduino)
// Pin 2: GND (Ground from Arduino)
// Pin 3: Signal from temperature sensor to Arduino A0
// Pin 4: LED positive terminal to Arduino D13
// Pin 5: LED negative terminal to GND

const int tempSensorPin = A0; // Analog pin for temperature sensor
const int ledPin = 13;        // Digital pin for LED

void setup() {
  pinMode(ledPin, OUTPUT);    // Set LED pin as output
  Serial.begin(9600);         // Initialize serial communication
}

void loop() {
  int sensorValue = analogRead(tempSensorPin); // Read temperature sensor value
  Serial.println(sensorValue);                 // Print sensor value to Serial Monitor

  if (sensorValue > 500) {     // Example condition: Turn on LED if sensor value > 500
    digitalWrite(ledPin, HIGH);
  } else {
    digitalWrite(ledPin, LOW);
  }

  delay(1000); // Wait for 1 second before next reading
}
Troubleshooting and FAQs
Common Issues
Loose Connections: If a wire is not securely fastened, it may cause intermittent connections or circuit failure.
- Solution: Ensure all screws are tightened properly and wires are stripped to the correct length.
Overheating: The terminal block may overheat if the current exceeds the rated 15A.
- Solution: Verify that the connected devices do not draw more current than the terminal block's rating.
Wire Slippage: Wires may slip out of the terminal block if not inserted correctly.
- Solution: Check that the wire is fully inserted into the slot before tightening the screw.
FAQs
Q: Can I use the Borne 10 Pinos for high-frequency signals?
A: While the terminal block can handle low-frequency signals effectively, it may not be suitable for high-frequency signals due to potential signal degradation.
Q: Is the terminal block waterproof?
A: No, the Borne 10 Pinos is not waterproof. Use it in dry environments or enclosures to protect it from moisture.
Q: Can I connect multiple wires to a single terminal?
A: It is not recommended to connect multiple wires to a single terminal, as this may compromise the connection's reliability and safety.
By following this documentation, you can effectively use the Borne 10 Pinos in your projects for secure and reliable wire connections.