
How to Use DC 12V to 5V: Examples, Pinouts, and Specs
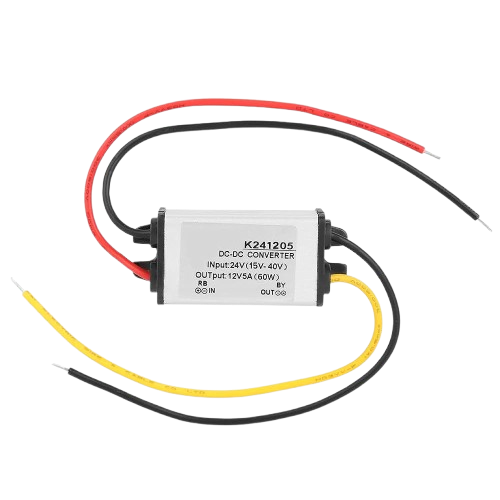
 Design with DC 12V to 5V in Cirkit Designer
Introduction
The DC 12V to 5V voltage regulator is an electronic component designed to convert a 12V direct current (DC) input into a stable 5V DC output. This component is widely used in applications where devices operating at 5V need to be powered from a higher voltage source, such as a car battery or a 12V power supply. It ensures a consistent and reliable 5V output, protecting sensitive electronics from voltage fluctuations.
Explore Projects Built with DC 12V to 5V
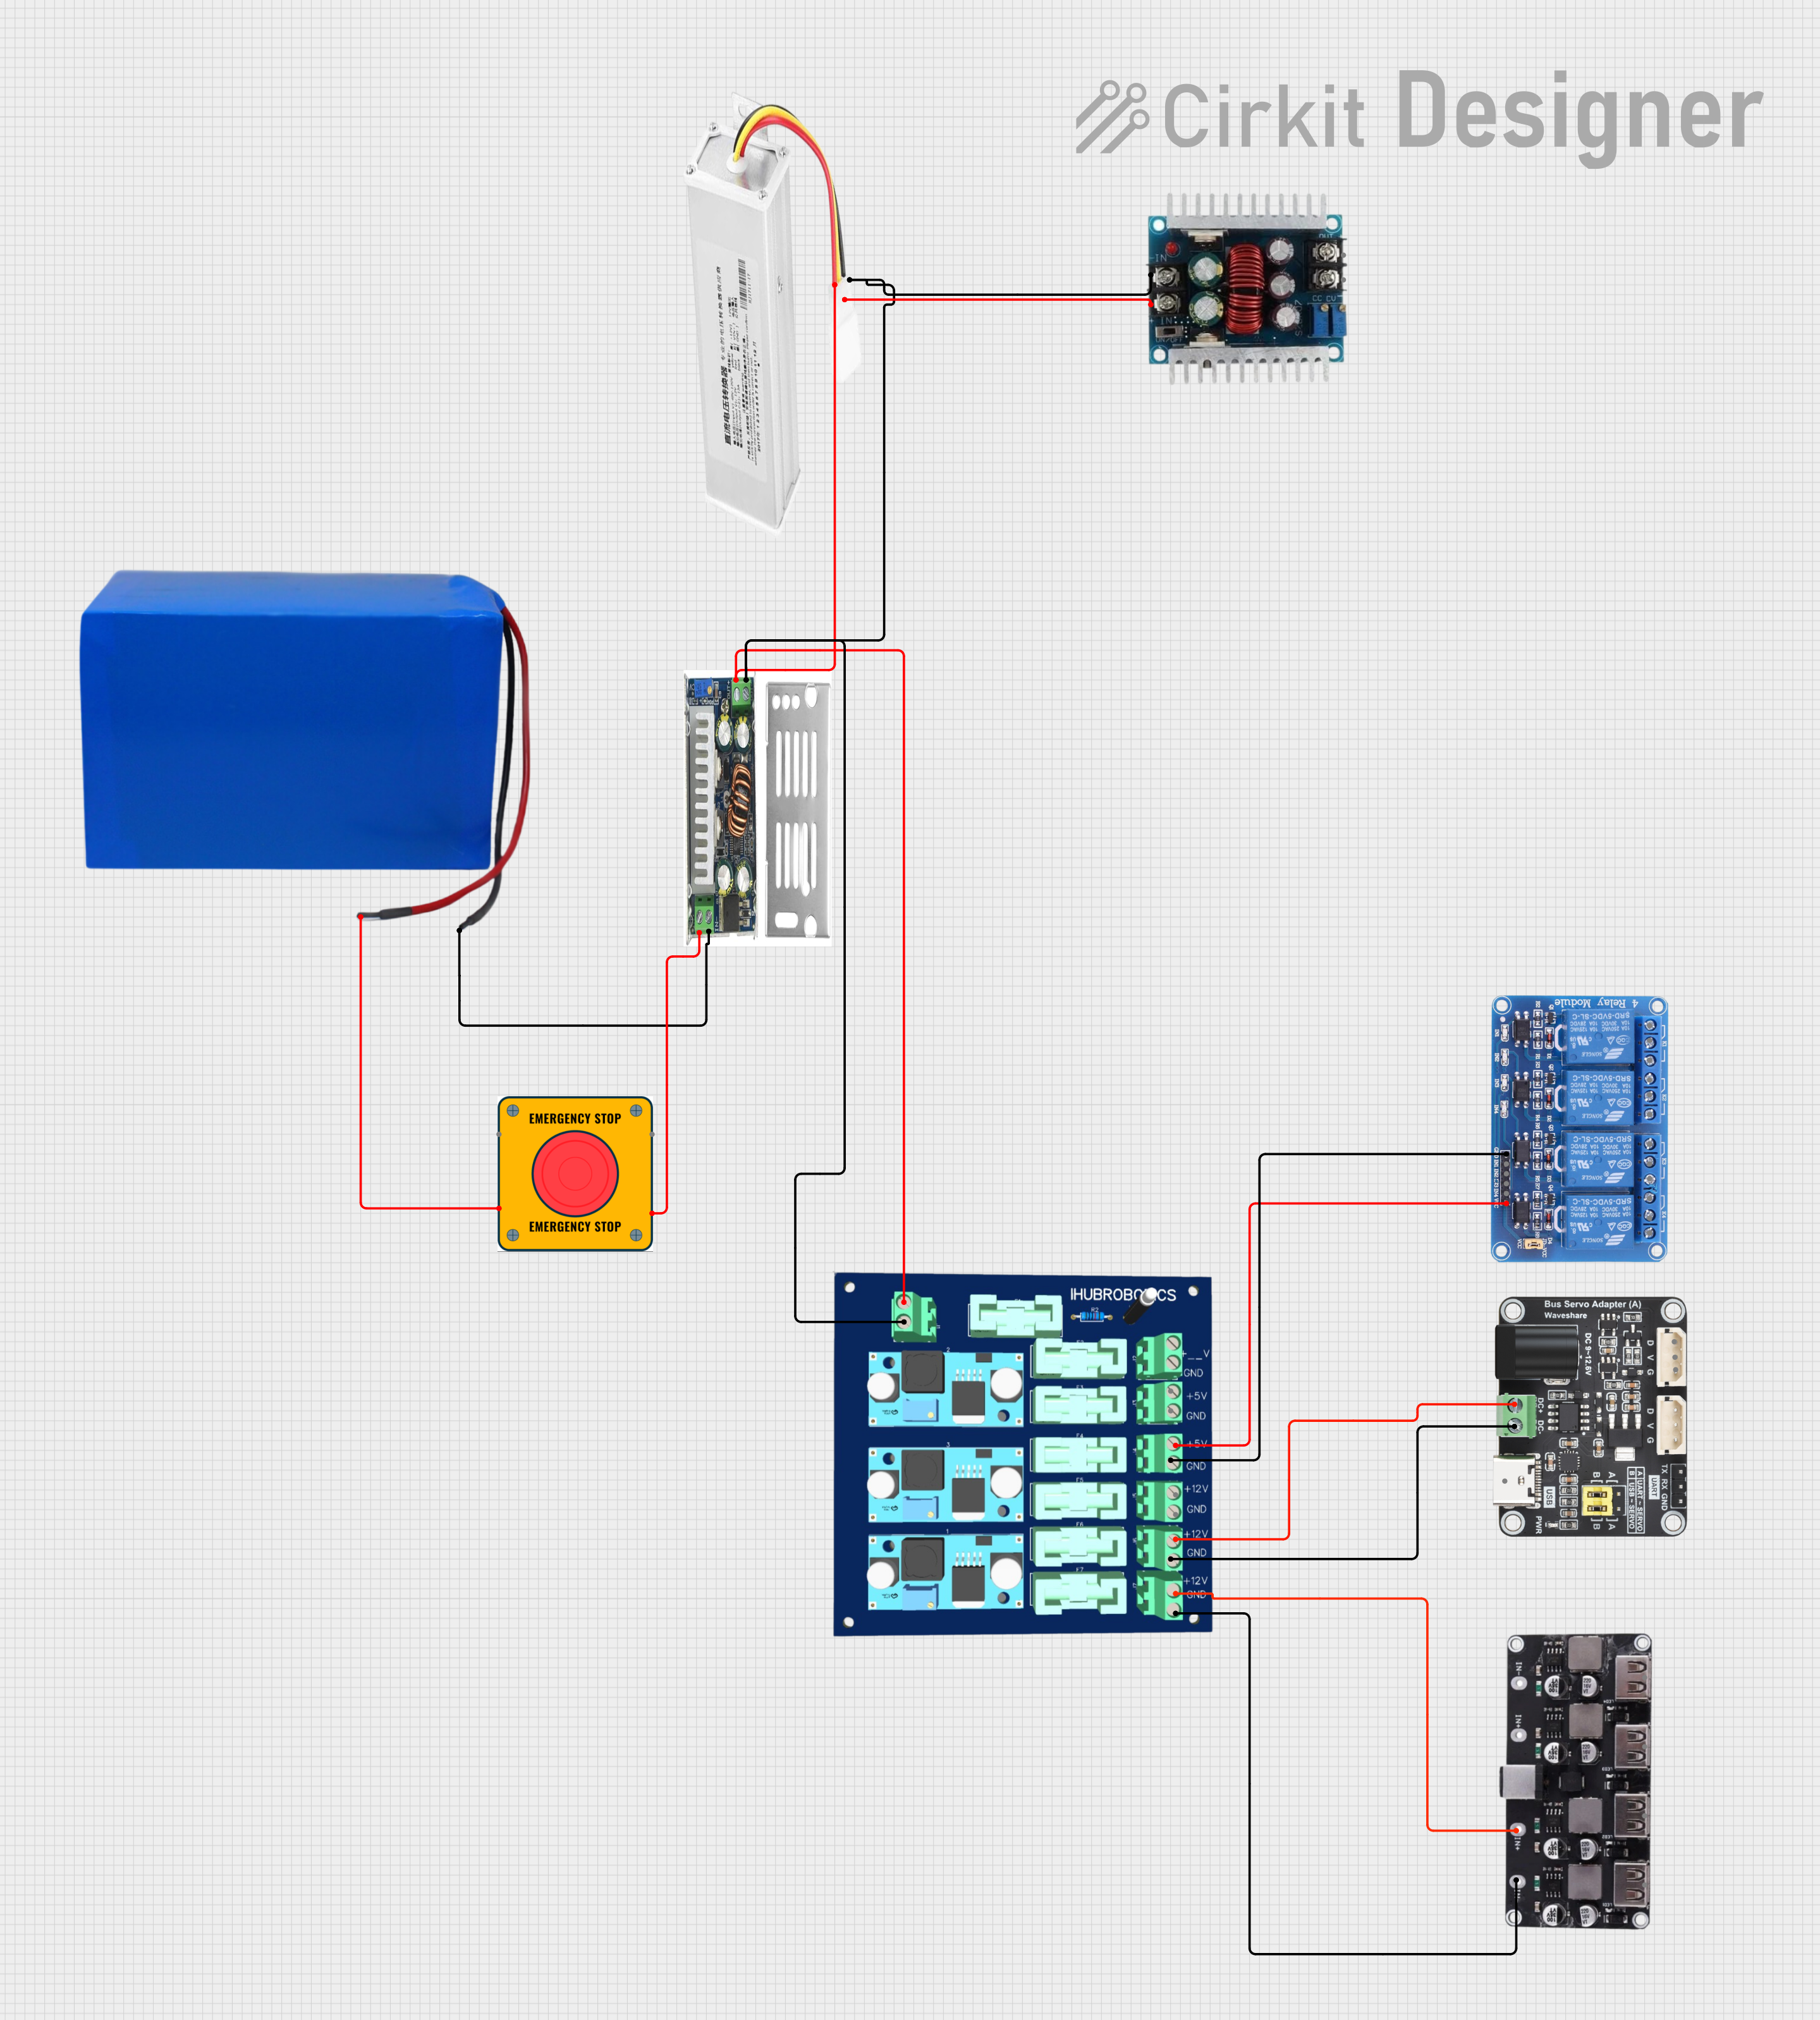 Open Project in Cirkit Designer
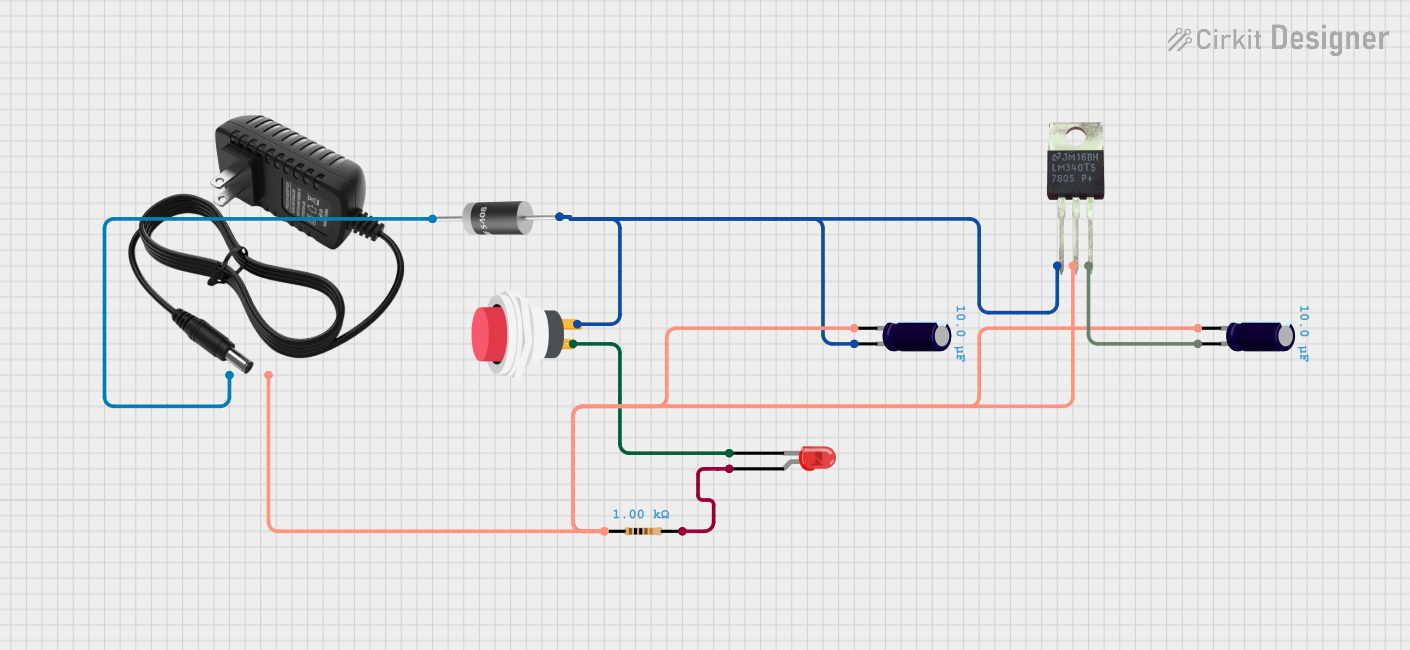 Open Project in Cirkit Designer
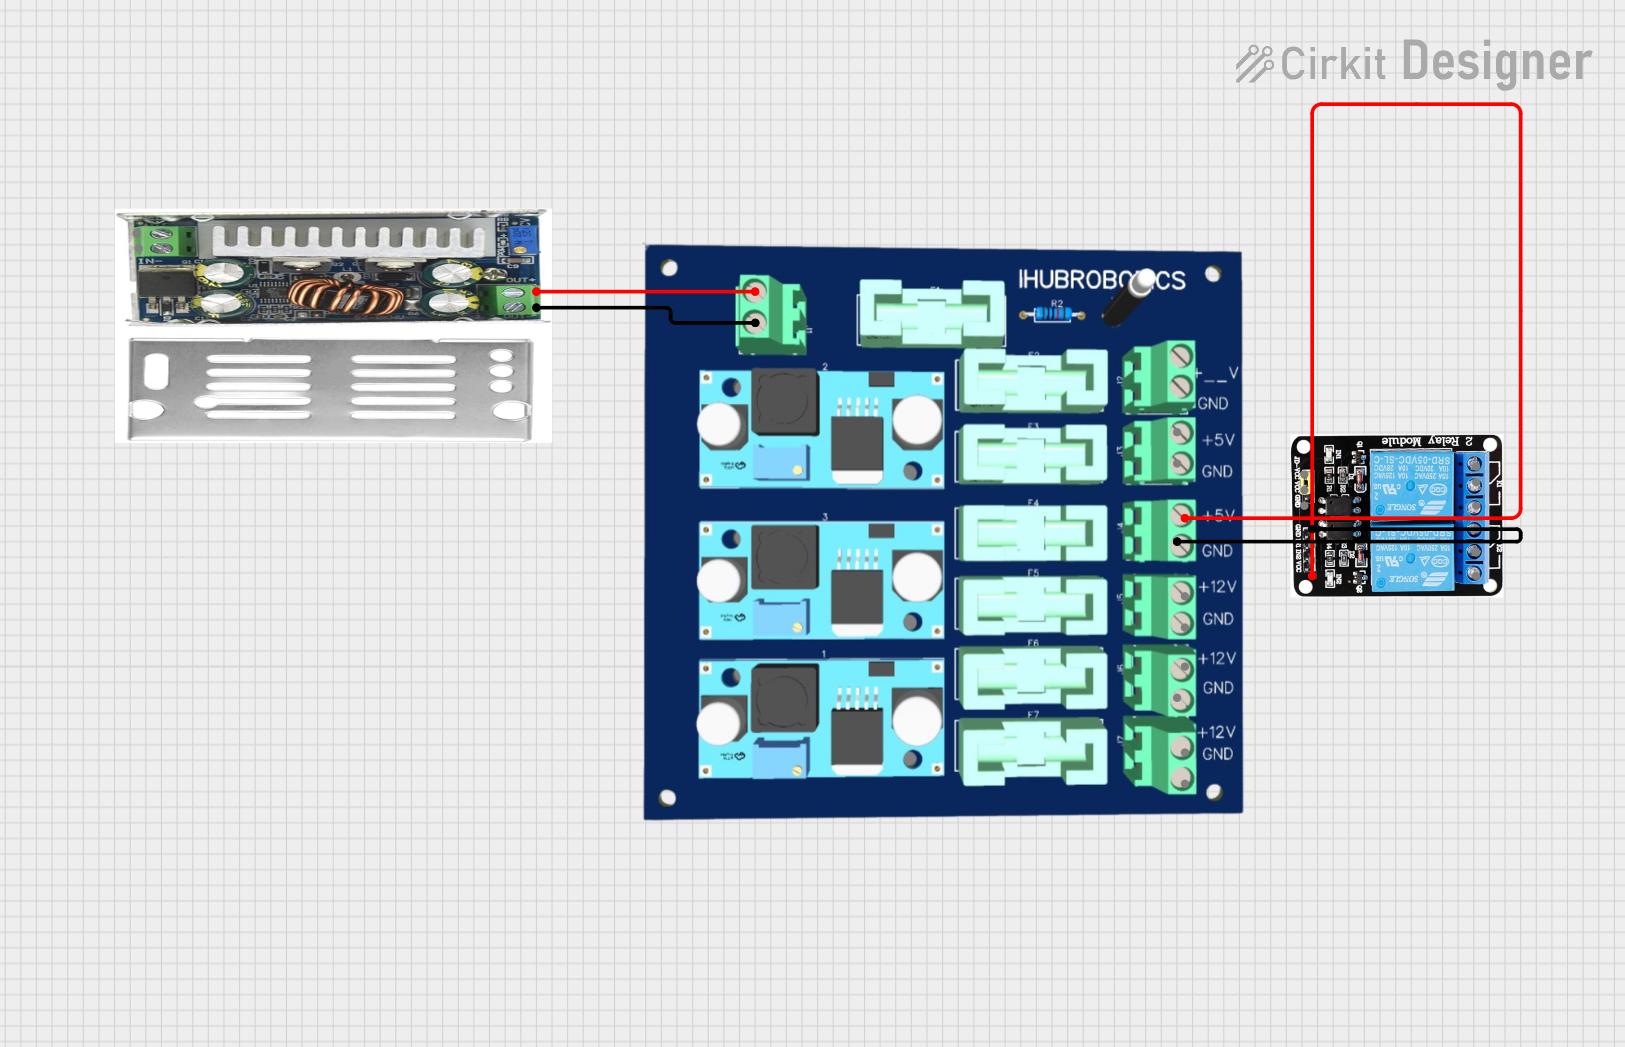 Open Project in Cirkit Designer
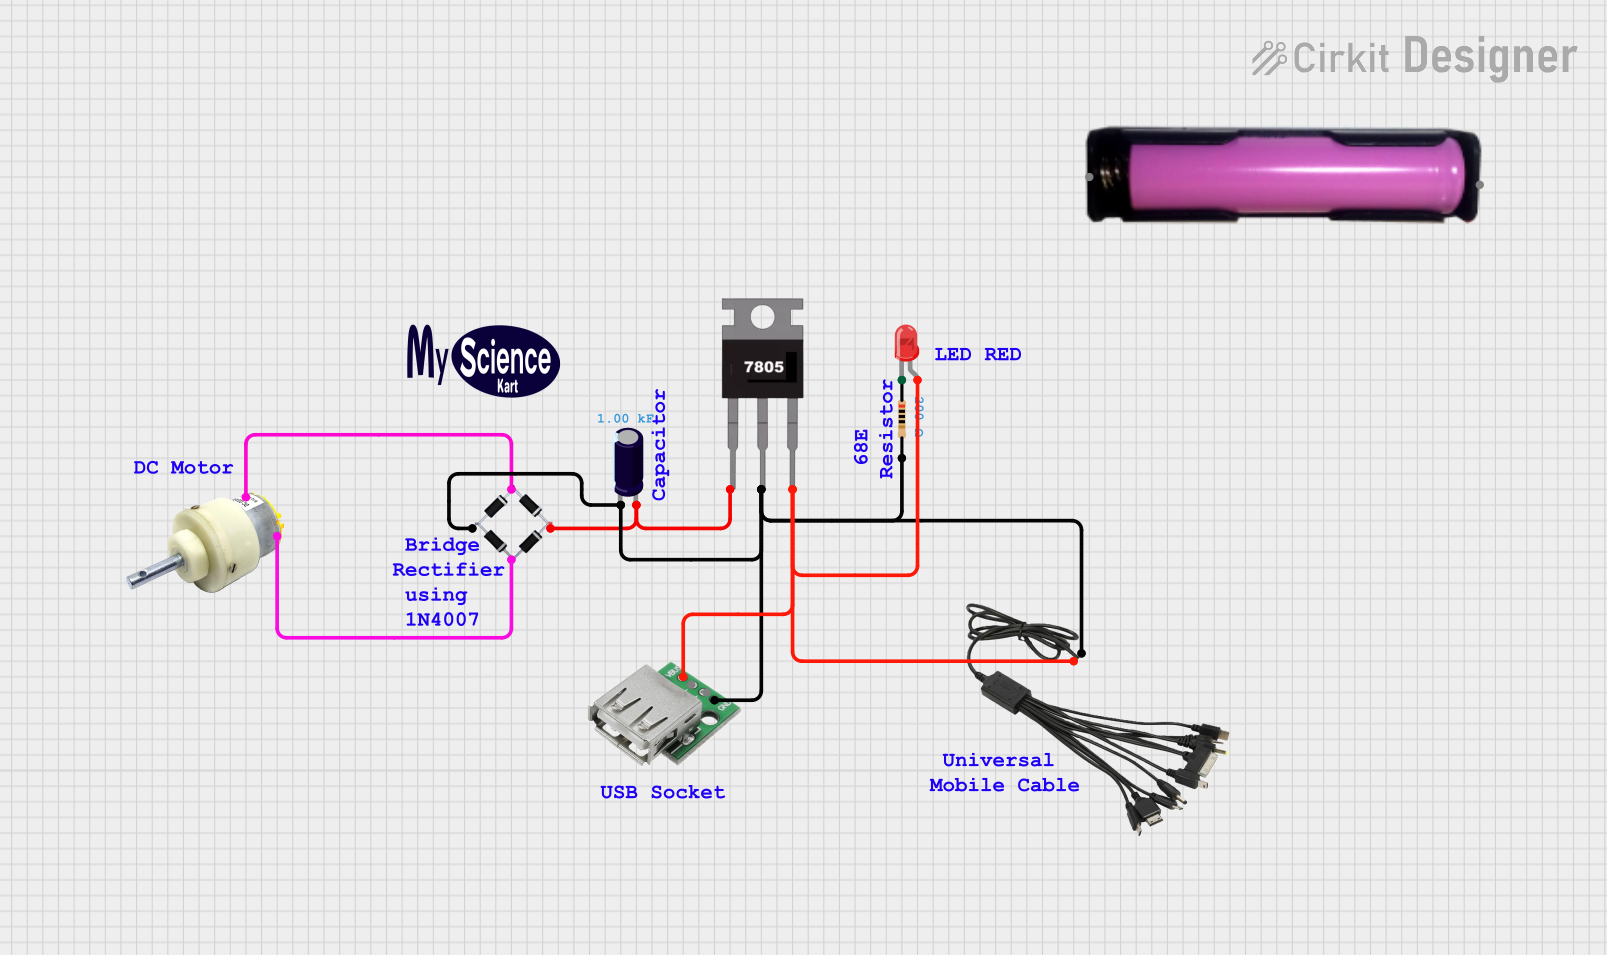 Open Project in Cirkit Designer
Explore Projects Built with DC 12V to 5V
Open Project in Cirkit DesignerOpen Project in Cirkit DesignerOpen Project in Cirkit DesignerOpen Project in Cirkit DesignerCommon Applications and Use Cases
- Powering microcontrollers (e.g., Arduino, Raspberry Pi) from a 12V source.
- Supplying power to USB devices, such as smartphones or tablets, in automotive systems.
- Providing stable 5V power for sensors, relays, and other low-voltage components in embedded systems.
- Converting 12V battery power to 5V for portable electronics.
Technical Specifications
Below are the key technical details of the DC 12V to 5V voltage regulator:
| Parameter | Value |
|---|---|
| Input Voltage Range | 8V to 20V DC |
| Output Voltage | 5V DC (±2% tolerance) |
| Maximum Output Current | 3A (varies by model) |
| Efficiency | Up to 90% |
| Ripple Voltage | < 50mV |
| Operating Temperature | -40°C to +85°C |
| Dimensions | Typically 25mm x 15mm x 10mm |
Pin Configuration and Descriptions
The DC 12V to 5V regulator typically has three pins or wires for connection. Below is the pinout description:
| Pin/Wire | Label | Description |
|---|---|---|
| 1 | VIN | Input voltage (connect to 12V DC source) |
| 2 | GND | Ground (common ground for input and output) |
| 3 | VOUT | Regulated 5V DC output |
Usage Instructions
How to Use the Component in a Circuit
Connect the Input Voltage (VIN):
Attach the VIN pin or wire to a 12V DC power source. Ensure the input voltage is within the specified range (8V to 20V) to avoid damaging the regulator.Connect the Ground (GND):
Connect the GND pin or wire to the ground of your circuit. This serves as the common reference point for both input and output.Connect the Output Voltage (VOUT):
Attach the VOUT pin or wire to the device or circuit requiring 5V power. Verify that the connected load does not exceed the maximum output current rating (e.g., 3A).Add Capacitors (Optional):
For improved stability and reduced ripple, you can add a capacitor (e.g., 10µF) across the input and output terminals.
Important Considerations and Best Practices
- Heat Dissipation: If the regulator is powering a high-current load, it may generate heat. Use a heatsink or ensure proper ventilation to prevent overheating.
- Polarity Protection: Double-check the polarity of the input and output connections to avoid damage.
- Load Requirements: Ensure the connected load does not exceed the regulator's maximum current rating.
- Noise Filtering: For sensitive applications, consider adding decoupling capacitors to minimize noise and ripple.
Example: Using with an Arduino UNO
The DC 12V to 5V regulator can be used to power an Arduino UNO from a 12V source. Below is an example circuit and code:
Circuit Connections
- Connect the VIN pin of the regulator to a 12V DC power source.
- Connect the GND pin of the regulator to the Arduino's GND pin.
- Connect the VOUT pin of the regulator to the Arduino's 5V pin.
Example Code
// Example code to blink an LED using Arduino UNO powered by a DC 12V to 5V regulator

const int ledPin = 13; // Pin connected to the onboard LED

void setup() {
  pinMode(ledPin, OUTPUT); // Set the LED pin as an output
}

void loop() {
  digitalWrite(ledPin, HIGH); // Turn the LED on
  delay(1000);                // Wait for 1 second
  digitalWrite(ledPin, LOW);  // Turn the LED off
  delay(1000);                // Wait for 1 second
}
Troubleshooting and FAQs
Common Issues Users Might Face
No Output Voltage:
- Cause: Incorrect wiring or insufficient input voltage.
- Solution: Verify the connections and ensure the input voltage is within the specified range.
Overheating:
- Cause: Excessive current draw or poor ventilation.
- Solution: Reduce the load or add a heatsink to the regulator.
Output Voltage Fluctuations:
- Cause: High ripple or noise on the input voltage.
- Solution: Add capacitors (e.g., 10µF and 0.1µF) across the input and output terminals.
Device Not Powering On:
- Cause: Load exceeds the regulator's maximum current rating.
- Solution: Use a regulator with a higher current rating or reduce the load.
FAQs
Q: Can I use this regulator with a 24V input?
A: No, the input voltage must not exceed 20V. Using a 24V input may damage the regulator.
Q: Is the output voltage adjustable?
A: No, this regulator provides a fixed 5V output. For adjustable output, consider using a buck converter with an adjustable output.
Q: Can I use this regulator to charge a USB device?
A: Yes, as long as the device's current requirements do not exceed the regulator's maximum output current.
Q: Do I need additional components to use this regulator?
A: While not strictly necessary, adding capacitors can improve stability and reduce noise in sensitive applications.