
How to Use Adafruit Motor/Stepper/Servo Shield: Examples, Pinouts, and Specs
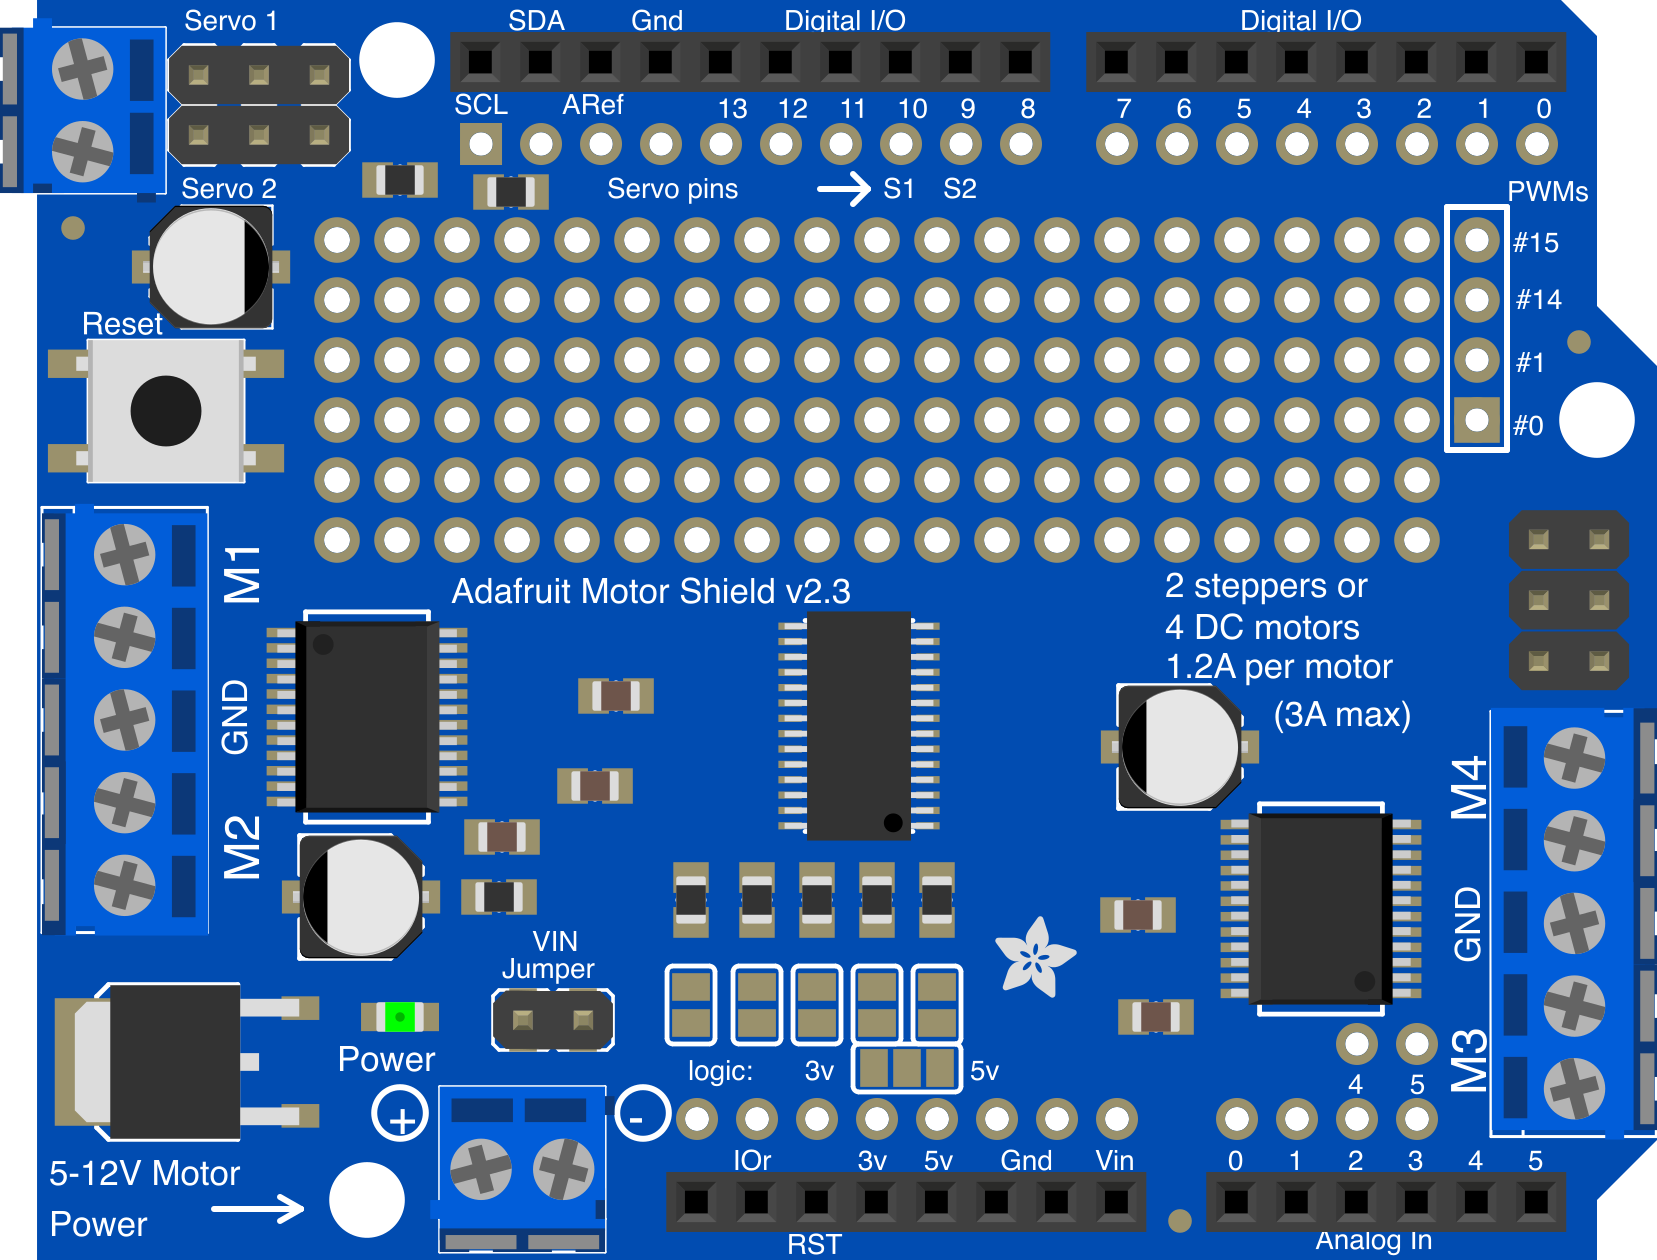
 Design with Adafruit Motor/Stepper/Servo Shield in Cirkit Designer
Introduction
The Adafruit Motor/Stepper/Servo Shield (Part ID: 1438) is a versatile shield designed for Arduino boards. It enables users to control DC motors, stepper motors, and servos with ease, making it an ideal choice for robotics, automation, and motion control projects. This shield is built around the PCA9685 PWM driver and the TB6612 MOSFET driver, providing efficient and reliable motor control.
Explore Projects Built with Adafruit Motor/Stepper/Servo Shield
 Open Project in Cirkit Designer
 Open Project in Cirkit Designer
 Open Project in Cirkit Designer
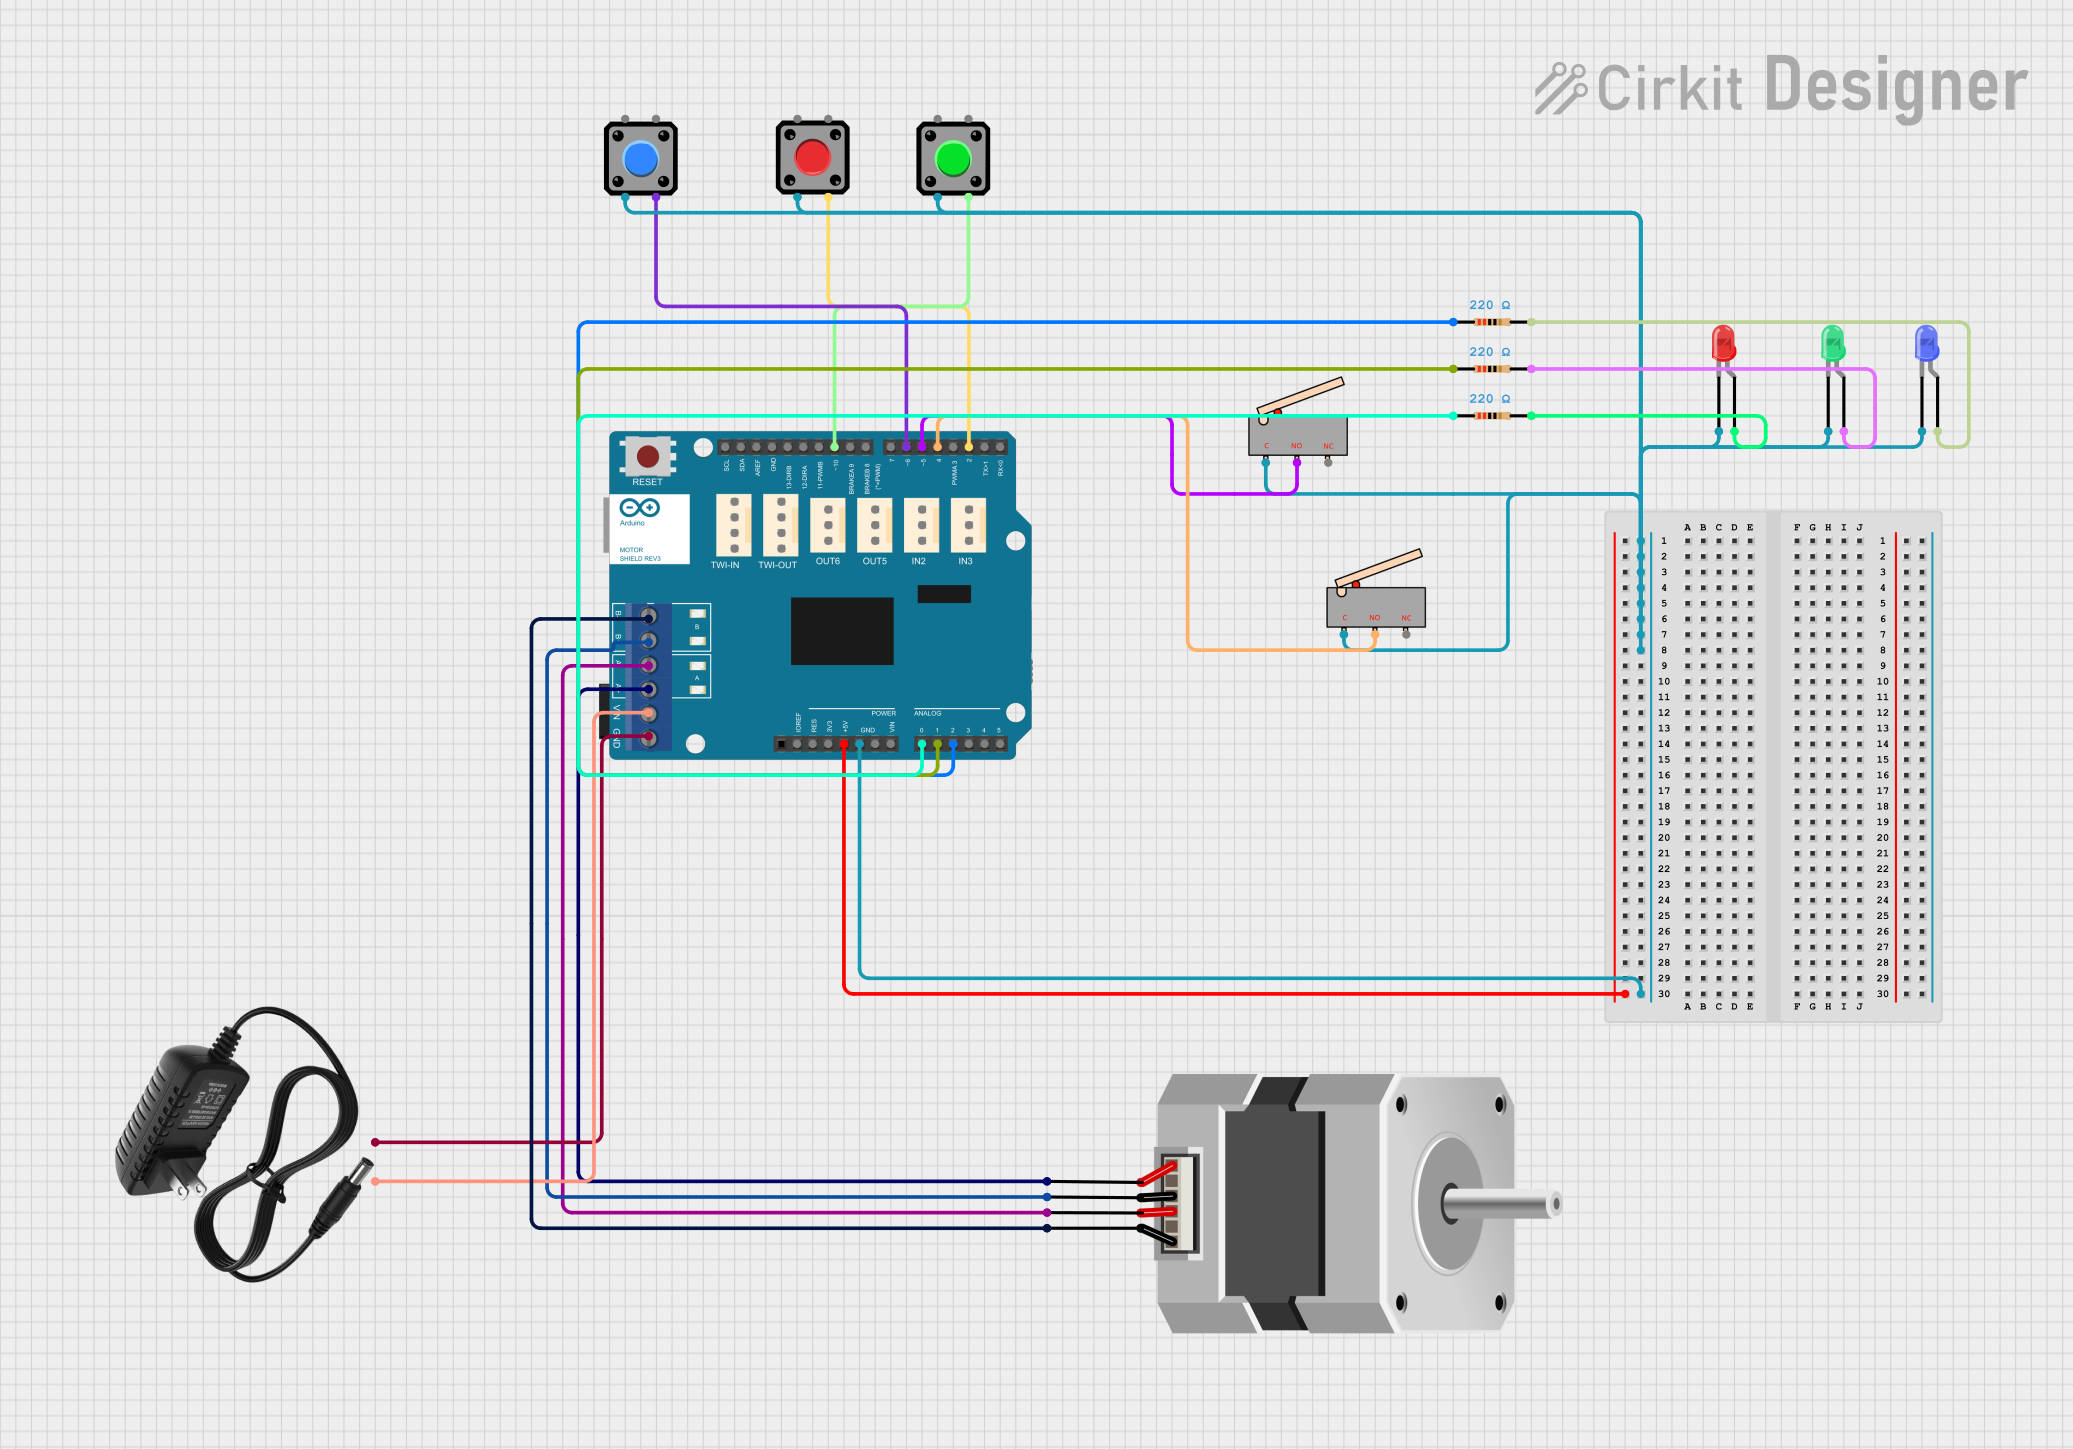 Open Project in Cirkit Designer
Explore Projects Built with Adafruit Motor/Stepper/Servo Shield
Open Project in Cirkit DesignerOpen Project in Cirkit DesignerOpen Project in Cirkit DesignerOpen Project in Cirkit DesignerCommon Applications and Use Cases
- Robotics projects requiring precise motor control
- Automation systems for industrial or home use
- Motion control in CNC machines or 3D printers
- Educational projects for learning motor control and Arduino programming
Technical Specifications
The Adafruit Motor/Stepper/Servo Shield is packed with features to simplify motor control. Below are its key technical specifications:
General Specifications
| Parameter | Value |
|---|---|
| Operating Voltage | 5V (logic) |
| Motor Voltage Range | 4.5V to 13.5V |
| Maximum Current per Motor | 1.2A (continuous), 3A (peak) per channel |
| PWM Frequency | Up to 1.6 kHz |
| Communication Interface | I2C |
| I2C Address Range | 0x60 to 0x80 (configurable via jumpers) |
| Dimensions | 68mm x 53mm x 17mm |
Pin Configuration and Descriptions
The shield connects directly to an Arduino board and provides the following key pins for motor and servo control:
Motor Control Terminals
| Terminal Label | Description |
|---|---|
| M1+ / M1- | DC Motor 1 terminals |
| M2+ / M2- | DC Motor 2 terminals |
| M3+ / M3- | DC Motor 3 terminals |
| M4+ / M4- | DC Motor 4 terminals |
Servo Control Headers
| Header Label | Description |
|---|---|
| SERVO1 | Servo motor control channel 1 |
| SERVO2 | Servo motor control channel 2 |
| SERVO3 | Servo motor control channel 3 |
| SERVO4 | Servo motor control channel 4 |
I2C and Power Pins
| Pin Label | Description |
|---|---|
| SDA | I2C data line |
| SCL | I2C clock line |
| VIN | External motor power supply input |
| GND | Ground |
Usage Instructions
The Adafruit Motor/Stepper/Servo Shield is designed to be easy to use with Arduino. Follow the steps below to get started:
Step 1: Assembly and Installation
- Stack the Shield: Place the shield on top of your Arduino board, ensuring the pins align correctly.
- Connect Motors: Attach DC motors, stepper motors, or servos to the appropriate terminals or headers.
- Power the Shield: Provide external power to the VIN terminal for motors requiring higher voltage or current.
Step 2: Install the Adafruit Motor Shield Library
- Open the Arduino IDE.
- Go to Sketch > Include Library > Manage Libraries.
- Search for "Adafruit Motor Shield" and install the library.
Step 3: Example Code for DC Motor Control
Below is an example sketch to control a DC motor connected to terminal M1:
#include <Wire.h>
#include <Adafruit_MotorShield.h>

// Create the motor shield object
Adafruit_MotorShield AFMS = Adafruit_MotorShield();

// Select the motor port (M1, M2, M3, or M4)
Adafruit_DCMotor *myMotor = AFMS.getMotor(1);

void setup() {
  Serial.begin(9600); // Initialize serial communication
  Serial.println("Adafruit Motor Shield DC Motor Test");

  AFMS.begin(); // Initialize the motor shield

  myMotor->setSpeed(150); // Set motor speed (0-255)
  myMotor->run(FORWARD);  // Set motor direction to forward
}

void loop() {
  myMotor->run(FORWARD);  // Run motor forward
  delay(2000);            // Wait for 2 seconds

  myMotor->run(BACKWARD); // Run motor backward
  delay(2000);            // Wait for 2 seconds

  myMotor->run(RELEASE);  // Stop the motor
  delay(1000);            // Wait for 1 second
}
Important Considerations and Best Practices
- Power Supply: Ensure the external power supply matches the voltage and current requirements of your motors.
- I2C Address: If using multiple shields, configure unique I2C addresses using the solder jumpers.
- Heat Dissipation: Avoid exceeding the current limits to prevent overheating of the drivers.
Troubleshooting and FAQs
Common Issues
Motors Not Running
- Cause: Incorrect wiring or insufficient power supply.
- Solution: Double-check motor connections and ensure the external power supply is adequate.
I2C Communication Failure
- Cause: Address conflict or loose connections.
- Solution: Verify the I2C address and ensure SDA/SCL pins are securely connected.
Motor Runs Erratically
- Cause: Noise or interference in the power supply.
- Solution: Use capacitors across motor terminals to reduce noise.
FAQs
Can I control more than 4 DC motors?
- Yes, by stacking multiple shields and configuring unique I2C addresses.
What is the maximum servo angle supported?
- The shield supports standard servos with a range of 0° to 180°.
Can I use this shield with Raspberry Pi?
- While designed for Arduino, it can be used with Raspberry Pi via I2C, but additional setup is required.
By following this documentation, you can effectively use the Adafruit Motor/Stepper/Servo Shield for your motor control projects.