How to Use Mat pdb kecil: Examples, Pinouts, and Specs
Introduction
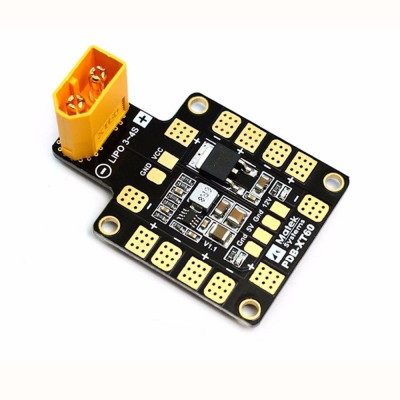
The Mat PDB Kecil is a small breadboard designed for prototyping and testing electronic circuits. It allows for easy insertion and removal of components without the need for soldering, making it an essential tool for both beginners and experienced electronics enthusiasts. This breadboard is ideal for creating temporary circuits and testing new designs before committing to a permanent setup.
Explore Projects Built with Mat pdb kecil

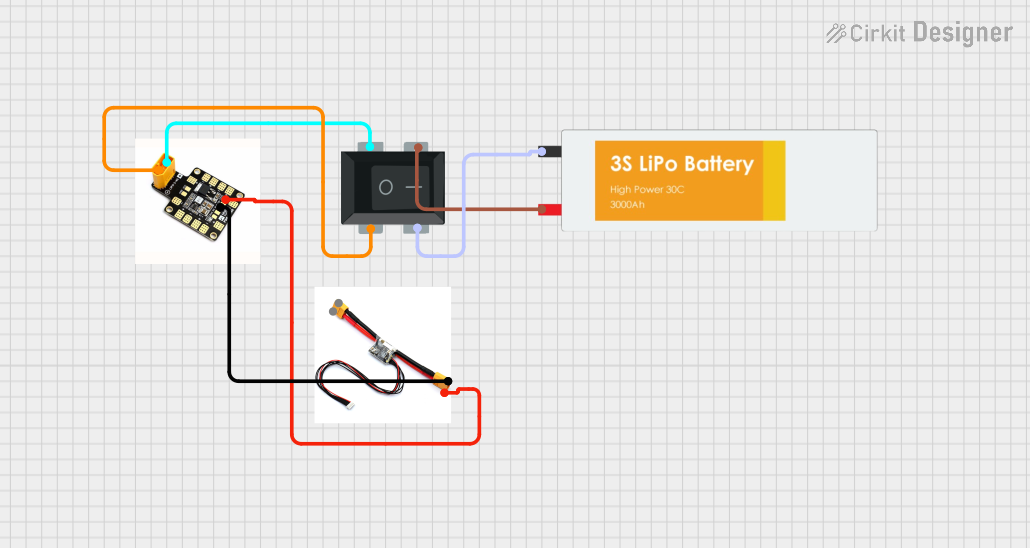
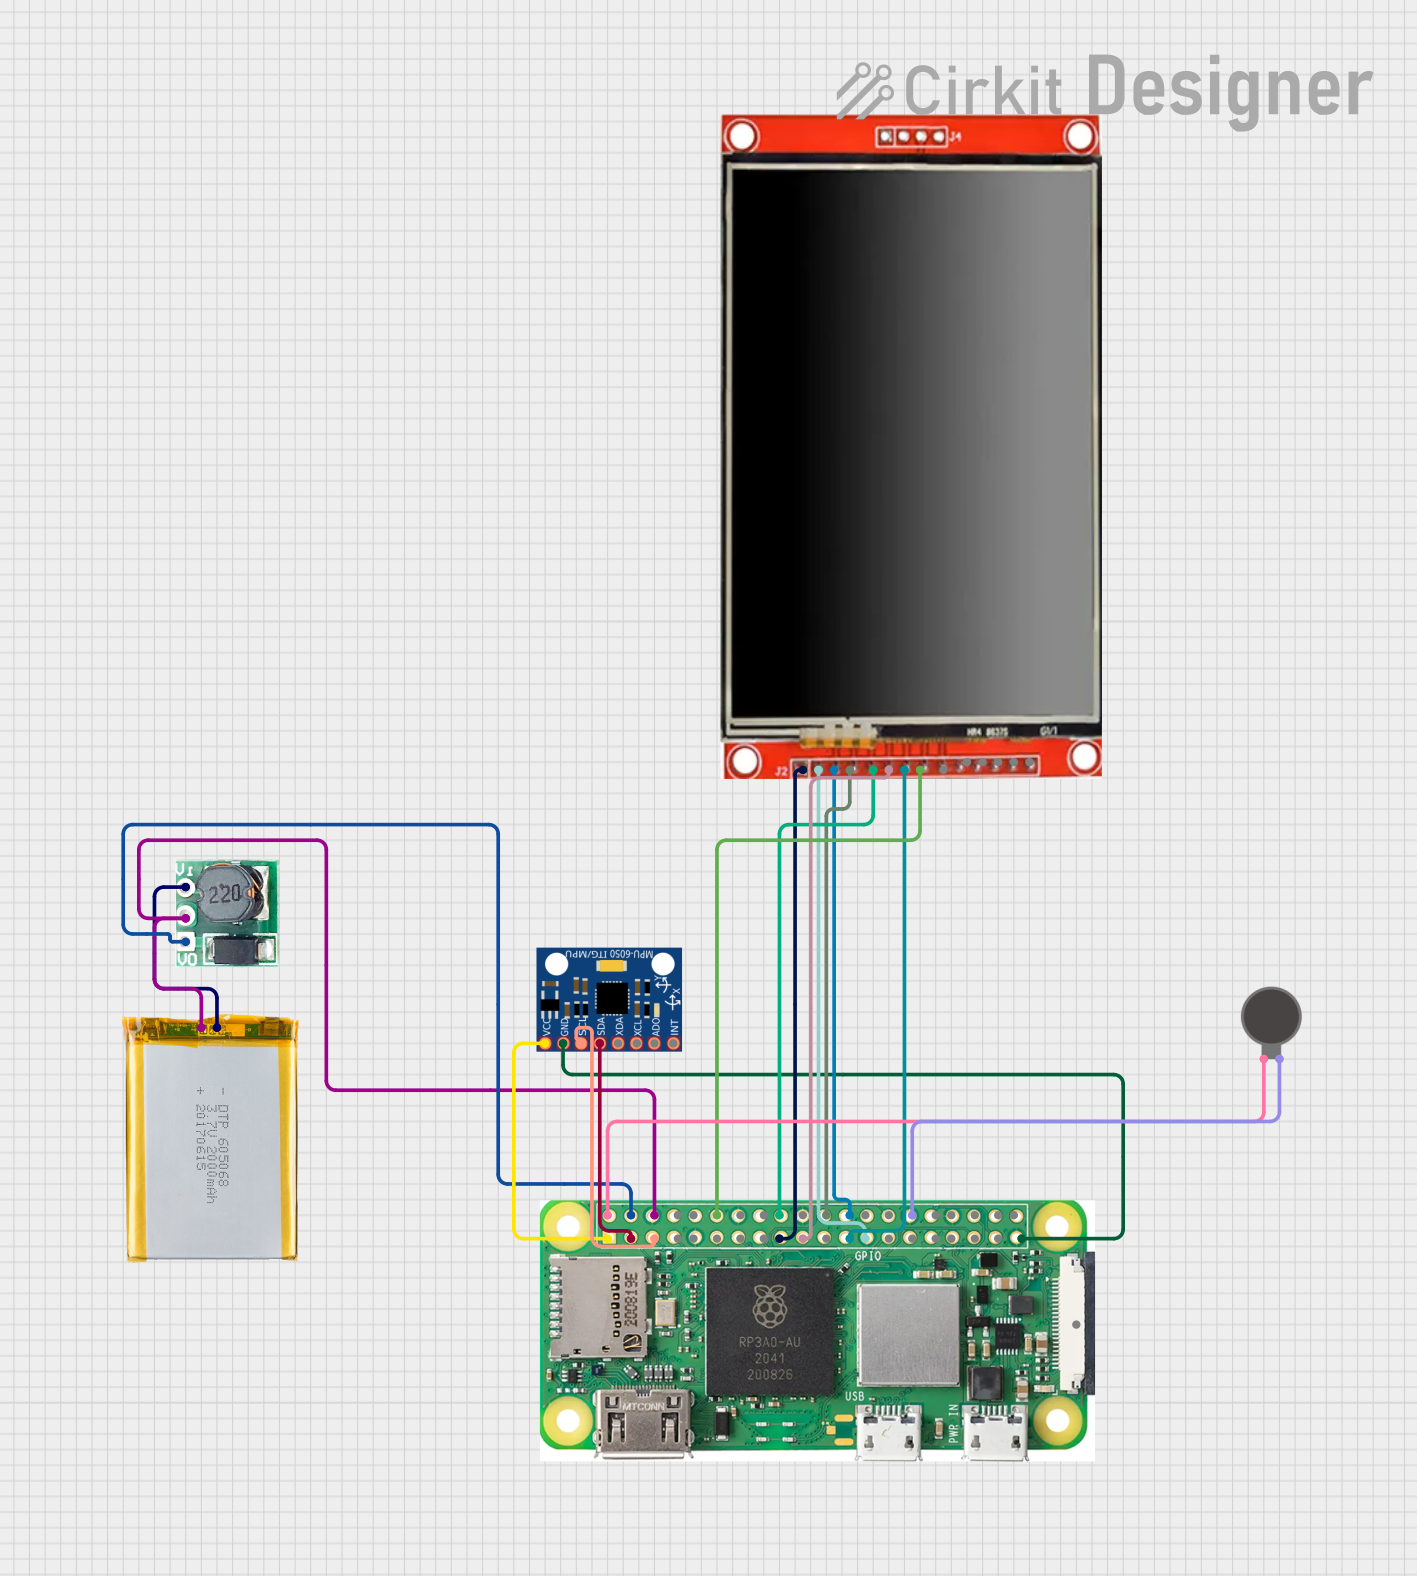
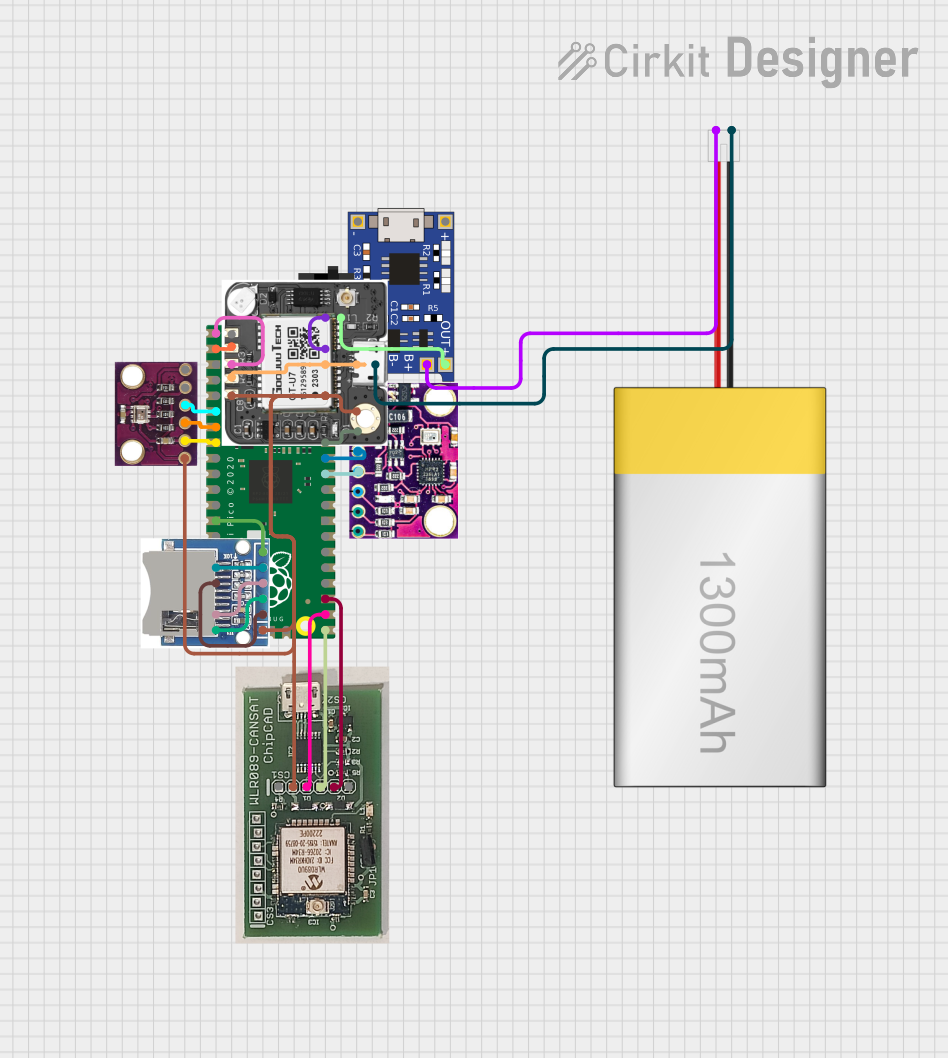
Explore Projects Built with Mat pdb kecil
Common Applications and Use Cases
- Prototyping: Quickly build and test circuit designs.
- Educational Projects: Ideal for learning and teaching electronics.
- Temporary Circuit Assembly: Useful for assembling circuits that need to be frequently modified.
- Component Testing: Easily test individual components before integrating them into a larger circuit.
Technical Specifications
Key Technical Details
| Specification | Value |
|---|---|
| Dimensions | 55mm x 45mm |
| Number of Tie Points | 170 |
| Power Rails | None |
| Material | ABS Plastic |
| Contact Material | Phosphor Bronze with Nickel Plating |
| Operating Temperature | -40°C to +85°C |
Pin Configuration and Descriptions
The Mat PDB Kecil does not have traditional pins like other electronic components. Instead, it features a grid of tie points where components can be inserted. Below is a description of the layout:
| Section | Description |
|---|---|
| Tie Points | 170 individual connection points arranged in a grid |
| Rows | 17 rows, each with 10 tie points |
| Columns | 10 columns, each with 17 tie points |
| Power Rails | Not available on this model |
Usage Instructions
How to Use the Mat PDB Kecil in a Circuit
- Insert Components: Place the leads of your electronic components into the tie points. Ensure that the leads are fully inserted to make a good connection.
- Connect Wires: Use jumper wires to connect different components. Insert the ends of the wires into the tie points to create connections.
- Power the Circuit: If your circuit requires power, connect the power supply leads to the appropriate tie points. Note that this breadboard does not have dedicated power rails, so you will need to manually distribute power using jumper wires.
- Test and Modify: Once your circuit is assembled, you can test it. If modifications are needed, simply remove and reinsert components as required.
Important Considerations and Best Practices
- Avoid Overloading: Do not exceed the current and voltage ratings of the components you are using.
- Check Connections: Ensure all connections are secure to avoid intermittent issues.
- Use Proper Tools: Use a pair of tweezers or needle-nose pliers for inserting and removing small components.
- Label Wires: If your circuit is complex, consider labeling wires to keep track of connections.
Troubleshooting and FAQs
Common Issues Users Might Face
- Loose Connections: Components or wires may not be fully inserted, leading to intermittent connections.
- Short Circuits: Adjacent tie points may accidentally be connected, causing a short circuit.
- Component Damage: Overloading the breadboard with excessive current or voltage can damage components.
Solutions and Tips for Troubleshooting
- Ensure Secure Connections: Double-check that all components and wires are fully inserted into the tie points.
- Inspect for Shorts: Visually inspect the breadboard for any accidental connections between adjacent tie points.
- Use a Multimeter: Use a multimeter to check for continuity and ensure that connections are as expected.
- Limit Power: Use current-limiting resistors and appropriate power supplies to prevent component damage.
FAQs
Q: Can I use the Mat PDB Kecil with an Arduino UNO? A: Yes, you can use the Mat PDB Kecil with an Arduino UNO. Simply connect the Arduino's pins to the breadboard using jumper wires.
Q: How do I power my circuit if there are no power rails? A: You can manually distribute power by connecting the power supply leads to the appropriate tie points and using jumper wires to distribute power to other parts of the circuit.
Q: What is the maximum current the breadboard can handle? A: The breadboard itself does not have a specific current rating, but it is generally safe to use with currents up to 1A. Always check the ratings of the components you are using.
Example Code for Arduino UNO
Here is an example of how to use the Mat PDB Kecil with an Arduino UNO to blink an LED:
// Define the pin for the LED
const int ledPin = 13;

void setup() {
  // Initialize the digital pin as an output
  pinMode(ledPin, OUTPUT);
}

void loop() {
  // Turn the LED on (HIGH is the voltage level)
  digitalWrite(ledPin, HIGH);
  // Wait for a second
  delay(1000);
  // Turn the LED off by making the voltage LOW
  digitalWrite(ledPin, LOW);
  // Wait for a second
  delay(1000);
}
In this example, connect the LED's anode (longer leg) to pin 13 on the Arduino and the cathode (shorter leg) to a ground (GND) pin on the Arduino using the Mat PDB Kecil and jumper wires.
This documentation provides a comprehensive guide to using the Mat PDB Kecil for prototyping and testing electronic circuits. Whether you are a beginner or an experienced user, this breadboard is a versatile and essential tool for your electronics projects.