How to Use Capteur de lumière: Examples, Pinouts, and Specs
Introduction
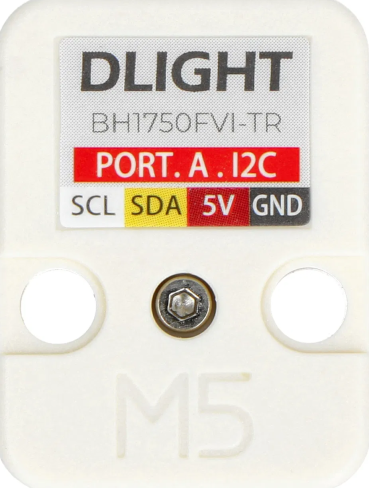
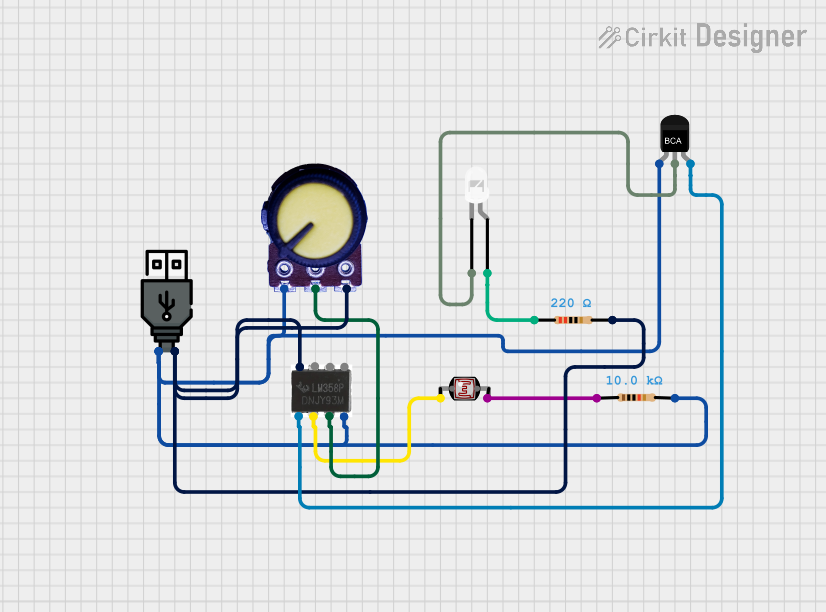
The Capteur de lumière is a light sensor designed to detect the intensity of light in the environment and convert it into an electrical signal. This component is widely used in applications where light measurement or light-dependent control is required. It is commonly found in devices such as automatic lighting systems, light meters, and solar tracking systems.
Explore Projects Built with Capteur de lumière
Explore Projects Built with Capteur de lumière
Common Applications and Use Cases
- Automatic brightness adjustment in displays
- Light-sensitive switches and controls
- Solar energy systems for tracking sunlight
- Ambient light detection in smart home devices
- Photography light meters
Technical Specifications
The Capteur de lumière is available in various forms, such as photodiodes, photoresistors (LDRs), or phototransistors. Below are the general specifications for a typical light sensor:
| Parameter | Value |
|---|---|
| Operating Voltage | 3.3V to 5V |
| Output Signal | Analog voltage or digital signal |
| Light Sensitivity Range | 0 to 100,000 lux |
| Response Time | < 10 ms |
| Operating Temperature | -40°C to 85°C |
| Power Consumption | Low (varies by sensor type) |
Pin Configuration and Descriptions
The Capteur de lumière typically has three pins for operation:
| Pin | Name | Description |
|---|---|---|
| 1 | VCC | Power supply pin (3.3V or 5V) |
| 2 | GND | Ground connection |
| 3 | OUT | Output signal pin (analog or digital, depending on the sensor type) |
Usage Instructions
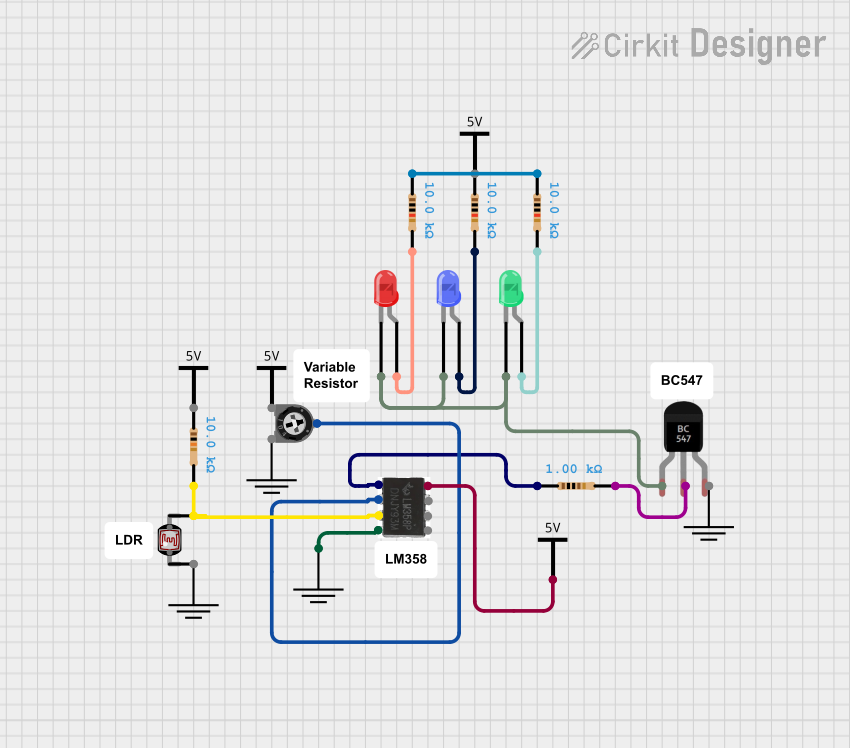
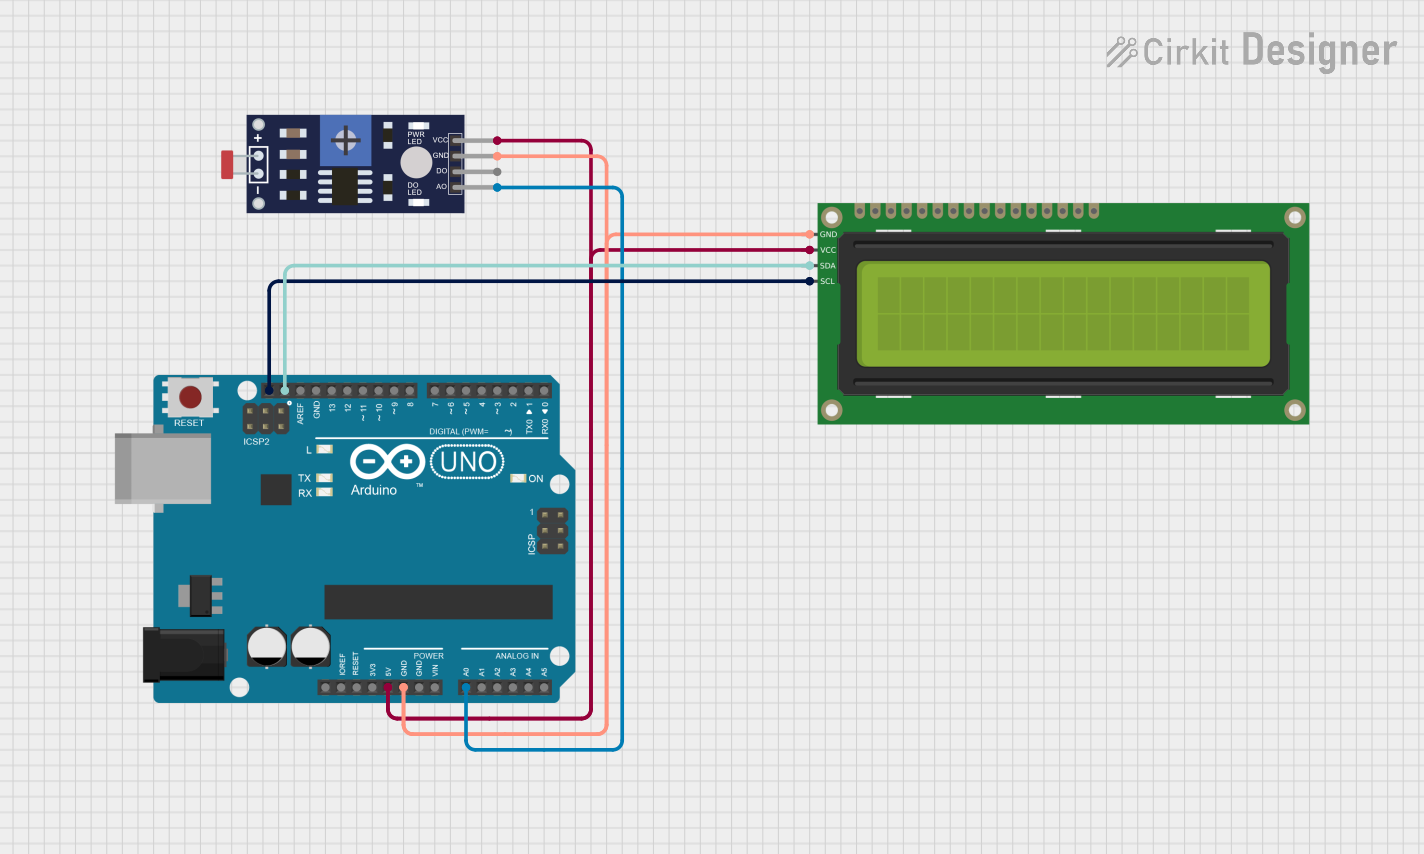
How to Use the Component in a Circuit
- Power the Sensor: Connect the VCC pin to a 3.3V or 5V power source and the GND pin to the ground.
- Read the Output:
- For analog sensors, connect the OUT pin to an analog input pin of a microcontroller (e.g., Arduino).
- For digital sensors, connect the OUT pin to a digital input pin.
- Place the Sensor: Position the sensor in a location where it can accurately measure the light intensity without obstructions.
Important Considerations and Best Practices
- Avoid Direct Sunlight: Prolonged exposure to direct sunlight may damage the sensor or reduce its accuracy.
- Use a Pull-Down Resistor: For digital sensors, use a pull-down resistor on the output pin to ensure stable readings.
- Calibrate the Sensor: If precise measurements are required, calibrate the sensor to account for environmental factors.
- Shield from Electrical Noise: Place the sensor away from high-frequency components to avoid interference.
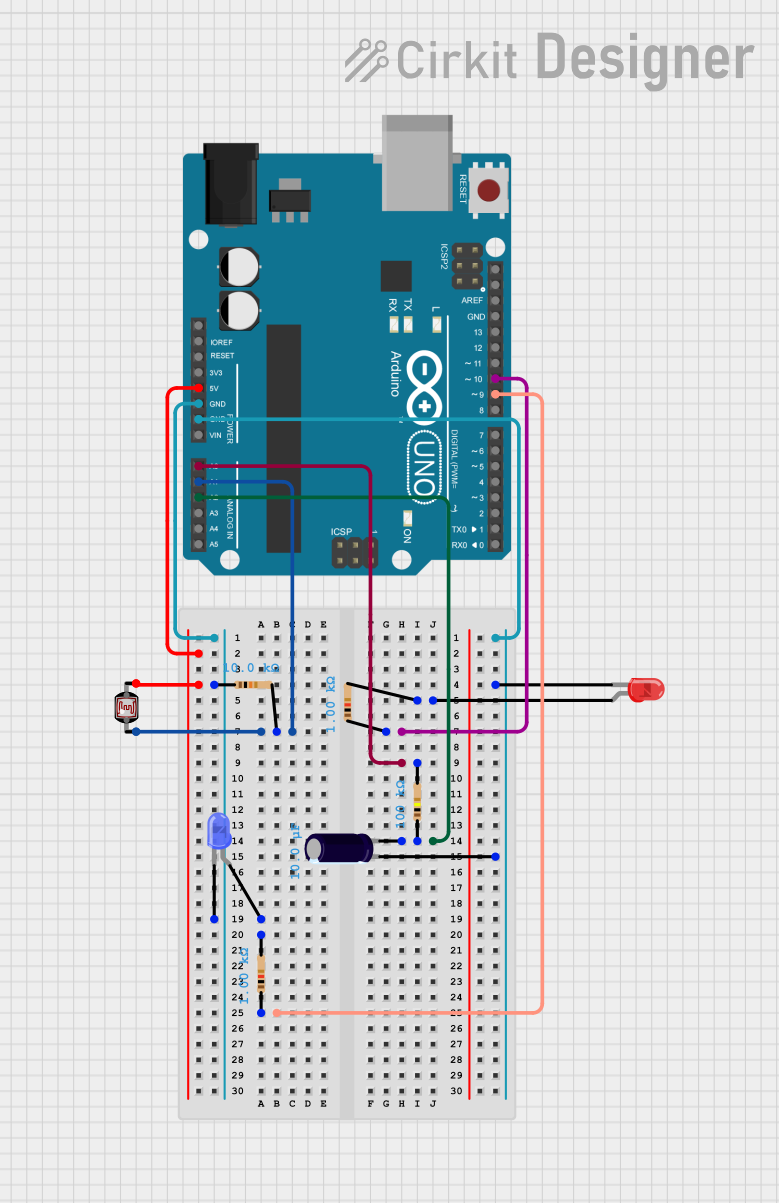
Example: Connecting to an Arduino UNO
Below is an example of how to use the Capteur de lumière with an Arduino UNO to read analog light intensity values:
// Define the analog pin connected to the light sensor
const int lightSensorPin = A0;

void setup() {
  Serial.begin(9600); // Initialize serial communication at 9600 baud
}

void loop() {
  int lightValue = analogRead(lightSensorPin);
  // Read the analog value from the light sensor

  Serial.print("Light Intensity: ");
  Serial.println(lightValue);
  // Print the light intensity value to the Serial Monitor

  delay(500);
  // Wait for 500 milliseconds before the next reading
}
Notes:
- The
lightValuewill range from 0 to 1023, corresponding to the light intensity detected by the sensor. - You can map this value to a lux range if the sensor's datasheet provides a conversion formula.
Troubleshooting and FAQs
Common Issues and Solutions
No Output Signal:
- Ensure the sensor is powered correctly (check VCC and GND connections).
- Verify that the output pin is connected to the correct input pin on the microcontroller.
Inconsistent Readings:
- Check for electrical noise or interference from nearby components.
- Ensure the sensor is not exposed to rapid changes in light intensity.
Low Sensitivity:
- Verify the sensor's placement and ensure it is not obstructed.
- Check if the sensor is damaged or degraded due to prolonged exposure to harsh conditions.
Output Always High or Low:
- For digital sensors, ensure the threshold level is set correctly.
- For analog sensors, verify the microcontroller's ADC configuration.
FAQs
Q: Can the Capteur de lumière detect infrared light?
A: Some light sensors are sensitive to infrared light, but this depends on the specific sensor model. Check the datasheet for spectral sensitivity information.
Q: How do I convert the analog output to lux?
A: Refer to the sensor's datasheet for the conversion formula or calibration curve. This varies by sensor type.
Q: Can I use this sensor outdoors?
A: Yes, but ensure it is protected from extreme weather conditions and direct sunlight to prevent damage.
Q: What is the maximum distance for light detection?
A: The detection range depends on the sensor's sensitivity and the intensity of the light source. Most sensors are designed for ambient light measurement rather than long-distance detection.