
How to Use DS_TOUCH_CONNECTOR: Examples, Pinouts, and Specs
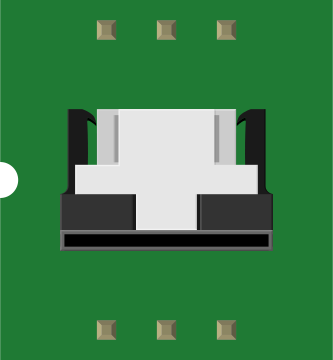
 Design with DS_TOUCH_CONNECTOR in Cirkit Designer
Introduction
The DS_TOUCH_CONNECTOR (manufacturer part ID: LCD-09105) by SparkFun is a specialized connector designed for interfacing touch-sensitive displays with microcontrollers or other electronic systems. It facilitates the seamless transmission of touch input signals, enabling the integration of touch functionality into a wide range of projects. This connector is compact, reliable, and easy to use, making it an essential component for touch display applications.
Explore Projects Built with DS_TOUCH_CONNECTOR
 Open Project in Cirkit Designer
 Open Project in Cirkit Designer
 Open Project in Cirkit Designer
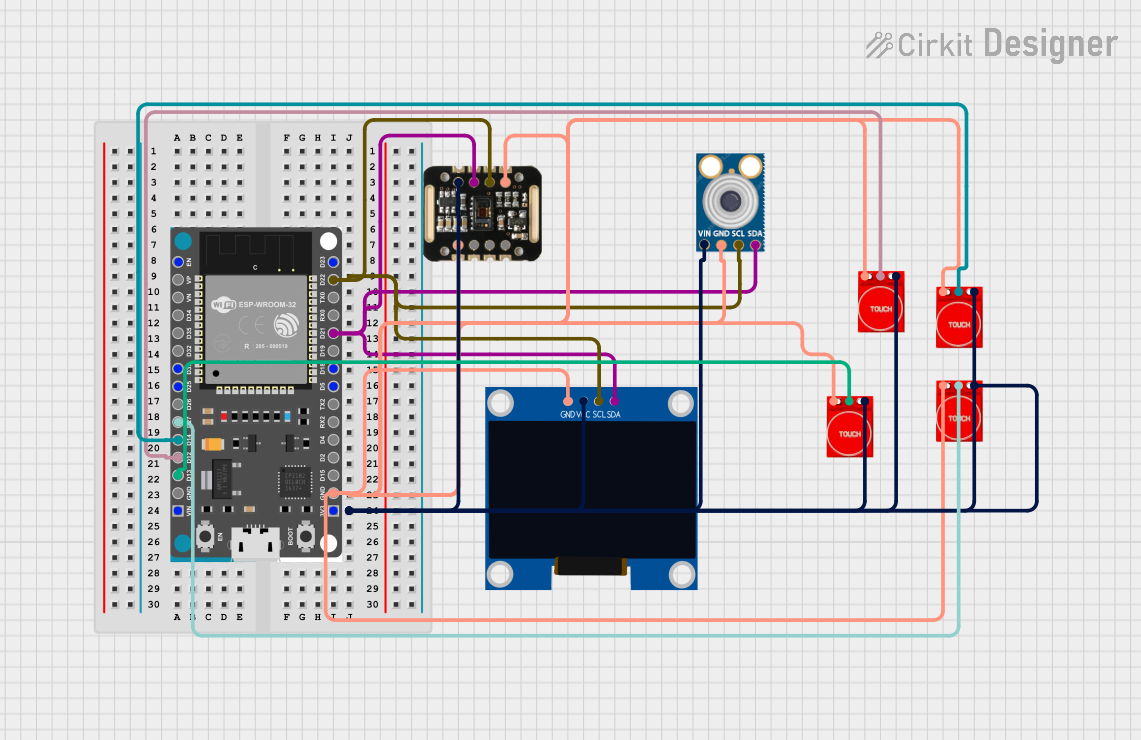 Open Project in Cirkit Designer
Explore Projects Built with DS_TOUCH_CONNECTOR
Open Project in Cirkit DesignerOpen Project in Cirkit DesignerOpen Project in Cirkit DesignerOpen Project in Cirkit DesignerCommon Applications and Use Cases
- Touchscreen-enabled devices (e.g., tablets, kiosks, and control panels)
- Embedded systems with graphical user interfaces (GUIs)
- Prototyping and development of touch-sensitive projects
- Industrial automation systems with touch input
- Educational projects involving touch displays
Technical Specifications
The DS_TOUCH_CONNECTOR is designed to provide a robust and efficient connection for touch-sensitive displays. Below are its key technical details:
Key Specifications
| Parameter | Value |
|---|---|
| Manufacturer | SparkFun |
| Part ID | LCD-09105 |
| Connector Type | Touchscreen interface |
| Number of Pins | 4 |
| Voltage Rating | 3.3V to 5V |
| Current Rating | 50mA |
| Operating Temperature | -40°C to +85°C |
| Dimensions | 12mm x 8mm x 3mm |
| Mounting Type | Through-hole |
Pin Configuration and Descriptions
The DS_TOUCH_CONNECTOR has a 4-pin configuration, as detailed below:
| Pin Number | Pin Name | Description |
|---|---|---|
| 1 | VCC | Power supply input (3.3V to 5V) |
| 2 | GND | Ground connection |
| 3 | X+ | Positive X-axis signal from the touchscreen |
| 4 | Y+ | Positive Y-axis signal from the touchscreen |
Usage Instructions
The DS_TOUCH_CONNECTOR is straightforward to use and can be integrated into a variety of circuits. Below are the steps and best practices for using this component:
How to Use the Component in a Circuit
- Mounting the Connector: Solder the DS_TOUCH_CONNECTOR onto a PCB or breadboard using its through-hole pins.
- Connecting the Touchscreen: Attach the corresponding pins of the touchscreen to the connector:
- Connect the touchscreen's X+ and Y+ outputs to the X+ and Y+ pins of the connector.
- Ensure the VCC and GND pins are properly connected to the power supply and ground, respectively.
- Interfacing with a Microcontroller: Use the X+ and Y+ signals to read touch input data. These signals can be connected to the analog input pins of a microcontroller (e.g., Arduino UNO).
Important Considerations and Best Practices
- Voltage Compatibility: Ensure the power supply voltage matches the connector's rated voltage (3.3V to 5V).
- Signal Noise: Use decoupling capacitors near the VCC and GND pins to minimize noise and ensure stable operation.
- Pin Mapping: Double-check the pin mapping of your touchscreen to avoid incorrect connections.
- Touchscreen Calibration: If using a microcontroller, calibrate the touchscreen to ensure accurate touch detection.
Example: Using DS_TOUCH_CONNECTOR with Arduino UNO
Below is an example of how to interface the DS_TOUCH_CONNECTOR with an Arduino UNO to read touch input:
// Example code for interfacing DS_TOUCH_CONNECTOR with Arduino UNO
// This code reads analog values from the X+ and Y+ pins of the touchscreen

// Define the analog input pins connected to the DS_TOUCH_CONNECTOR
const int xPin = A0; // X+ pin connected to Arduino analog pin A0
const int yPin = A1; // Y+ pin connected to Arduino analog pin A1

void setup() {
  // Initialize serial communication for debugging
  Serial.begin(9600);
}

void loop() {
  // Read the analog values from the X+ and Y+ pins
  int xValue = analogRead(xPin); // Read X-axis touch input
  int yValue = analogRead(yPin); // Read Y-axis touch input

  // Print the touch coordinates to the Serial Monitor
  Serial.print("X: ");
  Serial.print(xValue);
  Serial.print(" | Y: ");
  Serial.println(yValue);

  // Add a small delay to avoid flooding the Serial Monitor
  delay(100);
}
Troubleshooting and FAQs
Common Issues and Solutions
No Touch Input Detected
- Cause: Incorrect wiring or loose connections.
- Solution: Verify all connections, especially the X+ and Y+ pins. Ensure the touchscreen is properly connected to the DS_TOUCH_CONNECTOR.
Inaccurate Touch Readings
- Cause: Touchscreen not calibrated or noisy signals.
- Solution: Calibrate the touchscreen using software. Add decoupling capacitors near the VCC and GND pins to reduce noise.
Overheating
- Cause: Exceeding the voltage or current rating.
- Solution: Ensure the power supply voltage is within the 3.3V to 5V range and the current does not exceed 50mA.
Intermittent Operation
- Cause: Poor soldering or damaged connector pins.
- Solution: Inspect the solder joints and re-solder if necessary. Check for physical damage to the connector.
FAQs
Q1: Can the DS_TOUCH_CONNECTOR be used with 12V systems?
A1: No, the DS_TOUCH_CONNECTOR is rated for 3.3V to 5V operation. Using it with 12V systems may damage the component.
Q2: Is the DS_TOUCH_CONNECTOR compatible with resistive and capacitive touchscreens?
A2: The DS_TOUCH_CONNECTOR is typically used with resistive touchscreens. For capacitive touchscreens, additional circuitry may be required.
Q3: How do I know if my touchscreen is compatible with this connector?
A3: Check the pinout of your touchscreen. If it has X+, Y+, VCC, and GND pins, it is likely compatible with the DS_TOUCH_CONNECTOR.
Q4: Can I use this connector for multitouch displays?
A4: The DS_TOUCH_CONNECTOR is designed for single-touch resistive displays. Multitouch functionality may require a different interface.
By following this documentation, you can effectively integrate the DS_TOUCH_CONNECTOR into your projects and troubleshoot any issues that arise.