How to Use SCHEGO M2K3: Examples, Pinouts, and Specs
Introduction
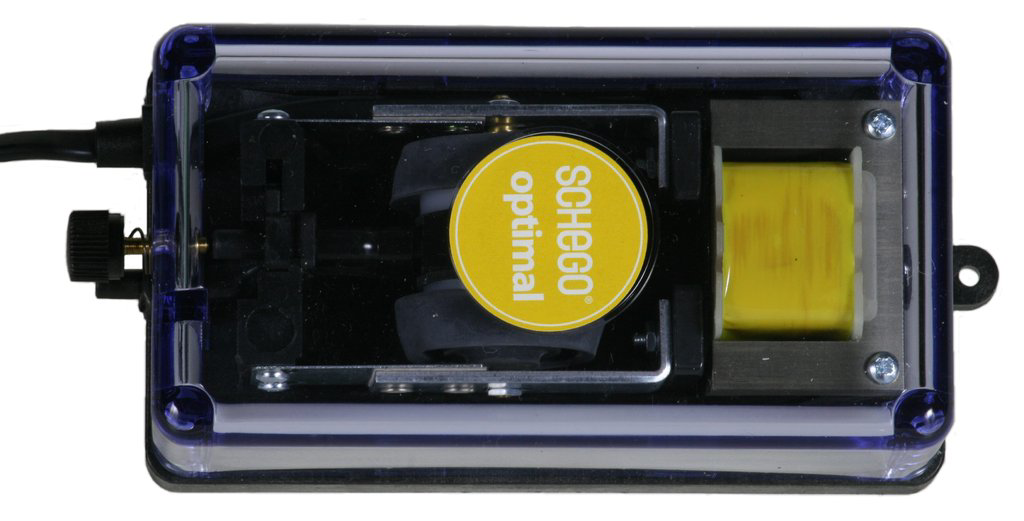
The SCHEGO M2K3 is a compact and versatile terminal block designed for efficient and reliable electrical connections. Manufactured by SCHEGO, this component is ideal for use in control panels, automation systems, and other electrical installations requiring secure wire termination. Its robust design ensures durability and ease of use, making it a preferred choice for professionals in industrial and commercial applications.
Explore Projects Built with SCHEGO M2K3

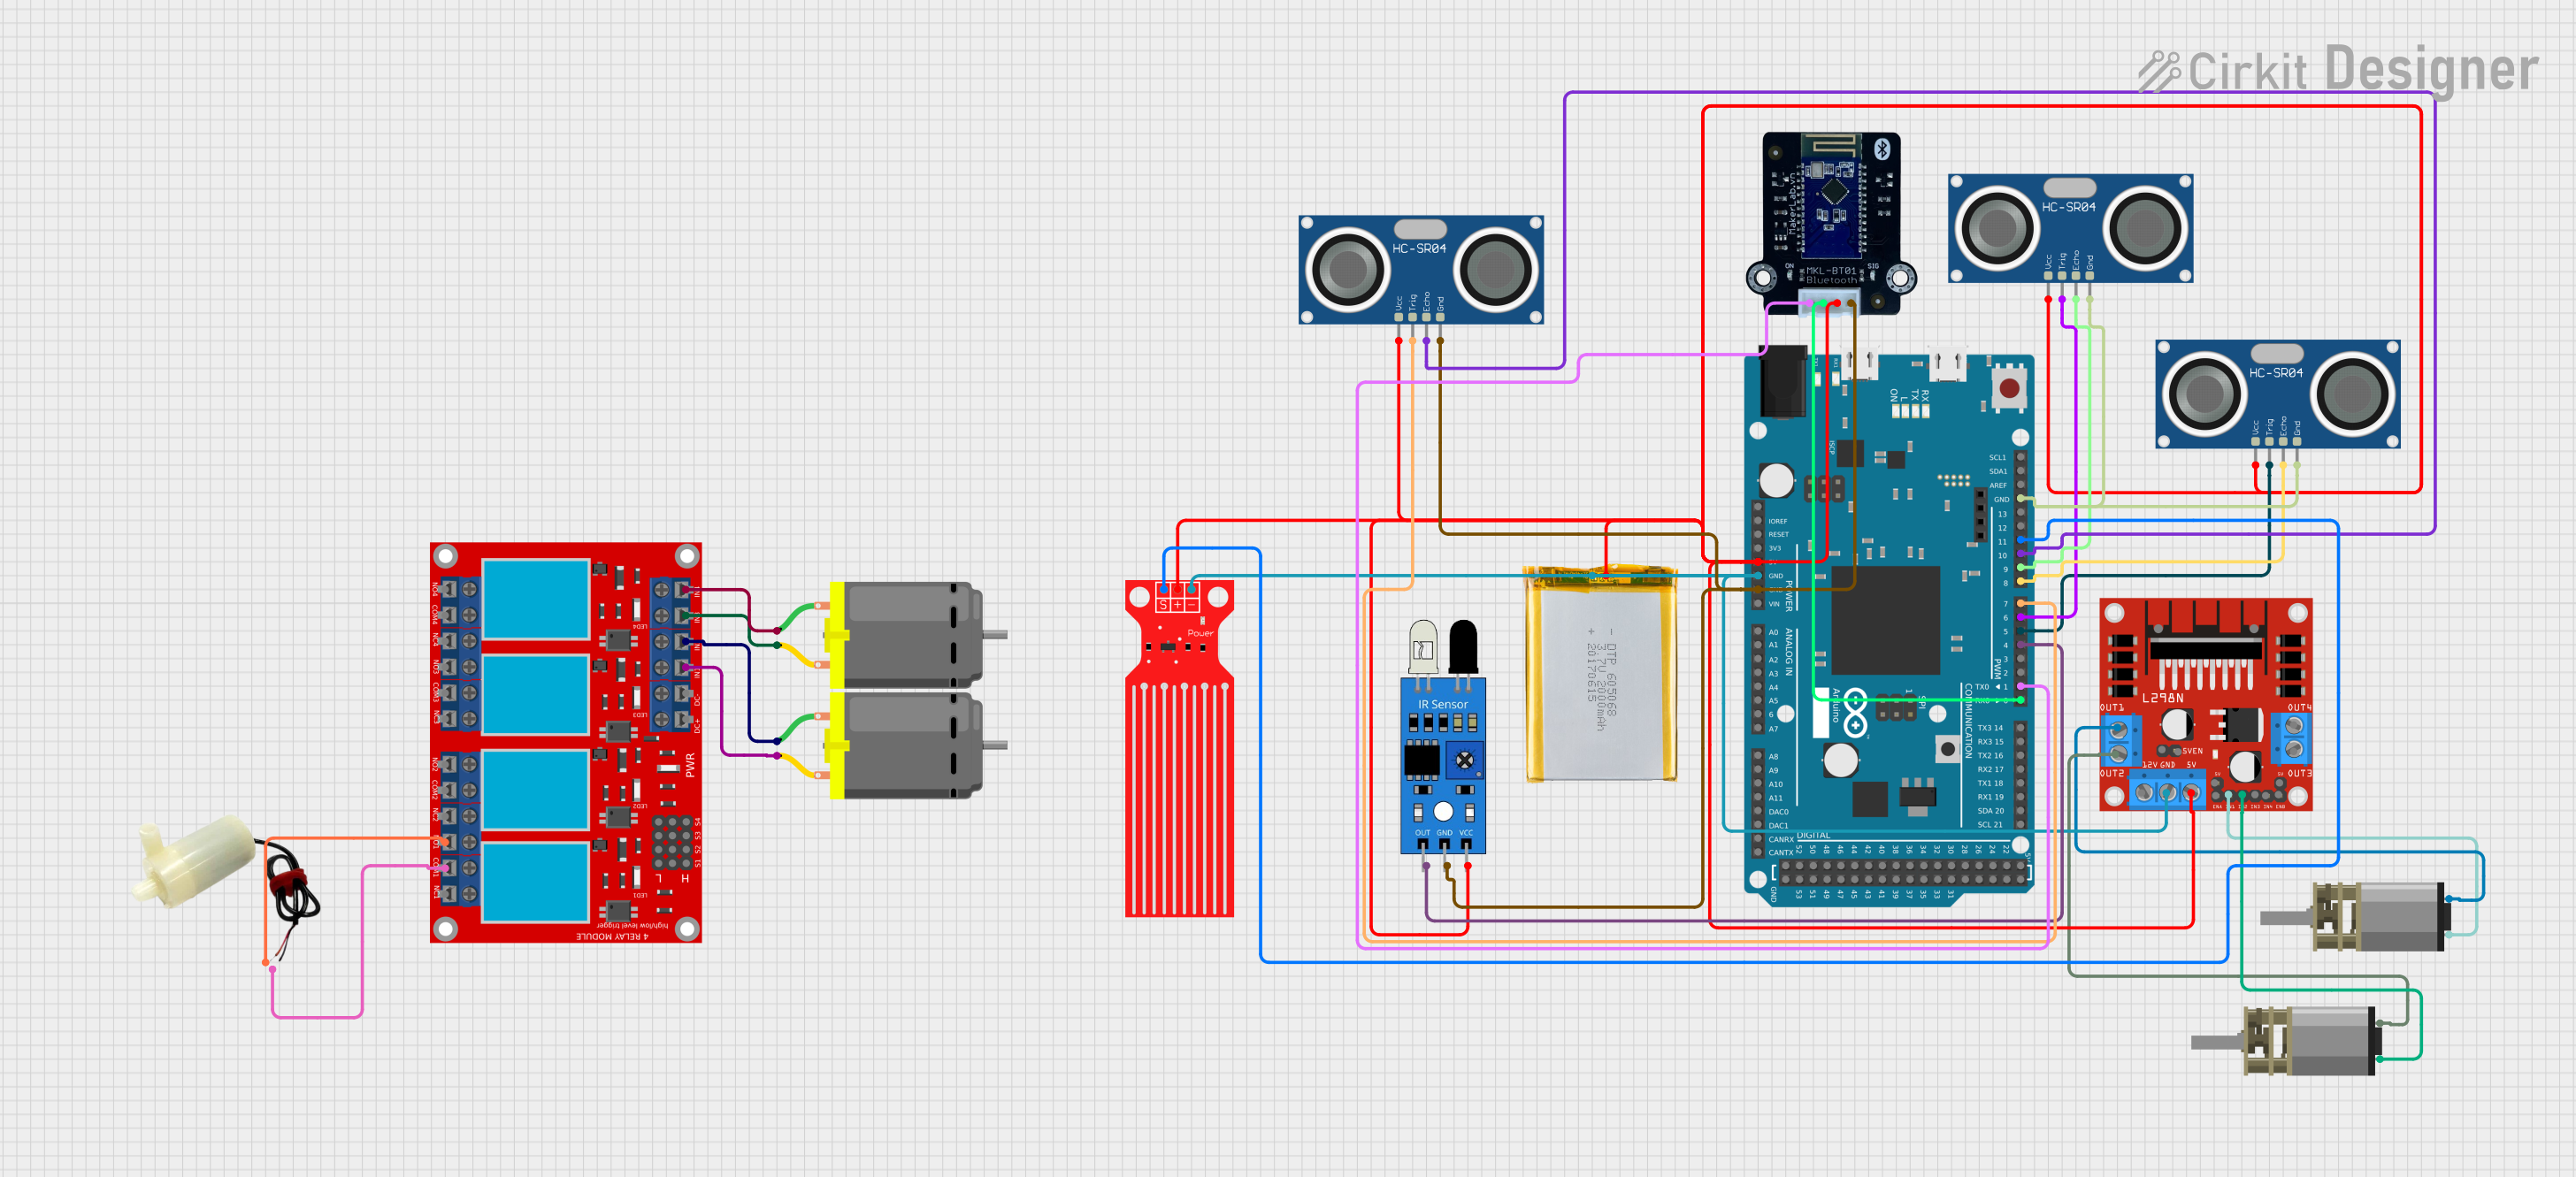
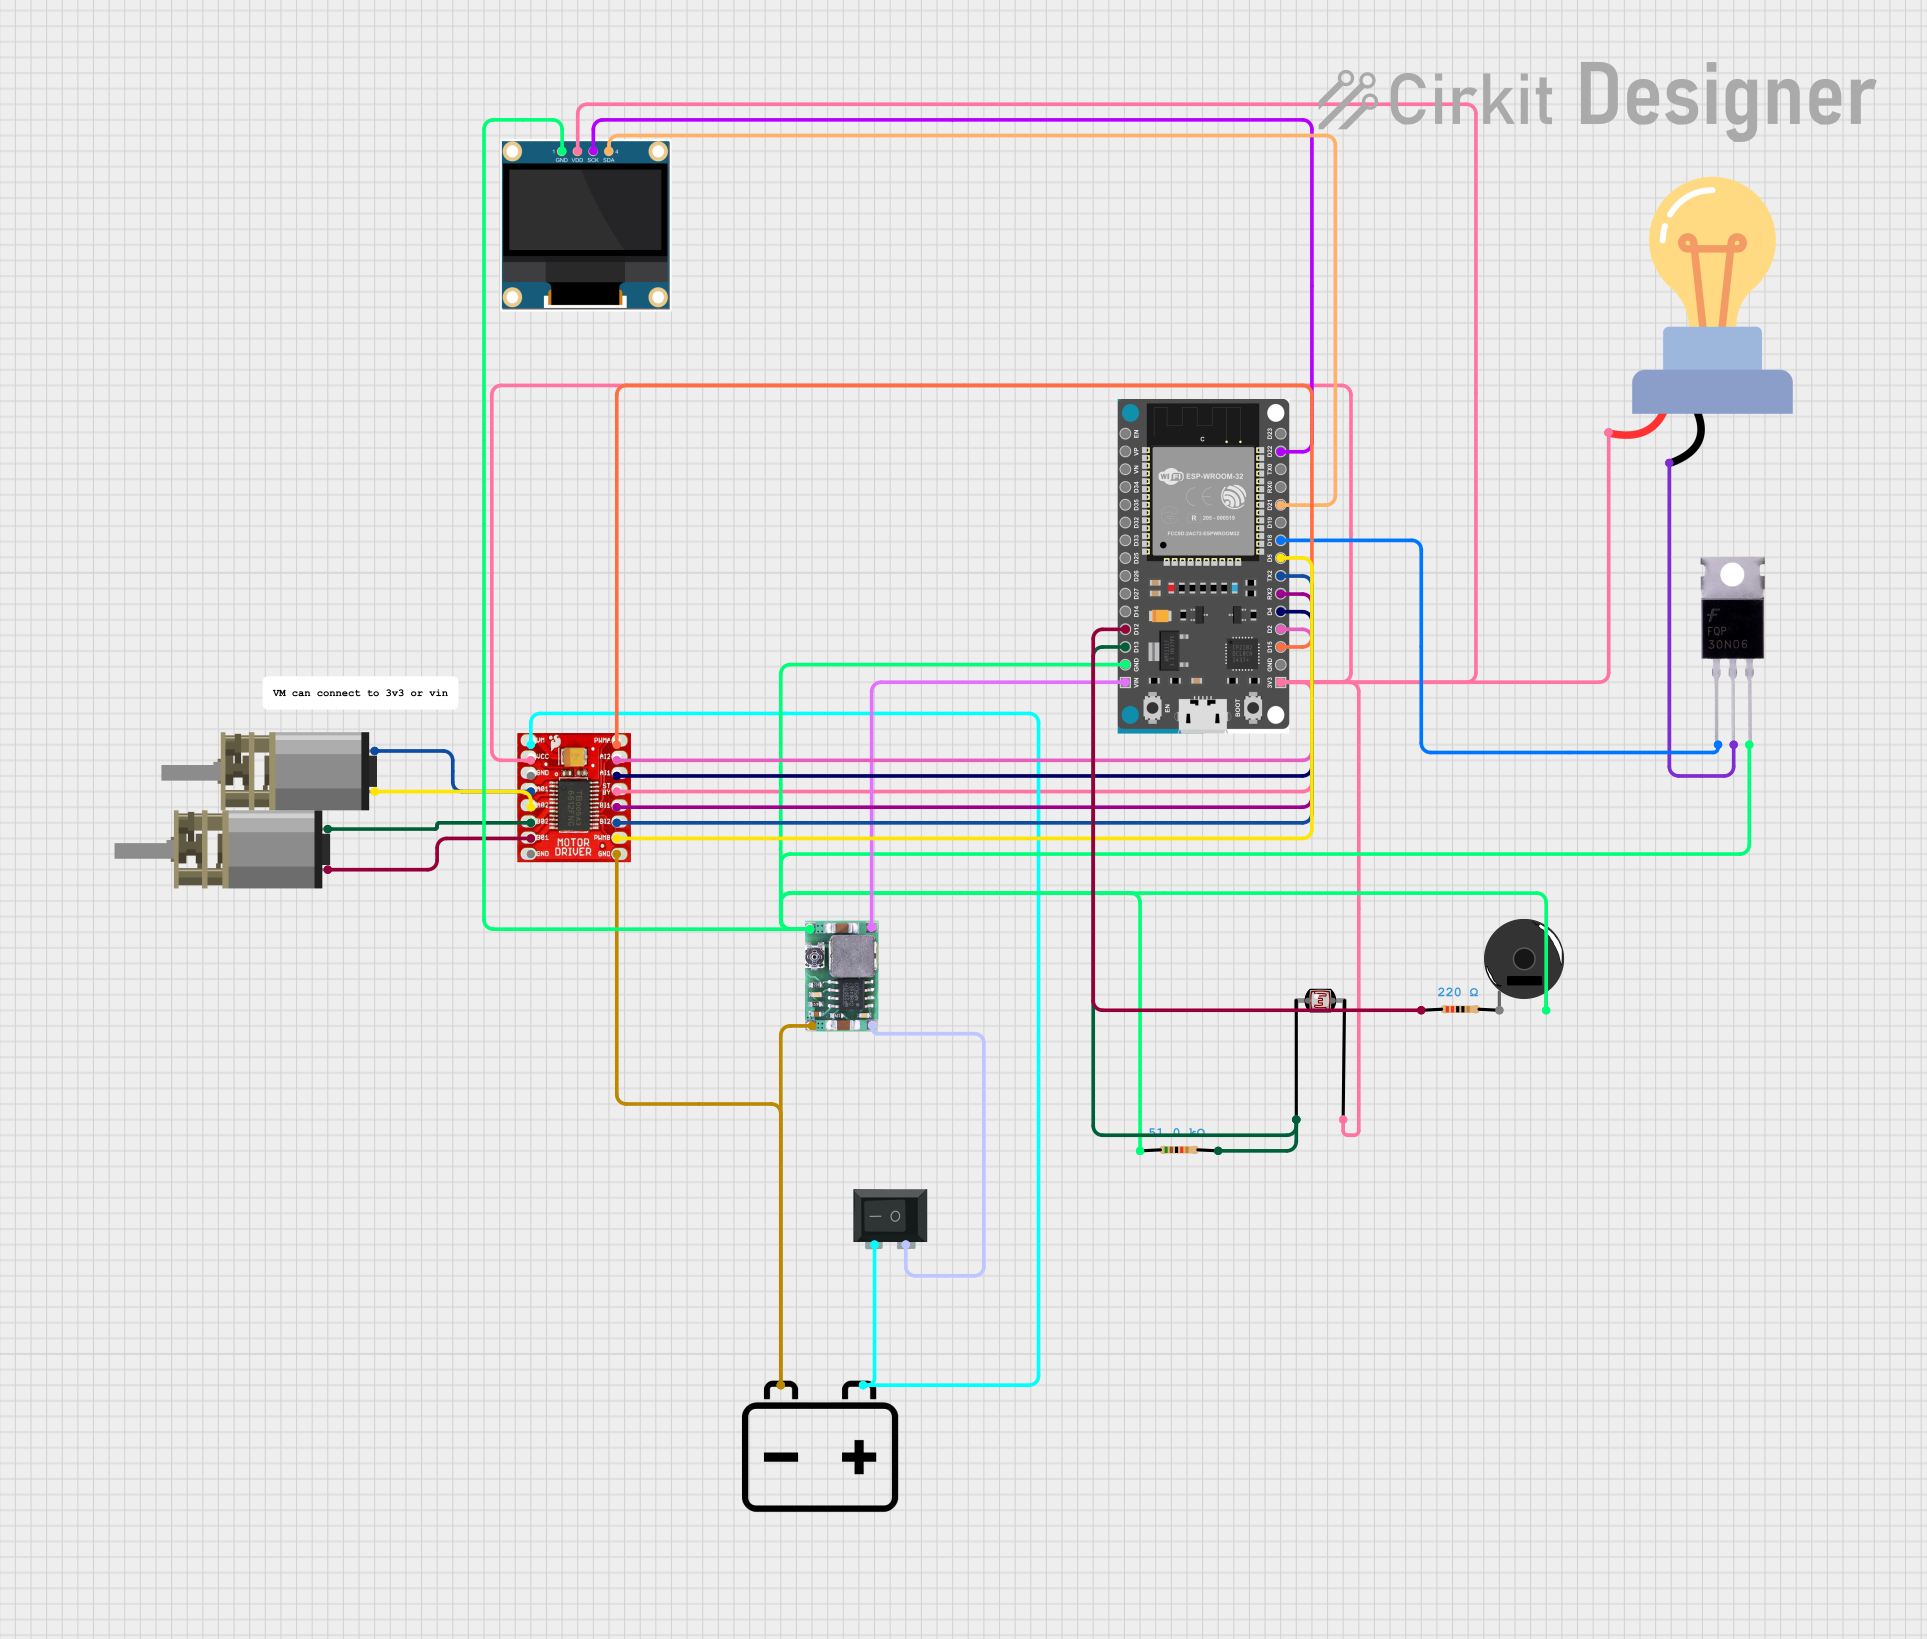

Explore Projects Built with SCHEGO M2K3
Common Applications and Use Cases
- Control panels in industrial automation systems
- Electrical distribution boards
- Wiring harnesses for machinery and equipment
- Signal and power distribution in automation systems
- Prototyping and testing of electrical circuits
Technical Specifications
Key Technical Details
- Manufacturer: SCHEGO
- Part ID: M2K3
- Rated Voltage: 250V AC/DC
- Rated Current: 16A
- Wire Size Compatibility: 0.5 mm² to 4 mm² (20 AWG to 12 AWG)
- Material: High-quality thermoplastic (flame-retardant)
- Operating Temperature Range: -20°C to +85°C
- Mounting Type: DIN rail or panel mount
- Connection Type: Screw terminal
- Dimensions: 42 mm x 12 mm x 25 mm (L x W x H)
Pin Configuration and Descriptions
The SCHEGO M2K3 terminal block does not have traditional "pins" like an IC but instead features screw terminals for wire connections. Below is a description of the terminal layout:
| Terminal Number | Description | Notes |
|---|---|---|
| 1 | Input terminal for wire connection | Connect the input wire here |
| 2 | Output terminal for wire connection | Connect the output wire here |
| Ground (optional) | Grounding terminal (if applicable) | For grounding, if required |
Usage Instructions
How to Use the SCHEGO M2K3 in a Circuit
Mounting the Terminal Block:
- Secure the SCHEGO M2K3 to a DIN rail or panel using the provided mounting slots. Ensure it is firmly attached to prevent movement during operation.
Preparing the Wires:
- Strip the insulation from the wire ends to expose approximately 5-7 mm of conductor. Ensure the wire size is within the supported range (0.5 mm² to 4 mm²).
Connecting the Wires:
- Loosen the screw terminals using a flathead screwdriver.
- Insert the stripped wire ends into the appropriate terminal slots (input or output).
- Tighten the screws securely to ensure a firm connection. Avoid overtightening, as this may damage the wire or terminal.
Testing the Connection:
- After all connections are made, test the circuit to ensure proper functionality. Check for any loose connections or exposed wires.
Important Considerations and Best Practices
- Wire Compatibility: Always use wires within the specified size range to ensure a secure connection.
- Tightening Torque: Use the recommended torque (typically 0.5 Nm to 0.8 Nm) when tightening the screws to avoid damaging the terminal.
- Environmental Conditions: Ensure the terminal block is used within the specified operating temperature range and is not exposed to moisture or corrosive environments.
- Safety Precautions: Disconnect power before making or modifying any connections to prevent electrical shock or damage to the circuit.
Example: Connecting to an Arduino UNO
The SCHEGO M2K3 can be used to connect external components, such as sensors or actuators, to an Arduino UNO. Below is an example of wiring a simple LED circuit:
- Connect the positive lead of the LED to the output terminal of the M2K3.
- Connect a resistor (e.g., 220 ohms) in series with the LED to limit current.
- Connect the input terminal of the M2K3 to a digital pin on the Arduino UNO (e.g., pin 13).
- Connect the ground terminal of the M2K3 to the Arduino's GND pin.
Here is a sample Arduino code to control the LED:
// Define the pin connected to the M2K3 terminal block
const int ledPin = 13;

void setup() {
  // Set the pin mode to OUTPUT
  pinMode(ledPin, OUTPUT);
}

void loop() {
  // Turn the LED on
  digitalWrite(ledPin, HIGH);
  delay(1000); // Wait for 1 second

  // Turn the LED off
  digitalWrite(ledPin, LOW);
  delay(1000); // Wait for 1 second
}
Troubleshooting and FAQs
Common Issues and Solutions
Loose Connections:
- Issue: Wires are not securely connected, causing intermittent operation.
- Solution: Ensure the screws are tightened properly and the wires are fully inserted into the terminals.
Overheating:
- Issue: The terminal block becomes hot during operation.
- Solution: Check the current rating of the circuit. Ensure the current does not exceed 16A, and verify that the wires are of appropriate gauge.
Corrosion or Damage:
- Issue: Terminals show signs of corrosion or physical damage.
- Solution: Replace the terminal block and ensure it is used in a suitable environment (dry and within the specified temperature range).
Wire Slippage:
- Issue: Wires slip out of the terminals after installation.
- Solution: Re-tighten the screws and verify that the wire insulation is not interfering with the connection.
FAQs
Q1: Can the SCHEGO M2K3 be used for high-frequency signals?
A1: The M2K3 is primarily designed for power and low-frequency signal distribution. For high-frequency applications, consider using specialized terminal blocks designed for such purposes.
Q2: Is the SCHEGO M2K3 suitable for outdoor use?
A2: The M2K3 is not specifically rated for outdoor use. If outdoor installation is required, ensure it is housed in a weatherproof enclosure.
Q3: Can I use the M2K3 for DC circuits?
A3: Yes, the M2K3 supports both AC and DC circuits up to the rated voltage and current.
Q4: How many wires can be connected to a single terminal?
A4: The M2K3 is designed for one wire per terminal. For multiple connections, use additional terminal blocks or a busbar.
By following this documentation, users can effectively integrate the SCHEGO M2K3 into their electrical systems for secure and reliable connections.