
How to Use Pneumatic Solenoid valve: Examples, Pinouts, and Specs
 Design with Pneumatic Solenoid valve in Cirkit Designer
Introduction
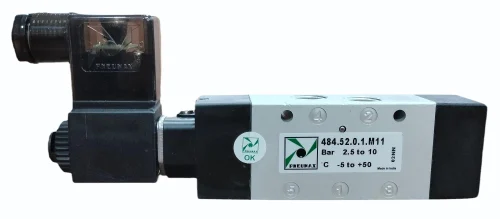
A Pneumatic Solenoid Valve is an electromechanical device designed to control the flow of compressed air in a pneumatic system. It operates by using an electromagnetic coil to actuate the valve, enabling precise control over air pressure and flow. These valves are essential components in automation systems, industrial machinery, and other applications requiring efficient air control.
Explore Projects Built with Pneumatic Solenoid valve
 Open Project in Cirkit Designer
 Open Project in Cirkit Designer
 Open Project in Cirkit Designer
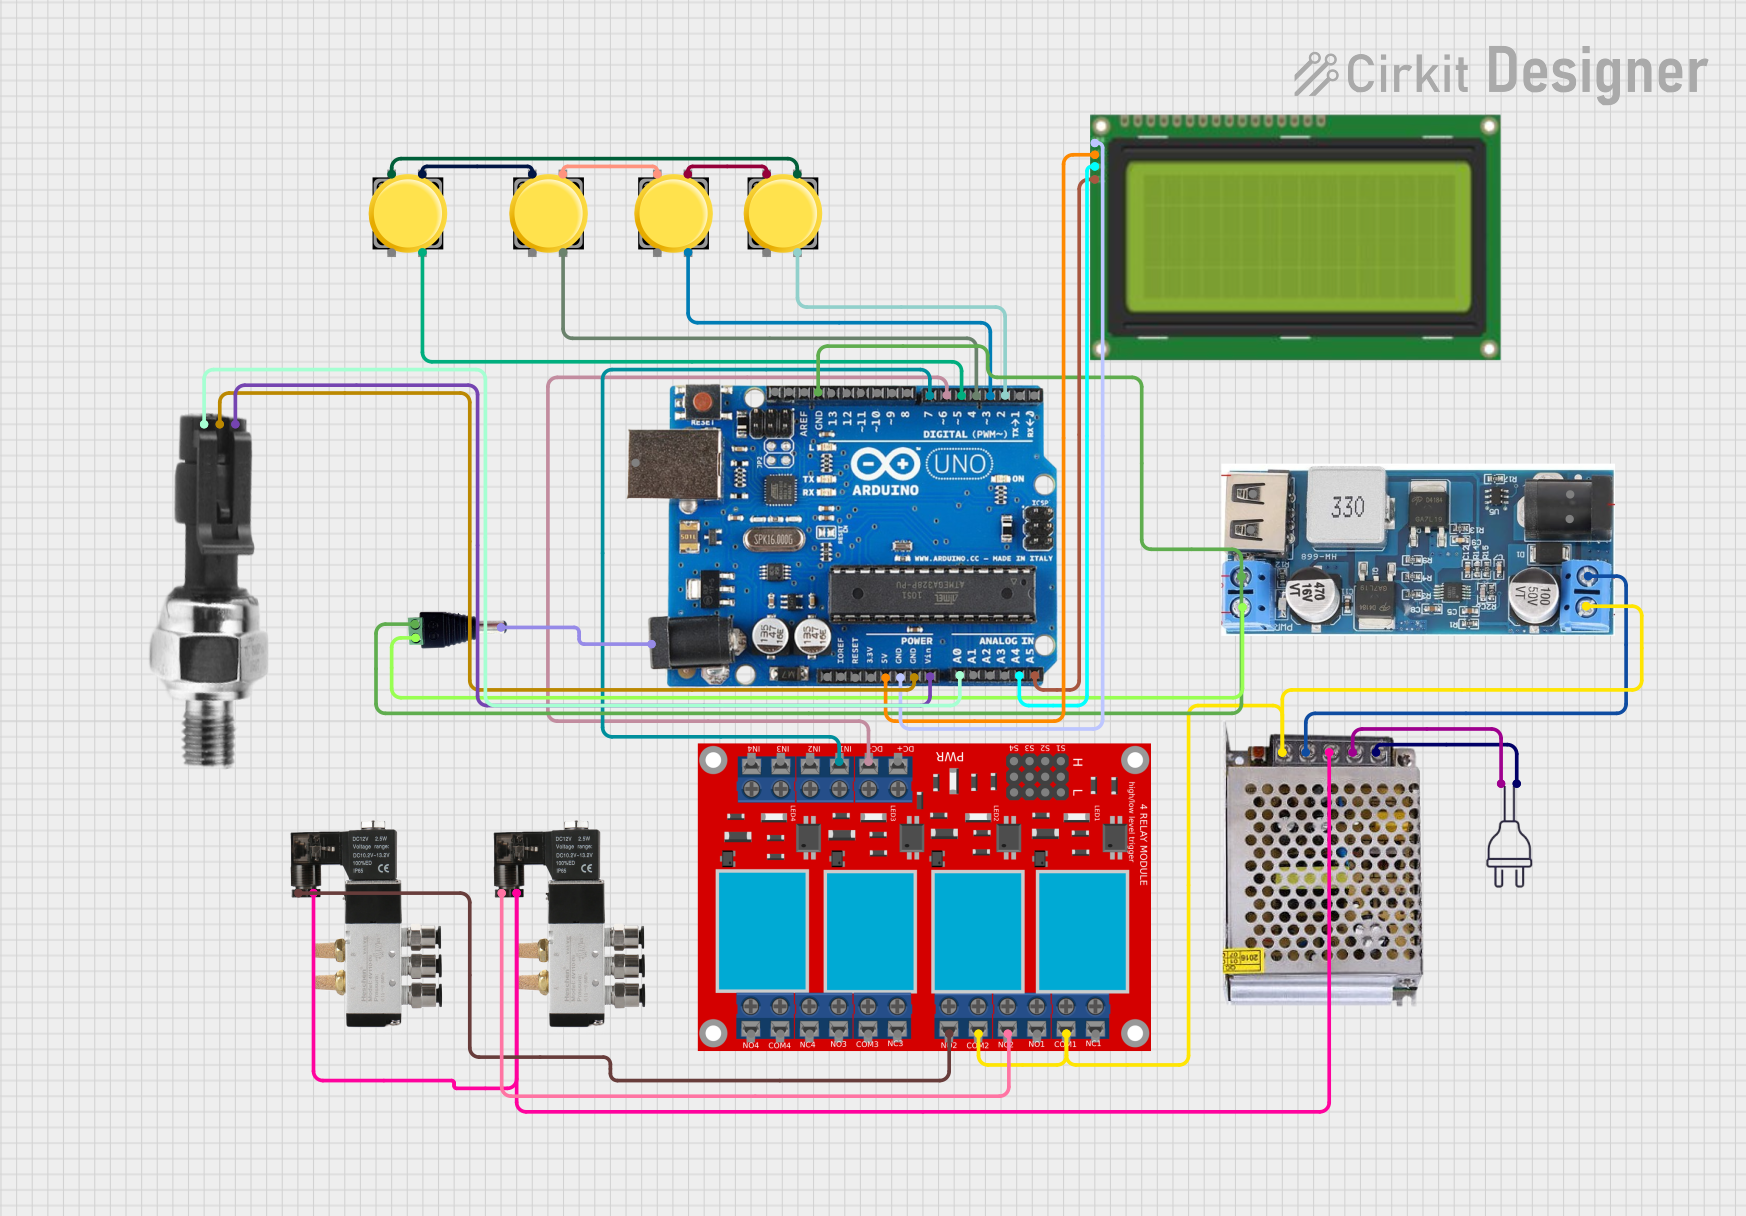 Open Project in Cirkit Designer
Explore Projects Built with Pneumatic Solenoid valve
Open Project in Cirkit DesignerOpen Project in Cirkit DesignerOpen Project in Cirkit DesignerOpen Project in Cirkit DesignerCommon Applications and Use Cases
- Industrial Automation: Used in assembly lines, robotic arms, and material handling systems.
- HVAC Systems: Controls airflow in heating, ventilation, and air conditioning systems.
- Medical Equipment: Found in devices like ventilators and oxygen concentrators.
- Automotive Systems: Used in air suspension systems and pneumatic braking systems.
- Packaging Machinery: Controls pneumatic actuators for sealing, cutting, or filling operations.
Technical Specifications
Below are the general technical specifications for a Pneumatic Solenoid Valve. Specific values may vary depending on the manufacturer and model.
Key Technical Details
- Operating Voltage: 12V DC, 24V DC, or 110V/220V AC (depending on the model)
- Power Consumption: Typically 2-10W
- Operating Pressure Range: 0.15 MPa to 0.8 MPa (1.5 bar to 8 bar)
- Response Time: 10-50 ms
- Port Size: Commonly 1/8", 1/4", 3/8", or 1/2" NPT/BSP
- Temperature Range: -10°C to 50°C (14°F to 122°F)
- Material: Brass, stainless steel, or aluminum body with nitrile or Viton seals
- Cycle Life: Over 10 million cycles (typical)
Pin Configuration and Descriptions
For solenoid valves with an electrical connector, the pin configuration is as follows:
| Pin | Description |
|---|---|
| 1 | Positive terminal (V+) |
| 2 | Negative terminal (V-) or ground |
| 3 | Optional ground (if applicable) |
For models with flying leads (wires), the color coding is typically:
- Red: Positive terminal (V+)
- Black: Negative terminal (V-)
Usage Instructions
How to Use the Component in a Circuit
- Power Supply: Ensure the solenoid valve is powered by the correct voltage (e.g., 12V DC or 24V DC). Using an incorrect voltage can damage the coil.
- Wiring: Connect the positive terminal of the power supply to the valve's positive pin (or red wire) and the negative terminal to the valve's negative pin (or black wire).
- Control Signal: Use a relay, transistor, or MOSFET to control the solenoid valve from a microcontroller or PLC. This prevents overloading the control circuit.
- Air Supply: Connect the compressed air source to the valve's inlet port. Ensure the air pressure is within the valve's operating range.
- Output Connection: Connect the outlet port to the pneumatic actuator or system you wish to control.
Important Considerations and Best Practices
- Diode Protection: Always use a flyback diode across the solenoid terminals to protect the circuit from voltage spikes caused by the collapsing magnetic field when the valve is turned off.
- Pressure Regulation: Use a pressure regulator to ensure the air supply is within the valve's operating pressure range.
- Mounting: Install the valve in a clean, dry location to prevent contamination or corrosion.
- Orientation: Follow the manufacturer's guidelines for proper mounting orientation to ensure optimal performance.
- Maintenance: Periodically inspect and clean the valve to prevent clogging or wear.
Example: Controlling a Solenoid Valve with Arduino UNO
Below is an example of how to control a 12V DC pneumatic solenoid valve using an Arduino UNO and a relay module.
// Example: Controlling a Pneumatic Solenoid Valve with Arduino UNO
// This code turns the solenoid valve ON for 5 seconds, then OFF for 5 seconds.

const int relayPin = 7; // Pin connected to the relay module

void setup() {
  pinMode(relayPin, OUTPUT); // Set the relay pin as an output
  digitalWrite(relayPin, LOW); // Ensure the relay is initially OFF
}

void loop() {
  digitalWrite(relayPin, HIGH); // Turn the solenoid valve ON
  delay(5000); // Keep the valve ON for 5 seconds
  digitalWrite(relayPin, LOW); // Turn the solenoid valve OFF
  delay(5000); // Keep the valve OFF for 5 seconds
}
Note: Ensure the relay module is rated for the solenoid valve's voltage and current. Use an external power supply for the solenoid valve if its current exceeds the Arduino's capabilities.
Troubleshooting and FAQs
Common Issues and Solutions
Valve Does Not Operate:
- Cause: Incorrect wiring or insufficient power supply.
- Solution: Verify the wiring and ensure the power supply matches the valve's voltage and current requirements.
Valve Stuck in Open or Closed Position:
- Cause: Contamination or debris in the valve.
- Solution: Disassemble and clean the valve according to the manufacturer's instructions.
Excessive Noise During Operation:
- Cause: Loose mounting or fluctuating air pressure.
- Solution: Secure the valve properly and stabilize the air pressure.
Overheating of the Coil:
- Cause: Continuous operation or incorrect voltage.
- Solution: Use the valve intermittently and ensure the correct voltage is applied.
FAQs
Q: Can I use a pneumatic solenoid valve with liquids?
- A: No, pneumatic solenoid valves are designed for compressed air. For liquids, use a solenoid valve specifically rated for liquid applications.
Q: How do I know if my solenoid valve is compatible with my system?
- A: Check the valve's operating pressure, voltage, and port size to ensure compatibility with your system.
Q: Can I control multiple solenoid valves with one Arduino?
- A: Yes, you can control multiple valves using separate relay modules or a relay board, provided the Arduino has enough GPIO pins.
Q: What is the typical lifespan of a pneumatic solenoid valve?
- A: Most valves have a cycle life of over 10 million operations under normal conditions.