How to Use KEYES薄膜壓力感知器: Examples, Pinouts, and Specs
Introduction
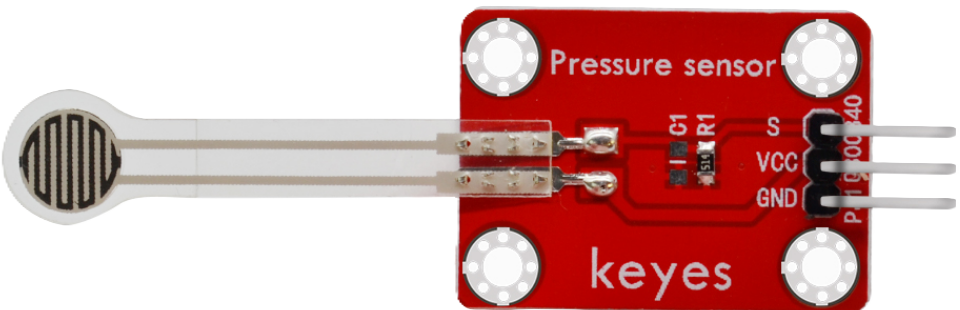
The KEYES薄膜壓力感知器 (Manufacturer Part ID: KYS017) is a pressure-sensitive sensor designed to detect changes in pressure applied to its surface. Manufactured by Arduino, this sensor is ideal for applications requiring touch-sensitive controls, pressure measurement, or force detection. Its thin, flexible design makes it suitable for integration into compact and portable devices.
Explore Projects Built with KEYES薄膜壓力感知器
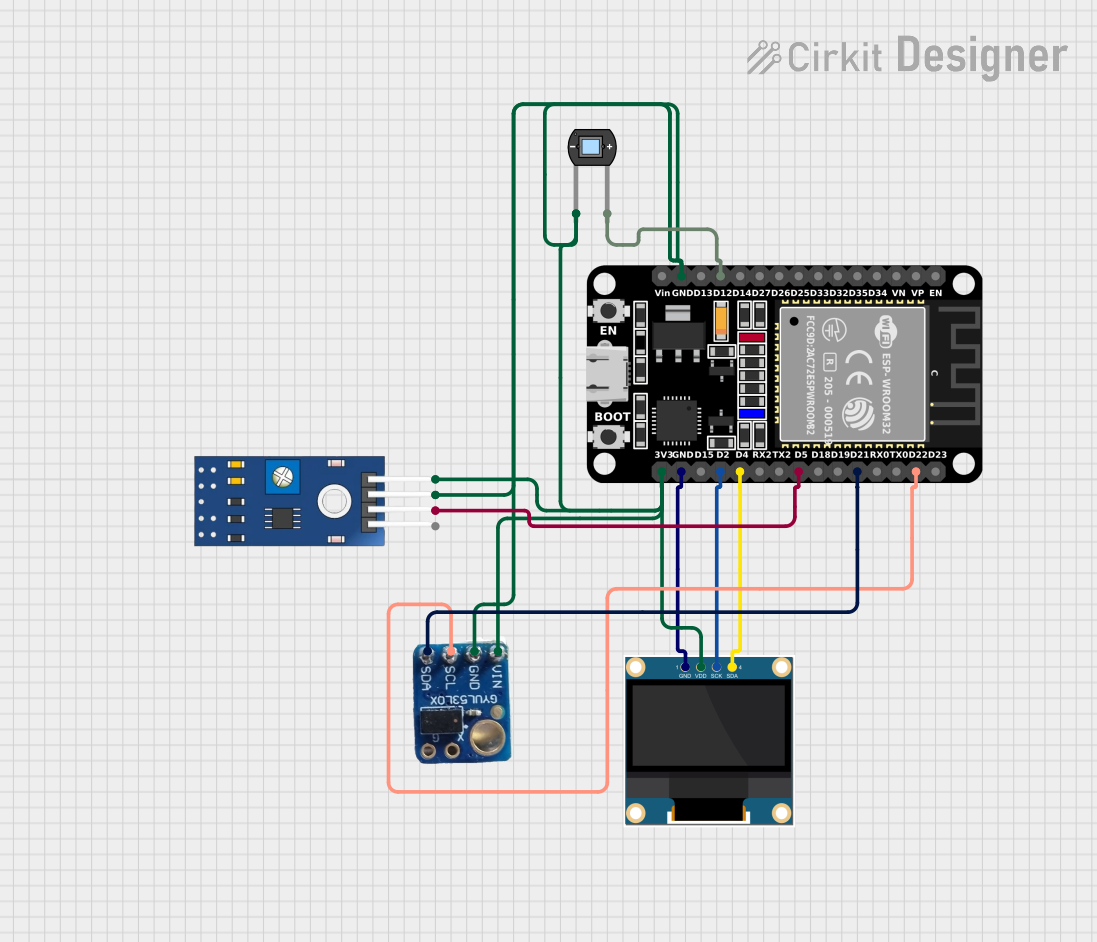
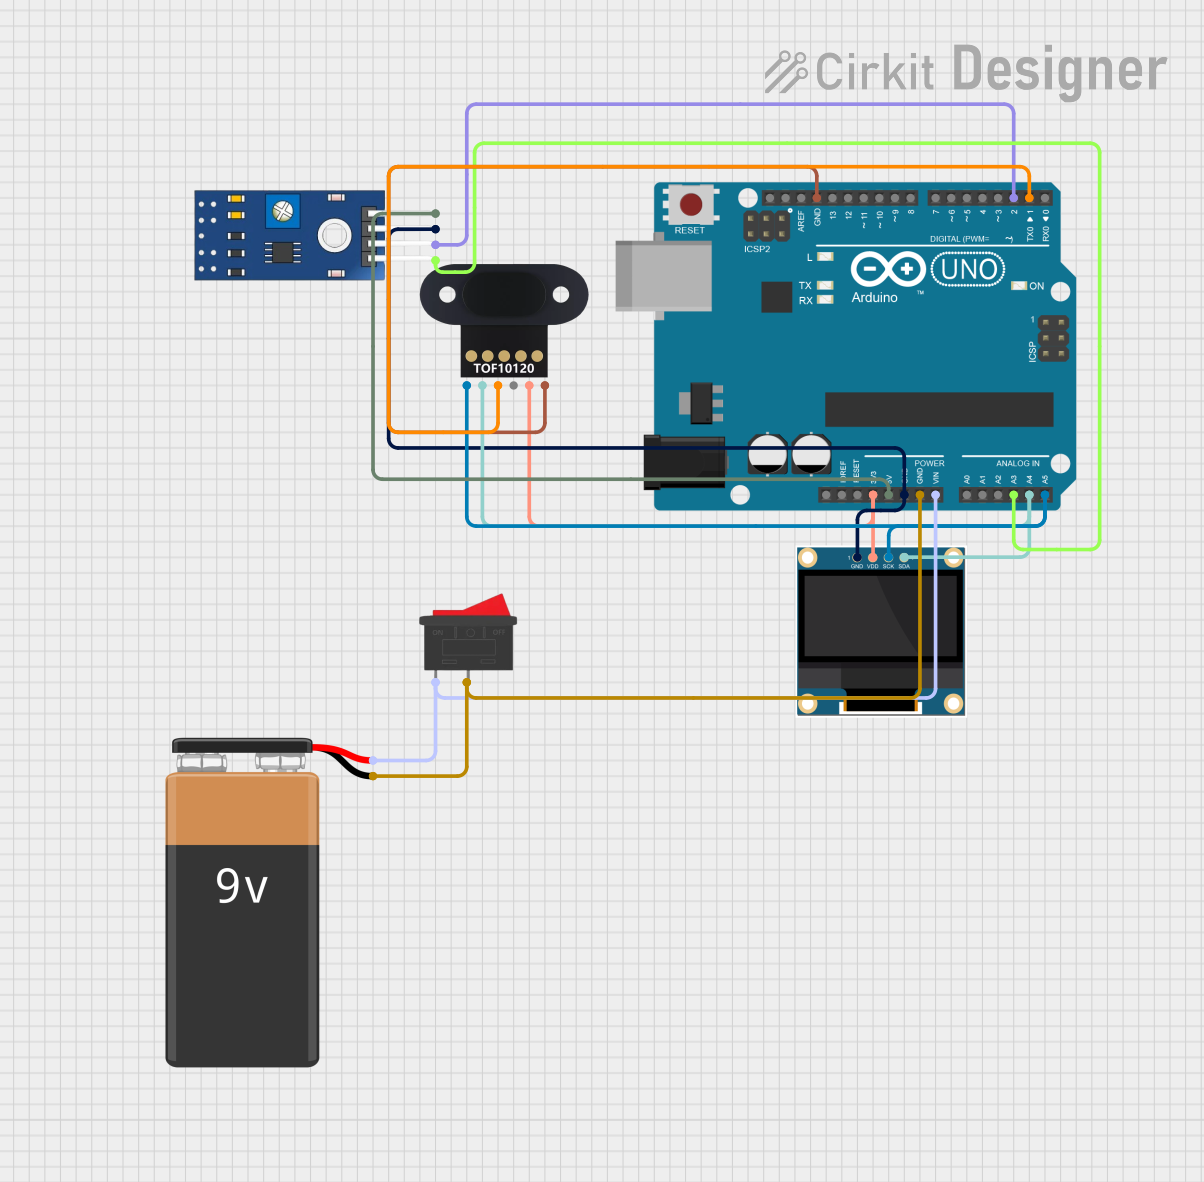
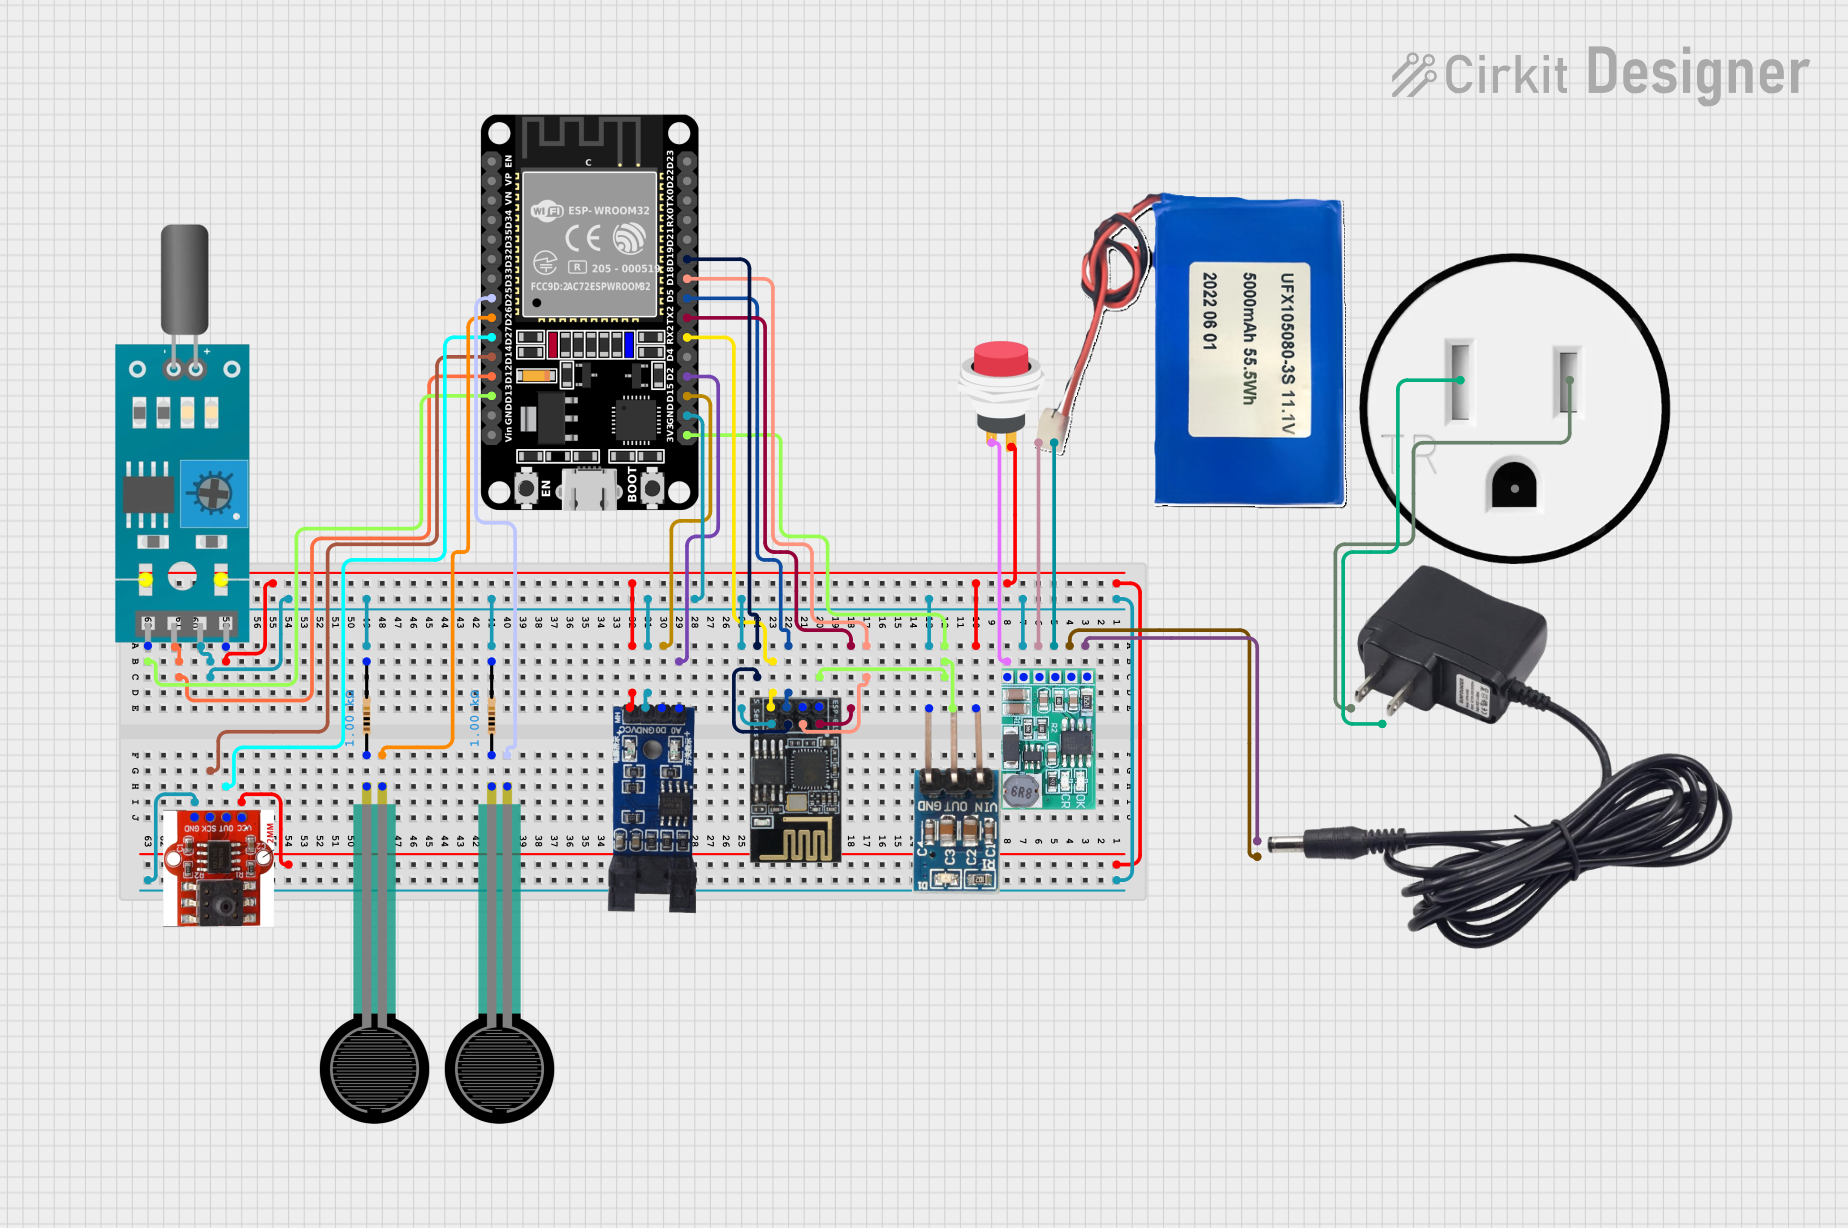
Explore Projects Built with KEYES薄膜壓力感知器
Common Applications
- Touch-sensitive control panels
- Pressure-sensitive input devices
- Robotics and automation systems
- Wearable technology
- Force measurement in industrial applications
Technical Specifications
The following table outlines the key technical details of the KEYES薄膜壓力感知器:
| Parameter | Specification |
|---|---|
| Operating Voltage | 3.3V to 5V |
| Operating Current | < 10mA |
| Pressure Range | 0 to 10kg/cm² |
| Response Time | < 1ms |
| Operating Temperature | -20°C to 60°C |
| Sensor Type | Resistive pressure sensor |
| Dimensions | 18mm x 0.2mm (sensor area diameter) |
Pin Configuration
The KEYES薄膜壓力感知器 has a simple two-pin interface. The pin configuration is as follows:
| Pin | Name | Description |
|---|---|---|
| 1 | Signal | Outputs an analog voltage proportional to pressure. |
| 2 | GND | Ground connection for the sensor. |
Usage Instructions
How to Use the Component in a Circuit
Connect the Sensor:
- Connect the
Signalpin to an analog input pin on your microcontroller (e.g., Arduino UNO). - Connect the
GNDpin to the ground (GND) of your circuit.
- Connect the
Power the Circuit:
- Ensure the microcontroller is powered with a voltage between 3.3V and 5V, which is within the sensor's operating range.
Read the Output:
- The sensor outputs an analog voltage that varies with the applied pressure. A higher pressure results in a lower resistance, which translates to a higher voltage reading.
Important Considerations and Best Practices
- Avoid Overloading: Do not apply pressure beyond the specified range (10kg/cm²) to prevent damage to the sensor.
- Stable Connections: Ensure secure and stable connections to avoid noise or inaccurate readings.
- Calibration: For precise applications, calibrate the sensor by mapping the analog output to the actual pressure values.
- Environmental Conditions: Use the sensor within the specified temperature range (-20°C to 60°C) to ensure reliable operation.
Example Code for Arduino UNO
Below is an example code snippet to read the sensor's output using an Arduino UNO:
// Define the analog pin connected to the sensor
const int sensorPin = A0;

void setup() {
  Serial.begin(9600); // Initialize serial communication at 9600 baud
}

void loop() {
  int sensorValue = analogRead(sensorPin); // Read the analog value from the sensor
  float voltage = sensorValue * (5.0 / 1023.0); // Convert to voltage (0-5V range)

  // Print the sensor value and voltage to the Serial Monitor
  Serial.print("Sensor Value: ");
  Serial.print(sensorValue);
  Serial.print(" | Voltage: ");
  Serial.println(voltage);

  delay(500); // Wait for 500ms before the next reading
}
Notes on the Code
- The
analogRead()function reads the sensor's output and converts it to a value between 0 and 1023. - The voltage is calculated based on the Arduino's 10-bit ADC resolution and a 5V reference.
Troubleshooting and FAQs
Common Issues and Solutions
No Output or Incorrect Readings:
- Cause: Loose or incorrect connections.
- Solution: Double-check the wiring and ensure the
Signalpin is connected to an analog input.
Fluctuating Readings:
- Cause: Electrical noise or unstable power supply.
- Solution: Use a decoupling capacitor (e.g., 0.1µF) between the
Signalpin and GND to filter noise.
Sensor Not Responding to Pressure:
- Cause: Sensor may be damaged or pressure exceeds the specified range.
- Solution: Inspect the sensor for physical damage and ensure the applied pressure is within the 0-10kg/cm² range.
FAQs
Q1: Can this sensor detect very light touches?
A1: Yes, the sensor is sensitive to light pressure, but the output may need amplification or calibration for precise detection of very small forces.
Q2: Can I use this sensor with a 3.3V microcontroller?
A2: Yes, the sensor operates within a voltage range of 3.3V to 5V, making it compatible with 3.3V systems.
Q3: How do I map the sensor's output to actual pressure values?
A3: Perform a calibration by applying known pressure values and recording the corresponding analog output. Use this data to create a mapping function in your code.
Q4: Is the sensor waterproof?
A4: No, the sensor is not waterproof. Avoid exposing it to liquids or high humidity environments.
By following this documentation, you can effectively integrate and utilize the KEYES薄膜壓力感知器 in your projects.