Cirkit Designer Logo
Cirkit Designer
Your all-in-one circuit design IDE
Home / 
Component Documentation

How to Use Adafruit AirLift Breakout: Examples, Pinouts, and Specs
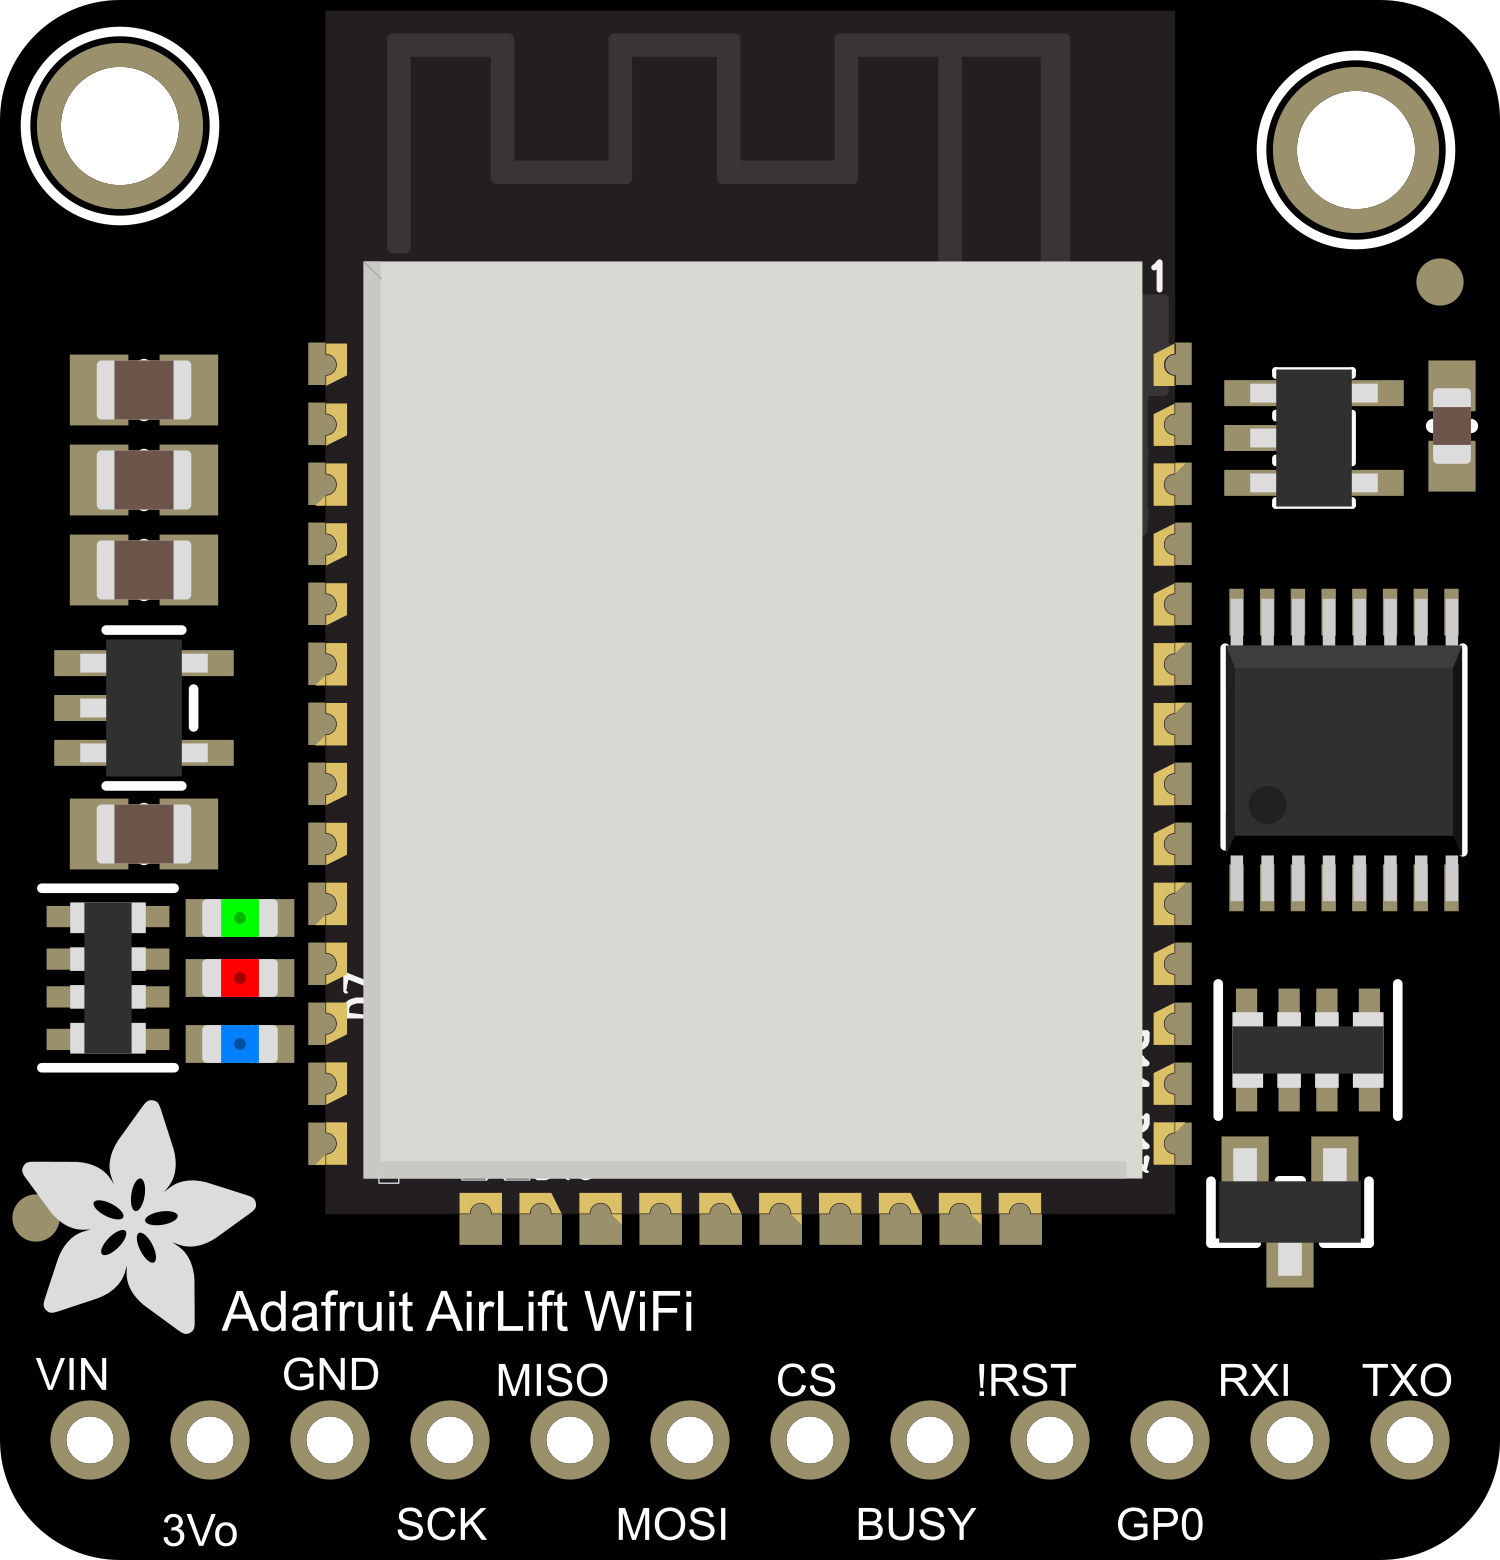
Image of Adafruit AirLift Breakout
Cirkit Designer LogoDesign with Adafruit AirLift Breakout in Cirkit Designer

Introduction

The Adafruit AirLift Breakout is a versatile and powerful wireless networking module that adds Wi-Fi and Bluetooth capabilities to your projects. It is built around the ESP32 co-processor, which efficiently manages all wireless communication tasks. This allows the main microcontroller, such as an Arduino UNO, to focus on other operations without being burdened by network processing. The AirLift Breakout is ideal for Internet of Things (IoT) projects, home automation, and any application where wireless connectivity is desired.

Explore Projects Built with Adafruit AirLift Breakout
Use Cirkit Designer to design, explore, and prototype these projects online. Some projects support real-time simulation. Click "Open Project" to start designing instantly!
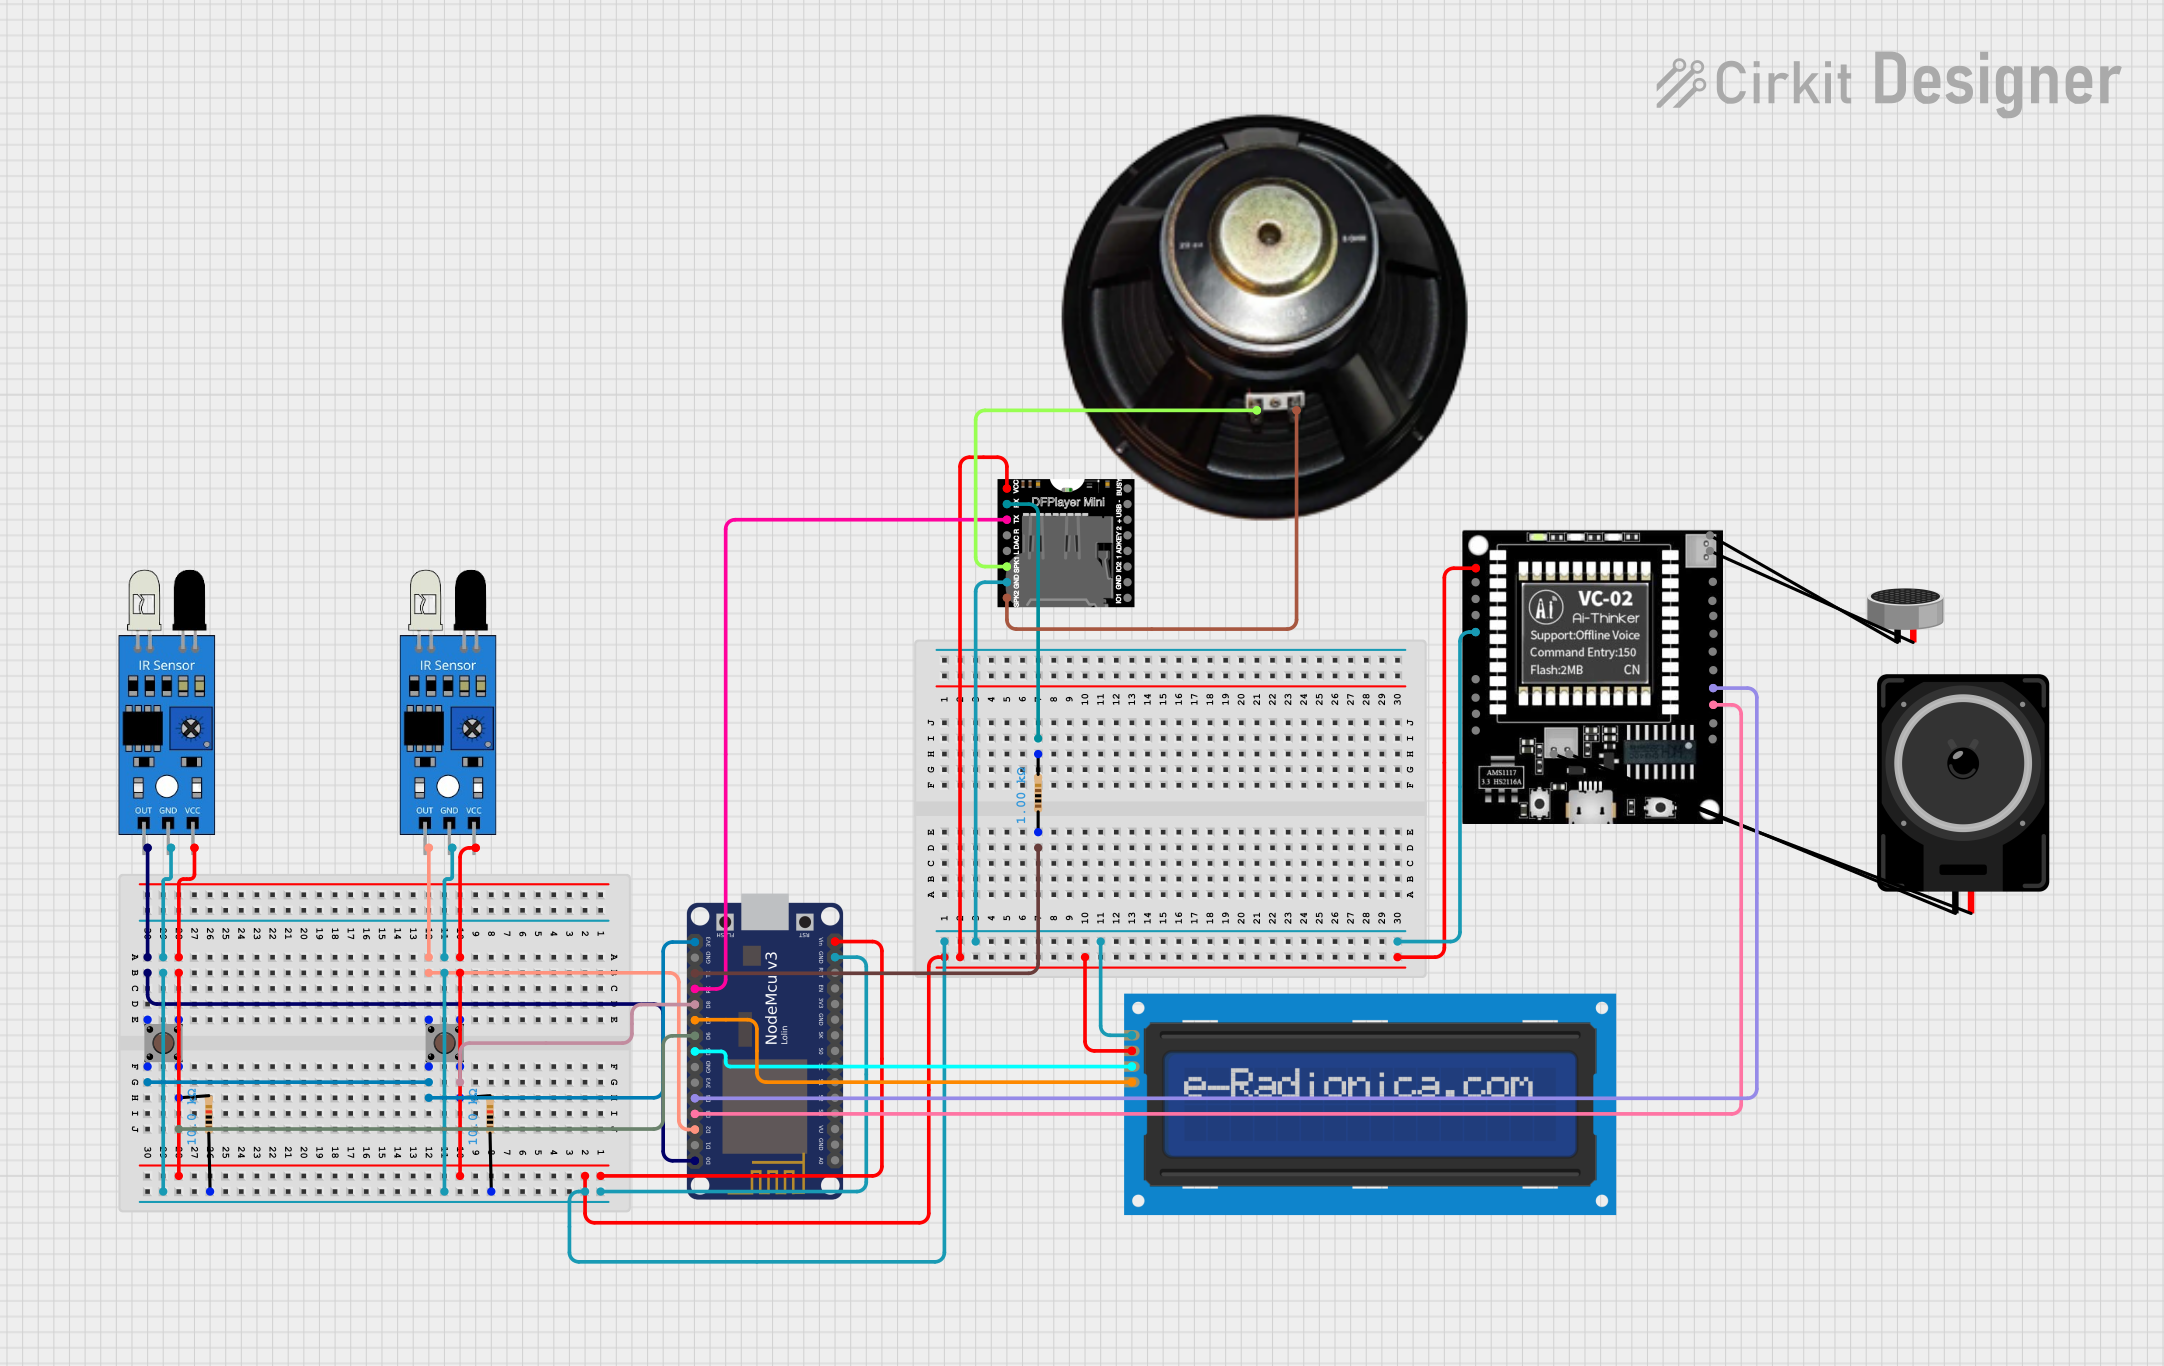
NodeMCU ESP8266-Based Smart Lift System with IR Sensors and Voice Commands
Image of IoT Ass: A project utilizing Adafruit AirLift Breakout in a practical application
This circuit is an IoT-based smart lift system designed for blind and disabled individuals. It uses IR sensors, pushbuttons, an LCD screen, a DFPlayer module, and a VC-02 module to detect floor selection via finger presence or voice commands, and announces the selected floor through a speaker while displaying it on the LCD.
Cirkit Designer LogoOpen Project in Cirkit Designer
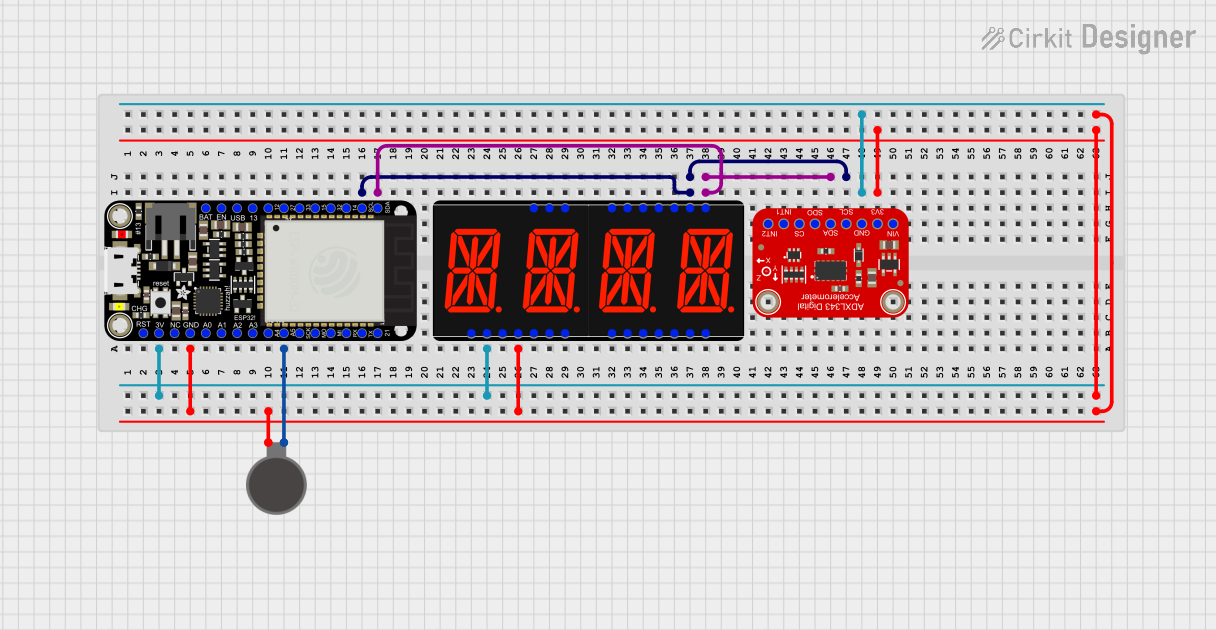
ESP32-Based Vibration Feedback System with Quad Alphanumeric Display and ADXL343 Accelerometer
Image of EC444 - Quest 3: A project utilizing Adafruit AirLift Breakout in a practical application
This circuit features an Adafruit HUZZAH32 ESP32 Feather board as the central microcontroller, which is connected to an Adafruit Quad AlphaNumeric Featherwing display and an Adafruit ADXL343 accelerometer via I2C communication (SCL and SDA lines). The ESP32 controls a vibration motor connected to one of its GPIO pins (A5_IO4) and shares a common power supply (3.3V) and ground (GND) with the other components. The purpose of this circuit is likely to read acceleration data, display information on the alphanumeric display, and provide haptic feedback through the vibration motor.
Cirkit Designer LogoOpen Project in Cirkit Designer
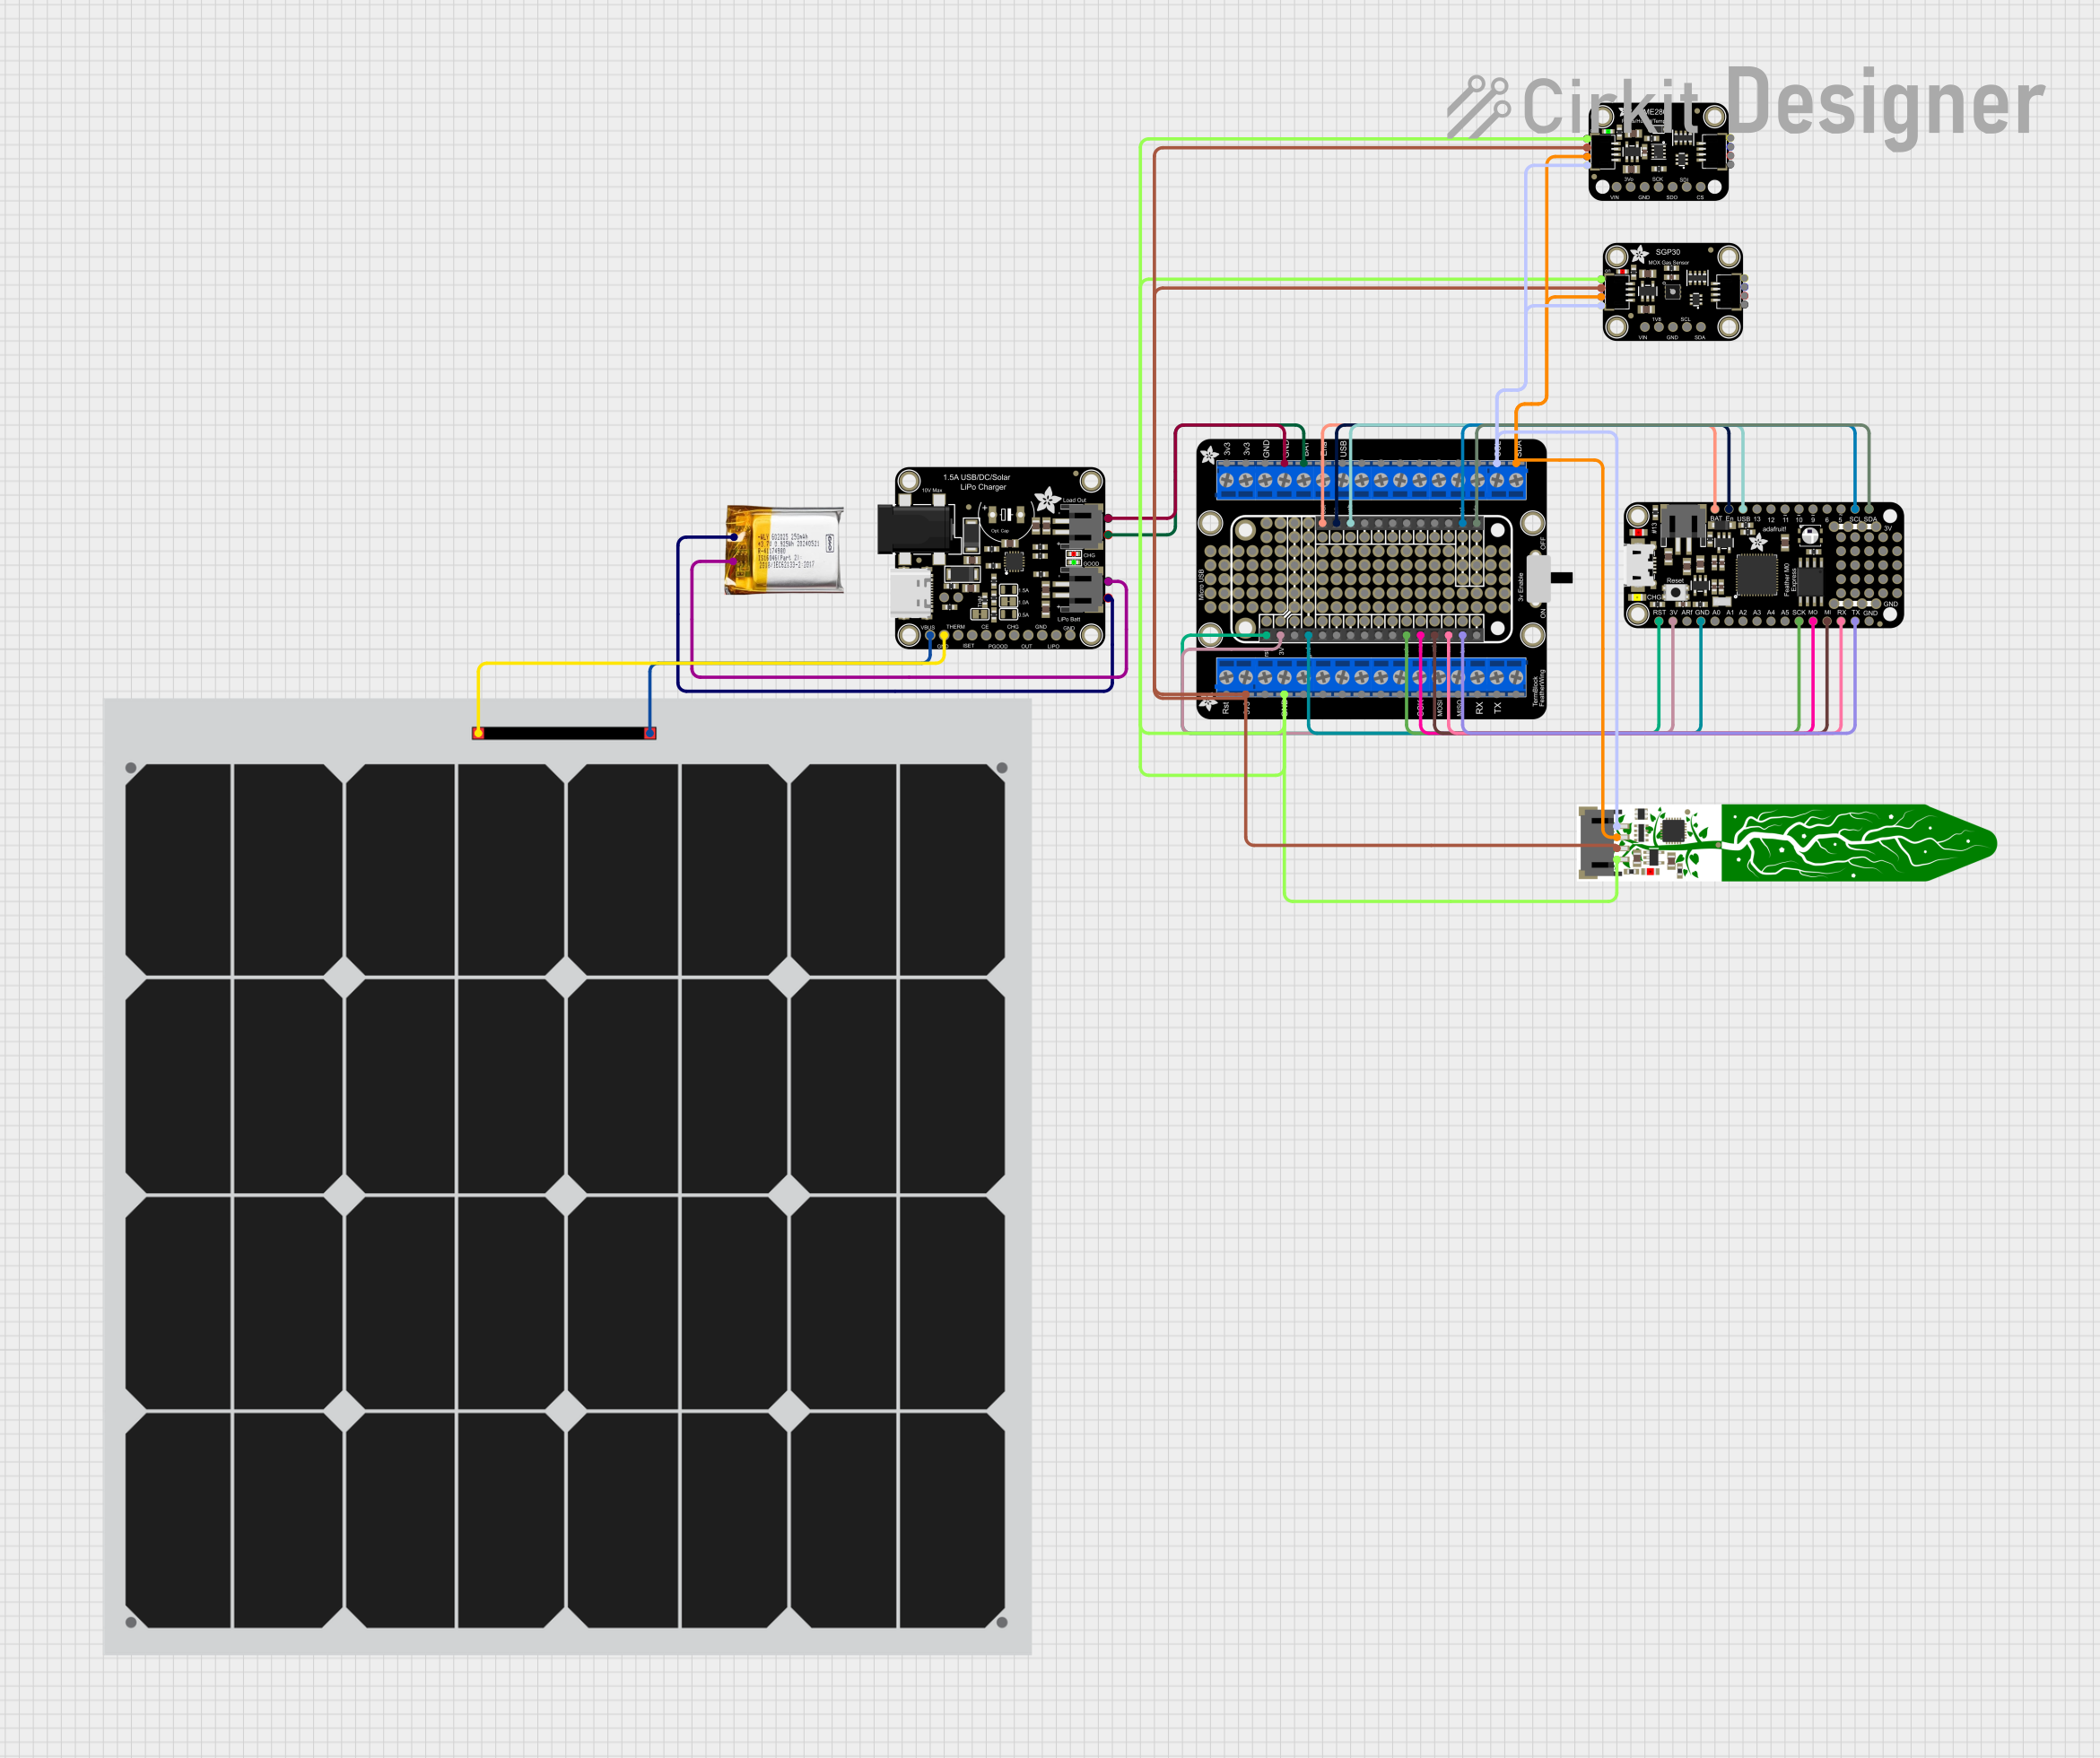
Solar-Powered Environmental Data Logger with Adafruit Feather M0 Express
Image of Lake Thoreau Monitoring Station: A project utilizing Adafruit AirLift Breakout in a practical application
This circuit is designed for environmental data collection and logging, utilizing an Adafruit Feather M0 Express microcontroller as the central processing unit. It interfaces with a BME280 sensor for atmospheric temperature, humidity, and pressure measurements, an SGP30 sensor for monitoring air quality (eCO2 and TVOC), and a STEMMA soil sensor for detecting soil moisture and temperature. The system is powered by a solar panel and a 3.7v LiPo battery, managed by an Adafruit BQ24074 Solar-DC-USB Lipo Charger, and provides easy access to the microcontroller's connections through an Adafruit Terminal Breakout FeatherWing.
Cirkit Designer LogoOpen Project in Cirkit Designer
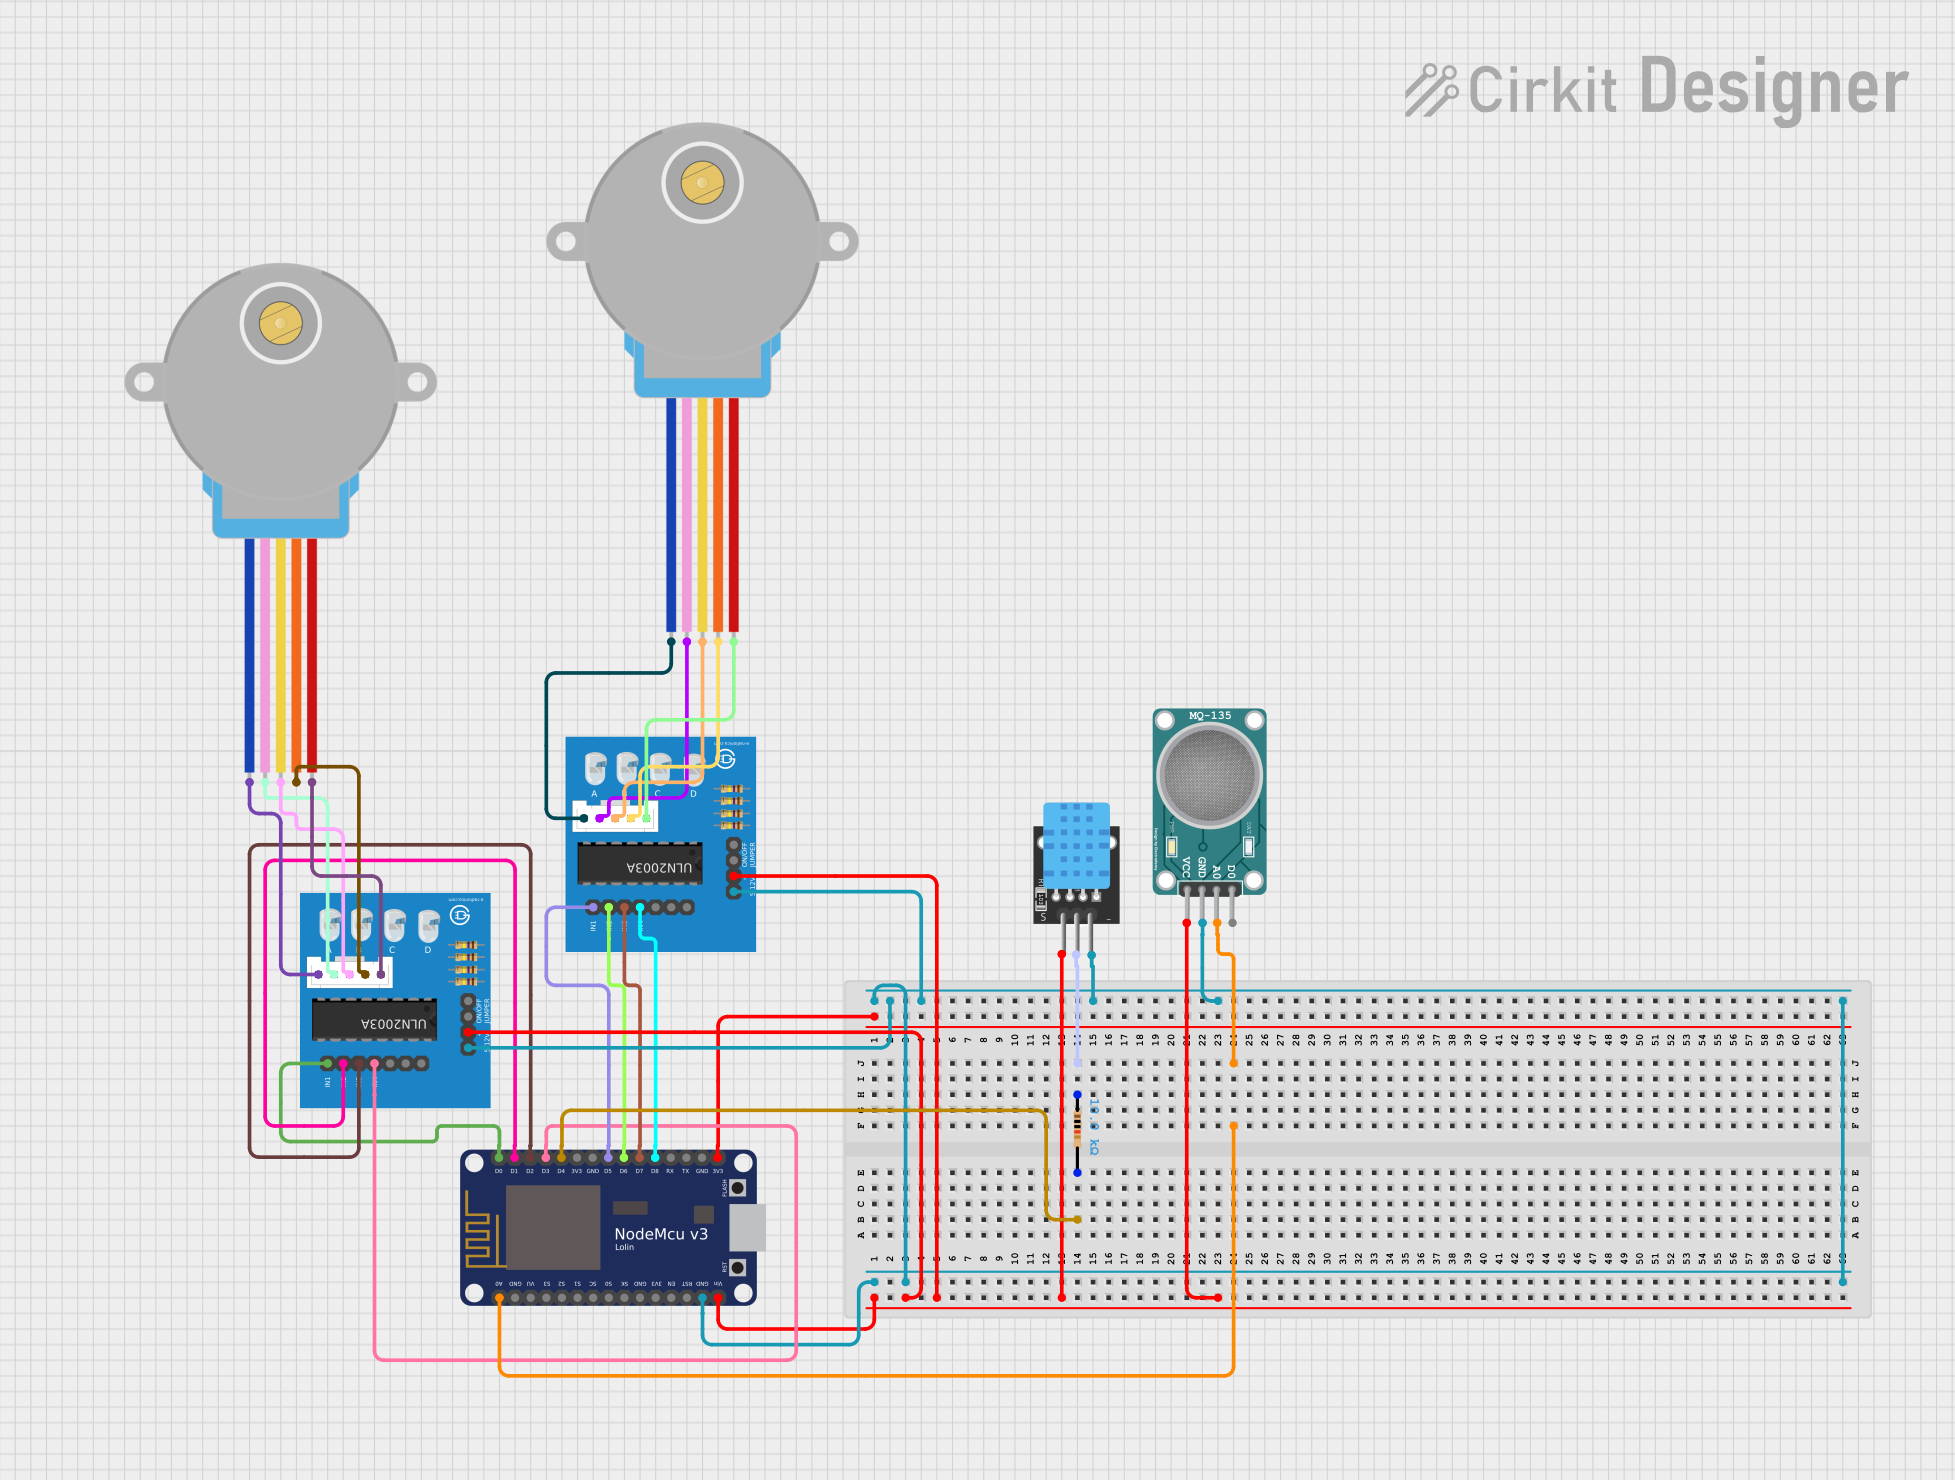
Wi-Fi Controlled Environmental Monitoring System with Dual Stepper Motor Valve Actuation
Image of MVP : A project utilizing Adafruit AirLift Breakout in a practical application
This circuit features two 28BYJ-48 stepper motors controlled by ULN2003A breakout boards, interfaced with a NodeMCU V3 ESP8266 microcontroller. The NodeMCU collects environmental data from a DHT11 temperature and humidity sensor and an MQ-135 air quality sensor. The microcontroller uses WiFi for connectivity and controls the stepper motors based on the sensor inputs, likely for regulating environmental conditions.
Cirkit Designer LogoOpen Project in Cirkit Designer

Explore Projects Built with Adafruit AirLift Breakout

Use Cirkit Designer to design, explore, and prototype these projects online. Some projects support real-time simulation. Click "Open Project" to start designing instantly!
Image of IoT Ass: A project utilizing Adafruit AirLift Breakout in a practical application
NodeMCU ESP8266-Based Smart Lift System with IR Sensors and Voice Commands
This circuit is an IoT-based smart lift system designed for blind and disabled individuals. It uses IR sensors, pushbuttons, an LCD screen, a DFPlayer module, and a VC-02 module to detect floor selection via finger presence or voice commands, and announces the selected floor through a speaker while displaying it on the LCD.
Cirkit Designer LogoOpen Project in Cirkit Designer
Image of EC444 - Quest 3: A project utilizing Adafruit AirLift Breakout in a practical application
ESP32-Based Vibration Feedback System with Quad Alphanumeric Display and ADXL343 Accelerometer
This circuit features an Adafruit HUZZAH32 ESP32 Feather board as the central microcontroller, which is connected to an Adafruit Quad AlphaNumeric Featherwing display and an Adafruit ADXL343 accelerometer via I2C communication (SCL and SDA lines). The ESP32 controls a vibration motor connected to one of its GPIO pins (A5_IO4) and shares a common power supply (3.3V) and ground (GND) with the other components. The purpose of this circuit is likely to read acceleration data, display information on the alphanumeric display, and provide haptic feedback through the vibration motor.
Cirkit Designer LogoOpen Project in Cirkit Designer
Image of Lake Thoreau Monitoring Station: A project utilizing Adafruit AirLift Breakout in a practical application
Solar-Powered Environmental Data Logger with Adafruit Feather M0 Express
This circuit is designed for environmental data collection and logging, utilizing an Adafruit Feather M0 Express microcontroller as the central processing unit. It interfaces with a BME280 sensor for atmospheric temperature, humidity, and pressure measurements, an SGP30 sensor for monitoring air quality (eCO2 and TVOC), and a STEMMA soil sensor for detecting soil moisture and temperature. The system is powered by a solar panel and a 3.7v LiPo battery, managed by an Adafruit BQ24074 Solar-DC-USB Lipo Charger, and provides easy access to the microcontroller's connections through an Adafruit Terminal Breakout FeatherWing.
Cirkit Designer LogoOpen Project in Cirkit Designer
Image of MVP : A project utilizing Adafruit AirLift Breakout in a practical application
Wi-Fi Controlled Environmental Monitoring System with Dual Stepper Motor Valve Actuation
This circuit features two 28BYJ-48 stepper motors controlled by ULN2003A breakout boards, interfaced with a NodeMCU V3 ESP8266 microcontroller. The NodeMCU collects environmental data from a DHT11 temperature and humidity sensor and an MQ-135 air quality sensor. The microcontroller uses WiFi for connectivity and controls the stepper motors based on the sensor inputs, likely for regulating environmental conditions.
Cirkit Designer LogoOpen Project in Cirkit Designer

Technical Specifications

Key Features

  • Wi-Fi: 802.11 b/g/n
  • Bluetooth: Classic and BLE
  • Integrated TCP/IP protocol stack
  • On-board PCB antenna with option for external antenna
  • Ultra-low power consumption

Electrical Characteristics

  • Operating Voltage: 3.3V
  • Peak Current: 500 mA (during Wi-Fi transmission)
  • Sleep Current: <10 µA

Pin Configuration

Pin Number Name Description
1 3V 3.3V input
2 GND Ground
3 EN Enable pin
4 IO0 Boot mode selection
5 TX UART TX for ESP32
6 RX UART RX for ESP32
7 SCK SPI Clock
8 MISO SPI MISO
9 MOSI SPI MOSI
10 CS SPI Chip Select

Usage Instructions

Integration with Arduino

To use the Adafruit AirLift Breakout with an Arduino UNO, follow these steps:

  1. Power Connections:

    • Connect the 3V pin to the 3.3V output on the Arduino.
    • Connect the GND pin to a ground pin on the Arduino.
  2. SPI Connections:

    • Connect SCK to the SCK pin on the Arduino (Digital 13).
    • Connect MISO to the MISO pin on the Arduino (Digital 12).
    • Connect MOSI to the MOSI pin on the Arduino (Digital 11).
    • Connect CS to a digital pin on the Arduino (e.g., Digital 10).
  3. UART Connections (Optional):

    • Connect TX to RX on the Arduino.
    • Connect RX to TX on the Arduino.
  4. Enable and IO0:

    • Connect the EN pin to a digital pin on the Arduino for programmable enable.
    • IO0 is typically left unconnected unless boot mode selection is required.
  5. Software Setup:

    • Install the Adafruit AirLift library and dependencies via the Arduino Library Manager.
    • Include the library in your sketch and initialize the Wi-Fi module.

Example Arduino Sketch

#include <WiFi.h>
#include <SPI.h>

// Replace with your network credentials
const char* ssid = "your_SSID";
const char* password = "your_PASSWORD";

void setup() {
  Serial.begin(115200);
  // Initialize the AirLift module
  WiFi.begin(ssid, password);

  while (WiFi.status() != WL_CONNECTED) {
    delay(1000);
    Serial.println("Connecting to WiFi...");
  }

  Serial.println("Connected to WiFi!");
}

void loop() {
  // Your main code would go here
}

Best Practices

  • Use a level shifter if connecting to a 5V logic microcontroller.
  • Ensure the power supply can provide sufficient current for Wi-Fi operations.
  • Use proper decoupling capacitors close to the module to smooth out power supply noise.

Troubleshooting and FAQs

Common Issues

  • Module not responding: Ensure that the wiring is correct and the power supply is adequate.
  • Wi-Fi not connecting: Check SSID and password, and ensure the Wi-Fi network is within range.
  • Intermittent connectivity: Place the module away from sources of electromagnetic interference.

Solutions and Tips

  • Power issues: Use a dedicated 3.3V regulator if the onboard regulator is insufficient.
  • Signal strength: For better range, consider using an external antenna if the module supports it.
  • Firmware updates: Keep the ESP32 firmware up to date for the latest features and fixes.

FAQs

Q: Can the AirLift Breakout be used with other microcontrollers besides Arduino? A: Yes, it can be used with any microcontroller that supports SPI or UART communication.

Q: Does the AirLift Breakout support over-the-air (OTA) updates? A: Yes, the ESP32 co-processor supports OTA updates, which can be implemented through the appropriate libraries and code.

Q: How do I enable Bluetooth functionality? A: Bluetooth functionality can be accessed through the ESP32's Bluetooth libraries. Refer to the ESP-IDF or Arduino-ESP32 Bluetooth documentation for more details.

For further assistance, consult the Adafruit forums or the extensive online community for project-specific advice and support.