How to Use Electrosmith Daisy Seed: Examples, Pinouts, and Specs

Introduction
The Electrosmith Daisy Seed is a versatile and powerful development board tailored for audio applications. It integrates a high-performance ARM Cortex-M7 processor with a dedicated audio codec, enabling creators and engineers to design a wide range of musical instruments, audio effects, and sound processing devices. Its compact form factor and extensive I/O capabilities make it ideal for both prototyping and product development.
Explore Projects Built with Electrosmith Daisy Seed
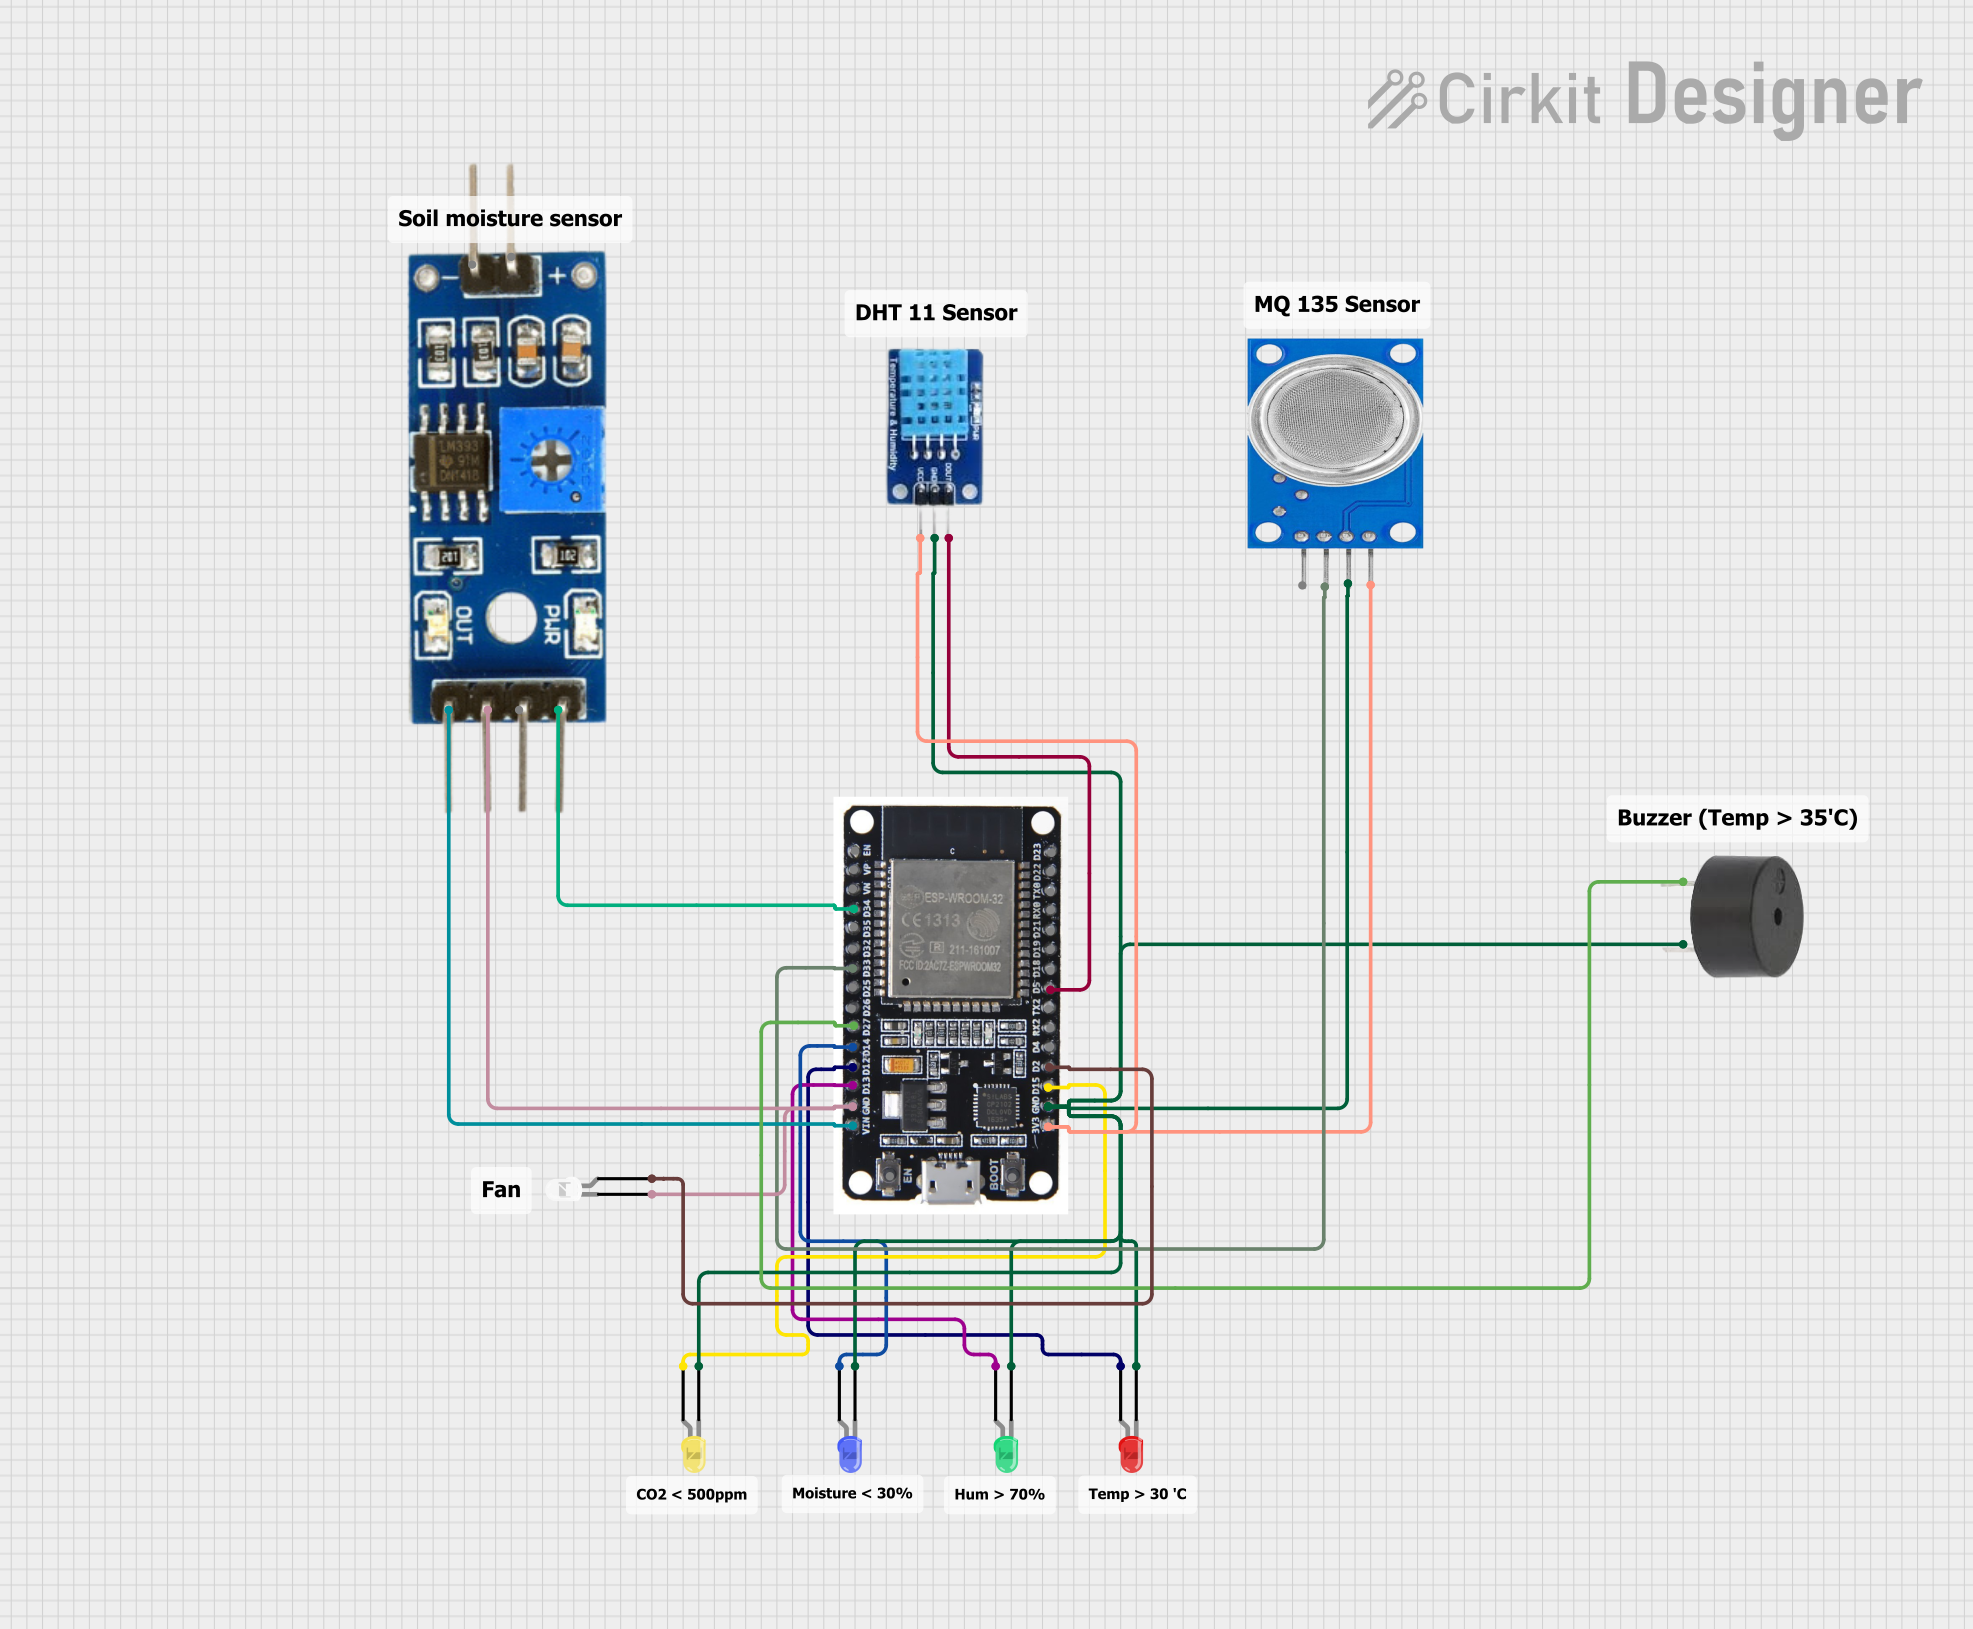
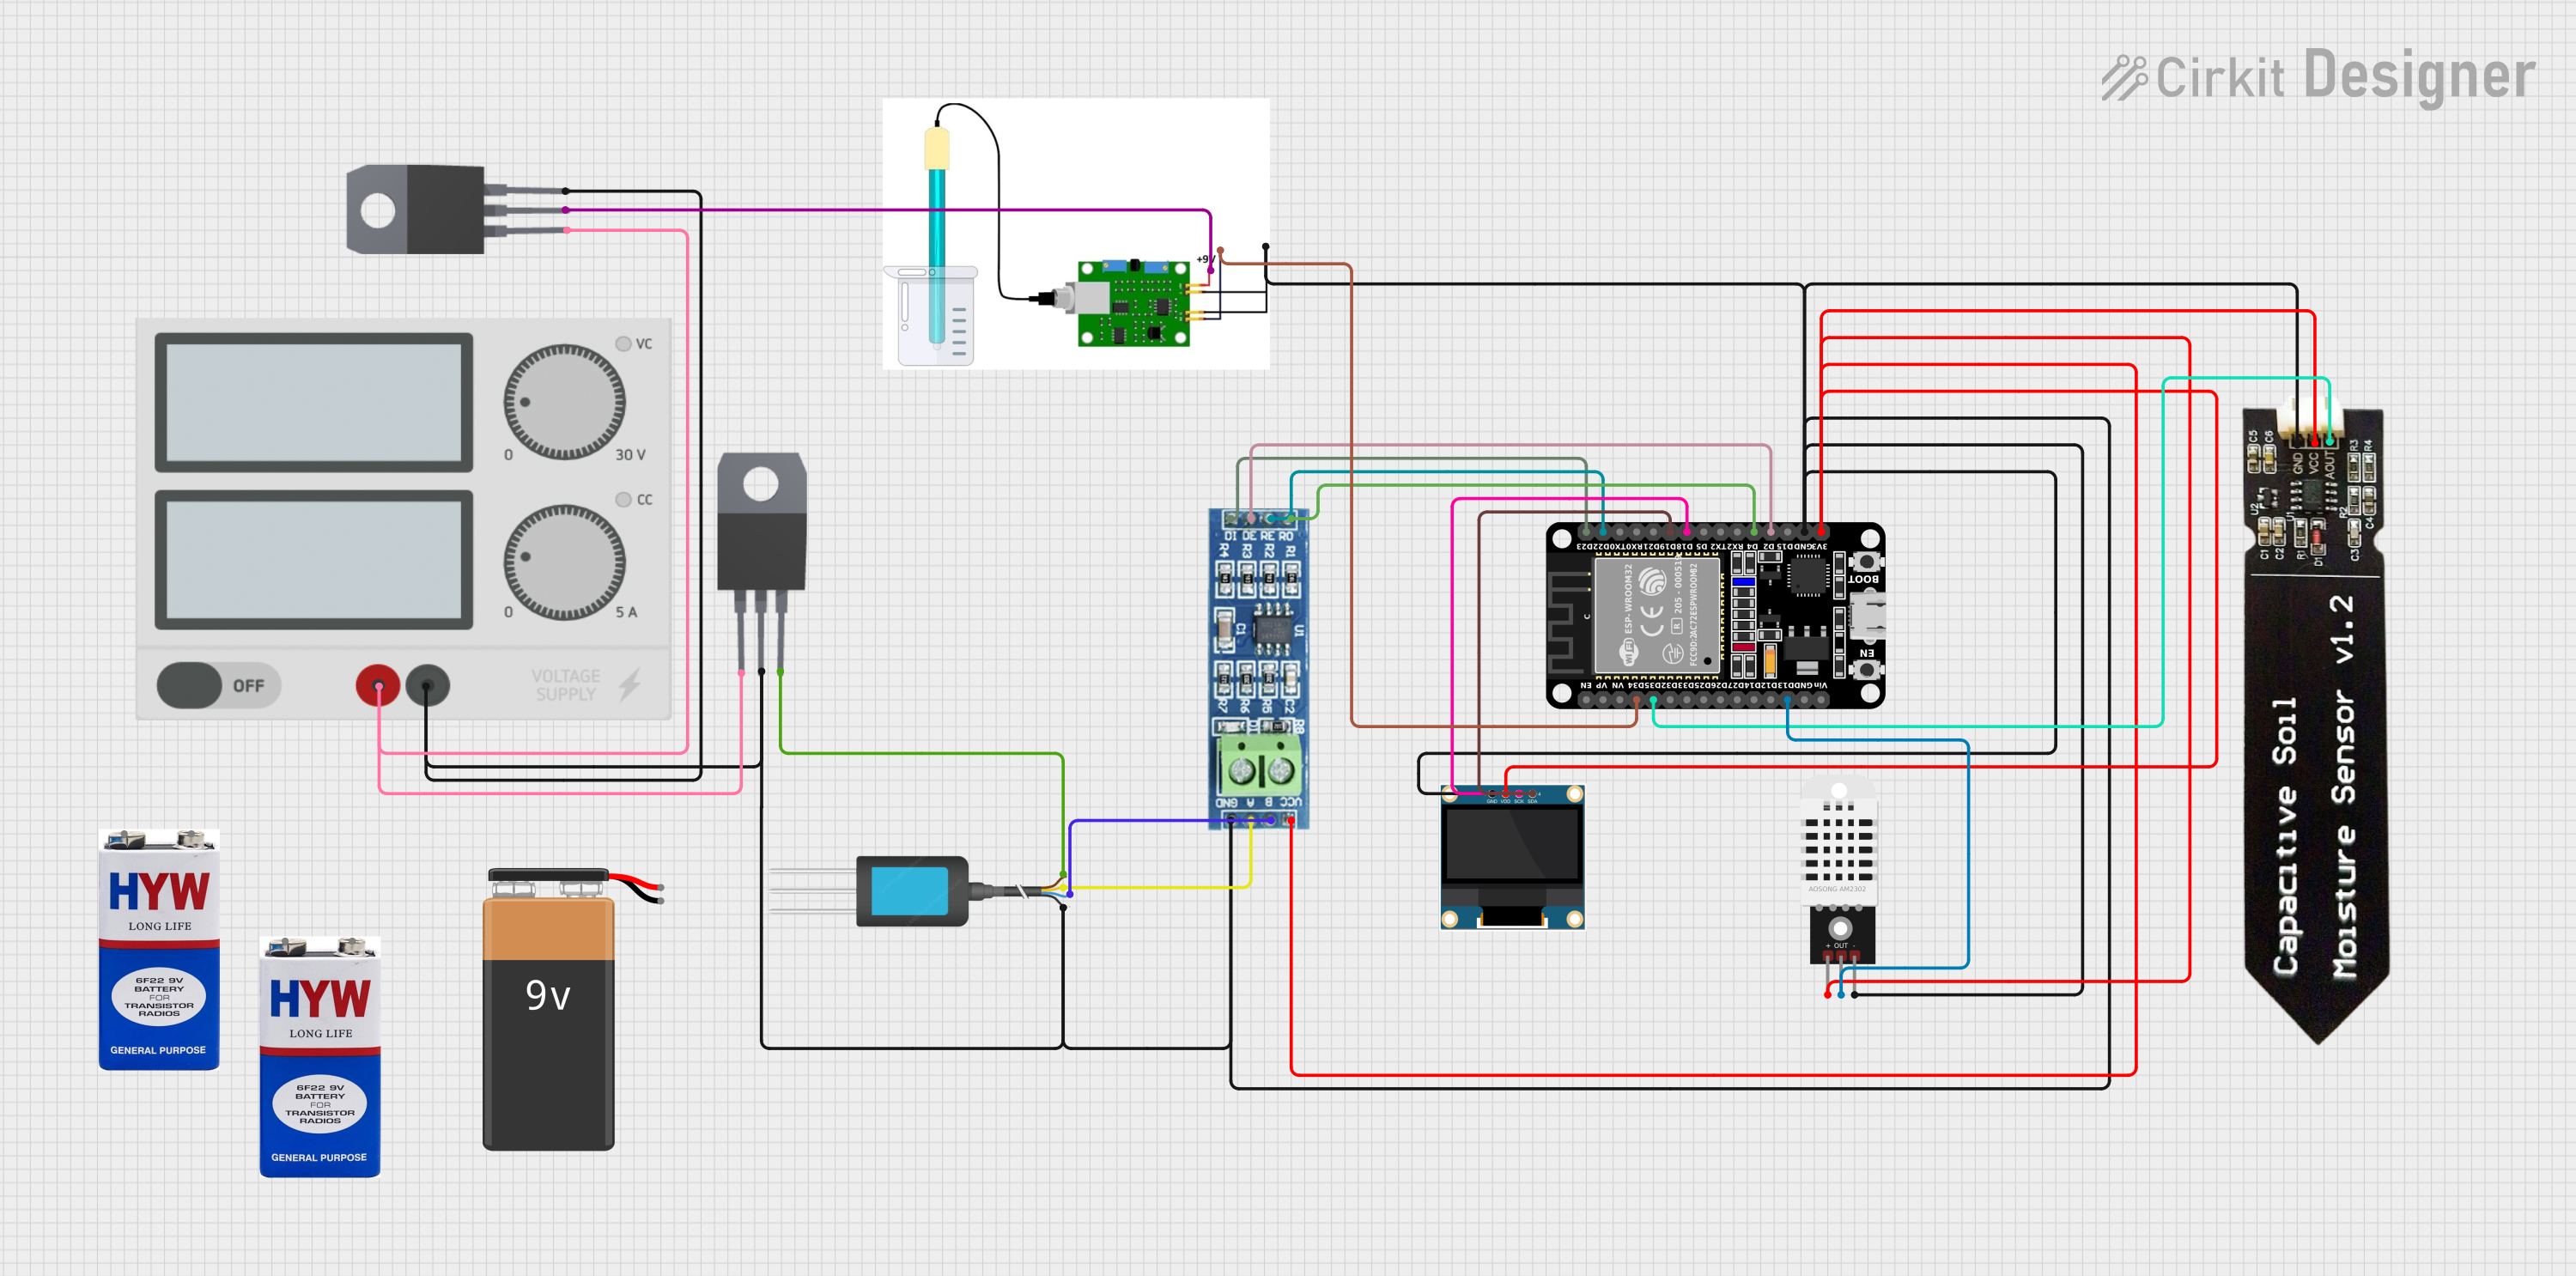
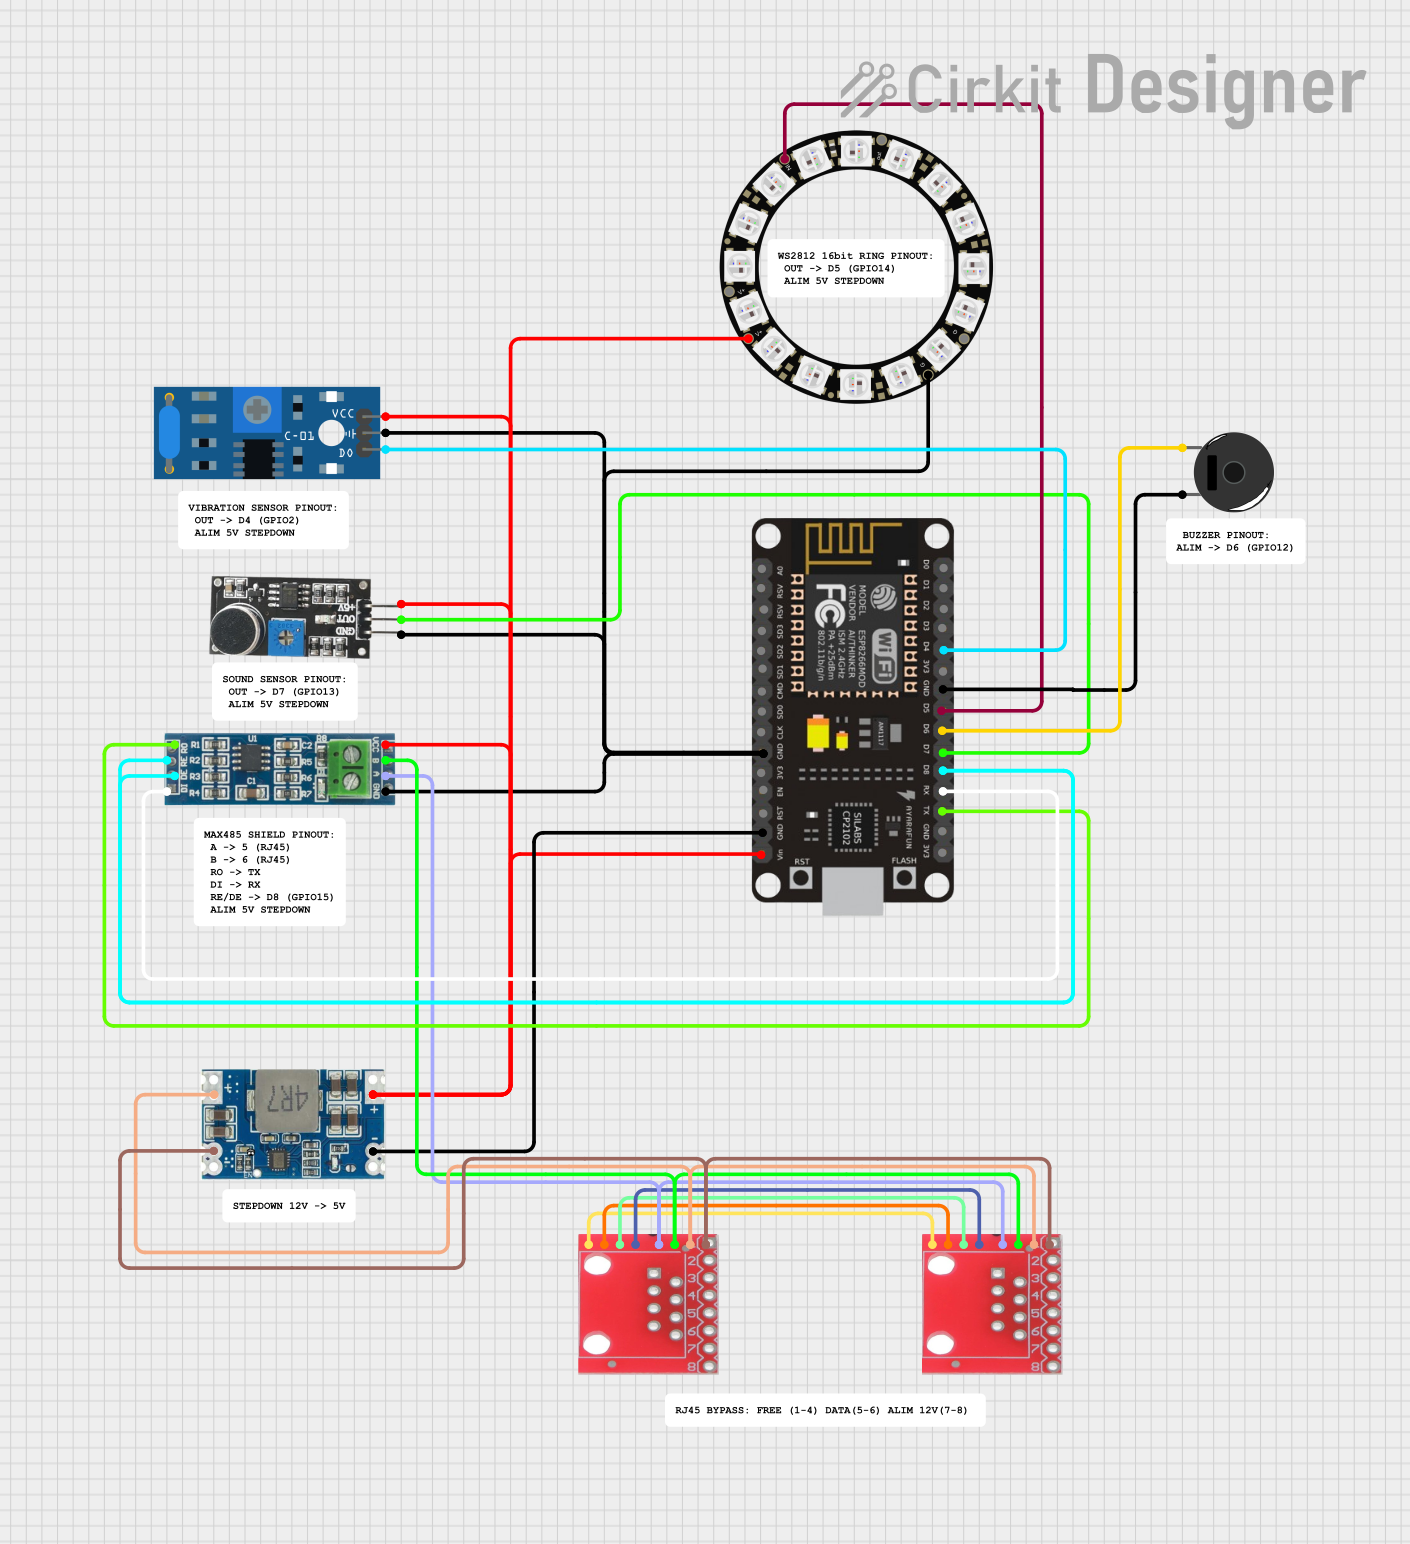
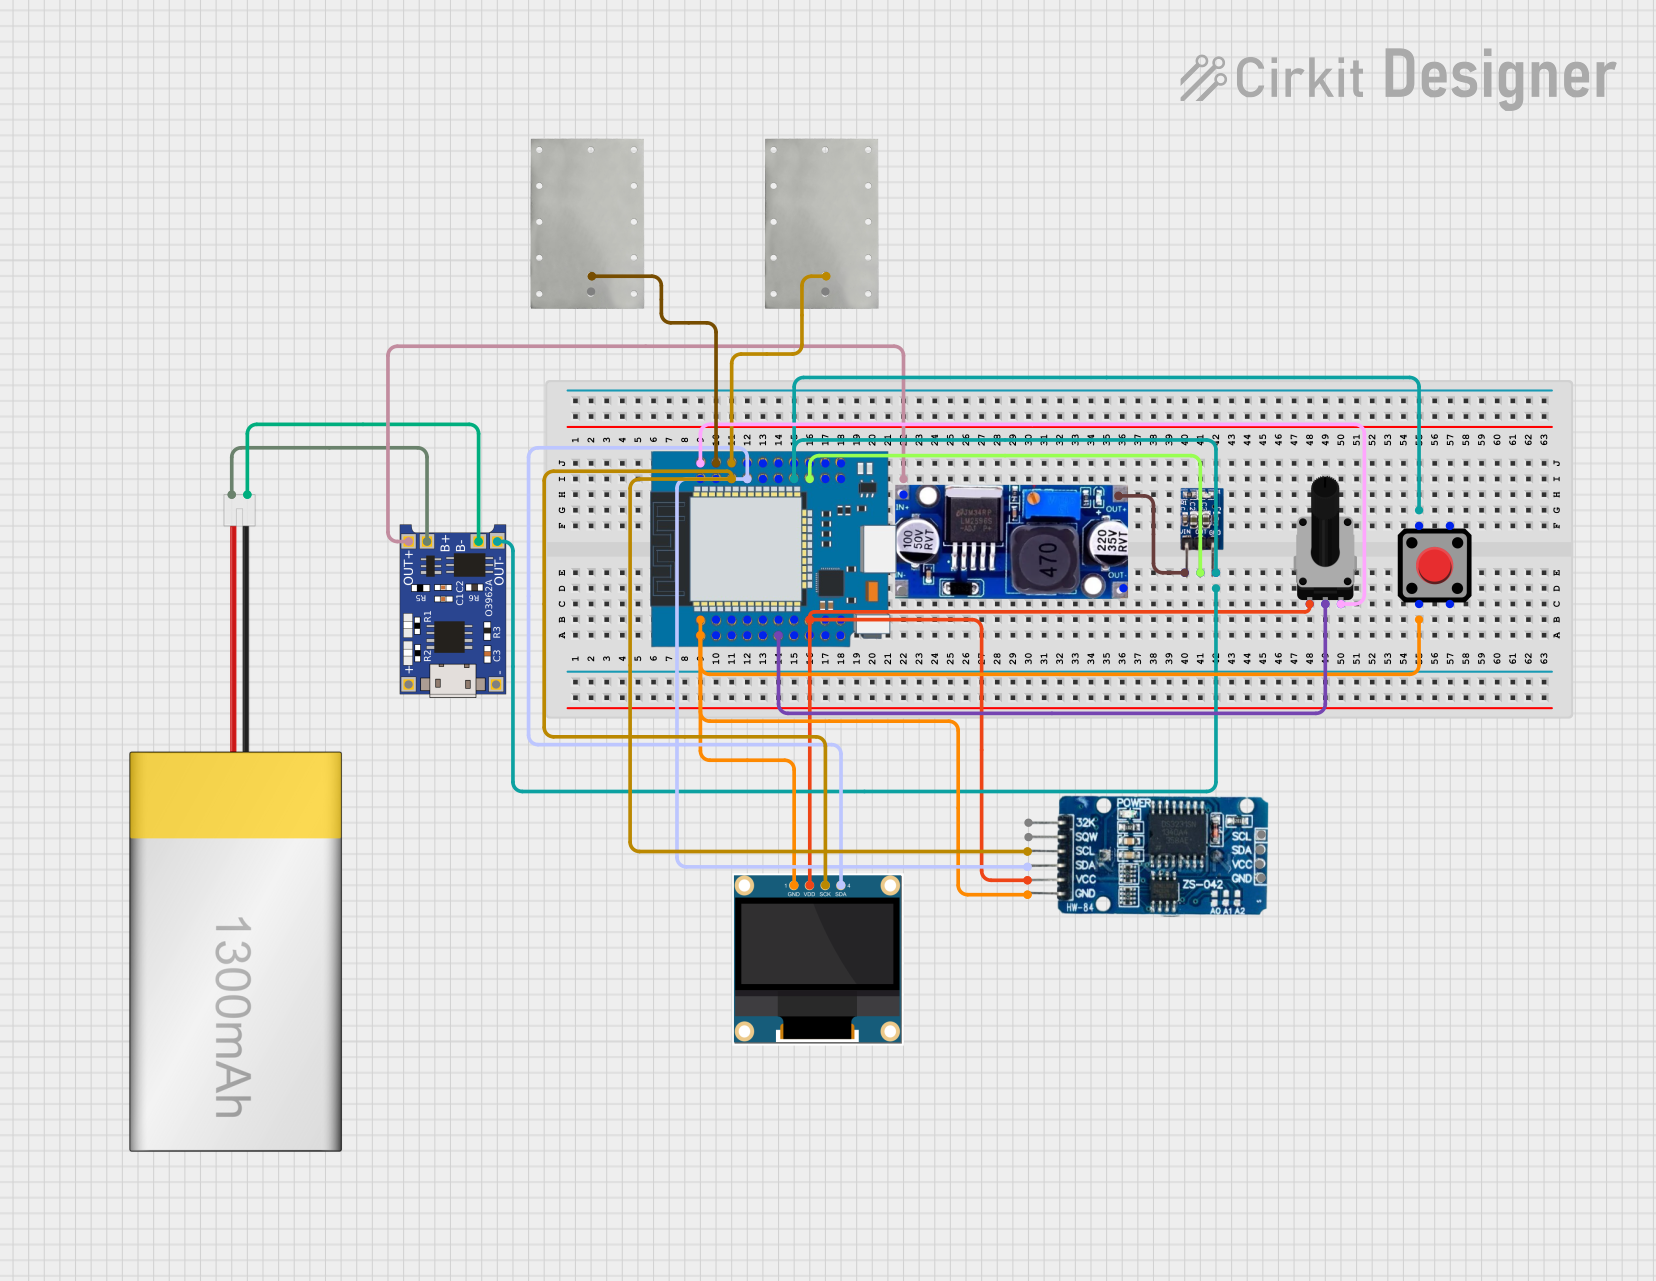
Explore Projects Built with Electrosmith Daisy Seed
Common Applications and Use Cases
- Digital synthesizers
- Audio effects pedals
- MIDI controllers
- Sound generators
- Audio signal processing
- Educational tools for audio engineering
Technical Specifications
Key Technical Details
- Processor: ARM Cortex-M7 at 480 MHz
- Memory: 64MB SDRAM
- Storage: 8MB QSPI Flash
- Audio Codec: AKM AK4556
- Audio Sample Rate: Up to 192kHz
- Audio Bit Depth: 24-bit
- Inputs/Outputs: Line In, Line Out, MIDI, I2C, SPI, UART
- Power Supply: USB or external 9V-12V DC
Pin Configuration and Descriptions
| Pin Number | Function | Description |
|---|---|---|
| 1 | GND | Ground |
| 2 | VDD | Power supply (3.3V regulated from USB or external) |
| 3 | DAC_OUT | Audio DAC output |
| 4 | ADC_IN | Audio ADC input |
| 5-12 | GPIO | General Purpose Input/Output |
| 13 | I2C_SCL | I2C Clock |
| 14 | I2C_SDA | I2C Data |
| 15 | SPI_SCK | SPI Clock |
| 16 | SPI_MISO | SPI Master In Slave Out |
| 17 | SPI_MOSI | SPI Master Out Slave In |
| 18 | SPI_SS | SPI Slave Select |
| 19 | UART_TX | UART Transmit |
| 20 | UART_RX | UART Receive |
| 21 | MIDI_IN | MIDI Input |
| 22 | MIDI_OUT | MIDI Output |
Usage Instructions
How to Use the Component in a Circuit
- Powering the Daisy Seed: Connect the USB cable to the board and your computer or provide an external DC power supply.
- Audio Connections: Connect your audio input to the ADC_IN pin and your audio output to the DAC_OUT pin.
- Programming: Use the provided libraries and examples to program the Daisy Seed using an IDE such as Arduino or Electrosmith's web programmer.
- Interfacing with Other Devices: Utilize the GPIO, I2C, SPI, and UART pins to connect and communicate with sensors, displays, and other peripherals.
Important Considerations and Best Practices
- Ensure that the power supply is within the specified range to prevent damage.
- When handling audio signals, use proper shielding and grounding to minimize noise.
- Follow the Electrosmith development environment setup instructions for a smooth programming experience.
- Use the provided DaisyDuino library when programming with Arduino for audio-specific functions.
Troubleshooting and FAQs
Common Issues Users Might Face
- No Audio Output: Check connections to the DAC_OUT pin and ensure the program is correctly configured for audio output.
- Distorted Audio: Verify that the audio levels are within the acceptable range and that the power supply is stable.
- Unresponsive Board: Ensure that the board is properly powered and that the firmware is correctly uploaded.
Solutions and Tips for Troubleshooting
- Double-check wiring and solder joints for any loose connections or shorts.
- Use a multimeter to verify power supply voltages and pin states.
- Consult the Electrosmith online forums and documentation for additional support.
Relevant Code for Arduino UNO
#include <DaisyDuino.h>

// Initialize the Daisy Seed hardware
DaisyHardware hw;

void setup() {
  // Start the Daisy Seed with the default configuration
  hw = DAISY.init(DAISY_SEED, AUDIO_SR_48K);
  // Begin audio processing
  DAISY.begin(AudioCallback);
}

void AudioCallback(float **in, float **out, size_t size) {
  for (size_t i = 0; i < size; i++) {
    // Pass-through audio: input to output
    out[0][i] = in[0][i]; // Left channel
    out[1][i] = in[1][i]; // Right channel
  }
}

void loop() {
  // The audio callback handles the audio processing
}
Note: The above code is a simple pass-through example that takes audio input and sends it directly to the output. Ensure you have the DaisyDuino library installed in your Arduino IDE before compiling and uploading this code to the Daisy Seed.
For more complex audio processing, refer to the DaisyDuino library examples and the Electrosmith Daisy Wiki for in-depth tutorials and resources.