
How to Use Adafruit BH1750: Examples, Pinouts, and Specs
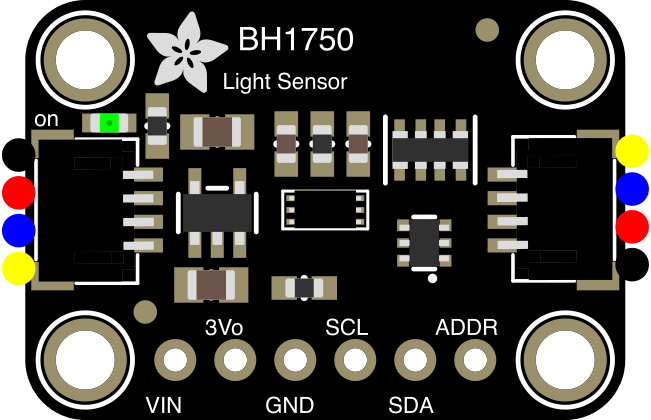
 Design with Adafruit BH1750 in Cirkit Designer
Introduction
The Adafruit BH1750 (Part ID: 4681) is a digital light sensor designed to measure ambient light levels in lux. It uses the I2C communication protocol, making it easy to integrate into microcontroller-based projects. The BH1750 is highly sensitive and provides precise light measurements, making it ideal for applications such as automatic lighting control, environmental monitoring, and photography.
Explore Projects Built with Adafruit BH1750
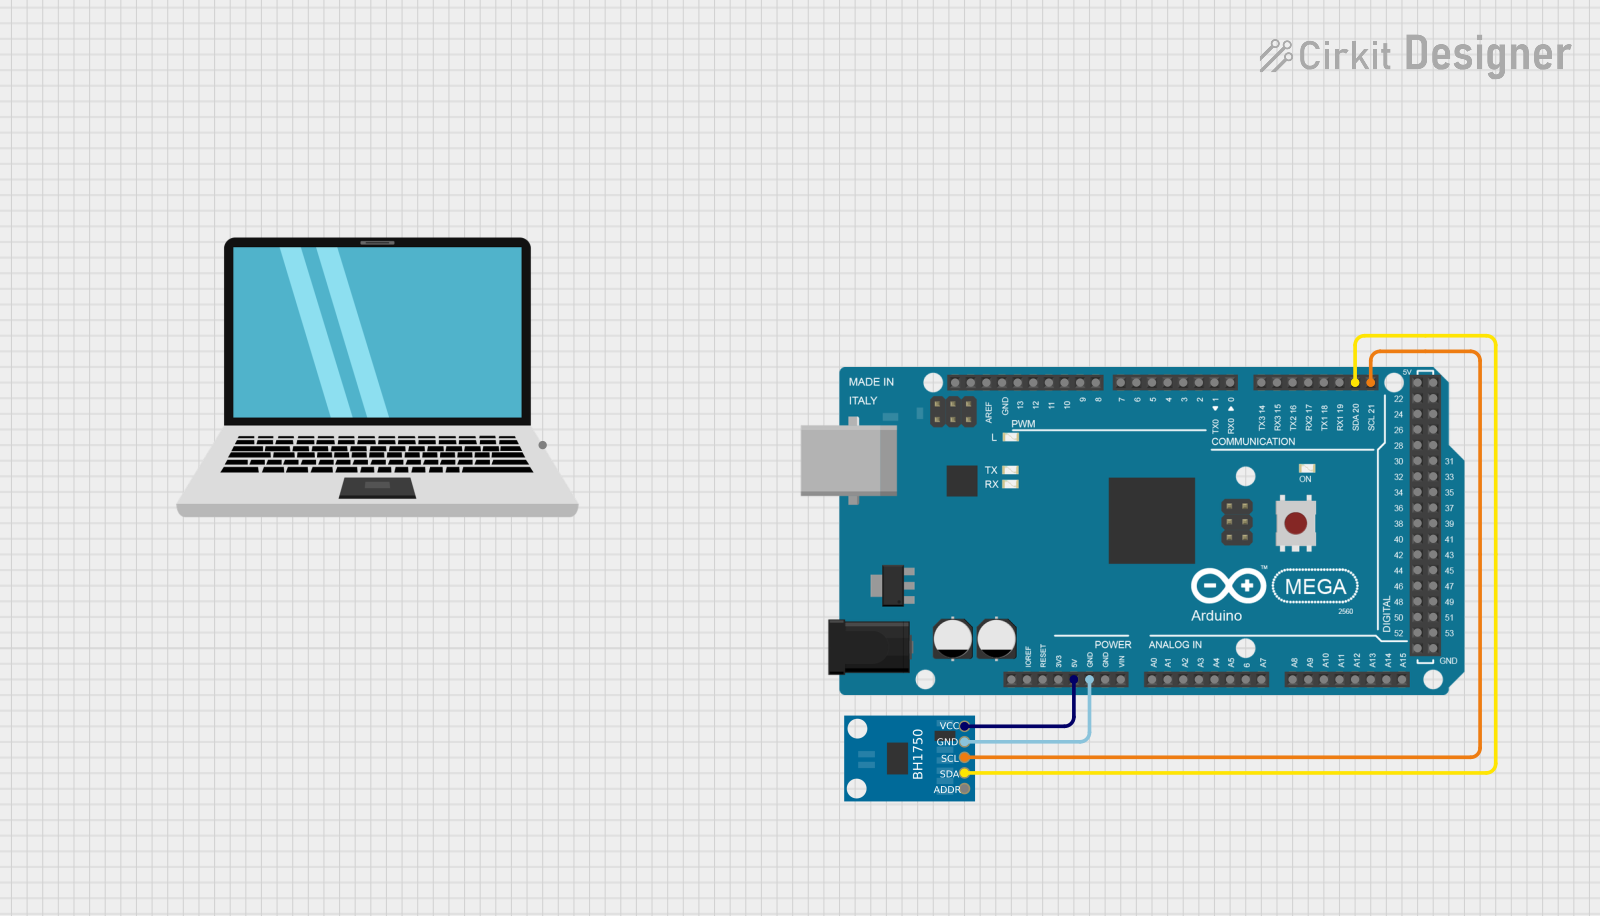 Open Project in Cirkit Designer
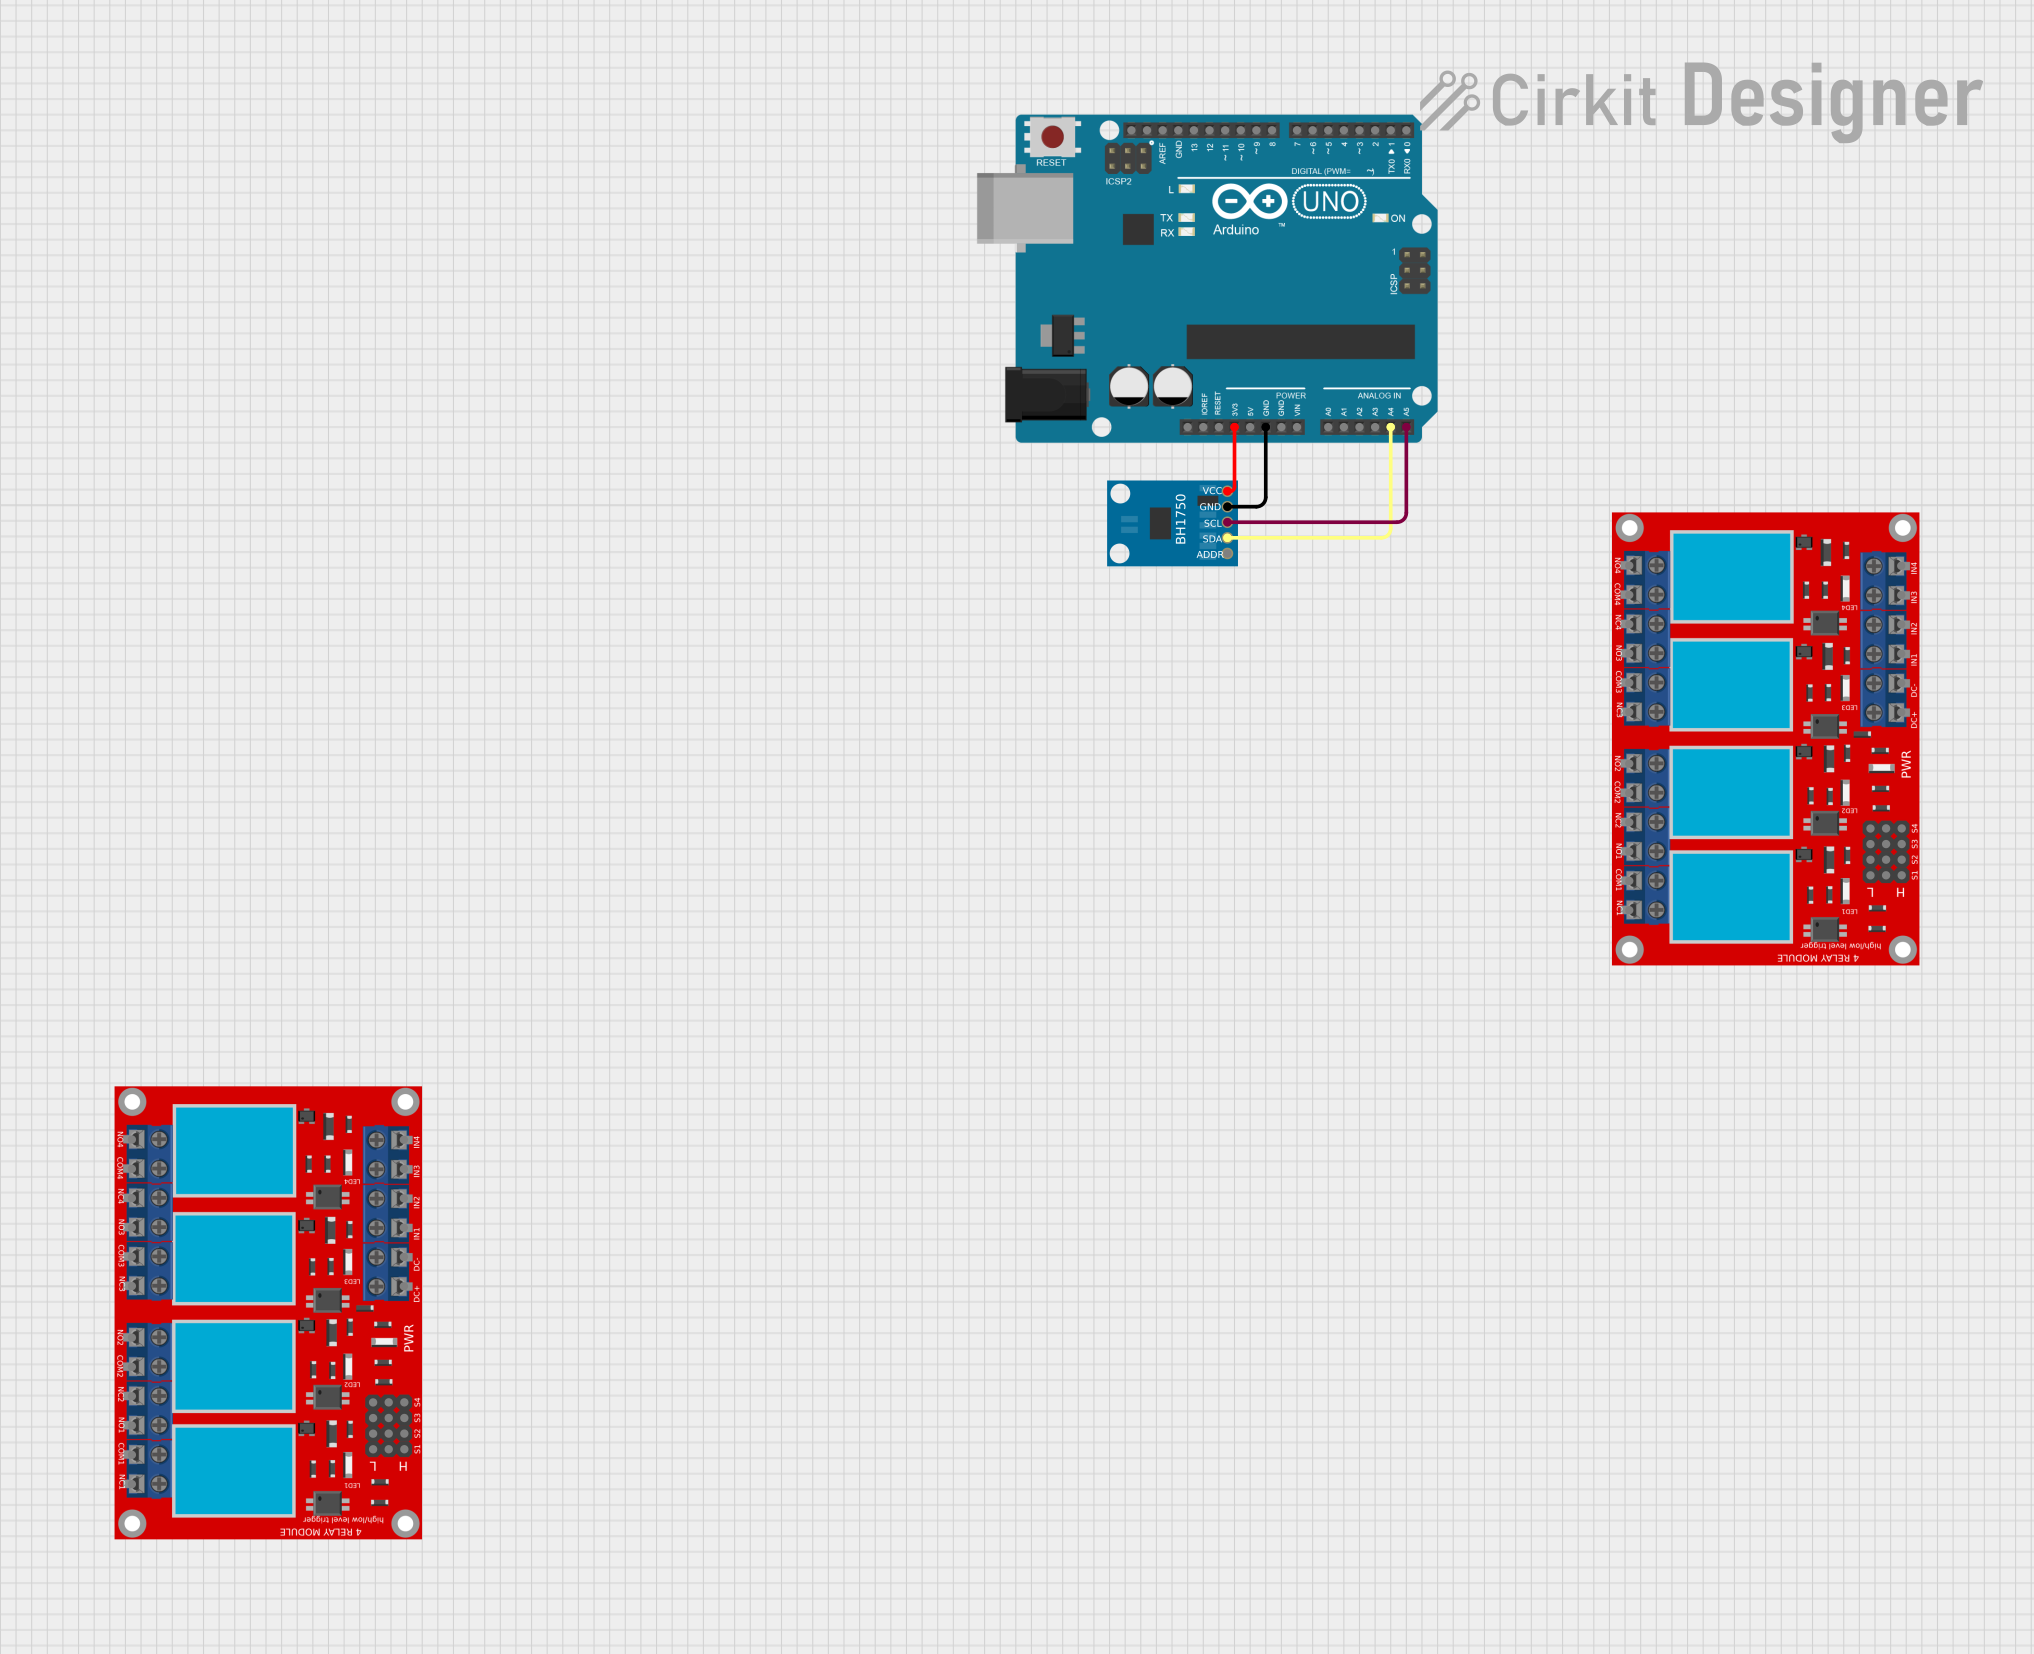 Open Project in Cirkit Designer
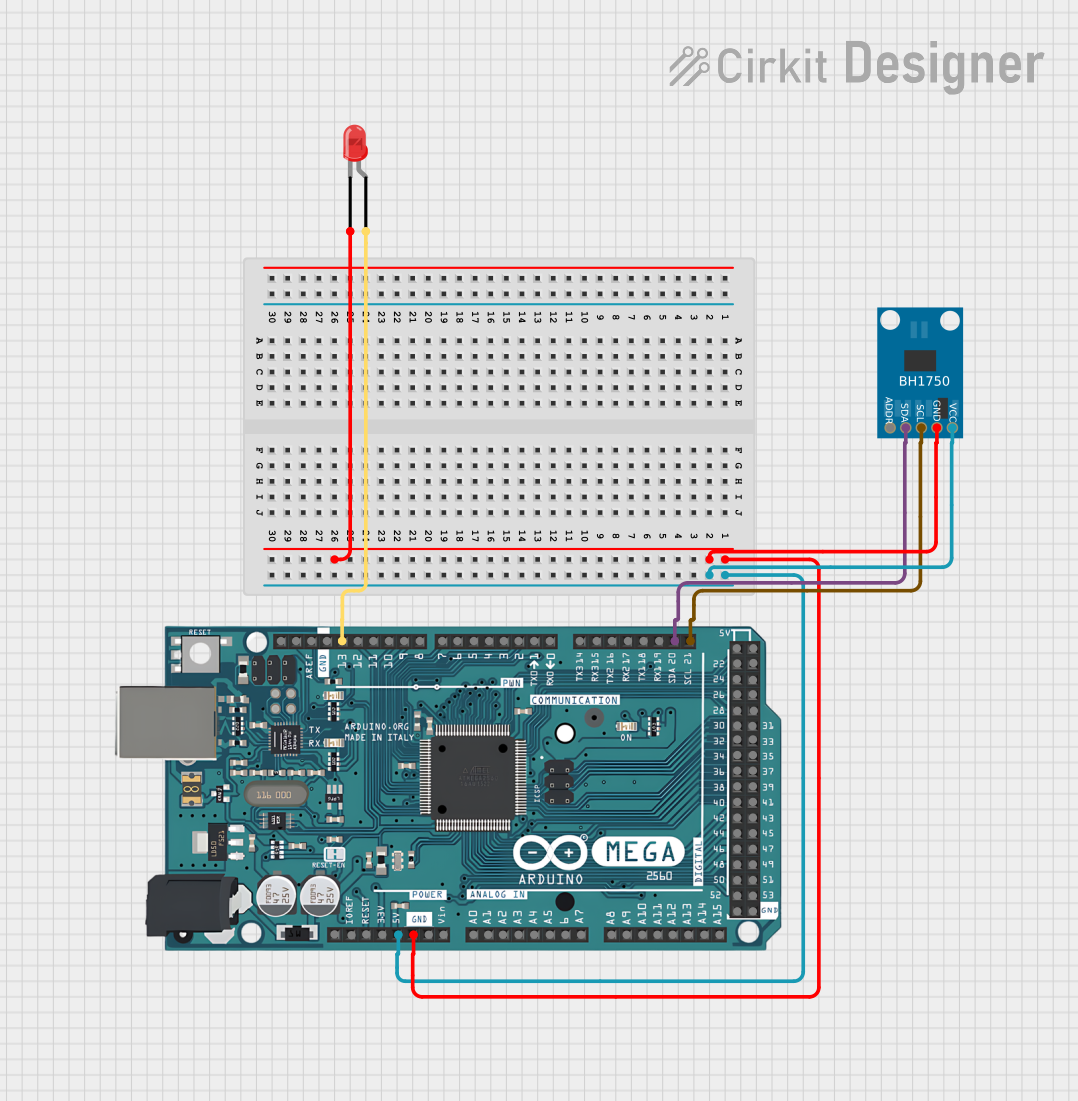 Open Project in Cirkit Designer
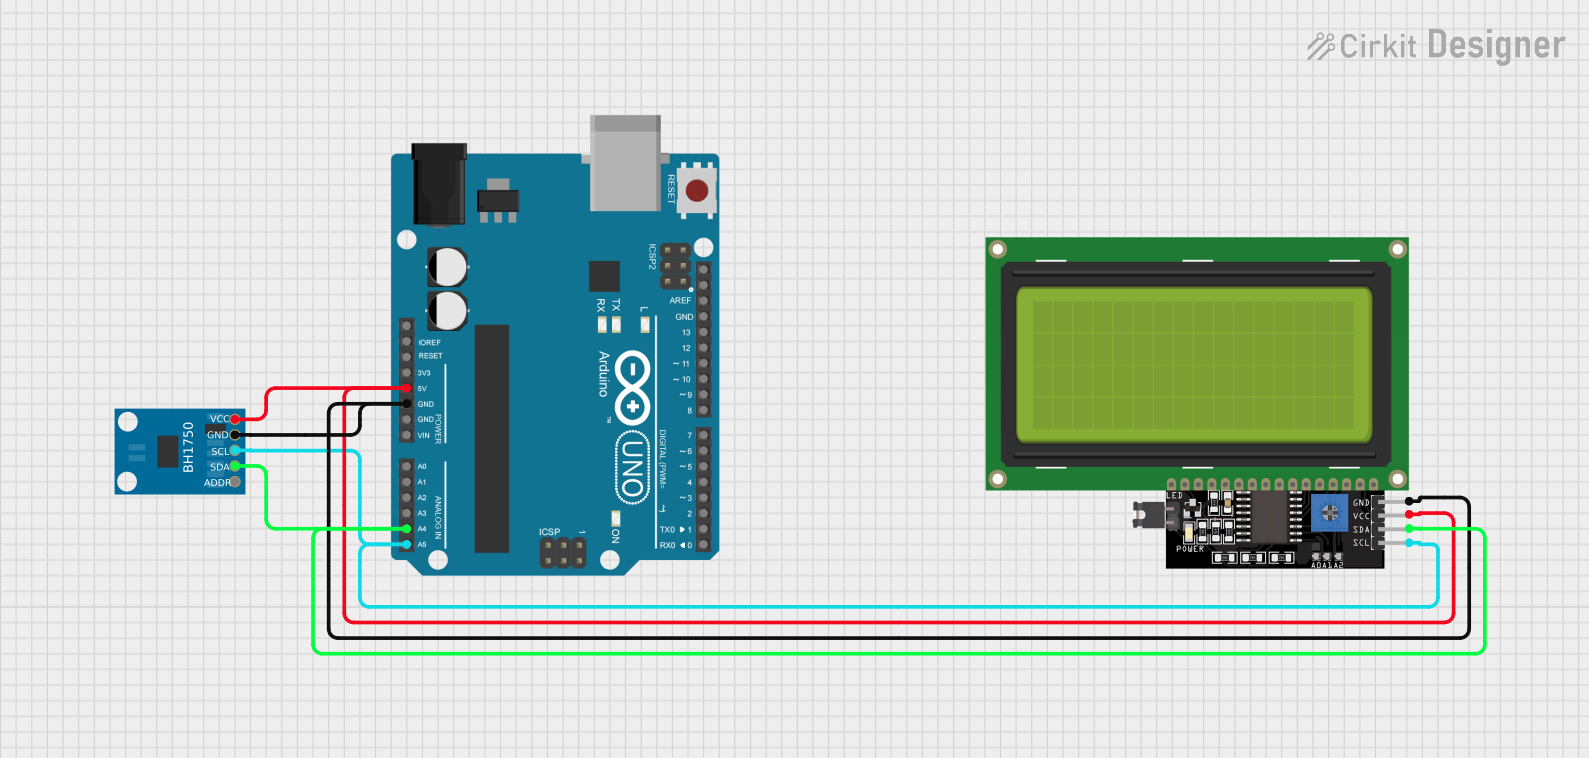 Open Project in Cirkit Designer
Explore Projects Built with Adafruit BH1750
Open Project in Cirkit DesignerOpen Project in Cirkit DesignerOpen Project in Cirkit DesignerOpen Project in Cirkit DesignerCommon Applications
- Automatic brightness adjustment for displays
- Smart home lighting systems
- Environmental monitoring and data logging
- Photography light metering
- Agricultural light intensity monitoring
Technical Specifications
The Adafruit BH1750 is a compact and efficient light sensor with the following key specifications:
| Parameter | Value |
|---|---|
| Operating Voltage | 3.0V to 5.0V |
| Operating Current | 0.12 mA (typical) |
| Measurement Range | 1 lux to 65,535 lux |
| Communication Protocol | I2C |
| I2C Address (Default) | 0x23 |
| I2C Address (Alternate) | 0x5C |
| Resolution | 1 lux |
| Operating Temperature | -40°C to +85°C |
| Dimensions | 18mm x 18mm x 3mm |
Pin Configuration
The BH1750 sensor module has the following pinout:
| Pin | Name | Description |
|---|---|---|
| 1 | VIN | Power supply input (3.0V to 5.0V) |
| 2 | GND | Ground connection |
| 3 | SCL | I2C clock line |
| 4 | SDA | I2C data line |
| 5 | ADDR | I2C address selection (connect to GND or VCC) |
Usage Instructions
Connecting the BH1750 to an Arduino UNO
To use the Adafruit BH1750 with an Arduino UNO, follow these steps:
Wiring:
- Connect the
VINpin of the BH1750 to the 5V pin on the Arduino. - Connect the
GNDpin of the BH1750 to the GND pin on the Arduino. - Connect the
SCLpin of the BH1750 to the A5 pin on the Arduino (I2C clock line). - Connect the
SDApin of the BH1750 to the A4 pin on the Arduino (I2C data line). - Optionally, connect the
ADDRpin to GND (default I2C address: 0x23) or VCC (alternate I2C address: 0x5C).
- Connect the
Install Required Library:
- Open the Arduino IDE.
- Go to
Sketch > Include Library > Manage Libraries. - Search for "Adafruit BH1750" and install the library.
Example Code: Use the following example code to read light levels from the BH1750:
#include <Wire.h>
#include <Adafruit_Sensor.h>
#include <Adafruit_BH1750.h>

// Create an instance of the BH1750 sensor
Adafruit_BH1750 lightMeter;

void setup() {
  Serial.begin(9600); // Initialize serial communication
  while (!Serial) {
    delay(10); // Wait for the serial port to connect
  }

  // Initialize the BH1750 sensor
  if (!lightMeter.begin()) {
    Serial.println("Error initializing BH1750 sensor!");
    while (1) {
      delay(10); // Halt execution if initialization fails
    }
  }
  Serial.println("BH1750 sensor initialized.");
}

void loop() {
  // Read light level in lux
  float lux = lightMeter.readLightLevel();
  if (lux < 0) {
    Serial.println("Error reading light level!");
  } else {
    Serial.print("Light Level: ");
    Serial.print(lux);
    Serial.println(" lux");
  }
  delay(1000); // Wait 1 second before the next reading
}
Important Considerations
- I2C Address Selection: Ensure the
ADDRpin is correctly connected to select the desired I2C address (0x23 or 0x5C). - Power Supply: The BH1750 operates on 3.0V to 5.0V. Ensure your power source matches this range.
- Pull-Up Resistors: The I2C lines (SCL and SDA) may require pull-up resistors (typically 4.7kΩ) if not already included on the module.
Troubleshooting and FAQs
Common Issues
Sensor Not Detected:
- Ensure the wiring is correct and matches the pin configuration.
- Verify that the I2C address matches the one used in the code (default: 0x23).
Incorrect Light Readings:
- Check for obstructions or reflections near the sensor.
- Ensure the sensor is not exposed to extreme temperatures or humidity.
Code Compilation Errors:
- Confirm that the Adafruit BH1750 library is installed in the Arduino IDE.
- Ensure the correct board and port are selected in the Arduino IDE.
FAQs
Can the BH1750 measure light levels in direct sunlight?
- Yes, the BH1750 can measure up to 65,535 lux, which is sufficient for most outdoor applications.
What is the resolution of the BH1750?
- The BH1750 has a resolution of 1 lux, making it suitable for precise light measurements.
Can I use the BH1750 with a 3.3V microcontroller?
- Yes, the BH1750 is compatible with both 3.3V and 5V systems.
How do I change the I2C address?
- Connect the
ADDRpin to GND for the default address (0x23) or to VCC for the alternate address (0x5C).
- Connect the
By following this documentation, you can effectively integrate the Adafruit BH1750 into your projects for accurate and reliable light measurement.