
How to Use CST816D: Examples, Pinouts, and Specs
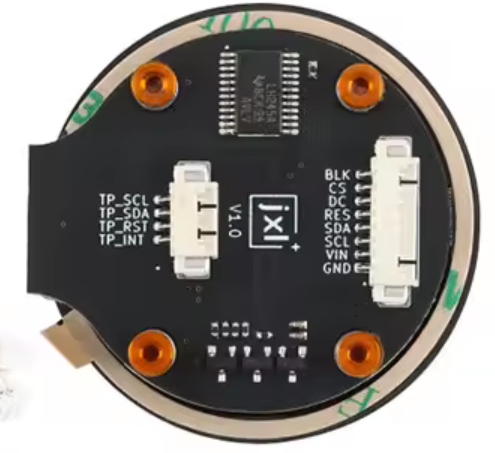
 Design with CST816D in Cirkit Designer
Introduction
The CST816D is a capacitive touch sensor IC designed for touch detection applications. It features low power consumption, high sensitivity, and support for multiple touch points, making it ideal for modern user interface designs. This component is commonly used in touch panels, smart home devices, wearable electronics, and other applications requiring precise touch input.
Explore Projects Built with CST816D
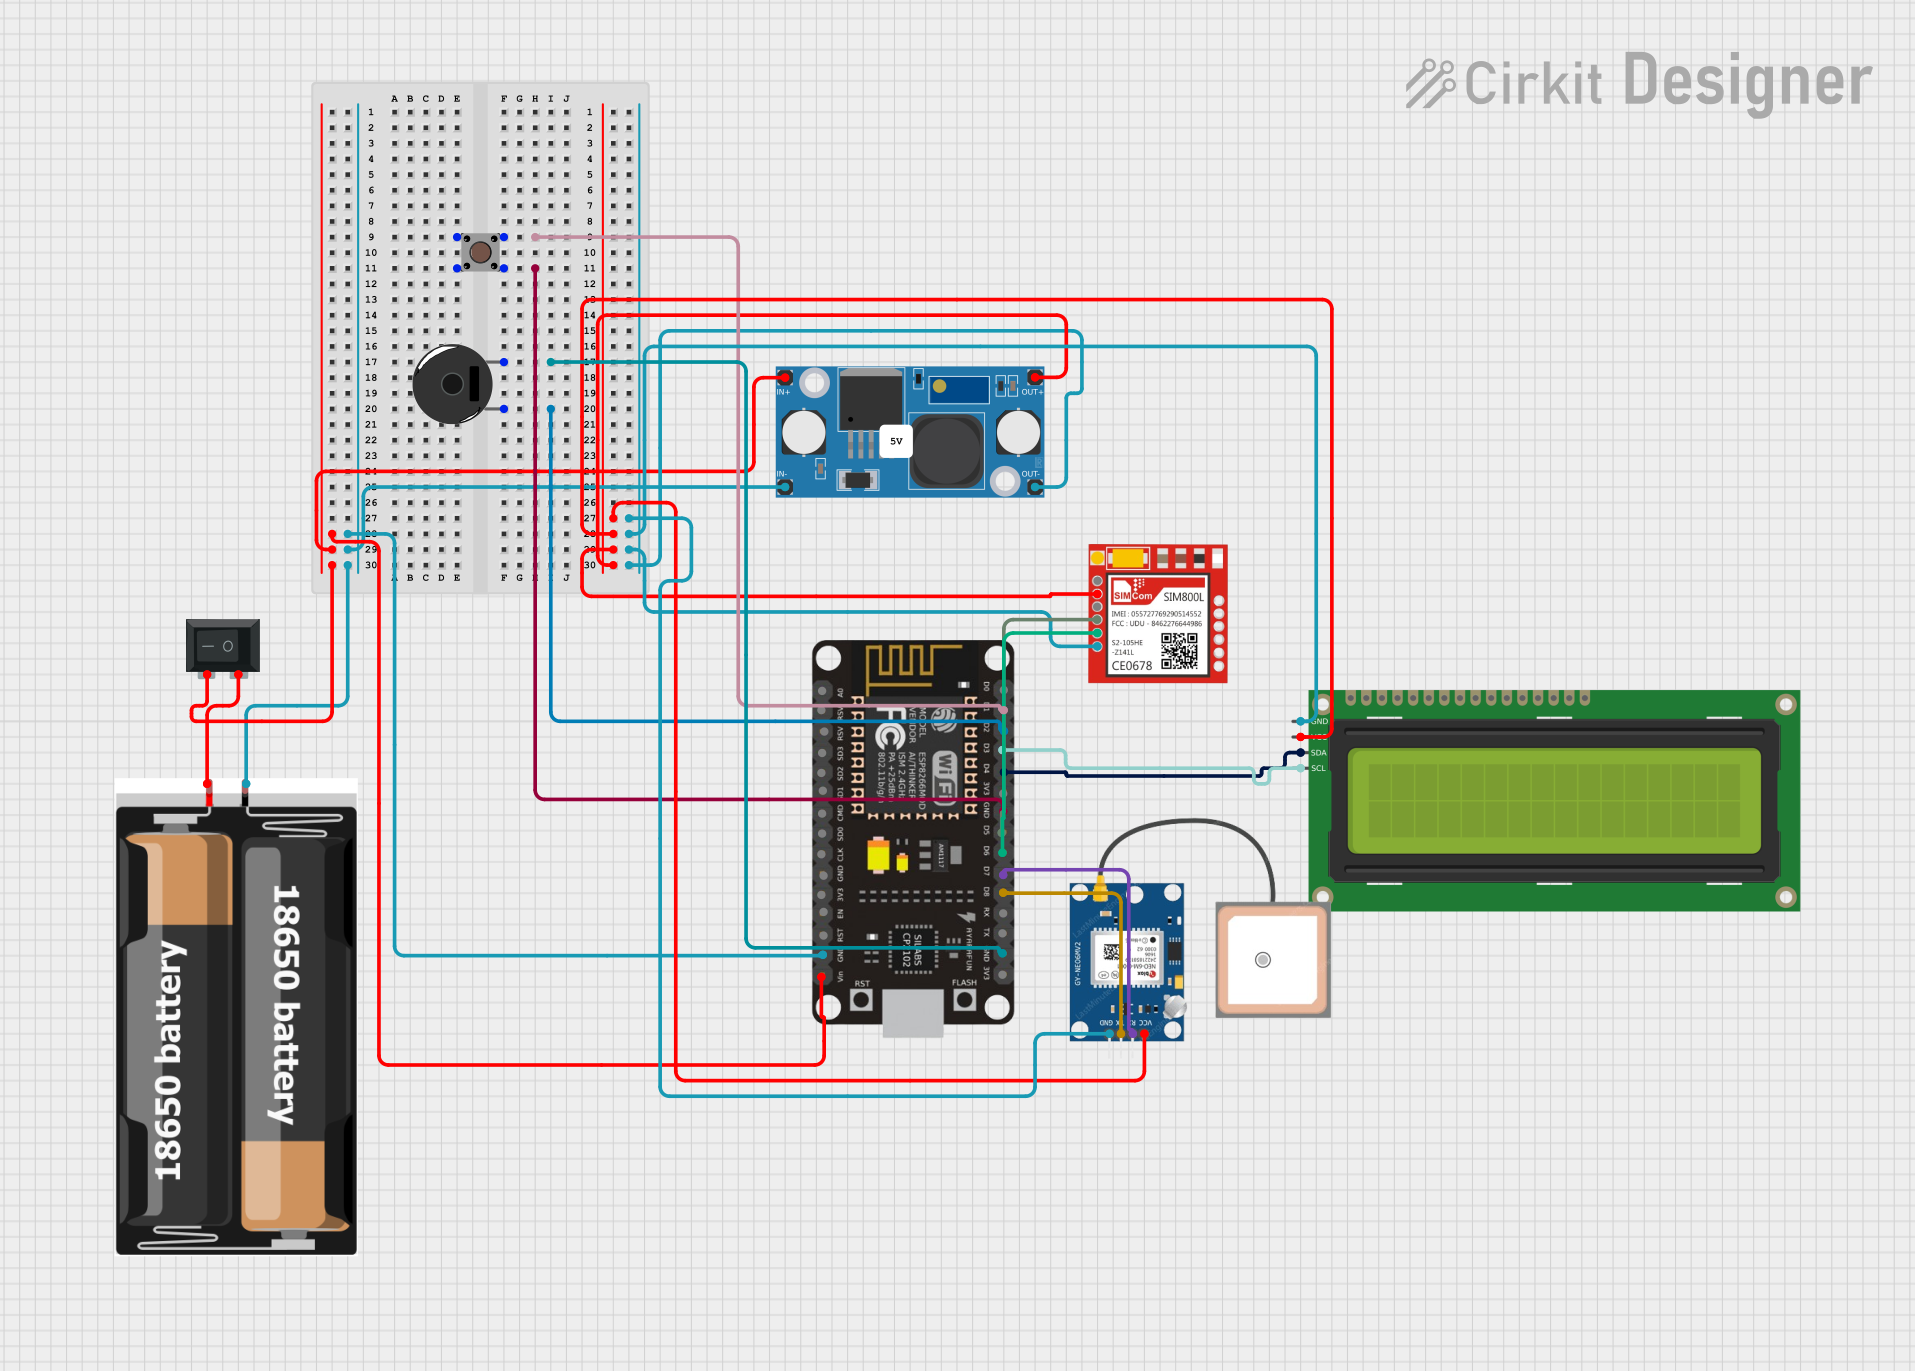 Open Project in Cirkit Designer
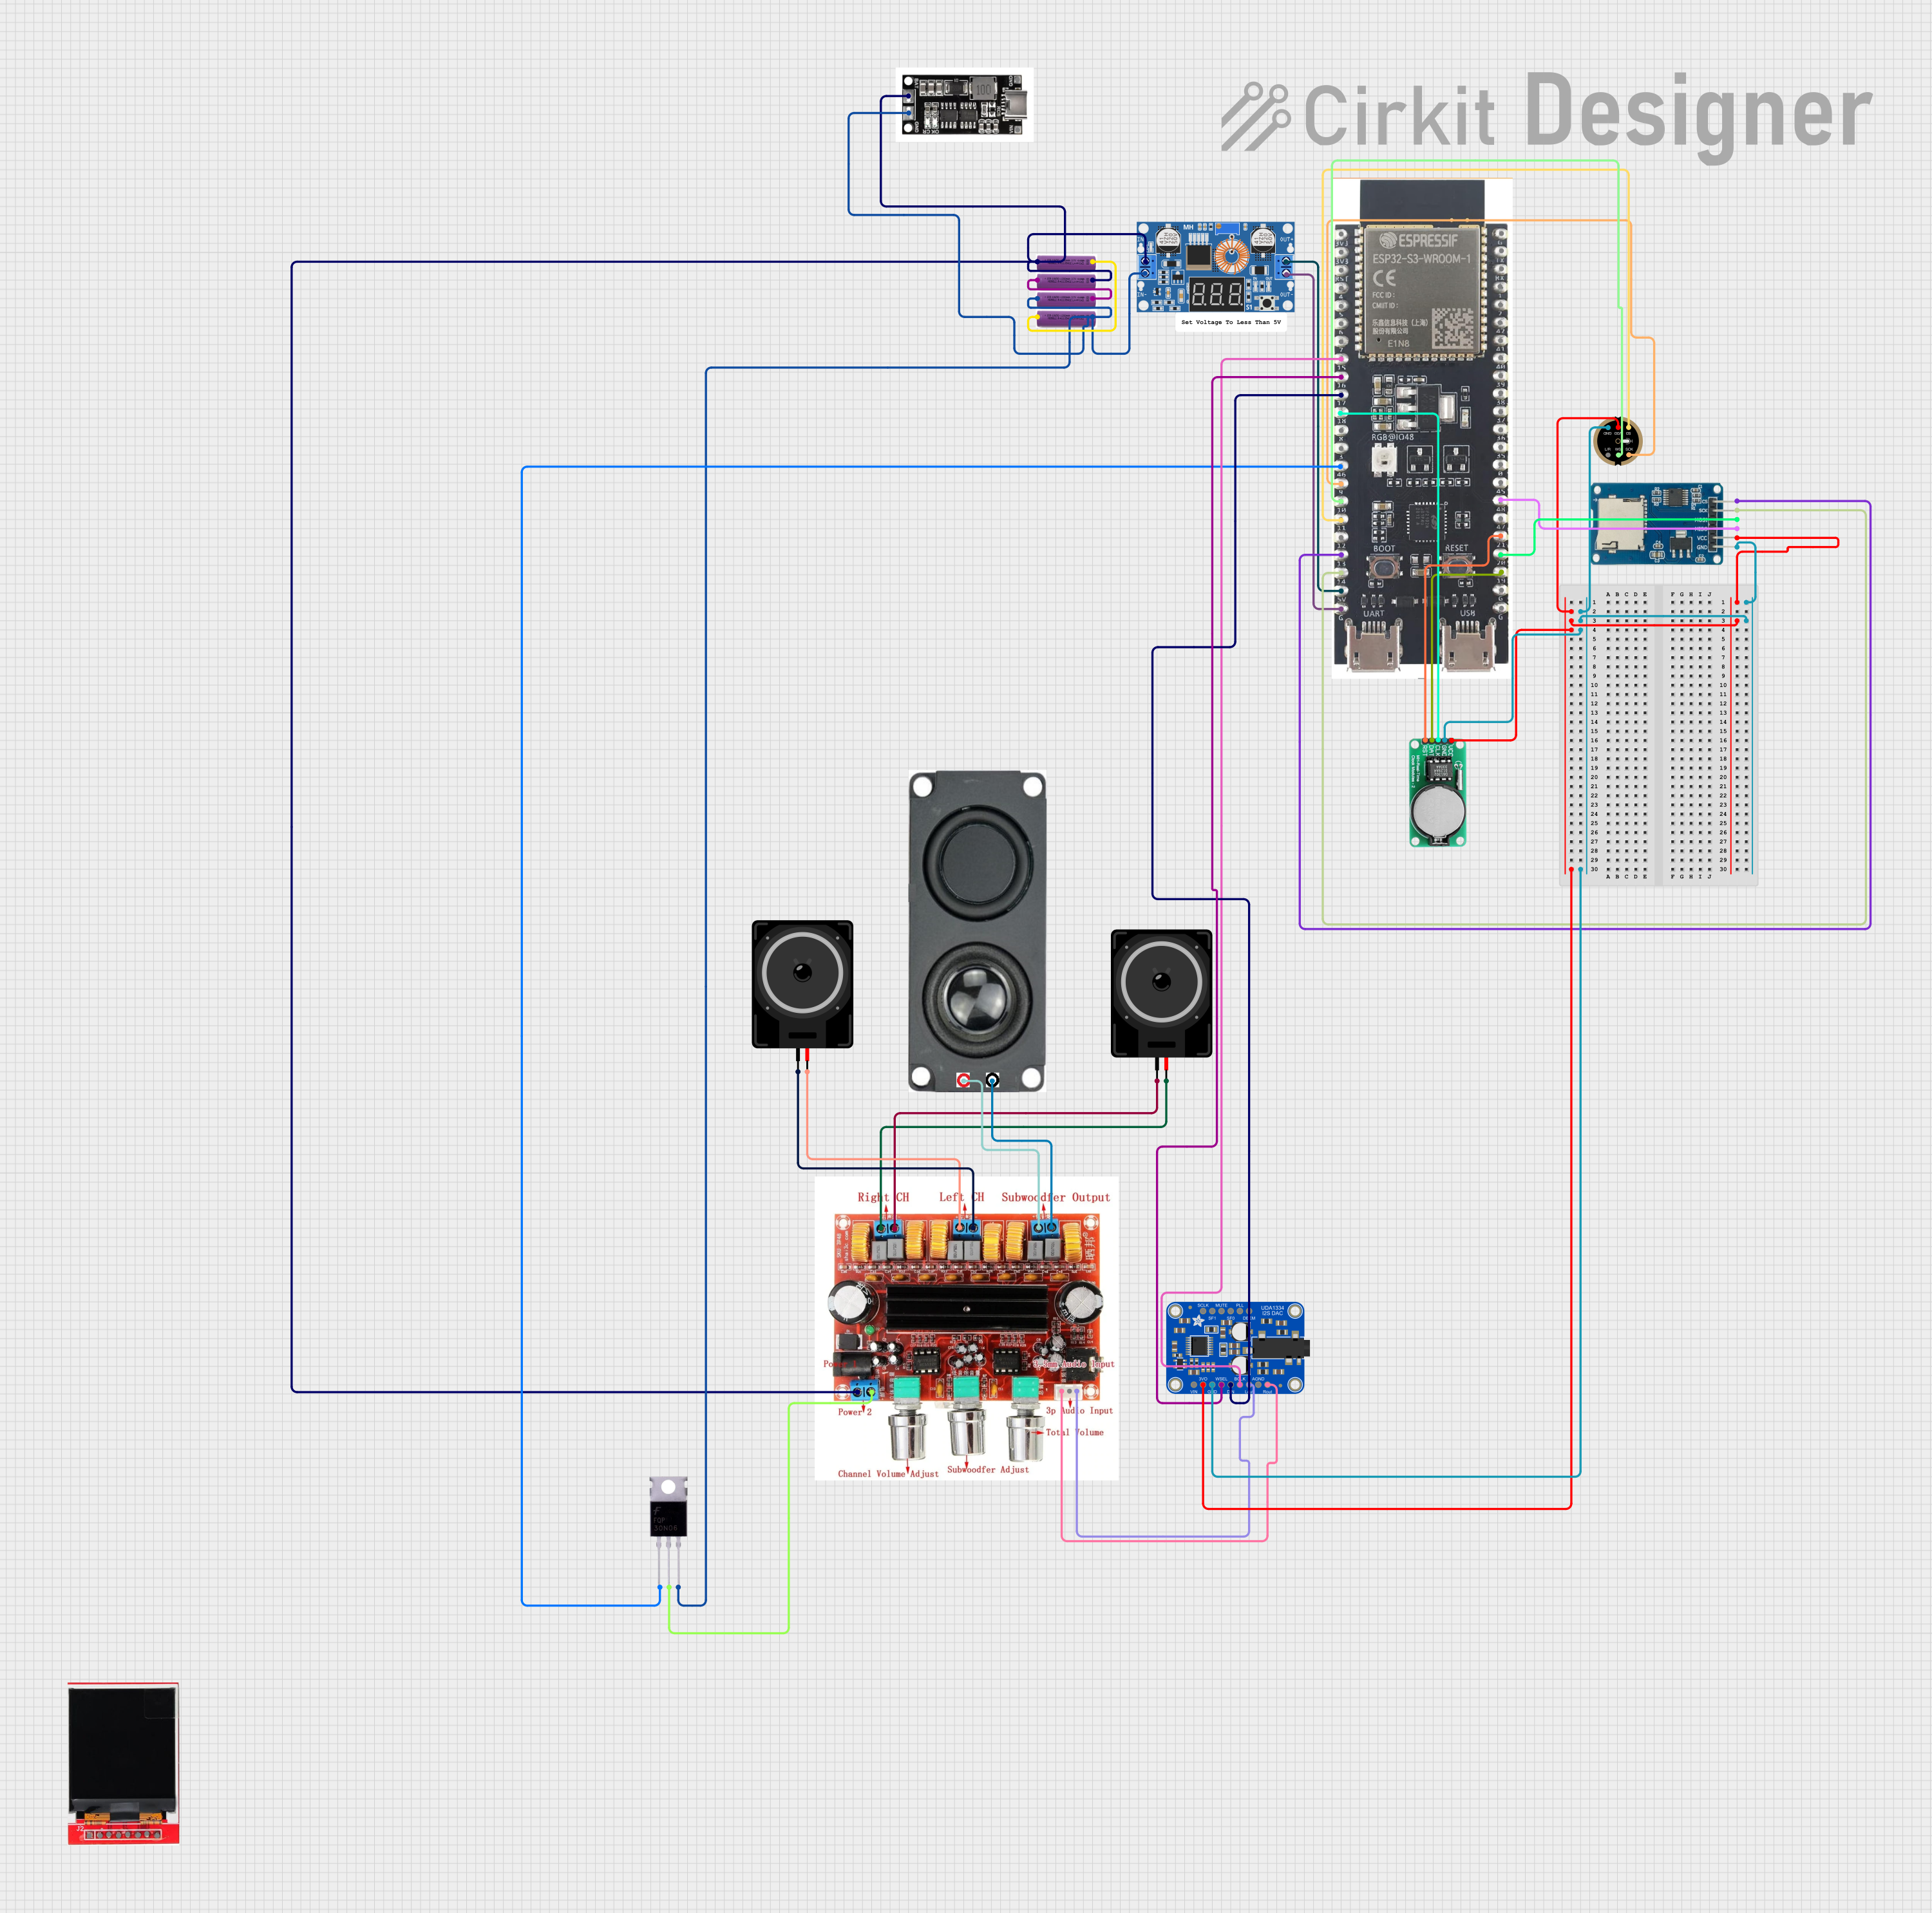 Open Project in Cirkit Designer
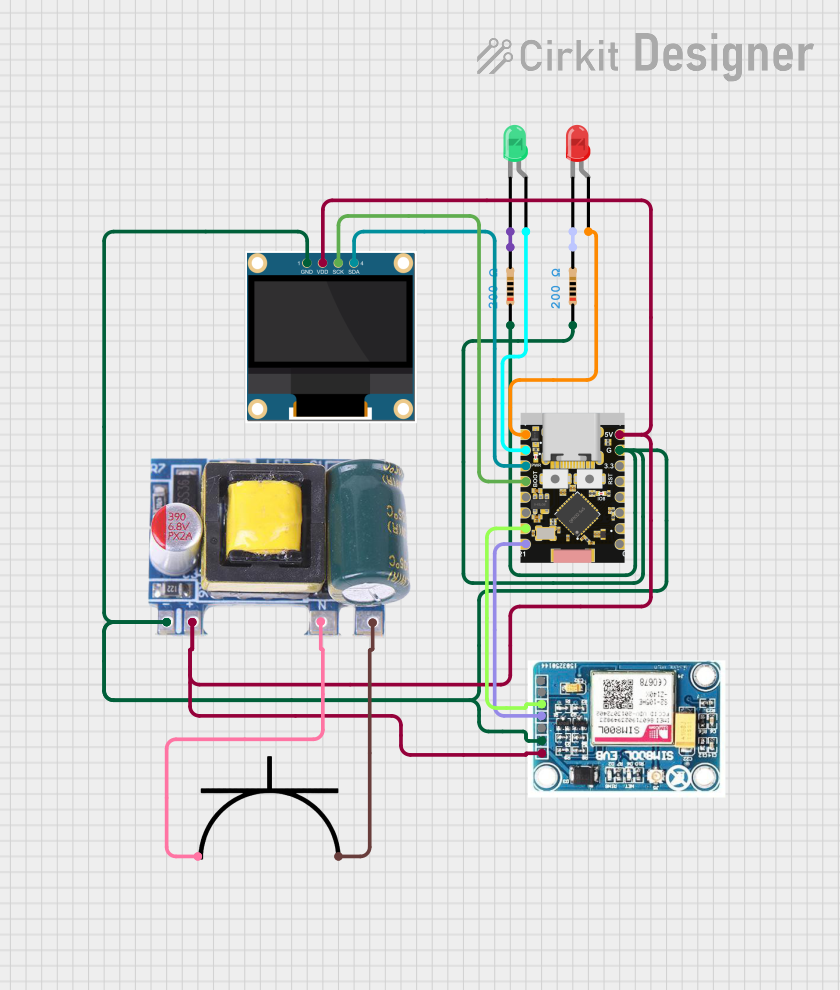 Open Project in Cirkit Designer
 Open Project in Cirkit Designer
Explore Projects Built with CST816D
Open Project in Cirkit DesignerOpen Project in Cirkit DesignerOpen Project in Cirkit DesignerOpen Project in Cirkit DesignerCommon Applications:
- Touchscreen displays for consumer electronics
- Smart home control panels
- Wearable devices
- Industrial control interfaces
- IoT devices with touch-based user interfaces
Technical Specifications
The CST816D is a versatile touch sensor IC with the following key specifications:
| Parameter | Value |
|---|---|
| Operating Voltage | 2.8V to 3.3V |
| Operating Current | < 2mA (active mode) |
| Sleep Current | < 10µA |
| Touch Points Supported | Up to 5 |
| Communication Interface | I2C |
| I2C Address | 0x15 (default) |
| Operating Temperature | -20°C to +85°C |
| Package Type | QFN-16 |
Pin Configuration and Descriptions
The CST816D comes in a 16-pin QFN package. Below is the pin configuration:
| Pin Number | Pin Name | Description |
|---|---|---|
| 1 | VDD | Power supply (2.8V to 3.3V) |
| 2 | GND | Ground |
| 3 | SCL | I2C clock line |
| 4 | SDA | I2C data line |
| 5 | INT | Interrupt output (active low) |
| 6-15 | NC | Not connected |
| 16 | RST | Reset pin (active low, optional for initialization) |
Usage Instructions
How to Use the CST816D in a Circuit
- Power Supply: Connect the VDD pin to a 3.3V power source and the GND pin to ground.
- I2C Communication: Connect the SCL and SDA pins to the corresponding I2C lines of your microcontroller. Use pull-up resistors (typically 4.7kΩ) on both lines.
- Interrupt Pin: The INT pin can be connected to a GPIO pin on the microcontroller to detect touch events.
- Reset Pin: Optionally, connect the RST pin to a GPIO pin for manual or software-controlled resets.
- Initialization: Configure the I2C interface on your microcontroller to communicate with the CST816D at the default address (0x15).
Important Considerations:
- Ensure proper decoupling by placing a 0.1µF capacitor close to the VDD pin.
- Avoid placing the CST816D near high-frequency noise sources to maintain touch sensitivity.
- Use a stable and clean power supply to prevent erratic behavior.
- If using a touchscreen, ensure the touch panel is properly grounded.
Example Code for Arduino UNO
Below is an example of how to interface the CST816D with an Arduino UNO using the I2C protocol:
#include <Wire.h>

// CST816D I2C address
#define CST816D_ADDR 0x15

// Register addresses
#define GESTURE_ID_REG 0x01  // Register for gesture ID
#define TOUCH_POINTS_REG 0x02 // Register for number of touch points

void setup() {
  Wire.begin(); // Initialize I2C communication
  Serial.begin(9600); // Initialize serial communication for debugging

  // Optional: Reset the CST816D
  pinMode(7, OUTPUT); // Assuming RST pin is connected to Arduino pin 7
  digitalWrite(7, LOW); // Hold reset pin low
  delay(10); // Wait for 10ms
  digitalWrite(7, HIGH); // Release reset pin
  delay(100); // Wait for the device to initialize

  Serial.println("CST816D Initialized");
}

void loop() {
  Wire.beginTransmission(CST816D_ADDR);
  Wire.write(GESTURE_ID_REG); // Request gesture ID register
  Wire.endTransmission();

  Wire.requestFrom(CST816D_ADDR, 1); // Request 1 byte of data
  if (Wire.available()) {
    uint8_t gesture = Wire.read(); // Read the gesture ID
    Serial.print("Gesture ID: ");
    Serial.println(gesture);
  }

  delay(100); // Small delay to avoid flooding the I2C bus
}
Notes:
- Replace the
GESTURE_ID_REGandTOUCH_POINTS_REGwith the appropriate register addresses based on your application. - Ensure the I2C pull-up resistors are properly connected.
Troubleshooting and FAQs
Common Issues:
No Response from the CST816D:
- Verify the I2C connections (SCL, SDA) and ensure pull-up resistors are in place.
- Check the power supply voltage (2.8V to 3.3V).
- Ensure the I2C address (0x15) matches the one used in your code.
Erratic Touch Detection:
- Ensure the touch panel is properly grounded.
- Avoid placing the CST816D near sources of electrical noise.
- Check for loose or poor connections in the circuit.
Interrupt Pin Not Triggering:
- Verify the INT pin is connected to a GPIO pin configured as an input.
- Check if the interrupt is active low and configure the microcontroller accordingly.
FAQs:
Q: Can the CST816D support multi-touch gestures?
A: Yes, the CST816D supports up to 5 touch points, enabling multi-touch gestures.
Q: What is the default I2C address of the CST816D?
A: The default I2C address is 0x15.
Q: Is the RST pin mandatory for operation?
A: No, the RST pin is optional. However, it can be used for manual or software-controlled resets.
Q: Can the CST816D operate at 5V?
A: No, the CST816D operates within a voltage range of 2.8V to 3.3V. Using 5V may damage the IC.
By following this documentation, you can effectively integrate the CST816D into your projects and troubleshoot common issues.