How to Use 10' firefly exhaust fan: Examples, Pinouts, and Specs
Introduction
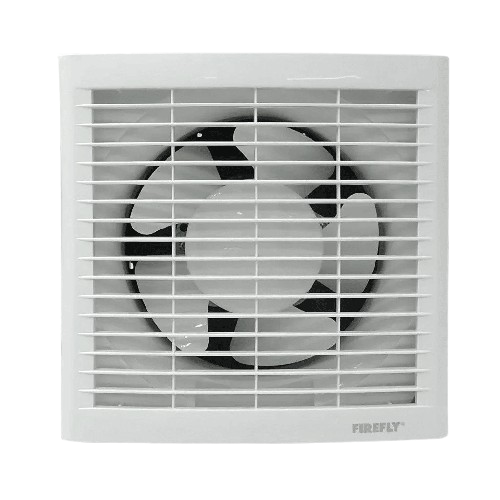
The 10' Firefly Exhaust Fan (Part ID: exfan1) is a high-performance ventilation solution designed for efficient airflow and cooling in a variety of settings. With its 10-foot diameter, this exhaust fan is ideal for large spaces such as warehouses, factories, greenhouses, and other industrial or commercial environments. Manufactured by Firefly, this fan combines durability, energy efficiency, and powerful performance to meet demanding ventilation needs.
Explore Projects Built with 10' firefly exhaust fan
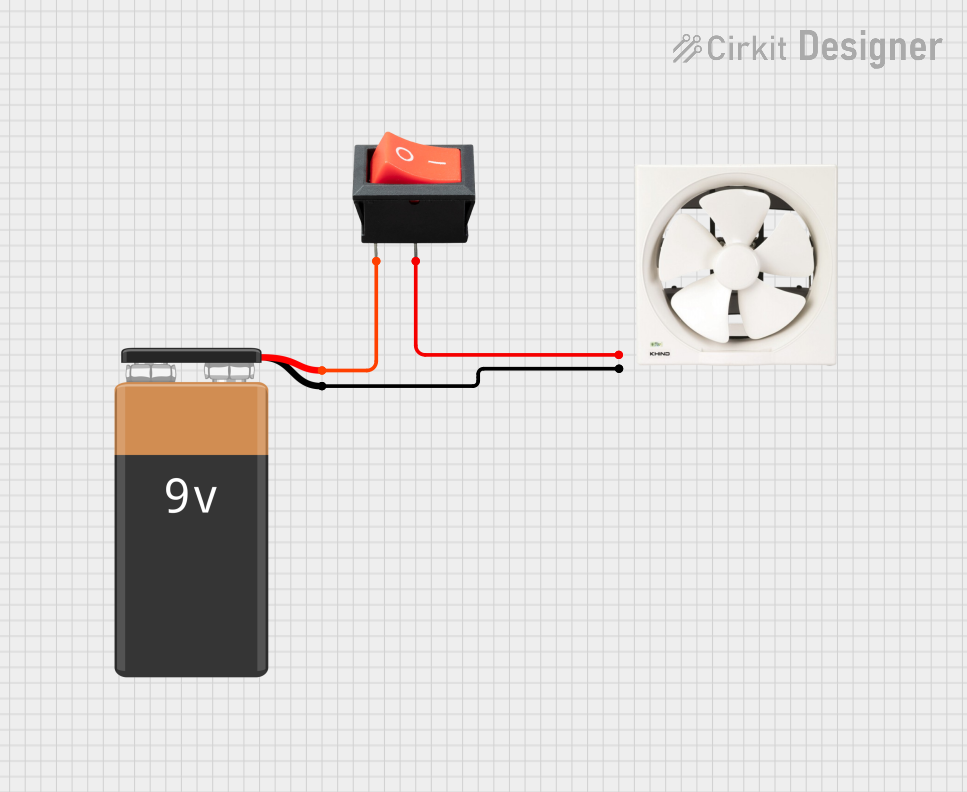
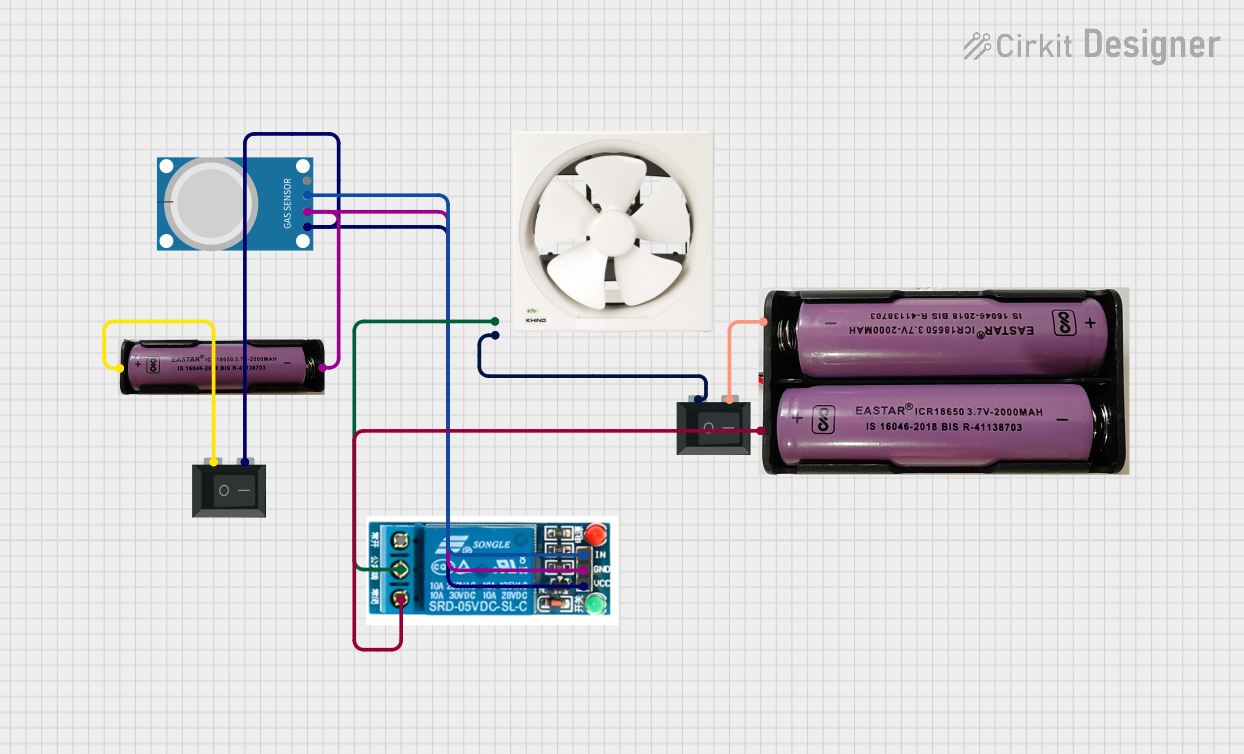
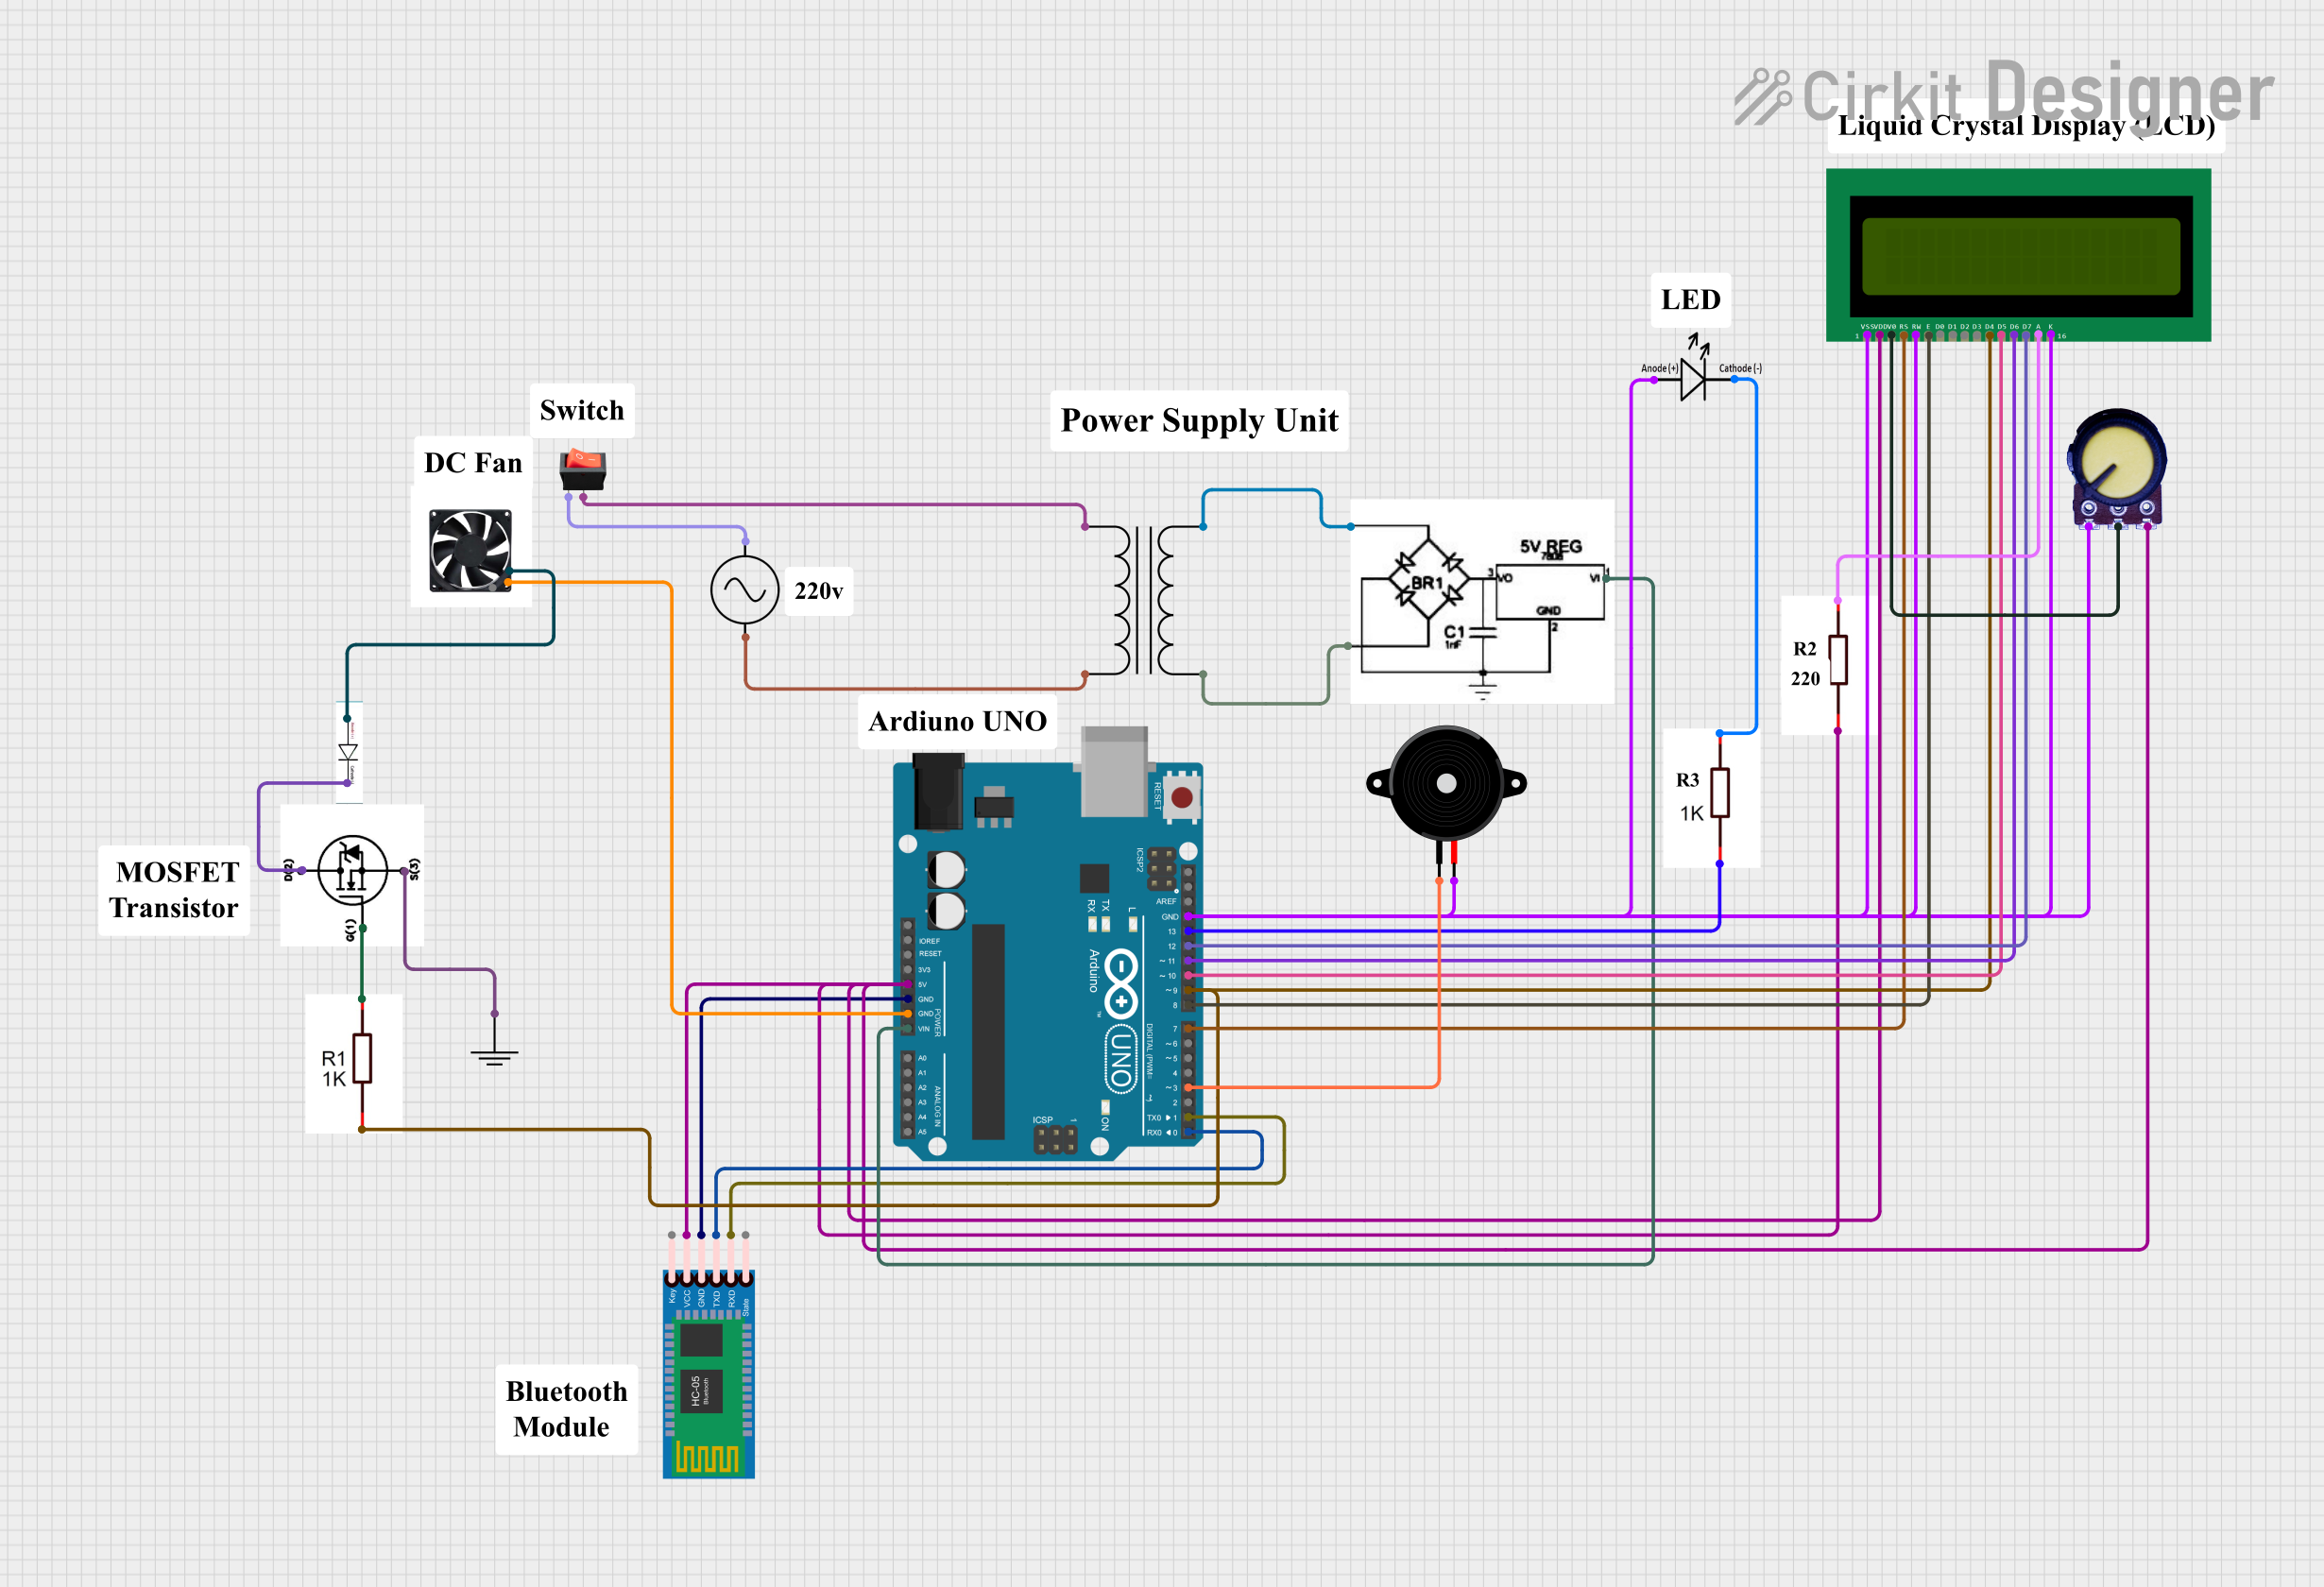

Explore Projects Built with 10' firefly exhaust fan
Common Applications and Use Cases
- Industrial ventilation in factories and warehouses
- Cooling and air circulation in greenhouses
- Air quality improvement in commercial kitchens
- Temperature regulation in large indoor spaces
- Exhausting fumes or odors in industrial processes
Technical Specifications
The following table outlines the key technical specifications of the 10' Firefly Exhaust Fan:
| Specification | Details |
|---|---|
| Manufacturer | Firefly |
| Part ID | exfan1 |
| Fan Diameter | 10 feet (120 inches) |
| Voltage Rating | 220-240V AC |
| Power Consumption | 500W |
| Airflow Capacity | 15,000 CFM (Cubic Feet per Minute) |
| Speed Settings | 3-speed control (Low, Medium, High) |
| Noise Level | ≤ 65 dB |
| Material | Aluminum blades, steel frame |
| Weight | 45 kg |
| Mounting Type | Wall-mounted or ceiling-mounted |
| Operating Temperature Range | -10°C to 50°C |
| Safety Features | Overheat protection, IP55 rating |
Pin Configuration and Descriptions
The 10' Firefly Exhaust Fan is powered by a standard AC connection and does not have a pin configuration in the traditional sense. However, the wiring details are as follows:
| Wire Color | Function |
|---|---|
| Black | Live (L) |
| White | Neutral (N) |
| Green/Yellow | Ground (Earth) |
Usage Instructions
How to Use the Component in a Circuit
- Power Connection: Ensure the fan is connected to a 220-240V AC power source. Use the provided wiring diagram to connect the live, neutral, and ground wires securely.
- Mounting: Install the fan on a wall or ceiling using the included mounting brackets. Ensure the fan is securely fastened to prevent vibration or movement during operation.
- Speed Control: Use the 3-speed control switch to adjust the fan speed as needed. The settings are:
- Low: For gentle ventilation
- Medium: For moderate airflow
- High: For maximum airflow
- Safety Check: Verify that the fan is properly grounded and that all connections are secure before powering it on.
Important Considerations and Best Practices
- Electrical Safety: Always turn off the power supply before installing or servicing the fan.
- Proper Grounding: Ensure the ground wire is connected to prevent electrical hazards.
- Ventilation Clearance: Maintain at least 2 feet of clearance around the fan for optimal airflow.
- Regular Maintenance: Clean the fan blades and housing periodically to prevent dust buildup and maintain efficiency.
- Avoid Overloading: Do not connect the fan to a power source with a voltage higher than 240V.
Arduino UNO Integration
While the 10' Firefly Exhaust Fan is not directly compatible with an Arduino UNO due to its high voltage and power requirements, you can control it indirectly using a relay module. Below is an example of how to control the fan using an Arduino and a relay:
/*
  Example: Controlling the 10' Firefly Exhaust Fan with Arduino and a Relay
  Note: This code assumes the relay is connected to pin 7 on the Arduino.
  Ensure proper isolation between the high-voltage fan and the Arduino.
*/

const int relayPin = 7; // Pin connected to the relay module

void setup() {
  pinMode(relayPin, OUTPUT); // Set relay pin as output
  digitalWrite(relayPin, LOW); // Start with the relay off
}

void loop() {
  // Turn the fan on
  digitalWrite(relayPin, HIGH);
  delay(10000); // Keep the fan on for 10 seconds

  // Turn the fan off
  digitalWrite(relayPin, LOW);
  delay(5000); // Keep the fan off for 5 seconds
}
Important Note: Use a relay module rated for 220-240V AC and ensure proper isolation between the Arduino and the high-voltage circuit.
Troubleshooting and FAQs
Common Issues and Solutions
| Issue | Possible Cause | Solution |
|---|---|---|
| Fan does not turn on | Loose or incorrect wiring | Check and secure all connections |
| Fan speed cannot be adjusted | Faulty speed control switch | Replace the speed control switch |
| Excessive noise during operation | Loose mounting or debris in the fan | Tighten mounting and clean the fan |
| Overheating | Blocked airflow or motor issue | Clear obstructions and inspect motor |
| Vibrations during operation | Improper installation | Reinstall and ensure secure mounting |
FAQs
Can the fan be used outdoors?
- Yes, the fan has an IP55 rating, making it suitable for outdoor use in protected areas.
What is the maximum operating temperature?
- The fan can operate in temperatures up to 50°C.
Can I control the fan remotely?
- Yes, you can integrate the fan with a smart relay or home automation system for remote control.
How often should I clean the fan?
- It is recommended to clean the fan every 3-6 months, depending on usage and environmental conditions.
By following this documentation, you can ensure safe and efficient operation of the 10' Firefly Exhaust Fan in your desired application.