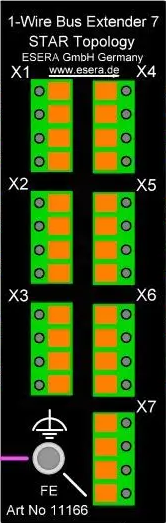
The 1-Wire Distributor 7 - Star Bus (Manufacturer Part ID: 11166) by Esera is a specialized component designed to simplify the connection of multiple 1-Wire devices in a star topology. It enables efficient communication and power distribution across multiple devices connected to a single 1-Wire bus. This distributor is ideal for applications requiring reliable and organized 1-Wire networks, such as home automation, industrial monitoring, and sensor networks.
Explore Projects Built with 1-Wire distributor 7 - Star Bus
Use Cirkit Designer to design, explore, and prototype these projects online. Some projects support real-time simulation. Click "Open Project" to start designing instantly!
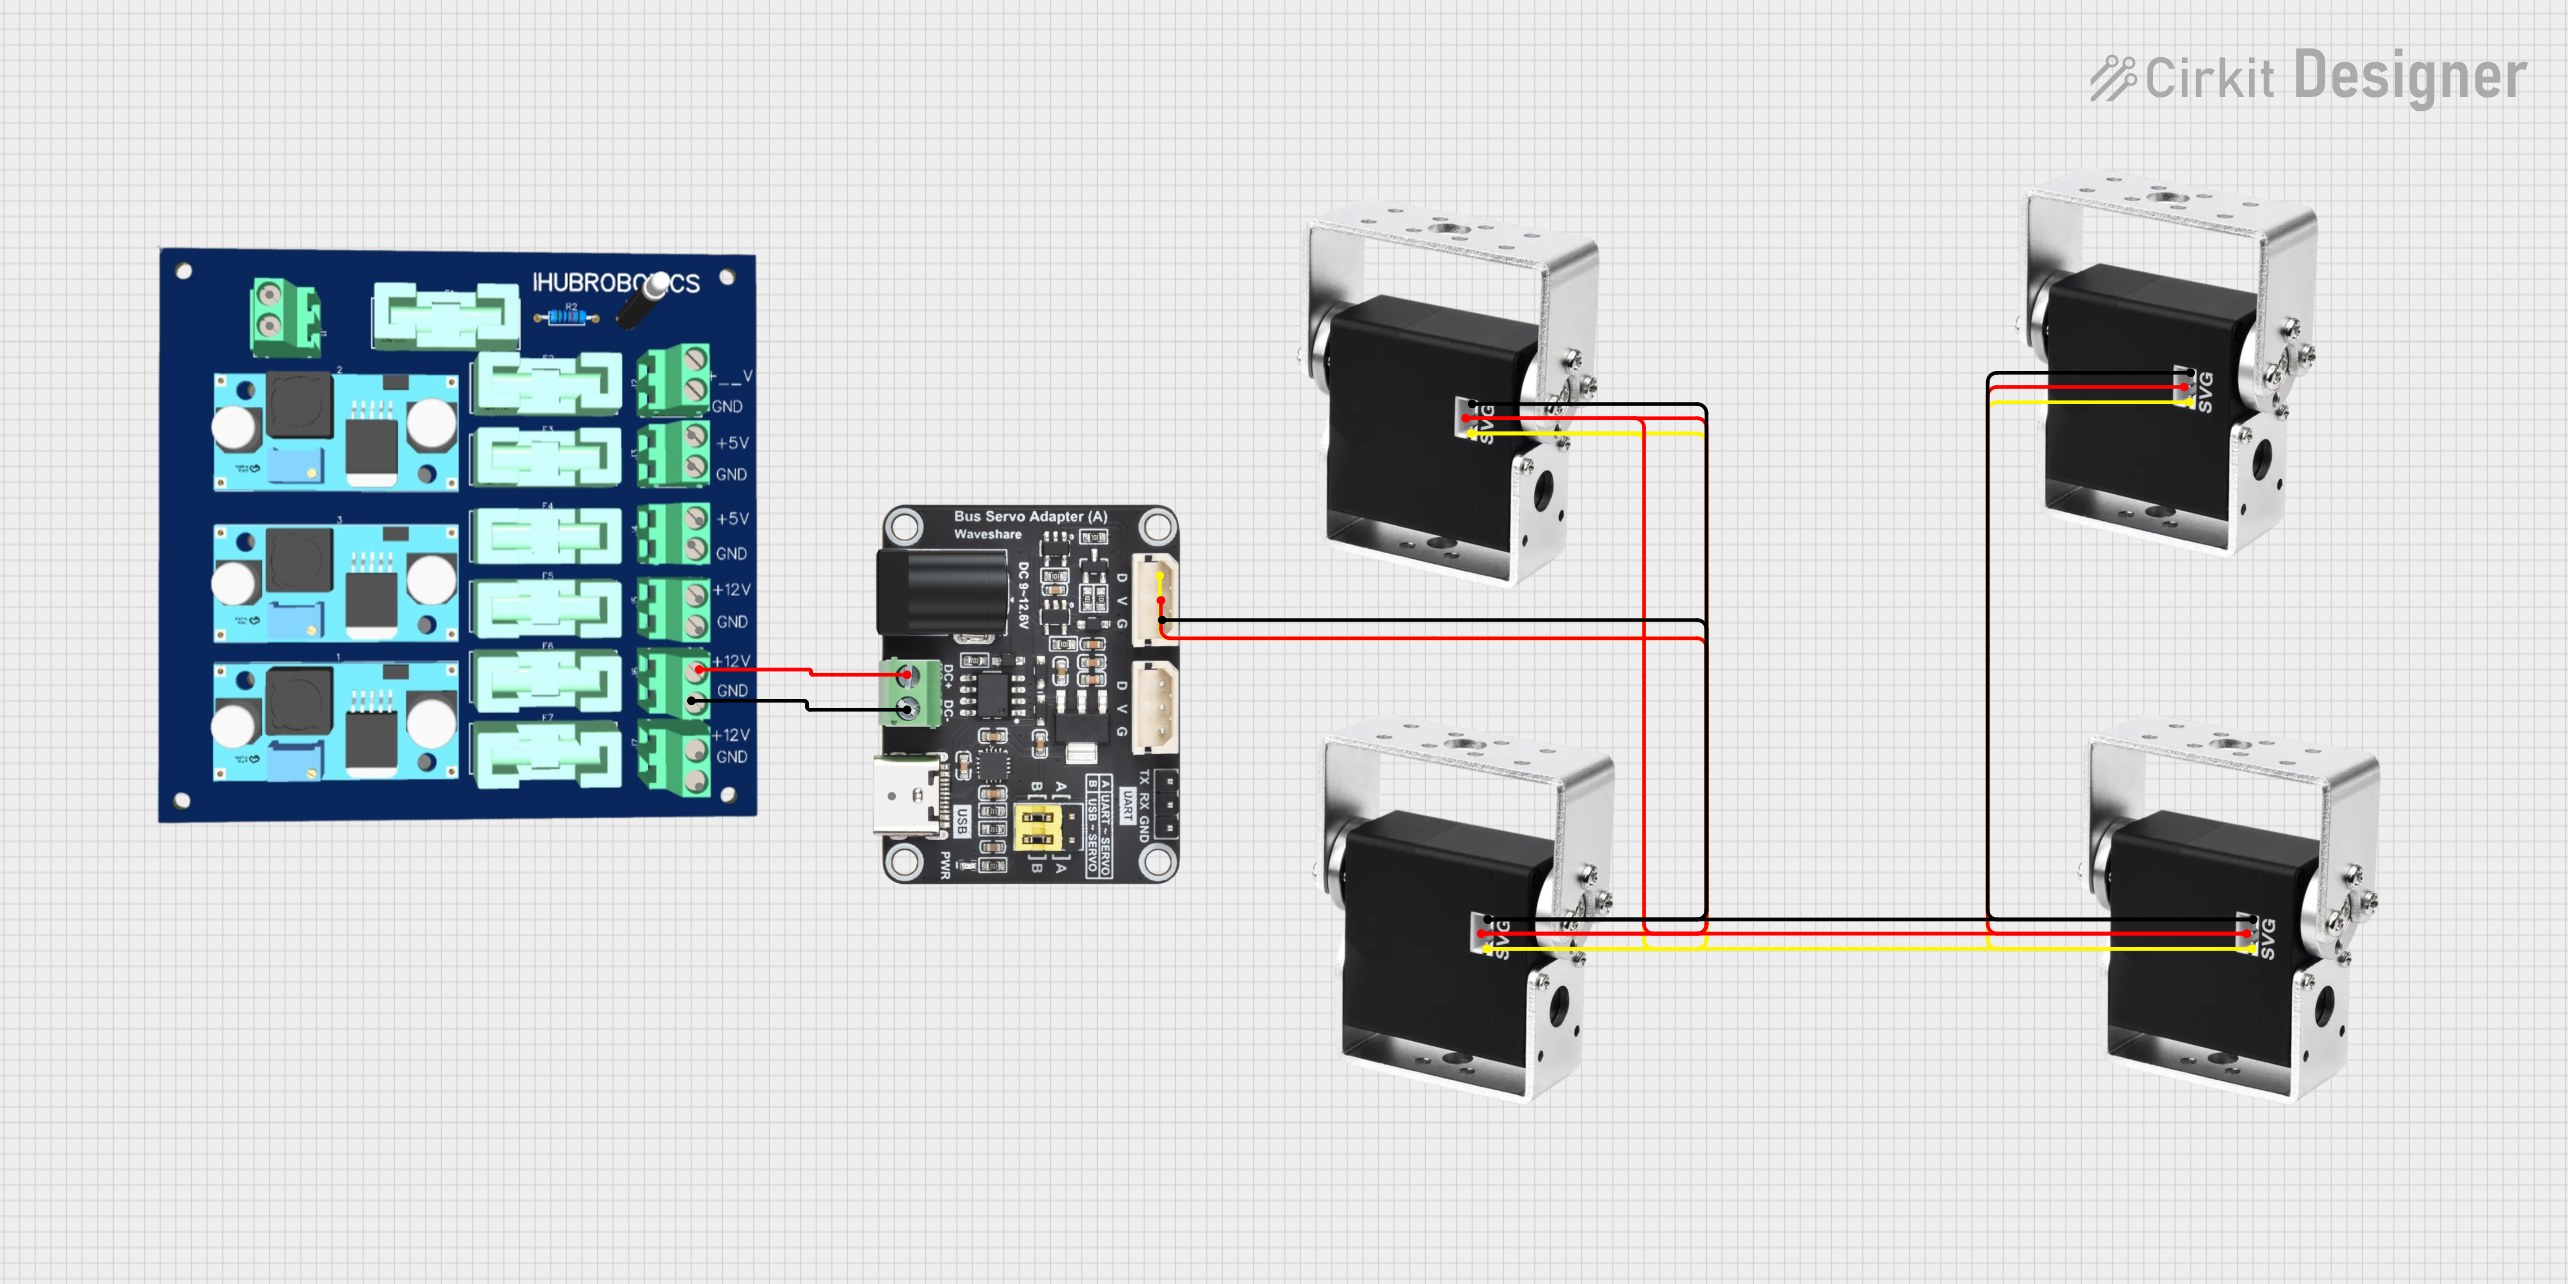
This circuit controls multiple high-torque bus servos using a bus servo adaptor, which is powered by a 6-channel power module. The servos receive their control signals and power through the adaptor, enabling synchronized movement for applications requiring precise and powerful actuation.
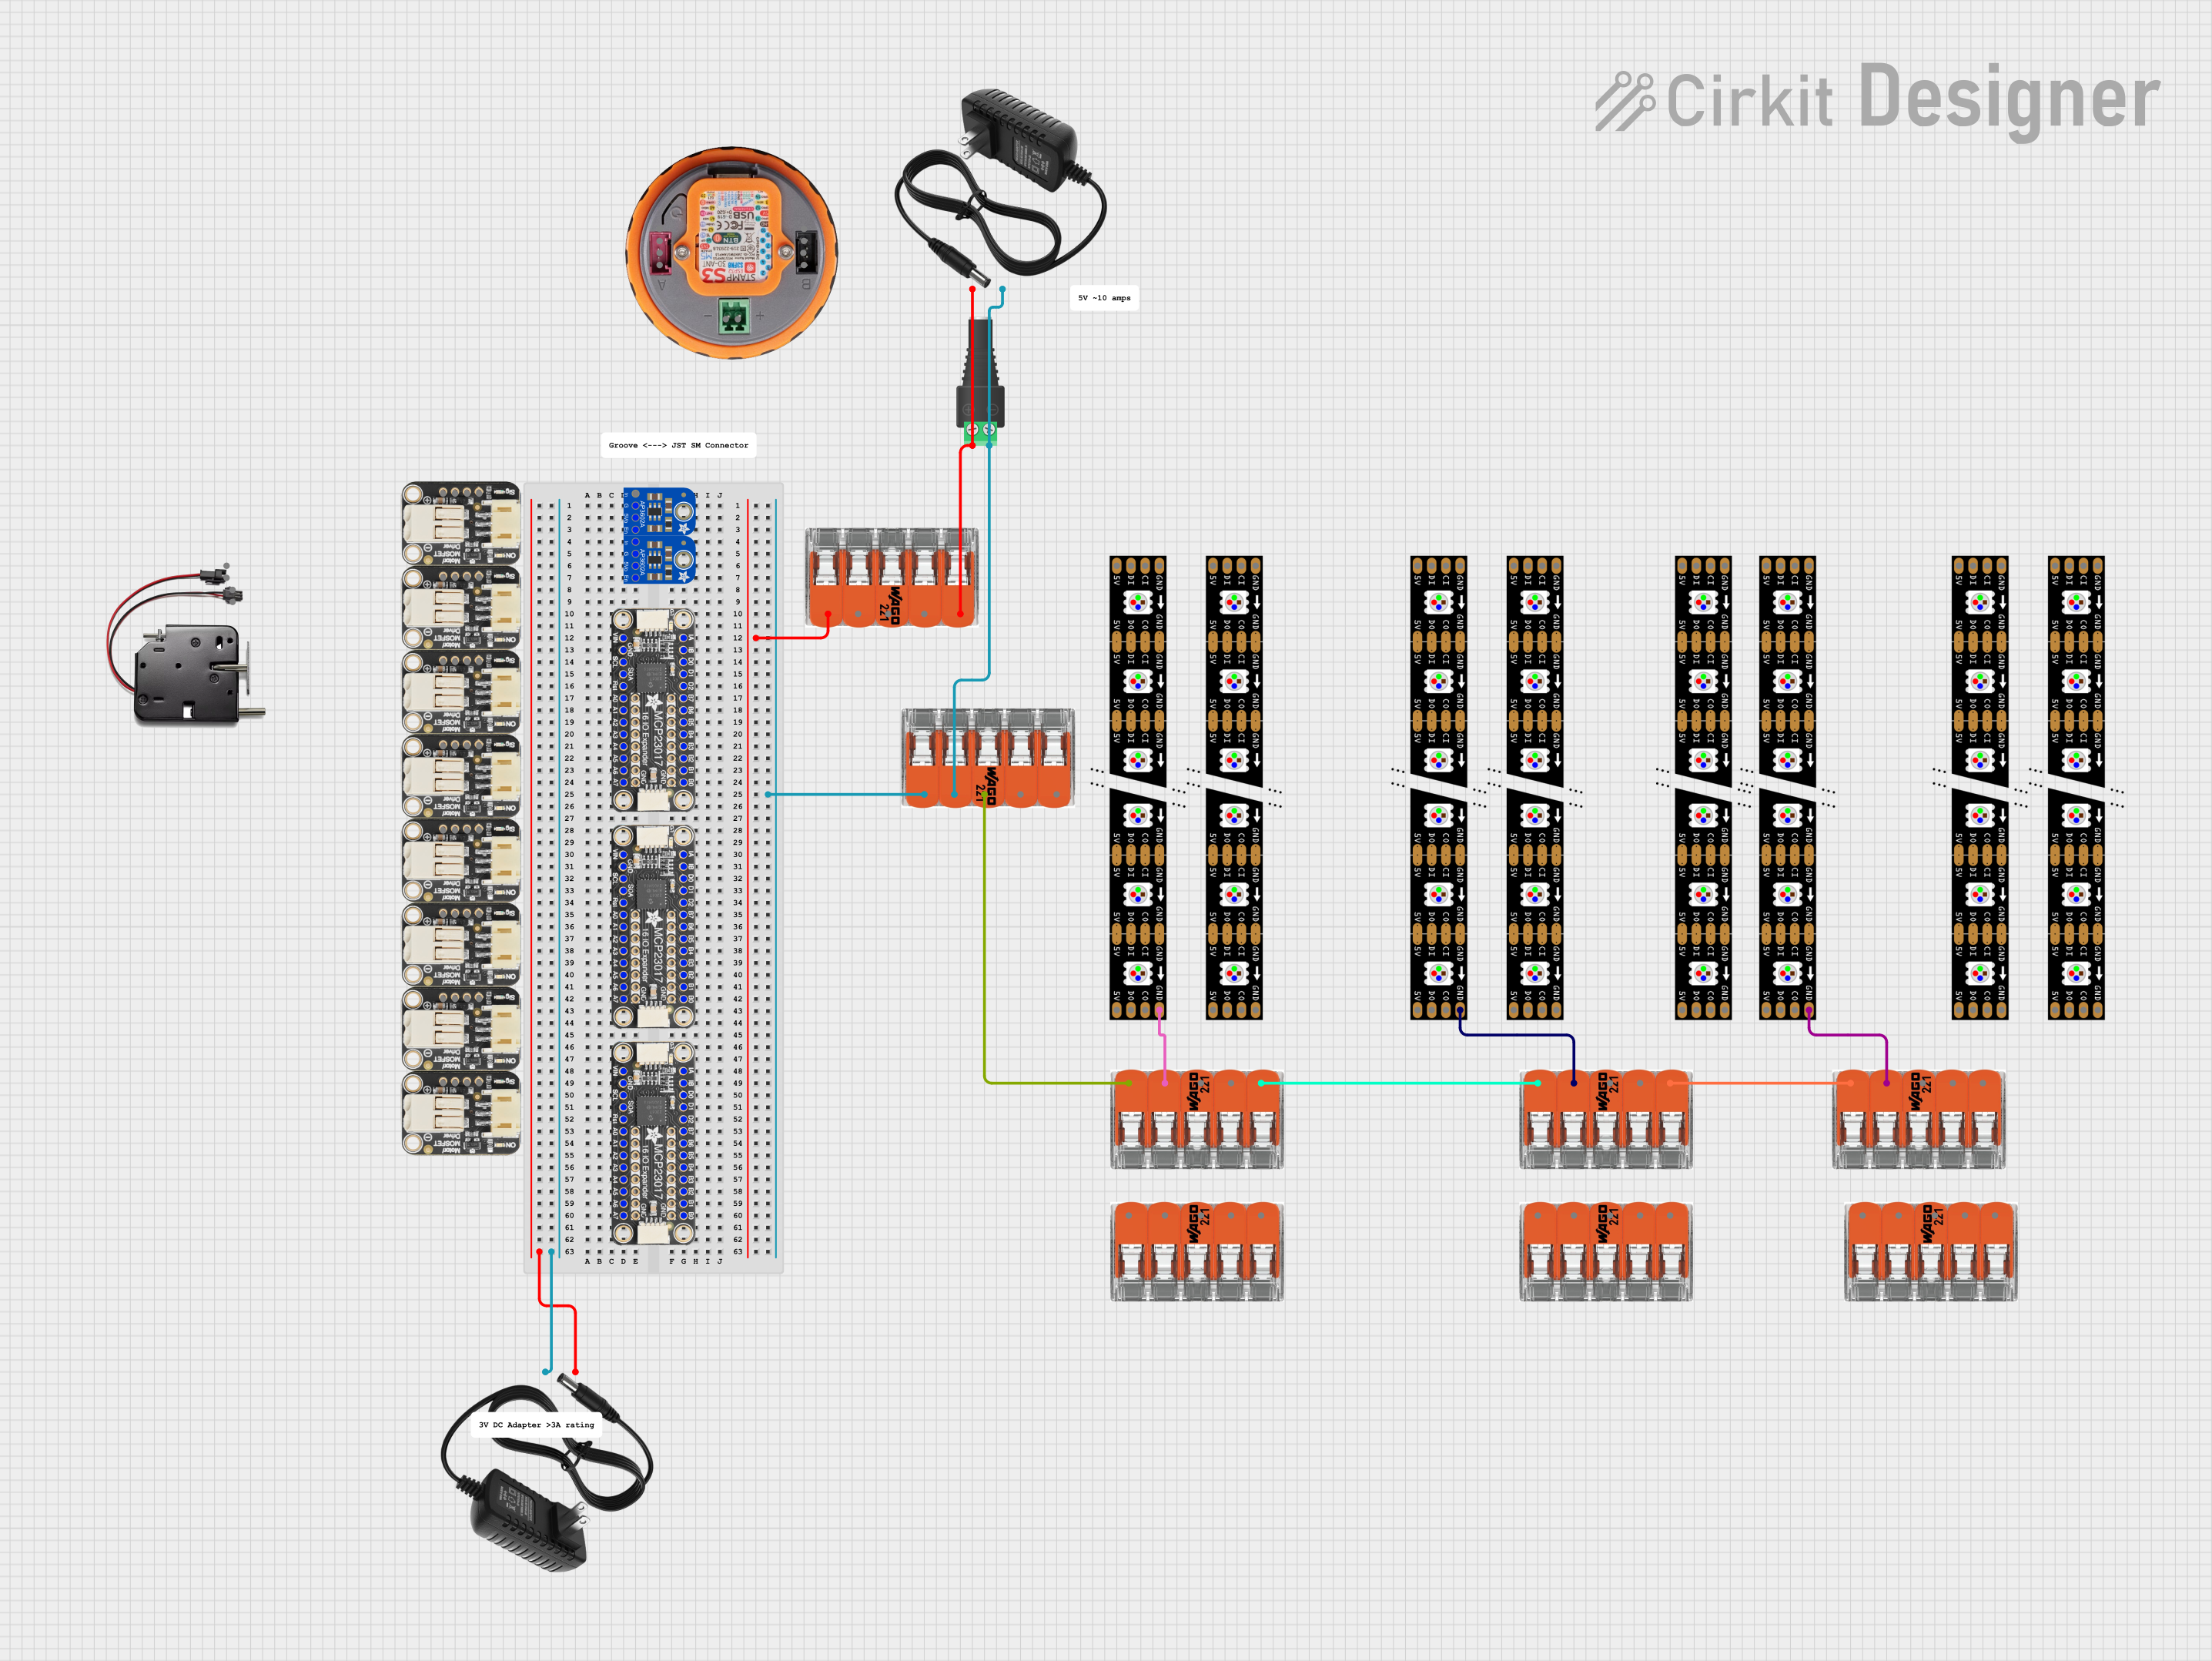
This circuit integrates multiple Adafruit DotStar LED strips powered by 12V power supplies, with ground connections managed through WAGO splicing connectors. The setup is designed to provide a stable power and ground distribution for the LED strips, ensuring synchronized and reliable operation.
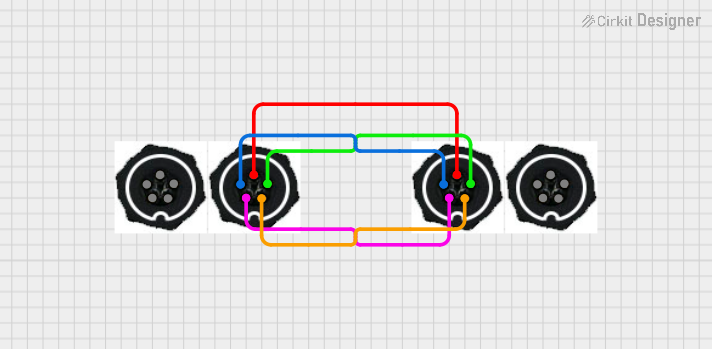
This circuit consists of four 5-pin connectors, where two of the connectors are fully interconnected pin-to-pin. The purpose of this setup could be to create a parallel connection between the two 5-pin connectors, possibly for signal distribution or redundancy.
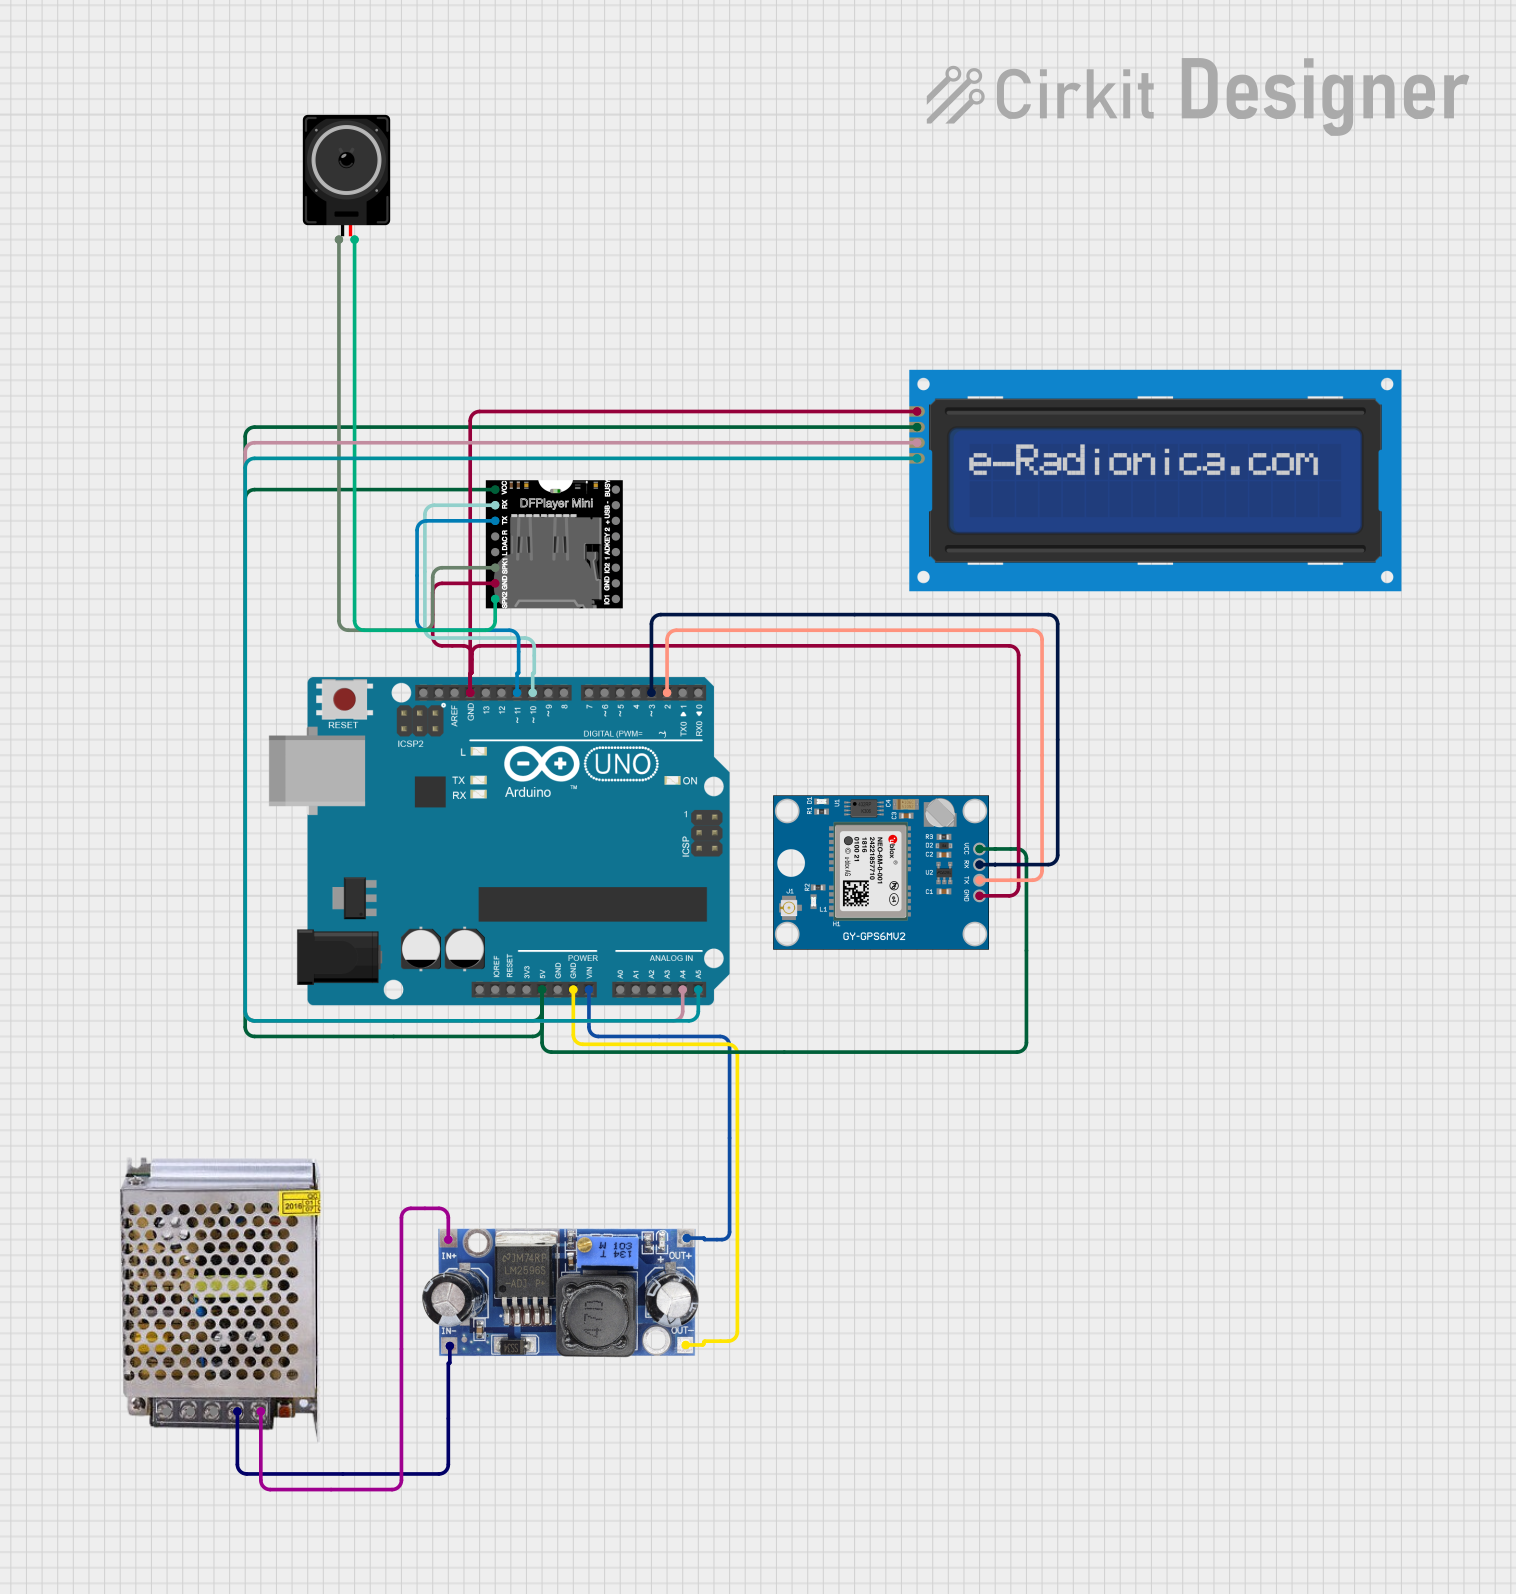
This circuit is designed for a bus stop system with GPS tracking and audio announcement capabilities. It uses an Arduino UNO to interface with a Neo 6M GPS Module for location tracking, a DFPlayer MINI for audio playback through a connected loudspeaker, and an LCD screen (16x2 I2C) for displaying location information. The system is powered by a 12V power supply with a DC-DC converter to step down the voltage for the components.
Home automation systems (e.g., temperature and humidity monitoring)
Industrial sensor networks
Data acquisition systems
Smart building solutions
Prototyping and testing of 1-Wire devices
Technical Specifications
The following table outlines the key technical details of the 1-Wire Distributor 7 - Star Bus:
Parameter
Value
Manufacturer
Esera
Part ID
11166
Number of Ports
7 (6 device ports + 1 bus input)
Supported Topology
Star
Communication Protocol
1-Wire
Operating Voltage
5V to 12V DC
Maximum Current
1A
Dimensions
82mm x 42mm x 20mm
Mounting
DIN rail or surface mount
Operating Temperature
-20°C to +60°C
Connector Type
Screw terminals
Pin Configuration and Descriptions
The 1-Wire Distributor 7 - Star Bus features screw terminal connectors for easy wiring. Below is the pin configuration for each port:
Pin
Label
Description
1
GND
Ground connection
2
DATA
1-Wire data line
3
VCC
Power supply for connected devices
Each of the six device ports (P1 to P6) and the bus input port (BUS IN) follow the same pin configuration.
Usage Instructions
How to Use the Component in a Circuit
Power Supply: Connect a regulated DC power supply (5V to 12V) to the BUS IN port's VCC and GND terminals.
1-Wire Bus Input: Connect the 1-Wire master device (e.g., a microcontroller or USB-to-1-Wire adapter) to the BUS IN port's DATA terminal.
Device Connections: Connect up to six 1-Wire devices to the P1 to P6 ports. Ensure that each device's GND, DATA, and VCC lines are properly connected to the corresponding terminals.
Check Connections: Verify all connections to ensure proper wiring and avoid short circuits.
Power On: Turn on the power supply and ensure the devices are communicating correctly.
Important Considerations and Best Practices
Cable Length: Minimize the total cable length to reduce signal degradation and ensure reliable communication.
Pull-Up Resistor: Ensure a pull-up resistor (typically 4.7kΩ) is present on the 1-Wire data line, either on the master device or the distributor.
Power Budget: Ensure the total current consumption of all connected devices does not exceed the distributor's maximum current rating (1A).
Environmental Conditions: Operate the distributor within the specified temperature range (-20°C to +60°C) to avoid damage.
Example: Connecting to an Arduino UNO
Below is an example of how to connect the 1-Wire Distributor 7 - Star Bus to an Arduino UNO and read data from a DS18B20 temperature sensor:
Circuit Diagram
Connect the BUS IN port's DATA terminal to Arduino pin D2.
Connect the BUS IN port's GND and VCC terminals to Arduino GND and 5V, respectively.
Connect the DS18B20 sensor to one of the distributor's device ports (P1 to P6).
Arduino Code
#include <OneWire.h>
#include <DallasTemperature.h>

// Pin connected to the 1-Wire data line
#define ONE_WIRE_BUS 2

// Initialize the OneWire and DallasTemperature libraries
OneWire oneWire(ONE_WIRE_BUS);
DallasTemperature sensors(&oneWire);

void setup() {
  Serial.begin(9600); // Start serial communication
  sensors.begin();    // Initialize the temperature sensors
  Serial.println("1-Wire Distributor Example: DS18B20 Sensor");
}

void loop() {
  sensors.requestTemperatures(); // Request temperature readings
  float temperature = sensors.getTempCByIndex(0); // Get temperature of first sensor

  // Print the temperature to the Serial Monitor
  Serial.print("Temperature: ");
  Serial.print(temperature);
  Serial.println(" °C");

  delay(1000); // Wait 1 second before the next reading
}
Troubleshooting and FAQs
Common Issues and Solutions
No Communication with Devices
Cause: Missing or incorrect pull-up resistor on the data line.
Solution: Ensure a 4.7kΩ pull-up resistor is connected between the DATA and VCC lines.
Devices Not Detected
Cause: Incorrect wiring or loose connections.
Solution: Double-check all connections and ensure proper wiring to the distributor.
Signal Degradation
Cause: Excessive cable length or poor-quality cables.
Solution: Use shorter, high-quality cables and minimize the total cable length.
Overheating
Cause: Exceeding the maximum current rating (1A).
Solution: Ensure the total current consumption of connected devices is within the distributor's limits.
FAQs
Q: Can I use this distributor with a 3.3V 1-Wire master?
A: Yes, but ensure that all connected devices are compatible with 3.3V operation.
Q: How many devices can I connect to the distributor?
A: You can connect up to six devices, one per port (P1 to P6).
Q: Does the distributor provide ESD protection?
A: No, external ESD protection is recommended for environments prone to electrostatic discharge.
Q: Can I use this distributor in a parasitic power mode?
A: Yes, the distributor supports parasitic power mode, but ensure the power supply can handle the additional load.
This concludes the documentation for the 1-Wire Distributor 7 - Star Bus. For further assistance, refer to the manufacturer's datasheet or contact Esera support.

 Open Project in Cirkit Designer