Cirkit Designer Logo
Cirkit Designer
Your all-in-one circuit design IDE
Home / 
Component Documentation

How to Use AB: Examples, Pinouts, and Specs
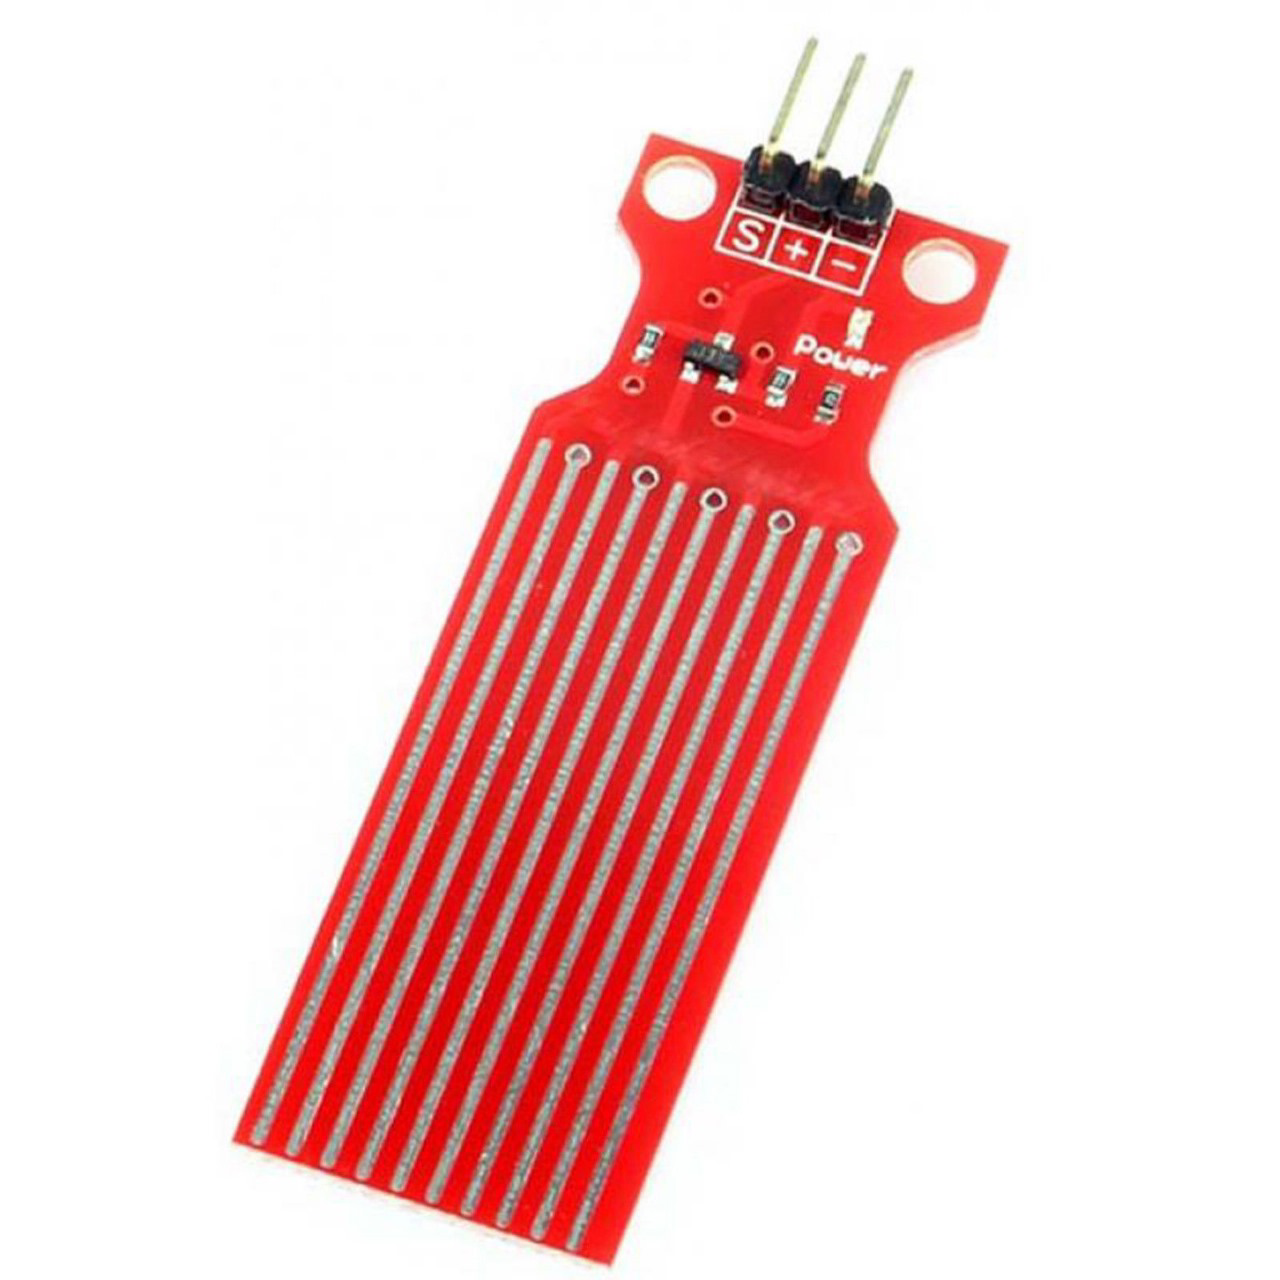
Image of AB
Cirkit Designer LogoDesign with AB in Cirkit Designer

Introduction

The AB component, manufactured by AE with the part ID 120-23, is a versatile electronic device designed for a variety of applications. This component is commonly used in systems where an audible alert is necessary, such as in alarm systems, timers, and confirmation signals for user input on electronic devices.

Explore Projects Built with AB
Use Cirkit Designer to design, explore, and prototype these projects online. Some projects support real-time simulation. Click "Open Project" to start designing instantly!
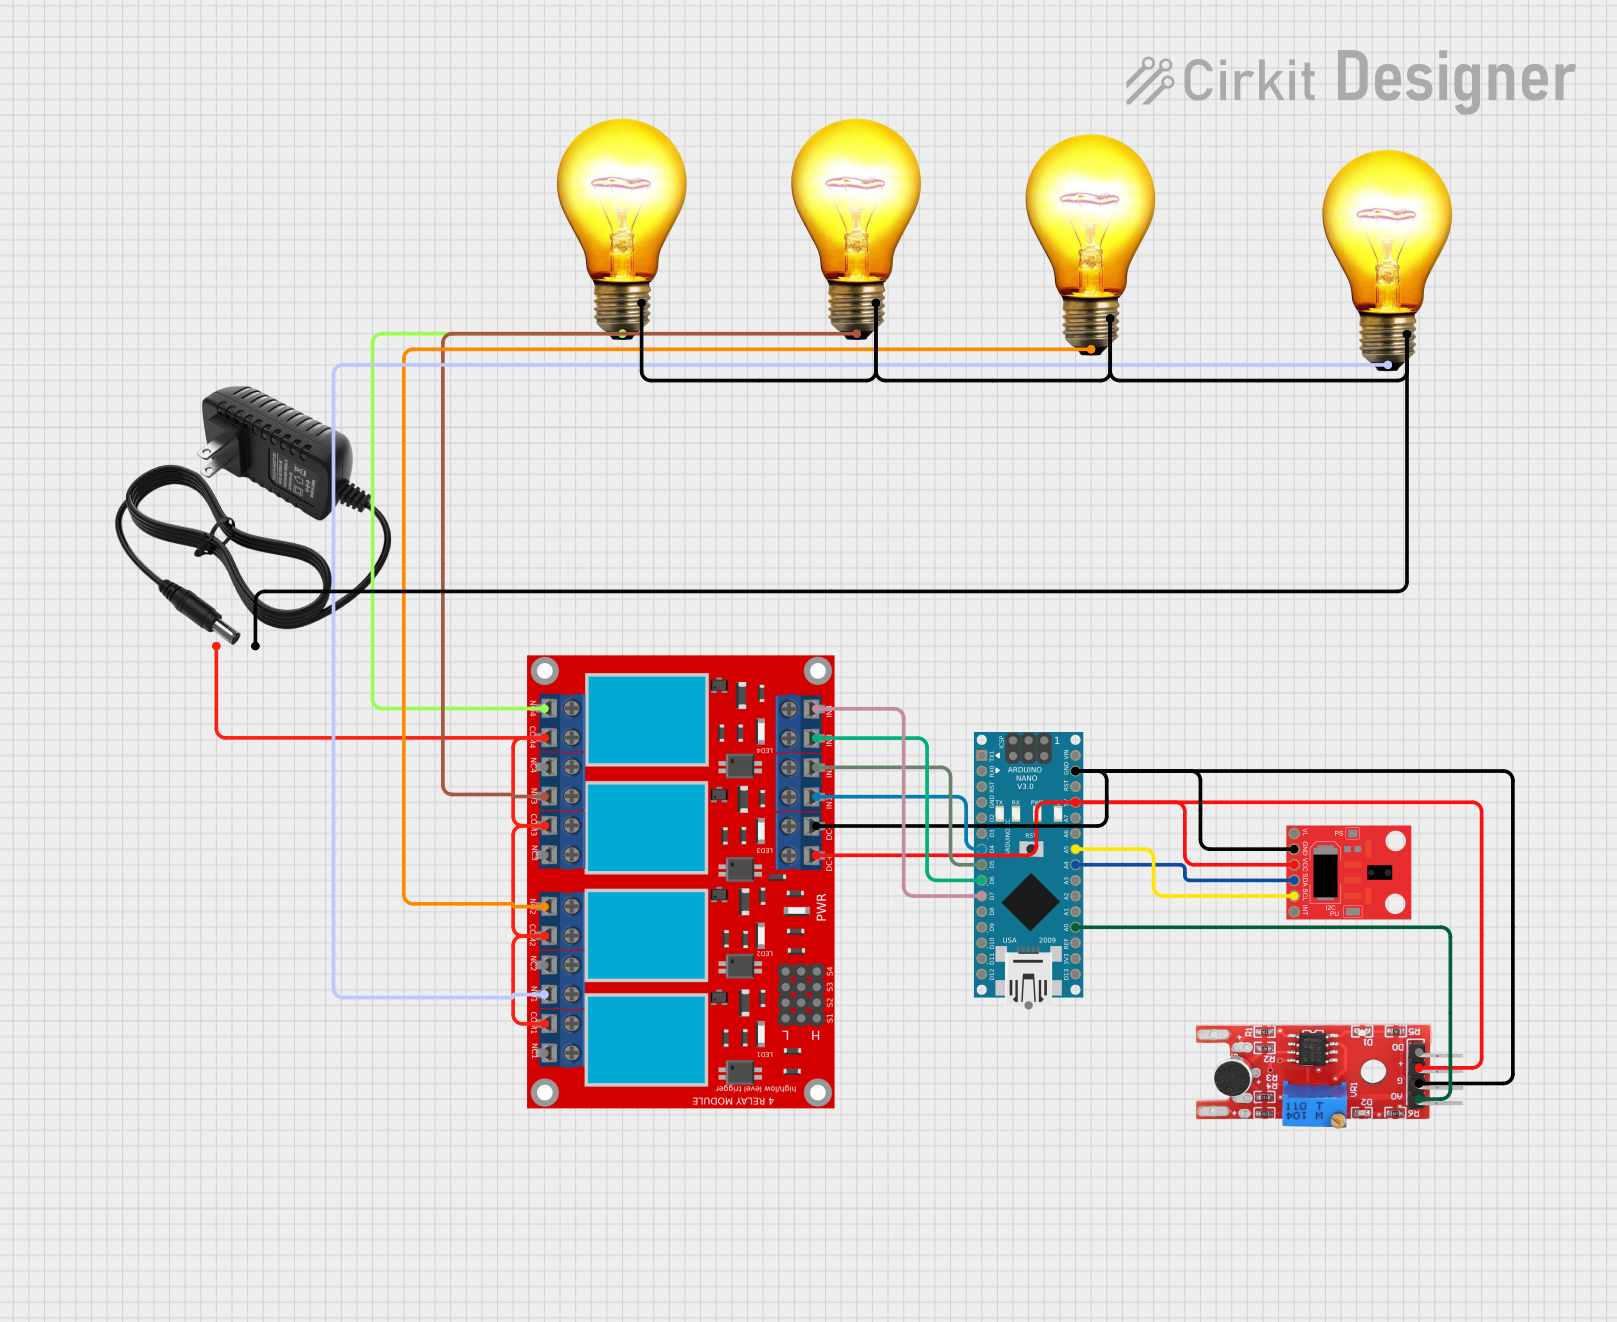
Arduino Nano-Controlled Lighting System with Gesture and Sound Interaction
Image of 4 load controll using hand gesture and sound controll: A project utilizing AB in a practical application
This circuit features an Arduino Nano microcontroller interfaced with an APDS-9960 RGB and Gesture Sensor for color and gesture detection, and a KY-038 microphone module for sound detection. The Arduino controls a 4-channel relay module, which in turn switches four AC bulbs on and off. The 12V power supply is used to power the relay module, and the bulbs are connected to the normally open (N.O.) contacts of the relays, allowing the Arduino to control the lighting based on sensor inputs.
Cirkit Designer LogoOpen Project in Cirkit Designer
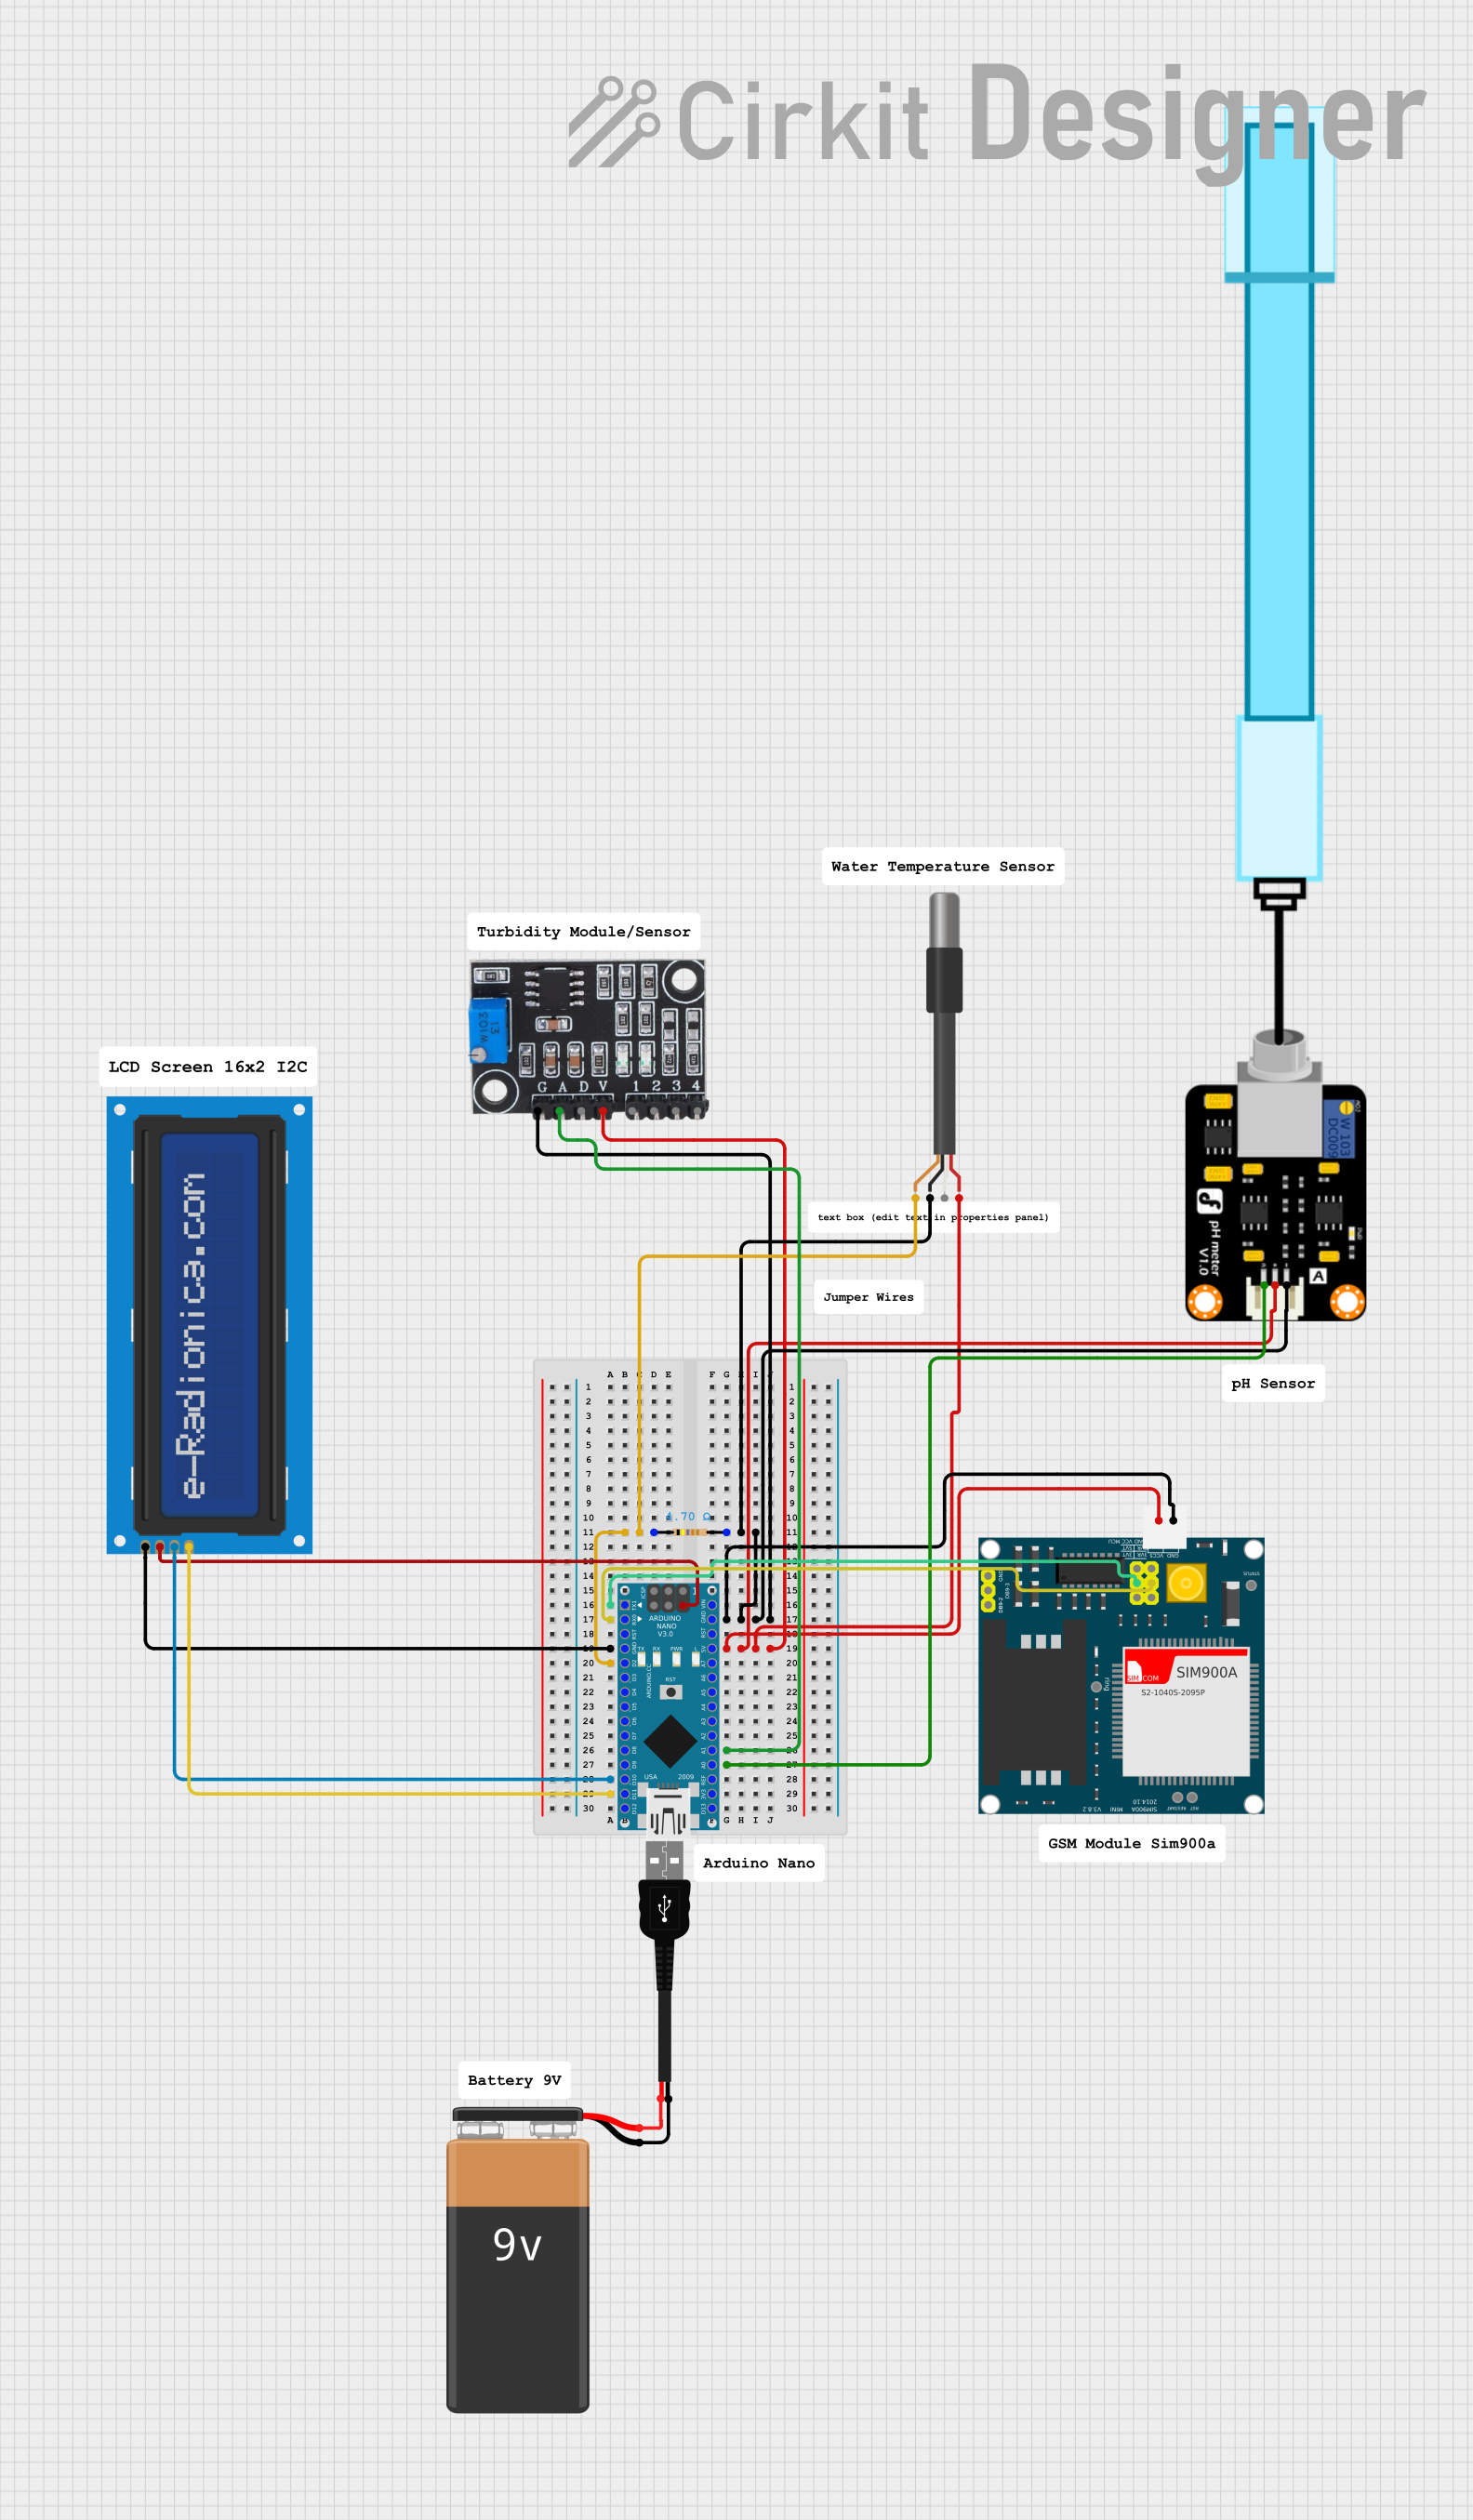
Arduino Nano-Based Water Quality Monitoring System with GSM Alert
Image of HAB detector Project: A project utilizing AB in a practical application
This circuit is designed for environmental monitoring, specifically for detecting harmful algal blooms (HABs) by measuring pH, turbidity, and temperature. It uses an Arduino Nano interfaced with a pH meter, turbidity module, and DS18B20 temperature sensor to collect data, and a SIM900A GSM module to send SMS alerts when the readings exceed predefined thresholds. The circuit also includes an LCD screen for displaying the measurements and a resistor for the temperature sensor setup.
Cirkit Designer LogoOpen Project in Cirkit Designer
AC to DC Power Supply with Transformer and Bridge Rectifier
Image of BRIDGE RECTIFIER: A project utilizing AB in a practical application
This circuit is a basic AC to DC power supply that steps down 220V AC to a lower voltage using a transformer, rectifies it to DC using a bridge rectifier made of diodes, and smooths the output with an electrolytic capacitor. A rocker switch is used to turn the power supply on and off.
Cirkit Designer LogoOpen Project in Cirkit Designer
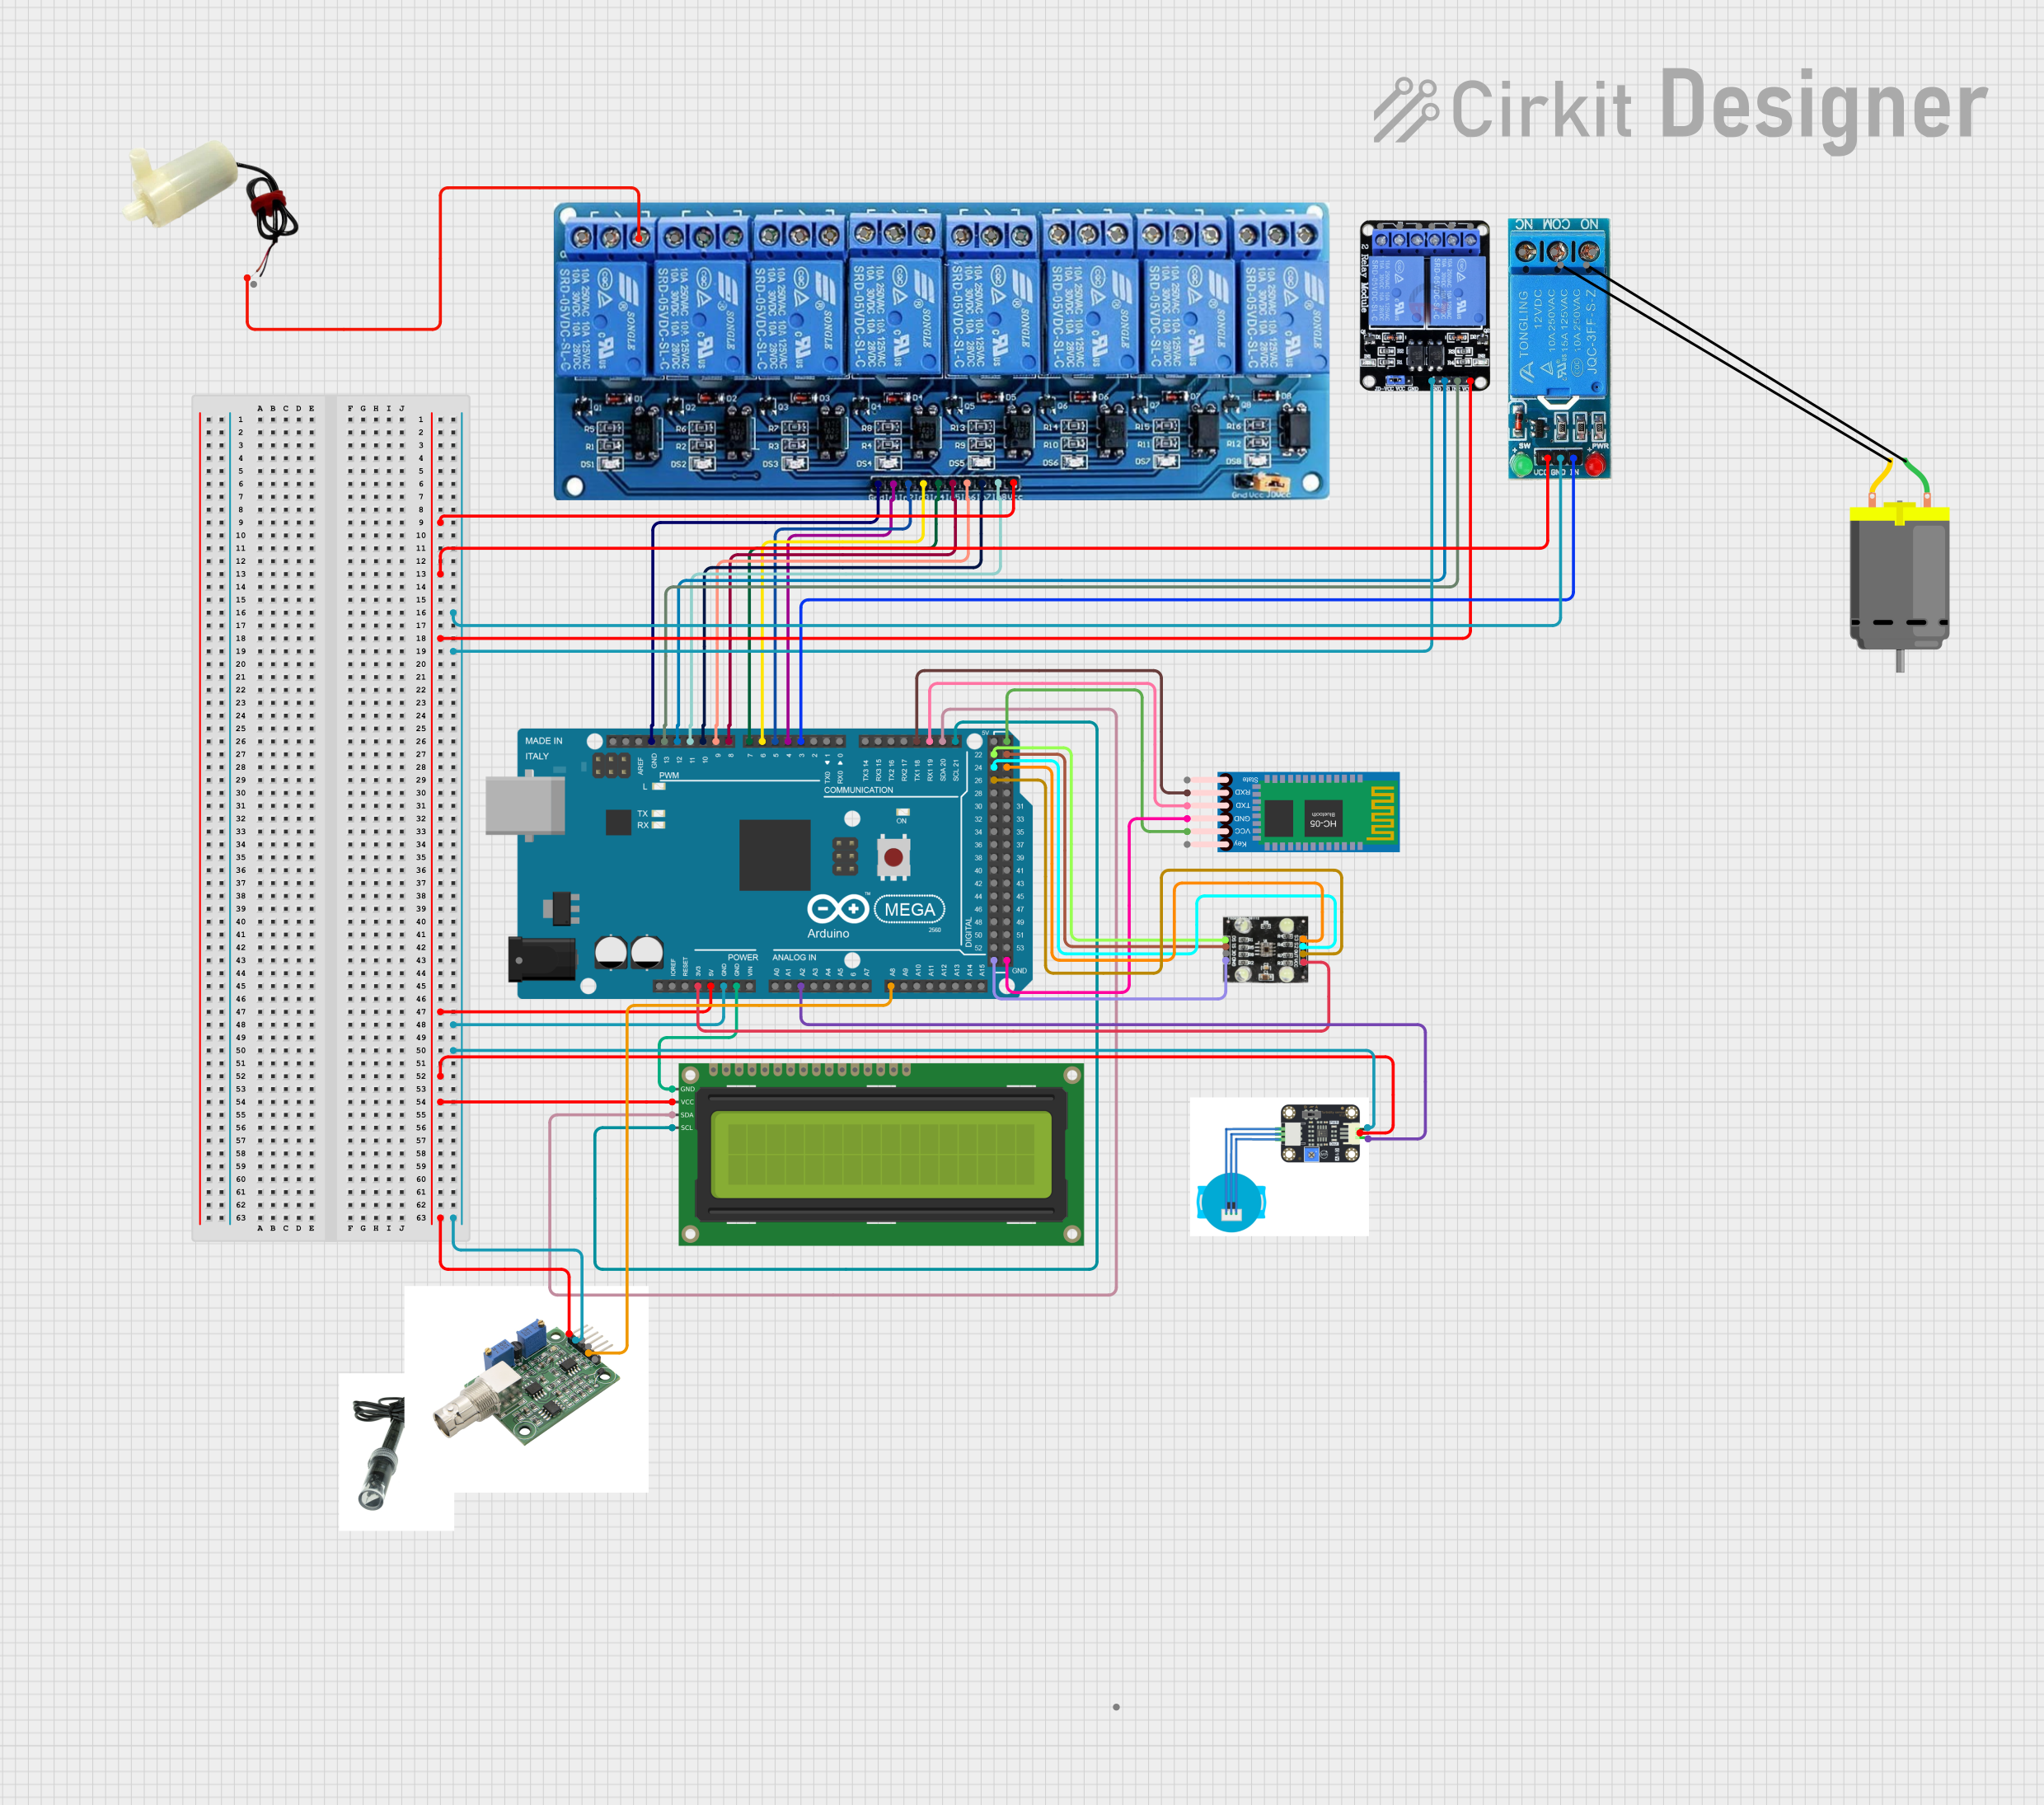
Arduino Mega 2560-Based Soil Nutrient Testing System with Bluetooth and LCD Display
Image of npk kit sensor: A project utilizing AB in a practical application
This circuit is an automated chemical testing system controlled by an Arduino Mega 2560. It uses various sensors, including a turbidity sensor and a color sensor, to measure water quality parameters, and it communicates results via an LCD display and Bluetooth module. The system also controls multiple relays to dispense chemicals for different tests.
Cirkit Designer LogoOpen Project in Cirkit Designer

Explore Projects Built with AB

Use Cirkit Designer to design, explore, and prototype these projects online. Some projects support real-time simulation. Click "Open Project" to start designing instantly!
Image of 4 load controll using hand gesture and sound controll: A project utilizing AB in a practical application
Arduino Nano-Controlled Lighting System with Gesture and Sound Interaction
This circuit features an Arduino Nano microcontroller interfaced with an APDS-9960 RGB and Gesture Sensor for color and gesture detection, and a KY-038 microphone module for sound detection. The Arduino controls a 4-channel relay module, which in turn switches four AC bulbs on and off. The 12V power supply is used to power the relay module, and the bulbs are connected to the normally open (N.O.) contacts of the relays, allowing the Arduino to control the lighting based on sensor inputs.
Cirkit Designer LogoOpen Project in Cirkit Designer
Image of HAB detector Project: A project utilizing AB in a practical application
Arduino Nano-Based Water Quality Monitoring System with GSM Alert
This circuit is designed for environmental monitoring, specifically for detecting harmful algal blooms (HABs) by measuring pH, turbidity, and temperature. It uses an Arduino Nano interfaced with a pH meter, turbidity module, and DS18B20 temperature sensor to collect data, and a SIM900A GSM module to send SMS alerts when the readings exceed predefined thresholds. The circuit also includes an LCD screen for displaying the measurements and a resistor for the temperature sensor setup.
Cirkit Designer LogoOpen Project in Cirkit Designer
Image of BRIDGE RECTIFIER: A project utilizing AB in a practical application
AC to DC Power Supply with Transformer and Bridge Rectifier
This circuit is a basic AC to DC power supply that steps down 220V AC to a lower voltage using a transformer, rectifies it to DC using a bridge rectifier made of diodes, and smooths the output with an electrolytic capacitor. A rocker switch is used to turn the power supply on and off.
Cirkit Designer LogoOpen Project in Cirkit Designer
Image of npk kit sensor: A project utilizing AB in a practical application
Arduino Mega 2560-Based Soil Nutrient Testing System with Bluetooth and LCD Display
This circuit is an automated chemical testing system controlled by an Arduino Mega 2560. It uses various sensors, including a turbidity sensor and a color sensor, to measure water quality parameters, and it communicates results via an LCD display and Bluetooth module. The system also controls multiple relays to dispense chemicals for different tests.
Cirkit Designer LogoOpen Project in Cirkit Designer

Common Applications and Use Cases

  • Alarm systems (e.g., fire, security)
  • Timers and countdown devices
  • User interface feedback for electronic devices
  • Diagnostic and status indicators in machinery

Technical Specifications

The AB component is characterized by its ability to generate an audible sound when activated. Below are the key technical specifications and pin configuration details.

Key Technical Details

  • Operating Voltage: 5V to 12V DC
  • Current Consumption: 30mA (typical at 5V)
  • Sound Output: 85dB at 10cm
  • Resonant Frequency: 2.3kHz
  • Operating Temperature: -20°C to 70°C

Pin Configuration and Descriptions

Pin Number Description
1 Positive Supply (V+)
2 Ground (GND)

Usage Instructions

How to Use the AB Component in a Circuit

  1. Connect the positive supply pin (Pin 1) to a 5V to 12V DC power source.
  2. Connect the ground pin (Pin 2) to the common ground of the circuit.
  3. To activate the AB component, apply the rated voltage to the positive supply pin.

Important Considerations and Best Practices

  • Ensure that the voltage does not exceed the maximum rating of 12V DC to prevent damage.
  • The AB component should be mounted securely to prevent vibrations that may affect sound output.
  • Avoid exposure to moisture as it may affect the functionality of the component.

Troubleshooting and FAQs

Common Issues

  • No Sound Output: Ensure that the power supply is within the rated voltage and that connections are secure.
  • Low Sound Output: Check if the voltage is too low or if there is an obstruction in the sound path.
  • Intermittent Sound: Verify that there are no loose connections and that the component is not being overdriven.

Solutions and Tips for Troubleshooting

  • Double-check wiring against the pin configuration table.
  • Measure the supply voltage with a multimeter to ensure it falls within the specified range.
  • Inspect the AB component for any physical damage that may affect its operation.

FAQs

Q: Can the AB component be driven directly by a microcontroller pin?

A: Yes, if the microcontroller can supply sufficient current at the rated voltage.

Q: Is the AB component polarized?

A: Yes, it has a positive and a negative terminal, and correct polarity must be observed.

Q: Can I use the AB component with an Arduino UNO?

A: Yes, the AB component can be used with an Arduino UNO. Ensure that you connect it to a digital pin capable of providing the required current.

Example Code for Arduino UNO

// Define the pin connected to the AB component
const int abPin = 8; // Connect the AB component to digital pin 8

void setup() {
  pinMode(abPin, OUTPUT); // Set the AB pin as an output
}

void loop() {
  digitalWrite(abPin, HIGH); // Turn on the AB component
  delay(1000);              // Wait for 1 second
  digitalWrite(abPin, LOW);  // Turn off the AB component
  delay(1000);              // Wait for 1 second
}

This simple Arduino sketch will turn the AB component on and off in one-second intervals, producing a beeping sound.

Remember to ensure that the AB component's current requirements do not exceed the sourcing capabilities of the Arduino UNO's digital pin. If the current requirement is too high, you may need to use a transistor to switch the AB component on and off.