
How to Use SCREENKEYMATINGCONNECTOR: Examples, Pinouts, and Specs
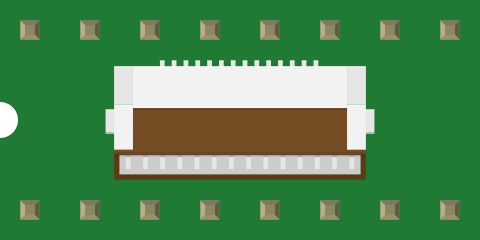
 Design with SCREENKEYMATINGCONNECTOR in Cirkit Designer
Introduction
The SCREENKEYMATINGCONNECTOR is a specialized connector designed to mate with a corresponding connector, ensuring secure and reliable electrical connections. It is commonly used in screen applications, such as LCDs, OLEDs, and other display modules, where stable and precise connections are critical for performance. This component is ideal for applications requiring compact, durable, and high-quality connectors.
Explore Projects Built with SCREENKEYMATINGCONNECTOR
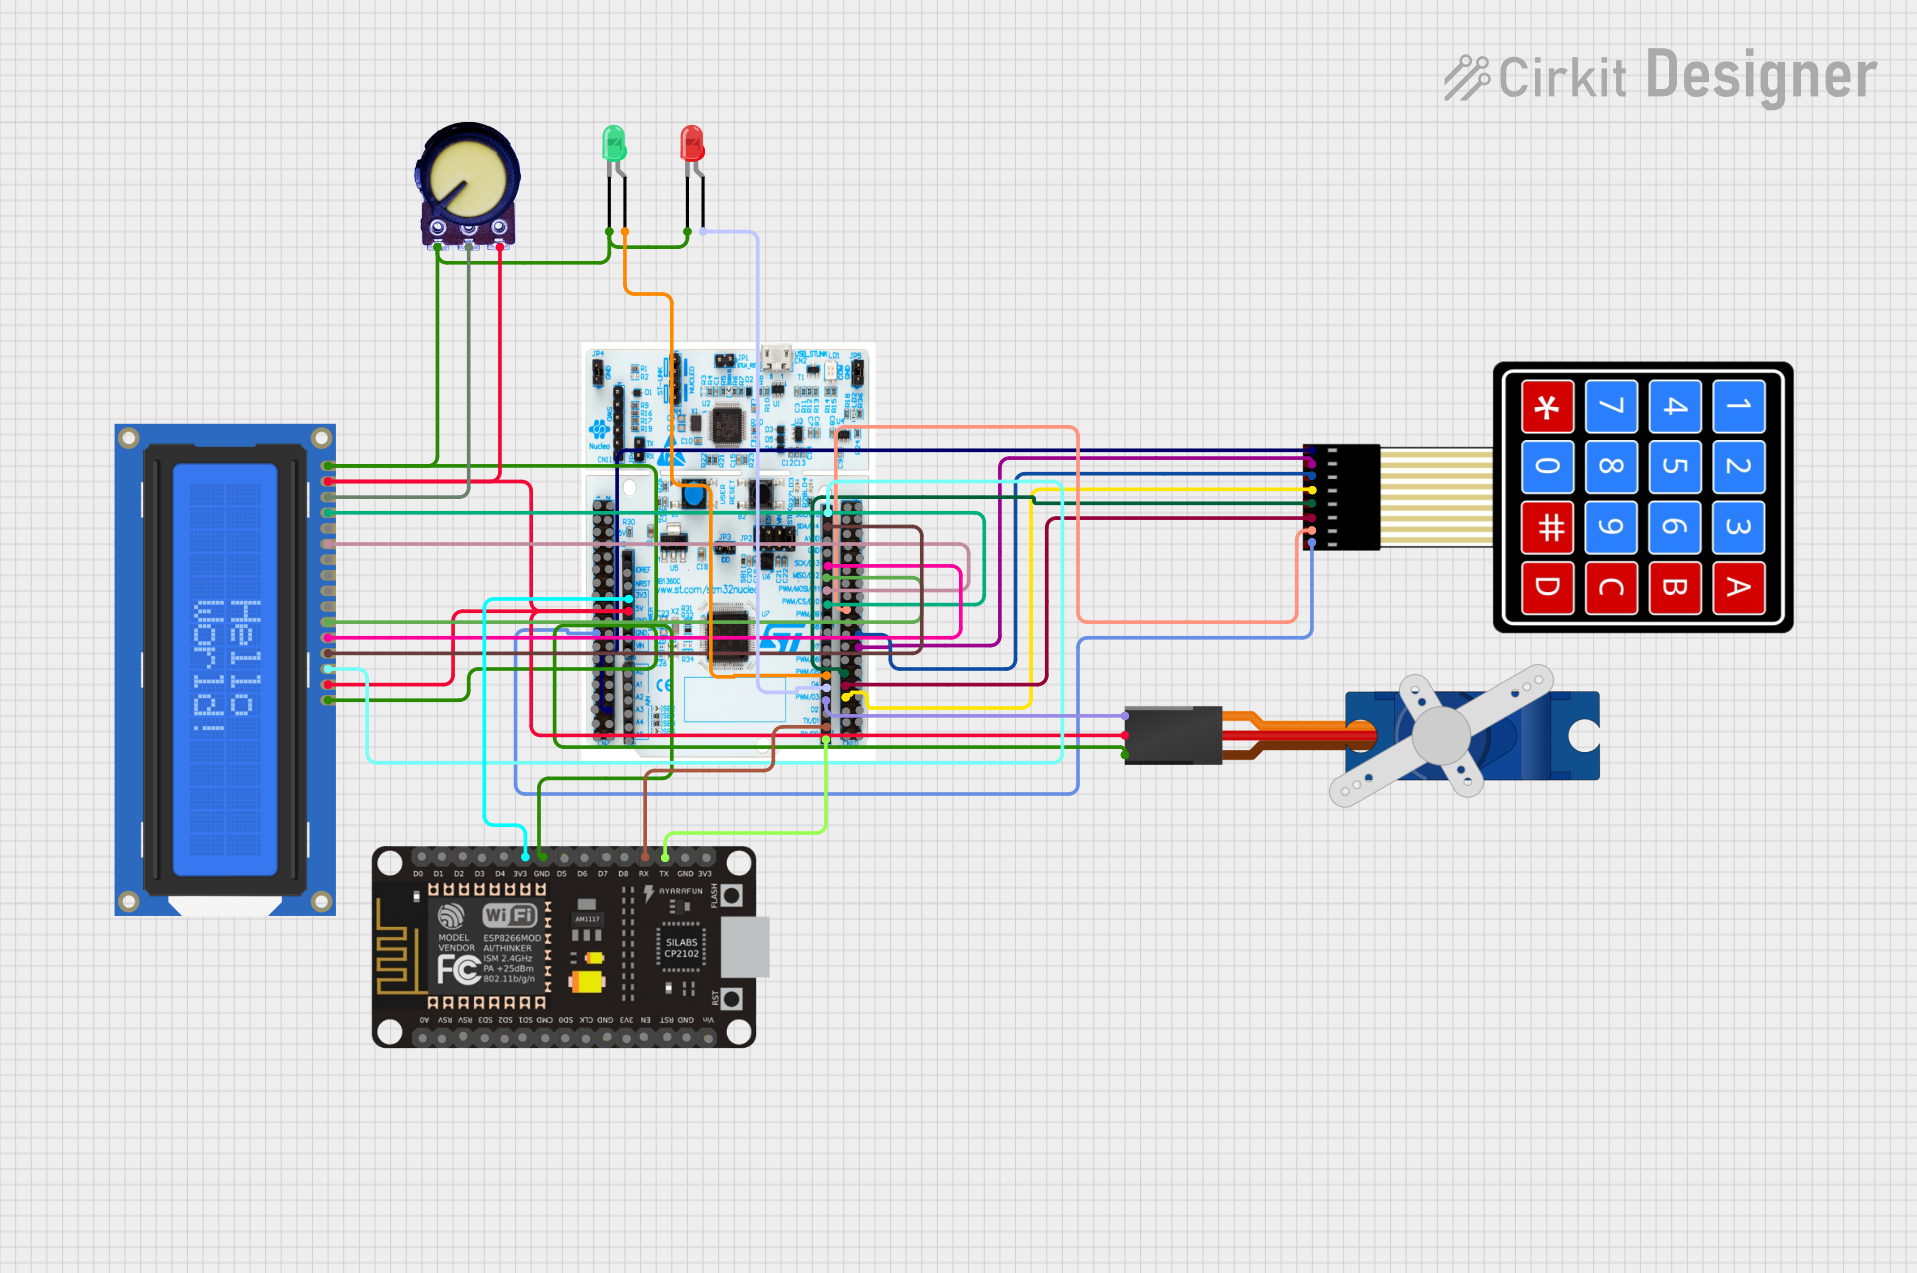 Open Project in Cirkit Designer
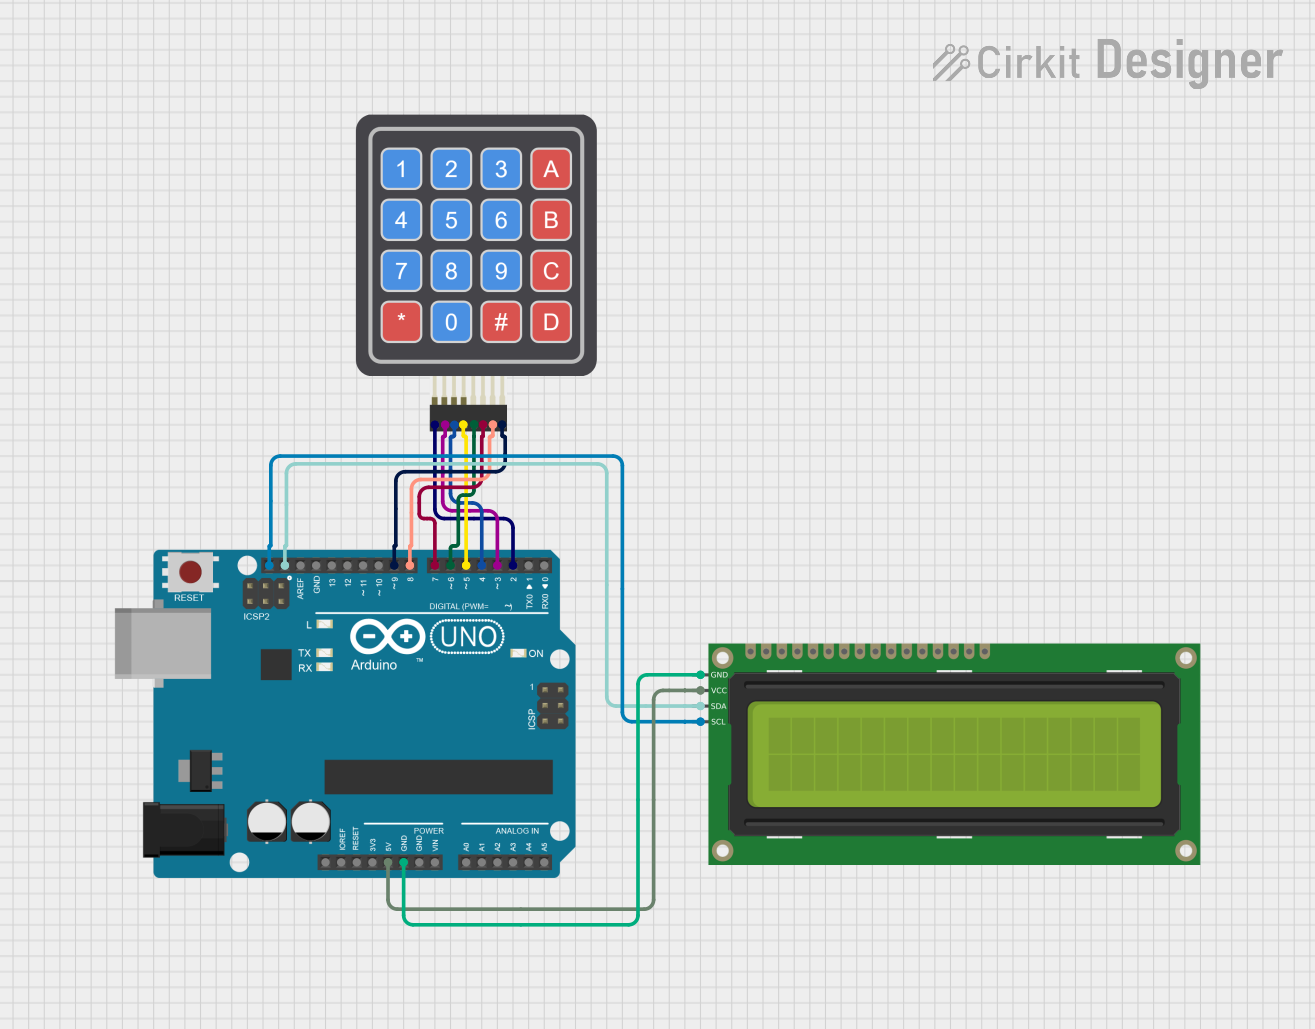 Open Project in Cirkit Designer
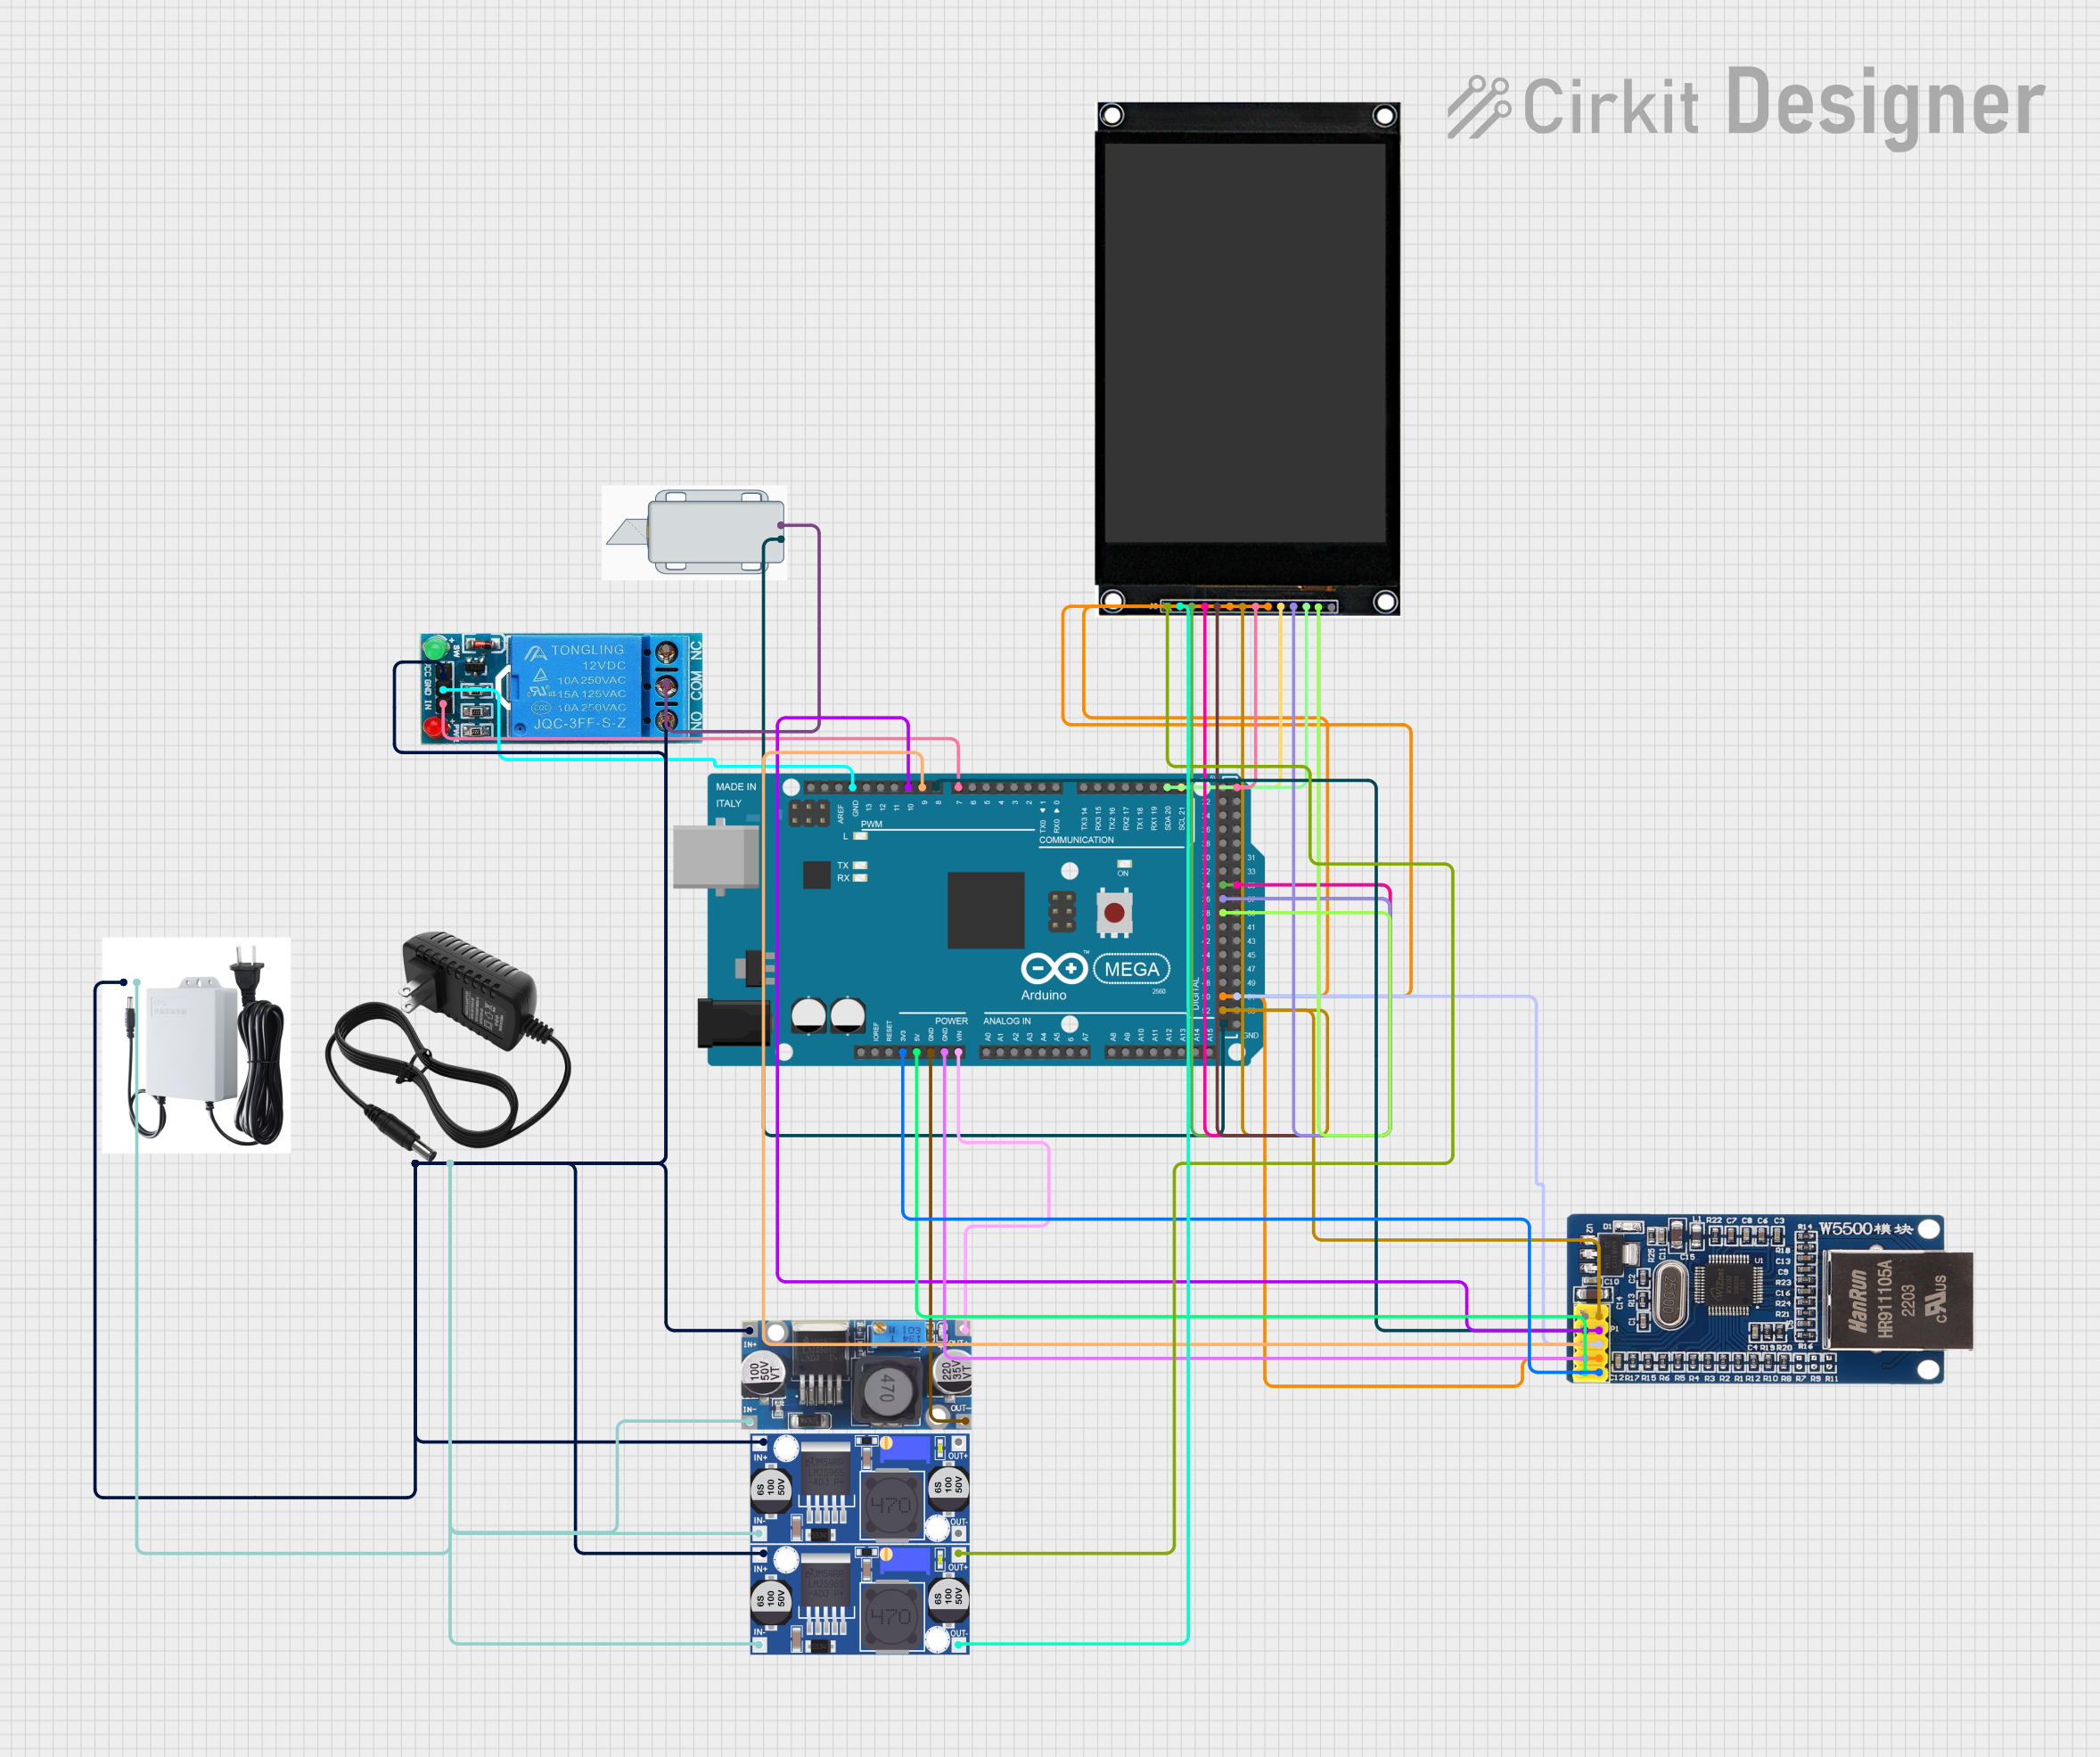 Open Project in Cirkit Designer
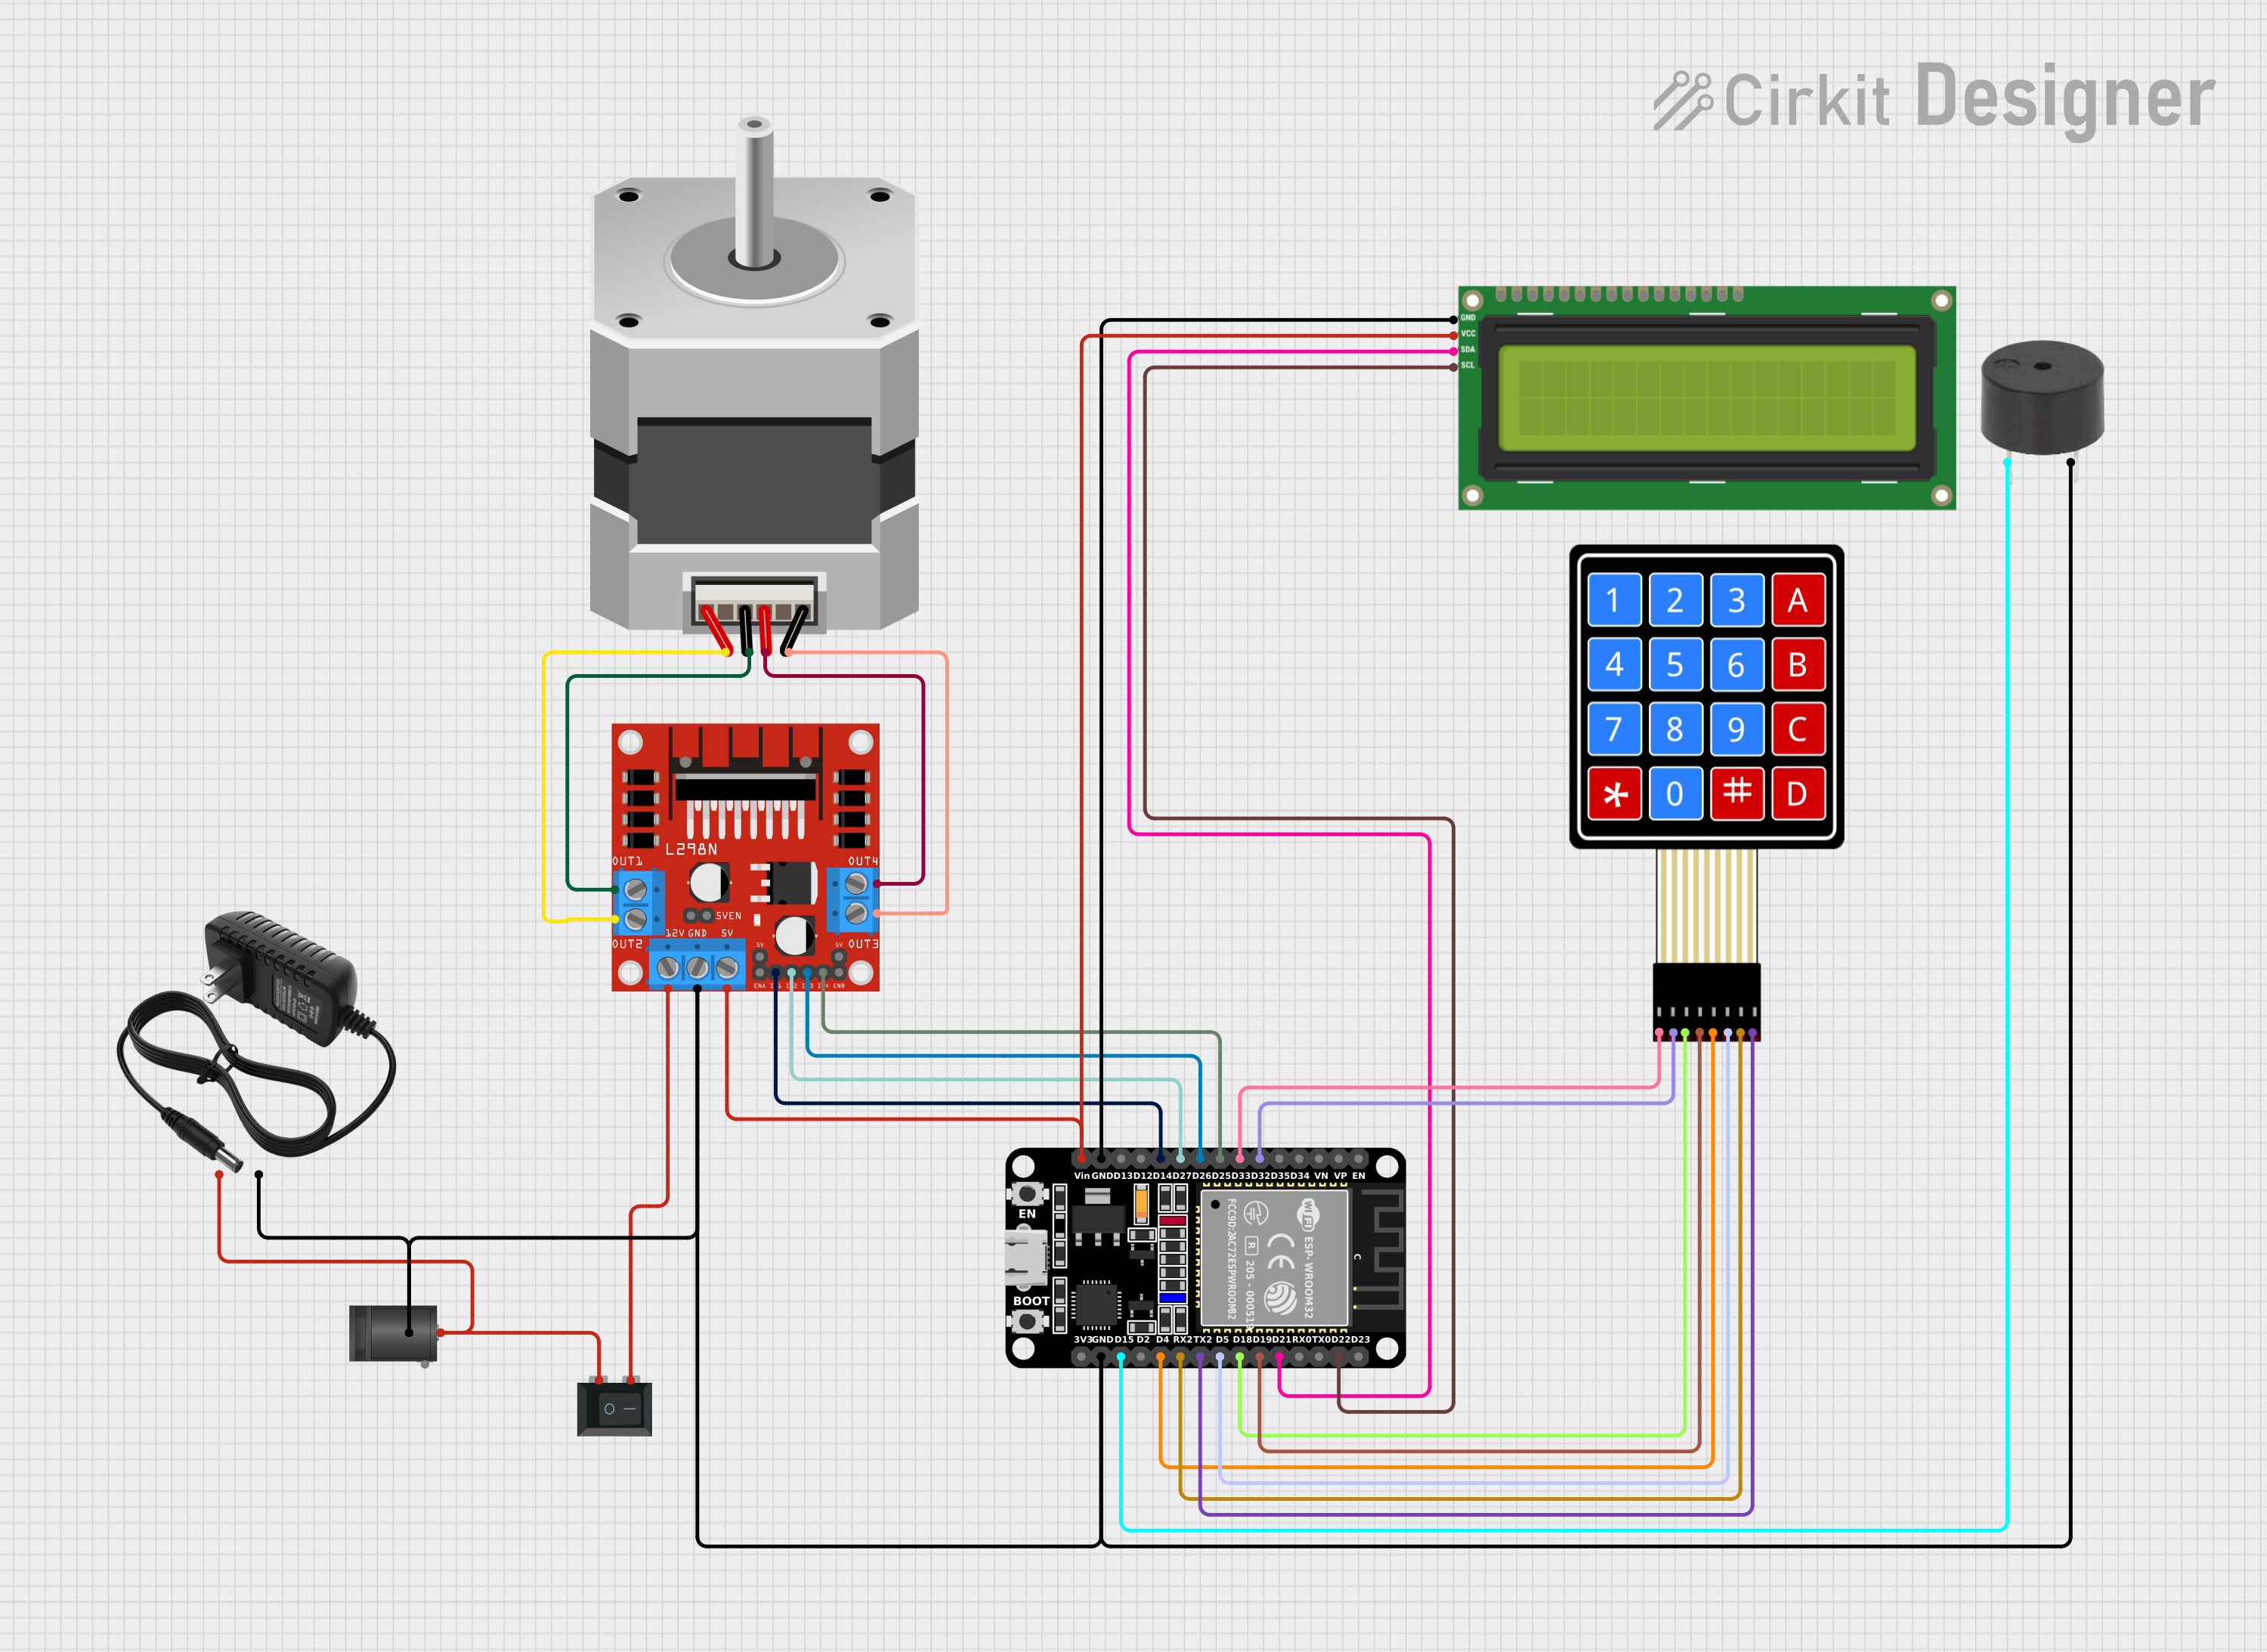 Open Project in Cirkit Designer
Explore Projects Built with SCREENKEYMATINGCONNECTOR
Open Project in Cirkit DesignerOpen Project in Cirkit DesignerOpen Project in Cirkit DesignerOpen Project in Cirkit DesignerCommon Applications:
- LCD and OLED screen connections in consumer electronics
- Industrial display modules
- Embedded systems with display interfaces
- Prototyping and development of screen-based devices
Technical Specifications
Key Technical Details:
- Voltage Rating: 30V DC
- Current Rating: 1A per pin
- Contact Resistance: ≤ 30 mΩ
- Insulation Resistance: ≥ 100 MΩ at 500V DC
- Operating Temperature: -40°C to +85°C
- Durability: 500 mating cycles
- Pitch: 0.5mm (typical for screen connectors)
- Material:
- Contacts: Gold-plated copper alloy
- Housing: High-temperature thermoplastic (UL94V-0 rated)
Pin Configuration and Descriptions:
The SCREENKEYMATINGCONNECTOR typically features a flat ribbon or FPC (Flexible Printed Circuit) interface. Below is an example of a 10-pin configuration:
| Pin Number | Description | Notes |
|---|---|---|
| 1 | Ground (GND) | Common ground for the circuit |
| 2 | Power Supply (VCC) | Voltage input (e.g., 3.3V or 5V) |
| 3 | Data Line 1 (D1) | First data signal |
| 4 | Data Line 2 (D2) | Second data signal |
| 5 | Clock Signal (CLK) | Synchronization clock |
| 6 | Enable (EN) | Enables the screen or module |
| 7 | Reset (RST) | Resets the connected screen |
| 8 | Backlight Control (BL) | Controls screen backlight intensity |
| 9 | Data Line 3 (D3) | Third data signal |
| 10 | Data Line 4 (D4) | Fourth data signal |
Note: Pin configuration may vary depending on the specific model or application. Always refer to the datasheet of the corresponding screen module.
Usage Instructions
How to Use the SCREENKEYMATINGCONNECTOR in a Circuit:
- Identify the Mating Connector: Ensure the SCREENKEYMATINGCONNECTOR matches the corresponding connector on your screen module (e.g., FPC or ribbon cable type).
- Align the Connector: Carefully align the connector pins with the mating connector to avoid misalignment or damage.
- Secure the Connection: Use the locking mechanism (if available) to secure the connection and prevent accidental disconnection.
- Connect to Power and Signals: Wire the connector pins to the appropriate power supply, ground, and signal lines as per the pin configuration.
- Test the Circuit: Power on the circuit and verify that the screen module operates correctly.
Important Considerations and Best Practices:
- Avoid Overvoltage: Ensure the voltage supplied to the connector does not exceed the rated voltage (30V DC).
- Handle with Care: Avoid excessive force when mating or un-mating the connector to prevent damage.
- Check Compatibility: Verify that the connector pitch (e.g., 0.5mm) matches the mating connector.
- Use Proper Tools: For FPC connectors, use a flat tool to insert or remove the ribbon cable without bending or damaging it.
- Secure Connections: If the connector includes a locking mechanism, ensure it is fully engaged to maintain a stable connection.
Example: Connecting to an Arduino UNO
The SCREENKEYMATINGCONNECTOR can be used to interface a screen module with an Arduino UNO. Below is an example of Arduino code to control a screen module via the connector:
#include <Wire.h>  // Include Wire library for I2C communication

#define SCREEN_ADDRESS 0x3C  // I2C address of the screen module

void setup() {
  Wire.begin();  // Initialize I2C communication
  Serial.begin(9600);  // Start serial communication for debugging

  // Initialize the screen
  initializeScreen();
}

void loop() {
  // Example: Send data to the screen
  sendScreenData("Hello, World!");
  delay(1000);  // Wait for 1 second
}

void initializeScreen() {
  Wire.beginTransmission(SCREEN_ADDRESS);  // Start communication with screen
  Wire.write(0x00);  // Send initialization command
  Wire.endTransmission();  // End communication

  Serial.println("Screen initialized.");  // Debug message
}

void sendScreenData(String message) {
  Wire.beginTransmission(SCREEN_ADDRESS);  // Start communication with screen
  Wire.write(0x40);  // Command to write data
  for (int i = 0; i < message.length(); i++) {
    Wire.write(message[i]);  // Send each character
  }
  Wire.endTransmission();  // End communication

  Serial.println("Data sent to screen.");  // Debug message
}
Note: The above code assumes the screen module communicates via I2C. Modify the code as needed for other communication protocols (e.g., SPI).
Troubleshooting and FAQs
Common Issues:
No Display Output:
- Cause: Incorrect wiring or loose connection.
- Solution: Double-check the wiring and ensure the connector is securely mated.
Screen Flickering:
- Cause: Insufficient power supply or unstable connections.
- Solution: Verify the power supply voltage and current ratings. Ensure all connections are stable.
Overheating:
- Cause: Excessive current or short circuit.
- Solution: Check for short circuits and ensure the current does not exceed 1A per pin.
Connector Damage:
- Cause: Excessive force during mating/un-mating.
- Solution: Handle the connector gently and use proper tools for FPC cables.
FAQs:
Q: Can I use the SCREENKEYMATINGCONNECTOR for non-screen applications?
A: Yes, it can be used for other low-power, high-density connections, but it is optimized for screen modules.Q: How do I clean the connector contacts?
A: Use a soft, lint-free cloth and isopropyl alcohol to clean the contacts. Avoid abrasive materials.Q: What should I do if the connector does not fit?
A: Verify the pitch and type of the mating connector. Ensure compatibility before attempting to connect.Q: Can I use this connector in outdoor applications?
A: The connector is not weatherproof. For outdoor use, consider additional sealing or a weatherproof enclosure.
By following this documentation, users can effectively integrate the SCREENKEYMATINGCONNECTOR into their projects and troubleshoot common issues with ease.