Cirkit Designer LogoCirkit DesignerYour all-in-one circuit design IDE Launch Cirkit Designer App

How to Use MicroSD to SD adapter: Examples, Pinouts, and Specs

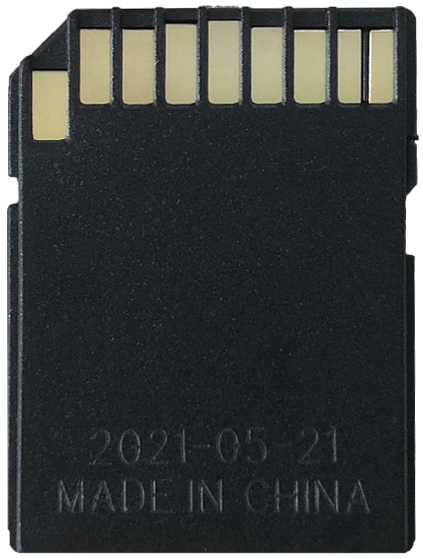
Image of MicroSD to SD adapterDesign with MicroSD to SD adapter in Cirkit Designer

Introduction

The MicroSD to SD adapter is a compact and versatile device that allows a MicroSD card to be used in devices with a standard SD card slot. By providing seamless compatibility, this adapter enables users to expand storage or transfer data between devices that support different card formats. It is widely used in cameras, laptops, gaming consoles, and other devices that rely on SD card storage.

Explore Projects Built with MicroSD to SD adapter

Use Cirkit Designer to design, explore, and prototype these projects online. Some projects support real-time simulation. Click "Open Project" to start designing instantly!
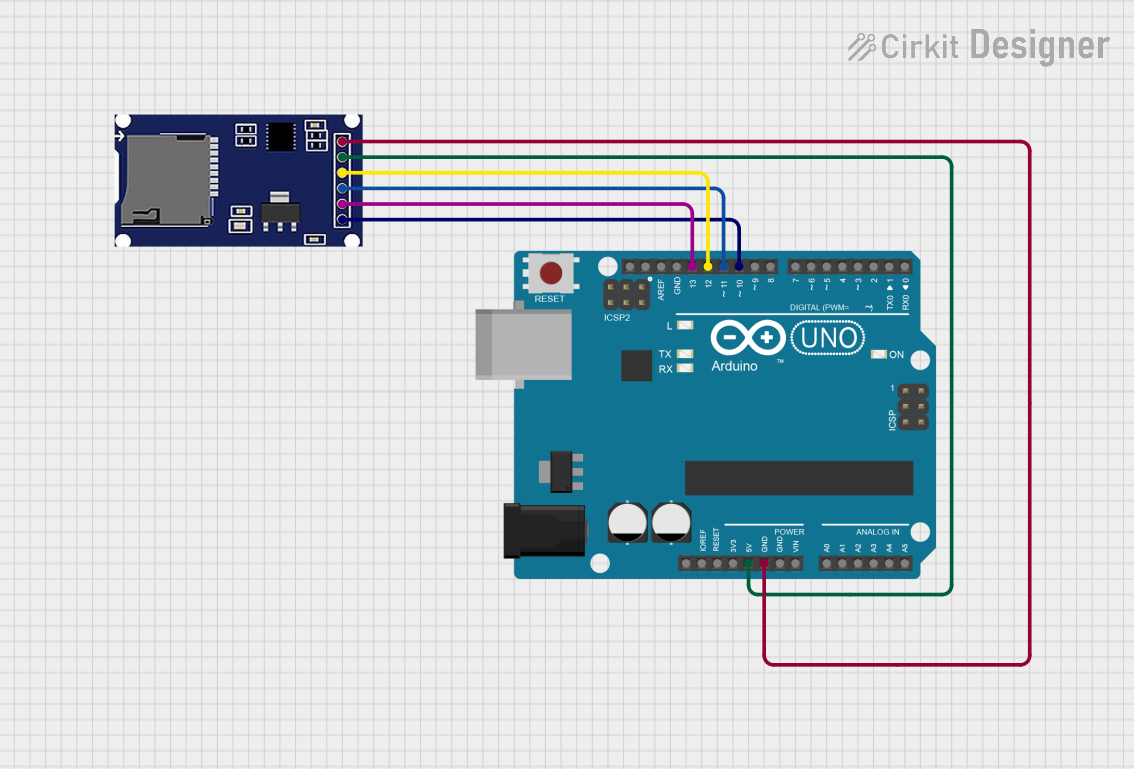
Image of Arduino UNO SD Card Data Logger: A project utilizing MicroSD to SD adapter in a practical application
Arduino UNO SD Card Data Logger

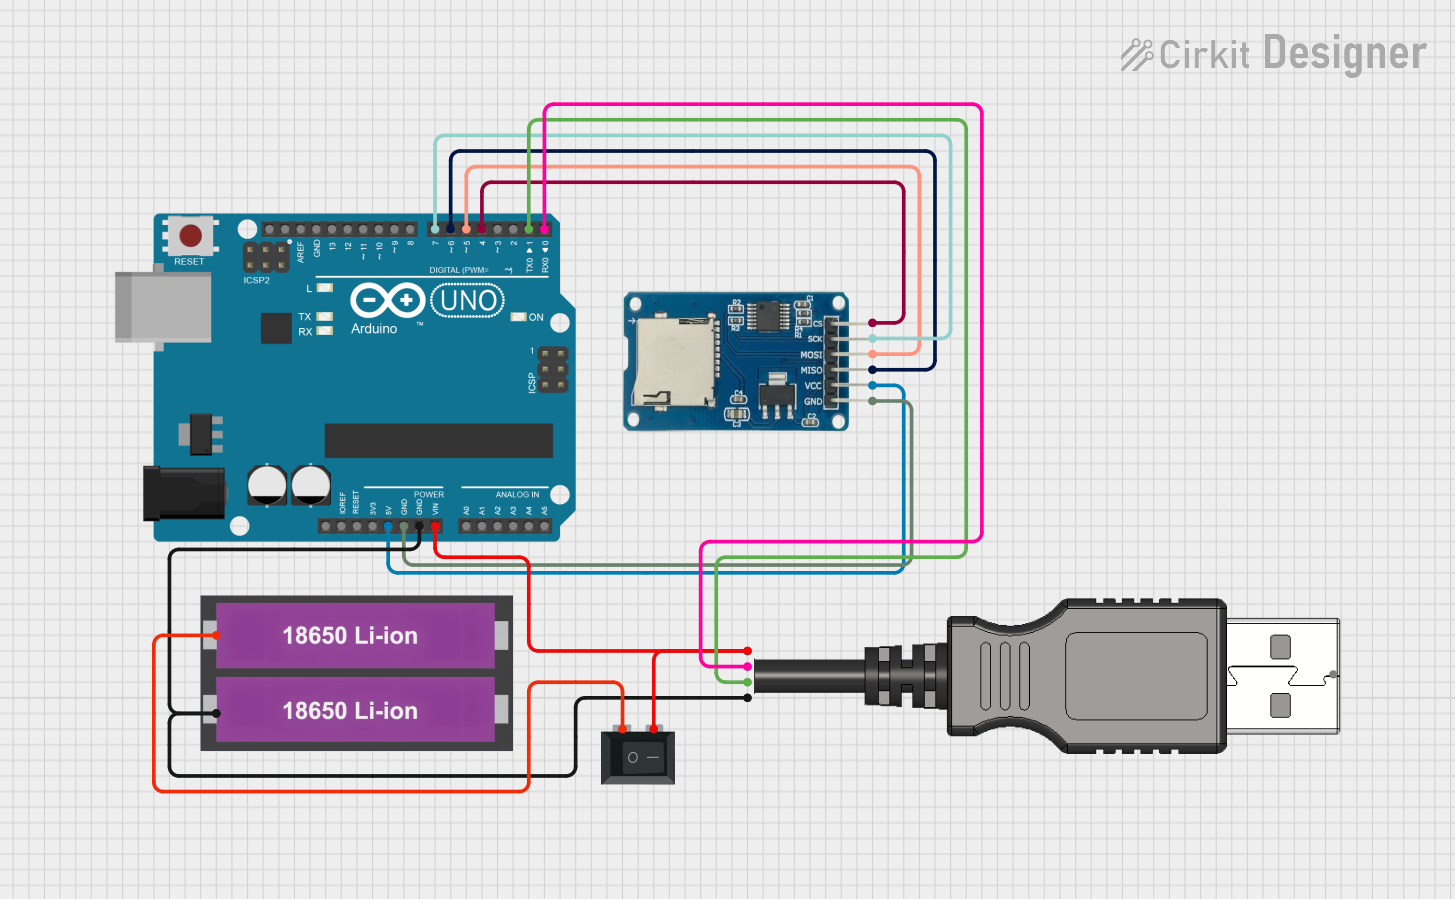
This circuit consists of an Arduino UNO connected to an SD card module. The Arduino provides power and ground to the SD module and interfaces with it using SPI communication through digital pins D10 (CS), D11 (MOSI), D12 (MISO), and D13 (SCK). The setup is intended for reading from or writing to an SD card using the Arduino.

Open Project in Cirkit Designer
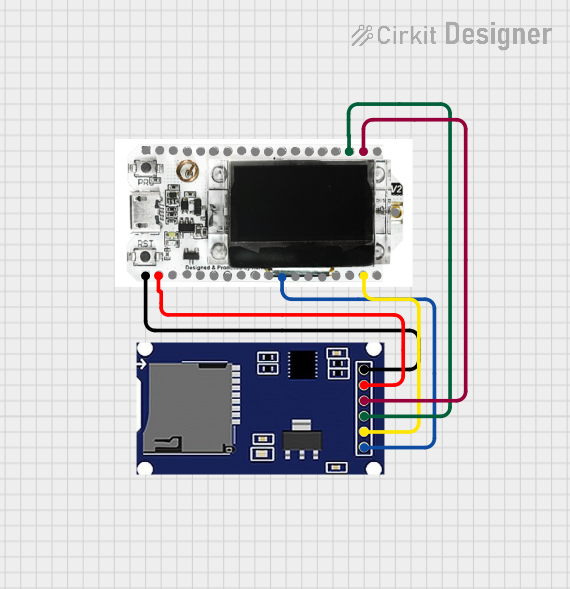
Image of Heltec LoRa V2 with SD Card Data Logging: A project utilizing MicroSD to SD adapter in a practical application
Heltec LoRa V2 with SD Card Data Logging

This circuit connects an SD card module to a Heltec LoRa V2 microcontroller for data storage and retrieval. The SD module is interfaced with the microcontroller via SPI communication, utilizing the CS, SCK, MOSI, and MISO pins. Power is supplied to the SD module from the microcontroller's 5V output, and both modules share a common ground.

Open Project in Cirkit Designer
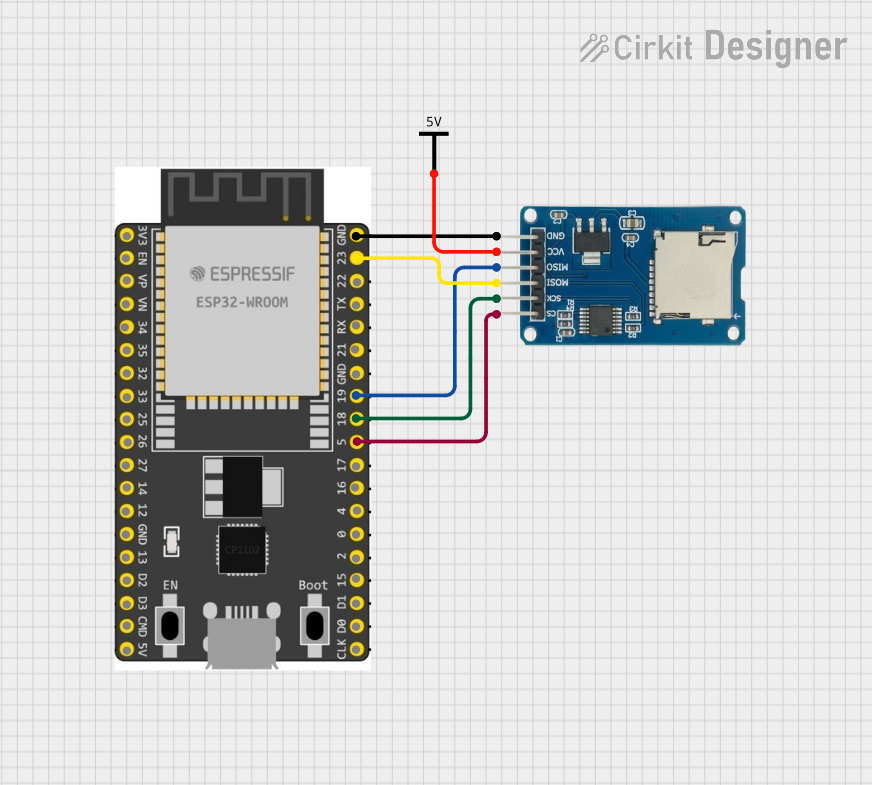
Image of ESP32-Based SD Card Data Logger: A project utilizing MicroSD to SD adapter in a practical application
ESP32-Based SD Card Data Logger

This circuit connects an ESP32 Wroom Dev Kit microcontroller to a Micro SD Card Module for data storage purposes. The ESP32 is configured to communicate with the SD card using the SPI protocol, as indicated by the connections of MOSI, MISO, SCK, and CS pins. A separate Vcc component provides power to the SD card module.

Open Project in Cirkit Designer

Common Applications and Use Cases

Technical Specifications

The MicroSD to SD adapter is a passive device with no active electronic components. It simply maps the electrical connections of a MicroSD card to the corresponding pins of an SD card slot.

Key Technical Details

Pin Configuration and Descriptions

The adapter maps the MicroSD card pins to the corresponding SD card pins as shown below:

SD Card Pin MicroSD Card Pin Description
1 1 DAT2 (Data Line 2)
2 2 CD/DAT3 (Card Detect/Data Line 3)
3 3 CMD (Command Line)
4 4 VDD (Power Supply)
5 5 CLK (Clock Signal)
6 6 VSS (Ground)
7 7 DAT0 (Data Line 0)
8 8 DAT1 (Data Line 1)
9 9 Reserved (Not Connected)

Usage Instructions

How to Use the Adapter in a Circuit

  1. Insert the MicroSD Card: Gently insert the MicroSD card into the adapter, ensuring proper alignment with the contacts.
  2. Insert the Adapter: Place the adapter into the SD card slot of the host device.
  3. Access the Card: The host device will recognize the MicroSD card as if it were a standard SD card. Ensure the card is formatted correctly (e.g., FAT32 or exFAT) for compatibility.

Important Considerations and Best Practices

Example: Using with an Arduino UNO

The MicroSD to SD adapter can be used with an Arduino UNO for data logging applications. Below is an example of interfacing the adapter with an Arduino UNO using the SD library.

Circuit Connections

  1. Connect the SD card adapter to the Arduino UNO as follows:
    • CS (Chip Select): Pin 10
    • MOSI: Pin 11
    • MISO: Pin 12
    • SCK (Clock): Pin 13
    • VCC: 3.3V or 5V (depending on the adapter)
    • GND: Ground

Example Code

#include <SPI.h>
#include <SD.h>

// Define the chip select pin for the SD card
const int chipSelect = 10;

void setup() {
  // Initialize serial communication for debugging
  Serial.begin(9600);
  while (!Serial) {
    ; // Wait for the serial port to connect (for native USB boards)
  }

  Serial.println("Initializing SD card...");

  // Check if the SD card is present and can be initialized
  if (!SD.begin(chipSelect)) {
    Serial.println("Card failed, or not present");
    // Stop further execution if the card is not detected
    while (1);
  }
  Serial.println("Card initialized successfully!");
}

void loop() {
  // Example: Write data to a file on the SD card
  File dataFile = SD.open("example.txt", FILE_WRITE);

  // Check if the file opened successfully
  if (dataFile) {
    dataFile.println("Hello, SD card!");
    dataFile.close(); // Close the file to save changes
    Serial.println("Data written to file.");
  } else {
    Serial.println("Error opening file.");
  }

  delay(1000); // Wait for 1 second before repeating
}

Troubleshooting and FAQs

Common Issues and Solutions

  1. MicroSD Card Not Detected:

    • Ensure the card is properly inserted into the adapter.
    • Verify that the adapter is fully seated in the SD card slot.
    • Check if the card is formatted correctly (e.g., FAT32 for most devices).
  2. Data Transfer Errors:

    • Use a high-quality MicroSD card with sufficient speed class (e.g., Class 10 or UHS-I).
    • Ensure the card is not write-protected (some adapters have a physical lock switch).
  3. Adapter Not Recognized by Host Device:

    • Inspect the adapter and card contacts for dirt or damage.
    • Test the adapter with a different MicroSD card or device to isolate the issue.
  4. Arduino Fails to Initialize SD Card:

    • Double-check the wiring between the Arduino and the adapter.
    • Ensure the correct chip select pin is defined in the code.
    • Use a level shifter if the adapter requires 3.3V logic and the Arduino operates at 5V.

FAQs