
How to Use Netduino: Examples, Pinouts, and Specs

 Design with Netduino in Cirkit Designer
Introduction
The Netduino, manufactured by Secret Labs, is a versatile microcontroller board that combines the simplicity of Arduino hardware with the power of the .NET Micro Framework. Designed for developers familiar with C#, the Netduino allows for seamless integration with sensors, actuators, and other devices, making it an excellent choice for IoT projects, robotics, and home automation.
Explore Projects Built with Netduino
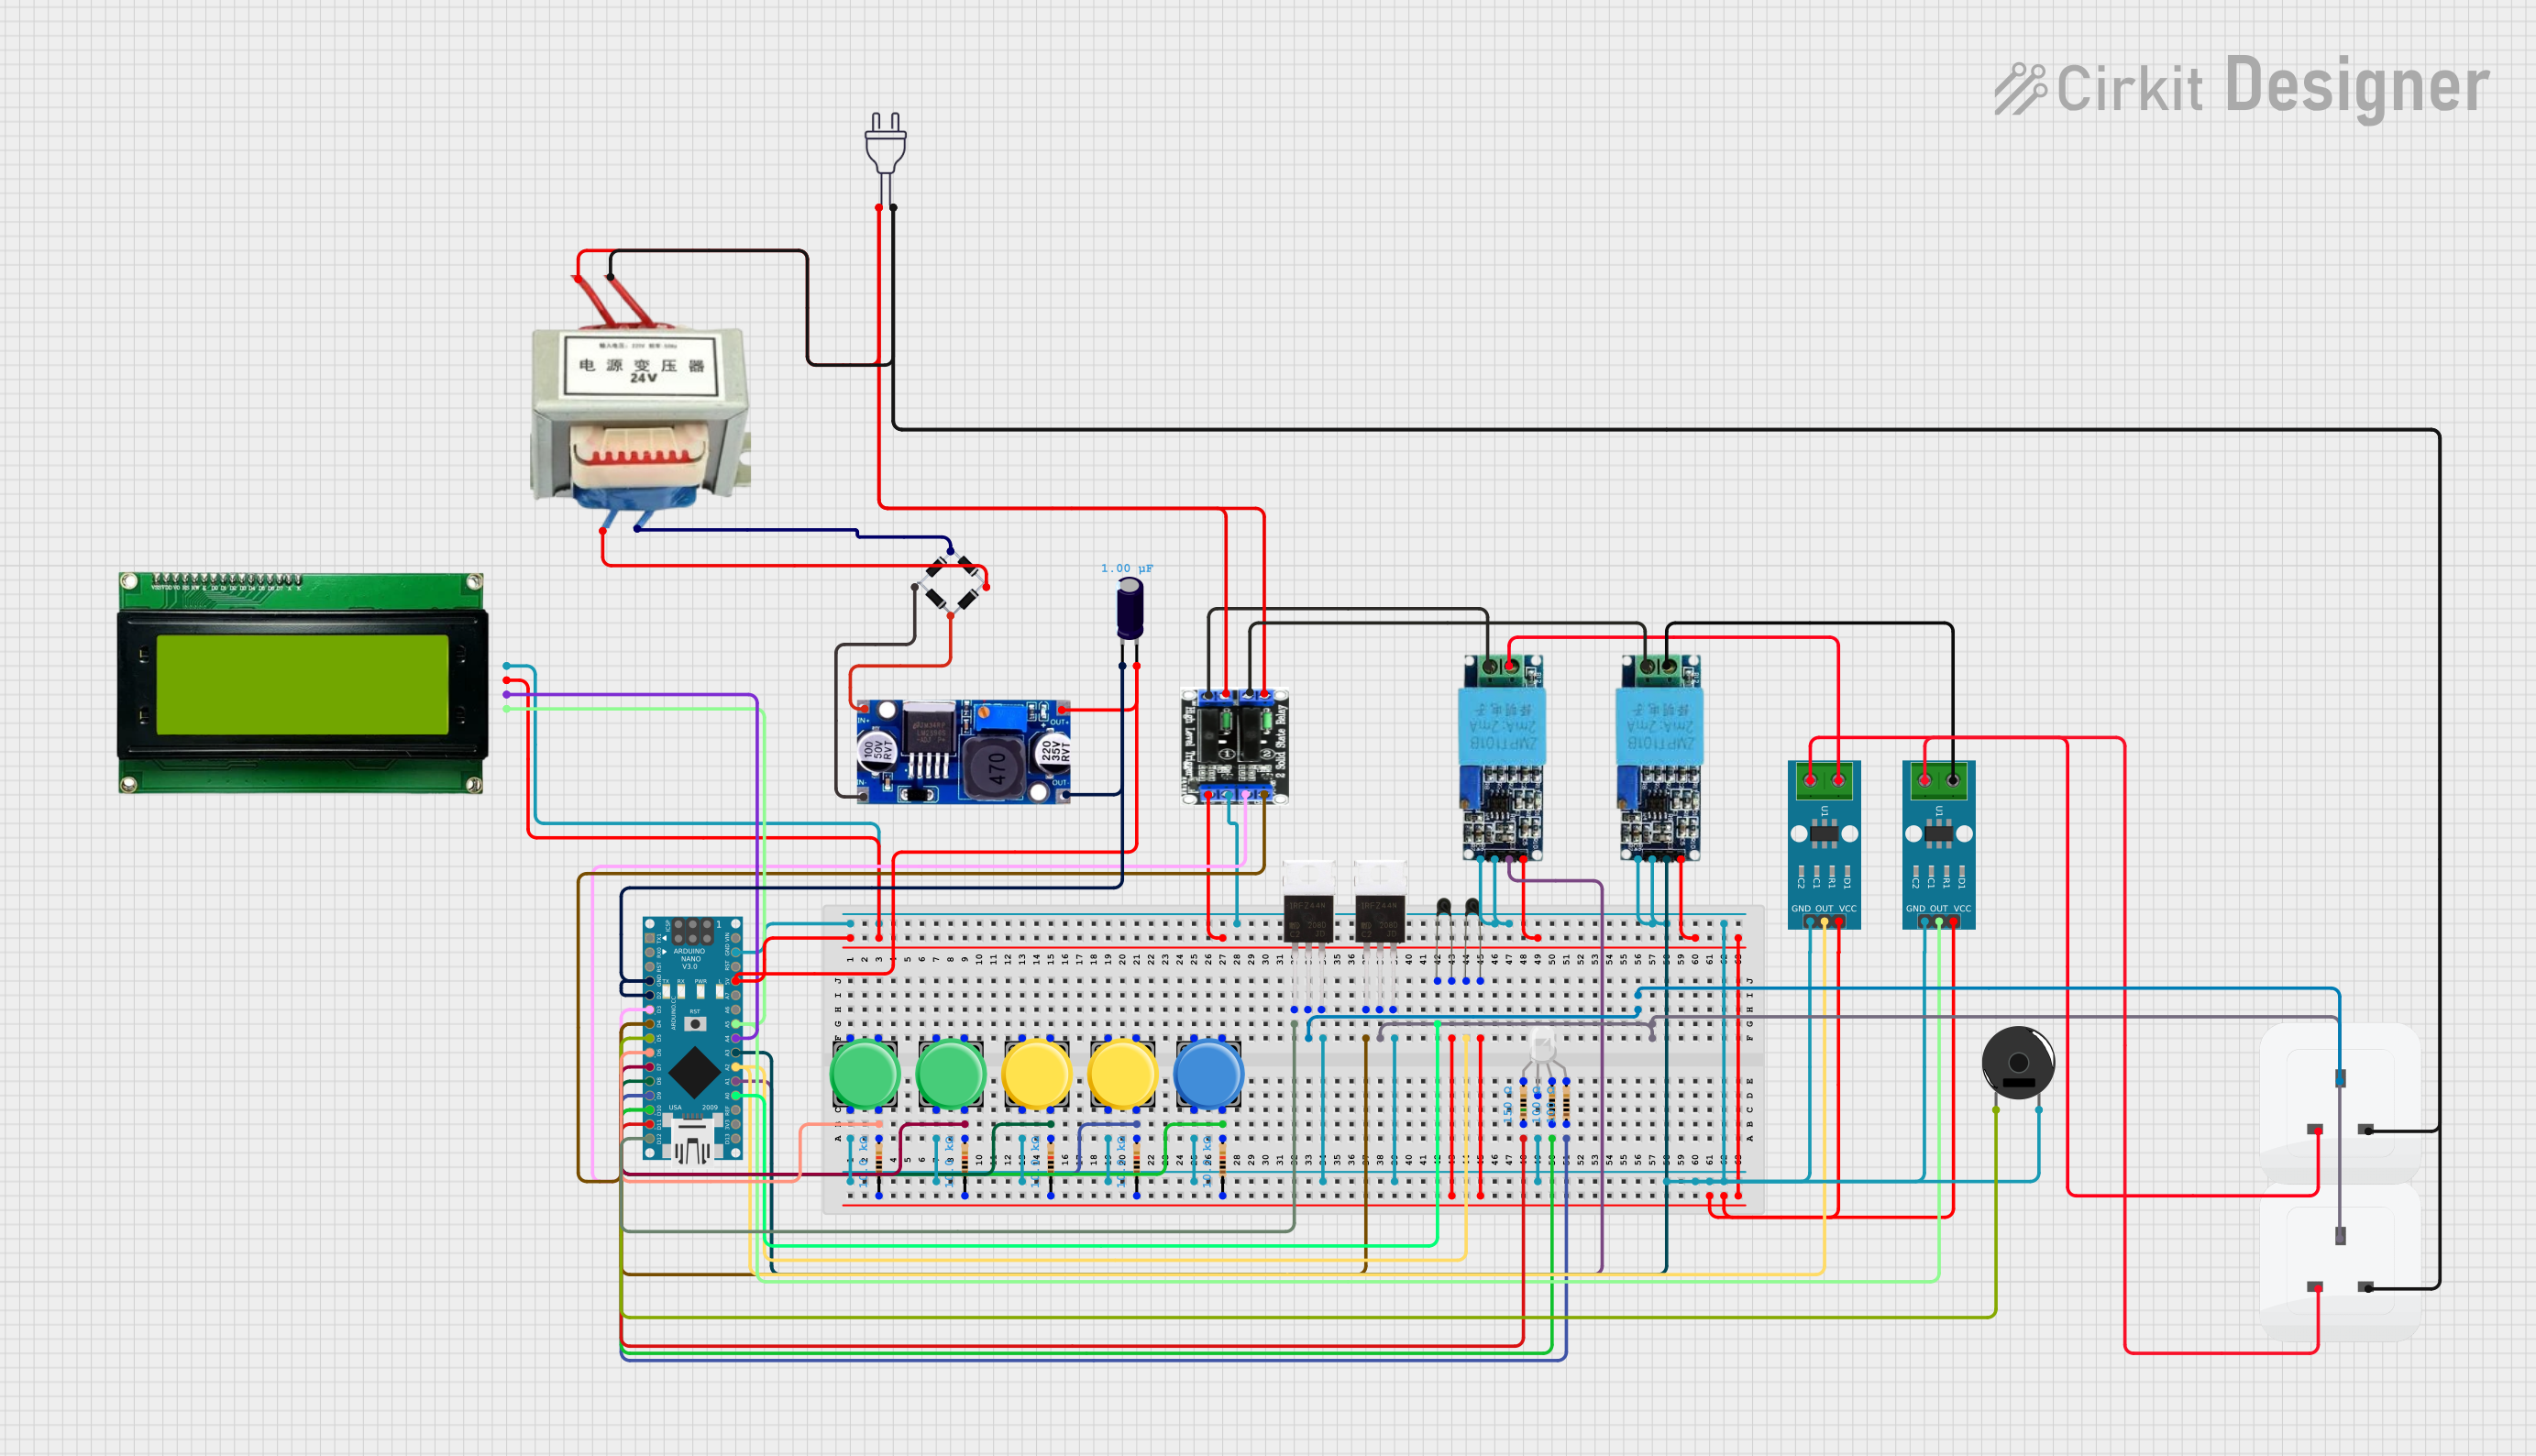 Open Project in Cirkit Designer
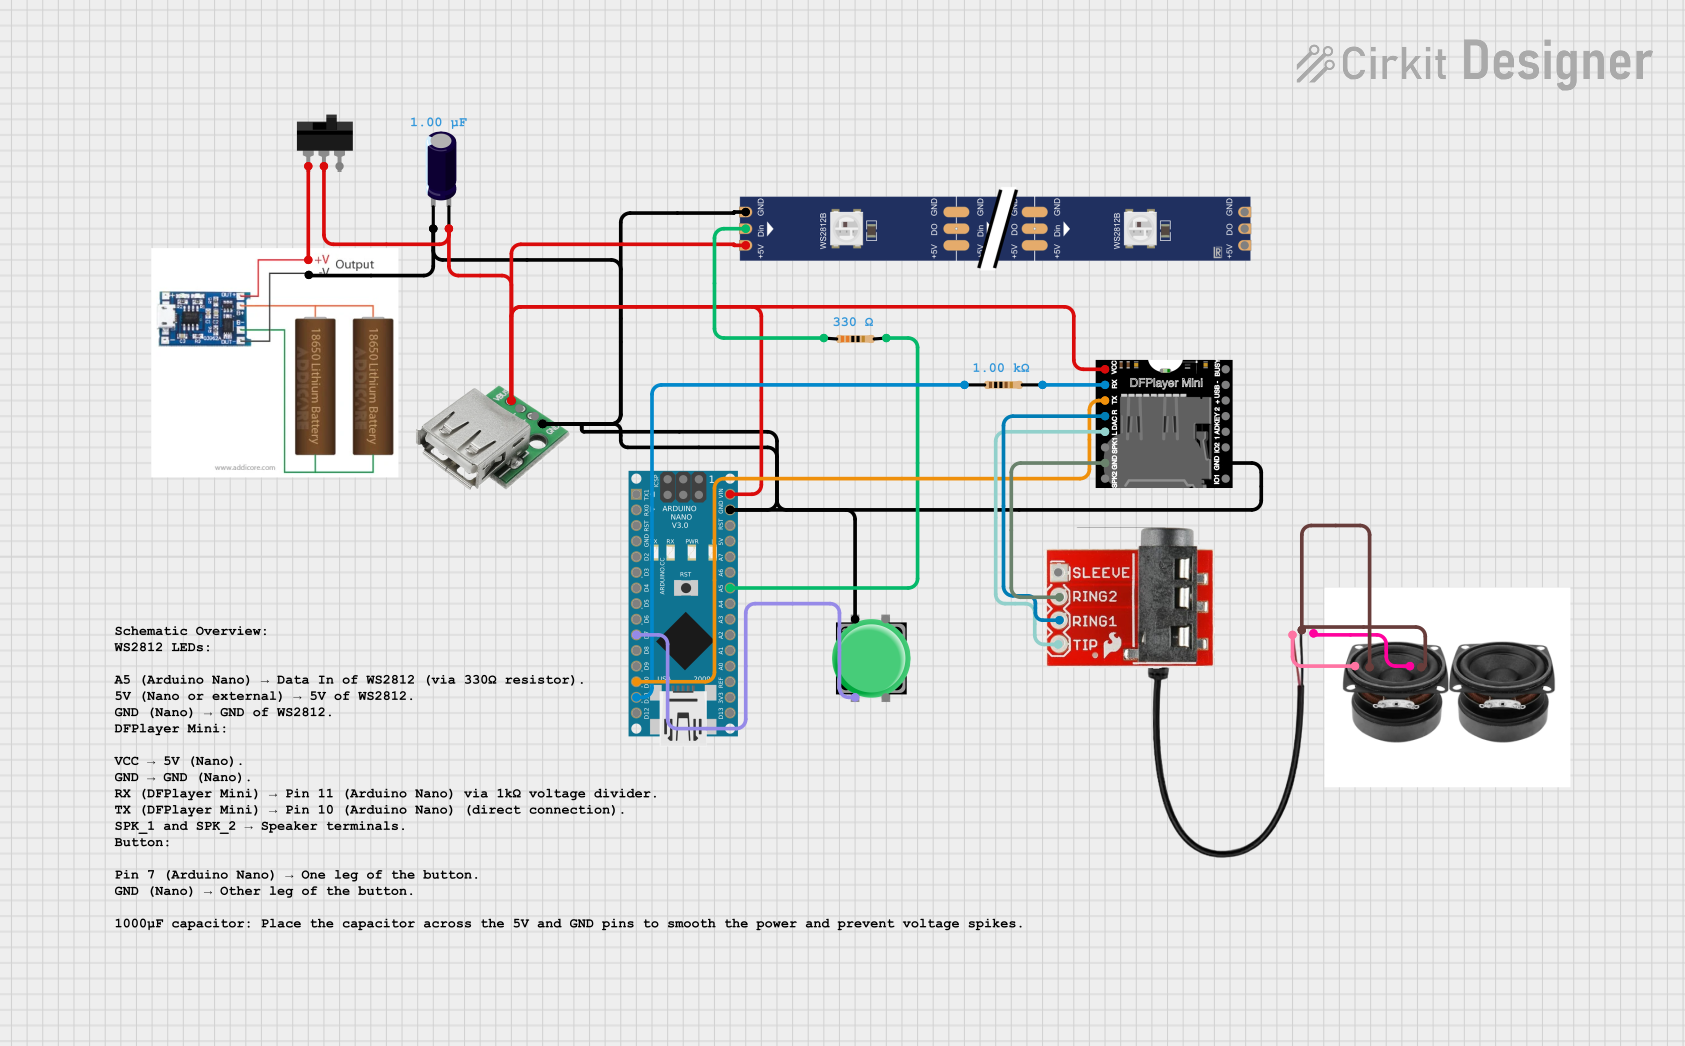 Open Project in Cirkit Designer
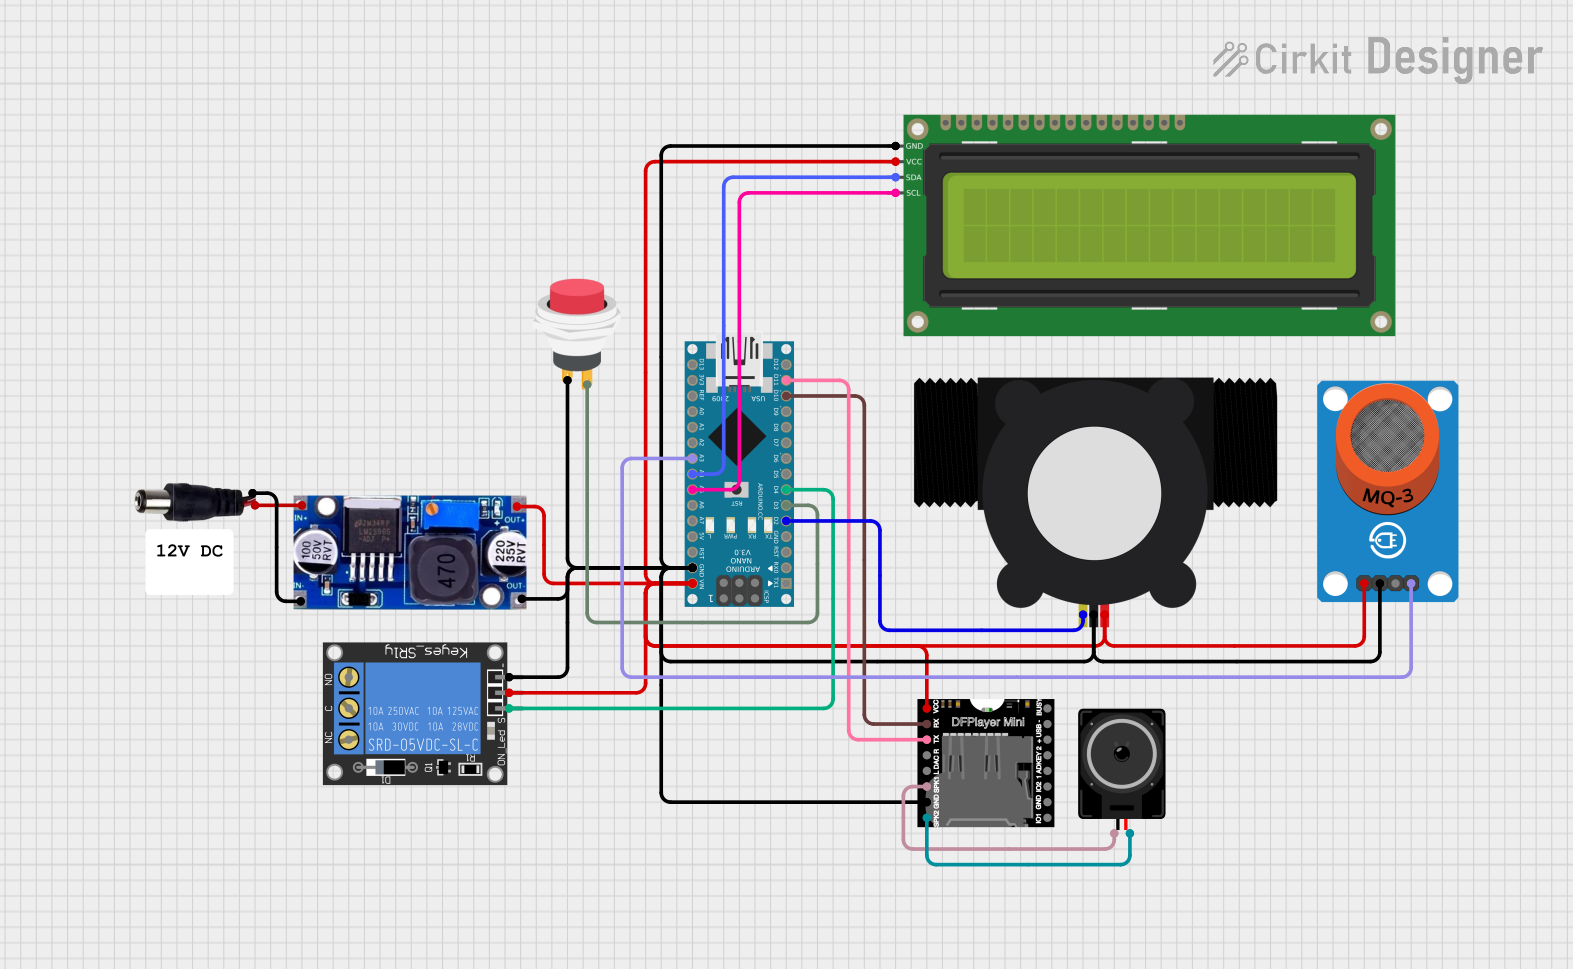 Open Project in Cirkit Designer
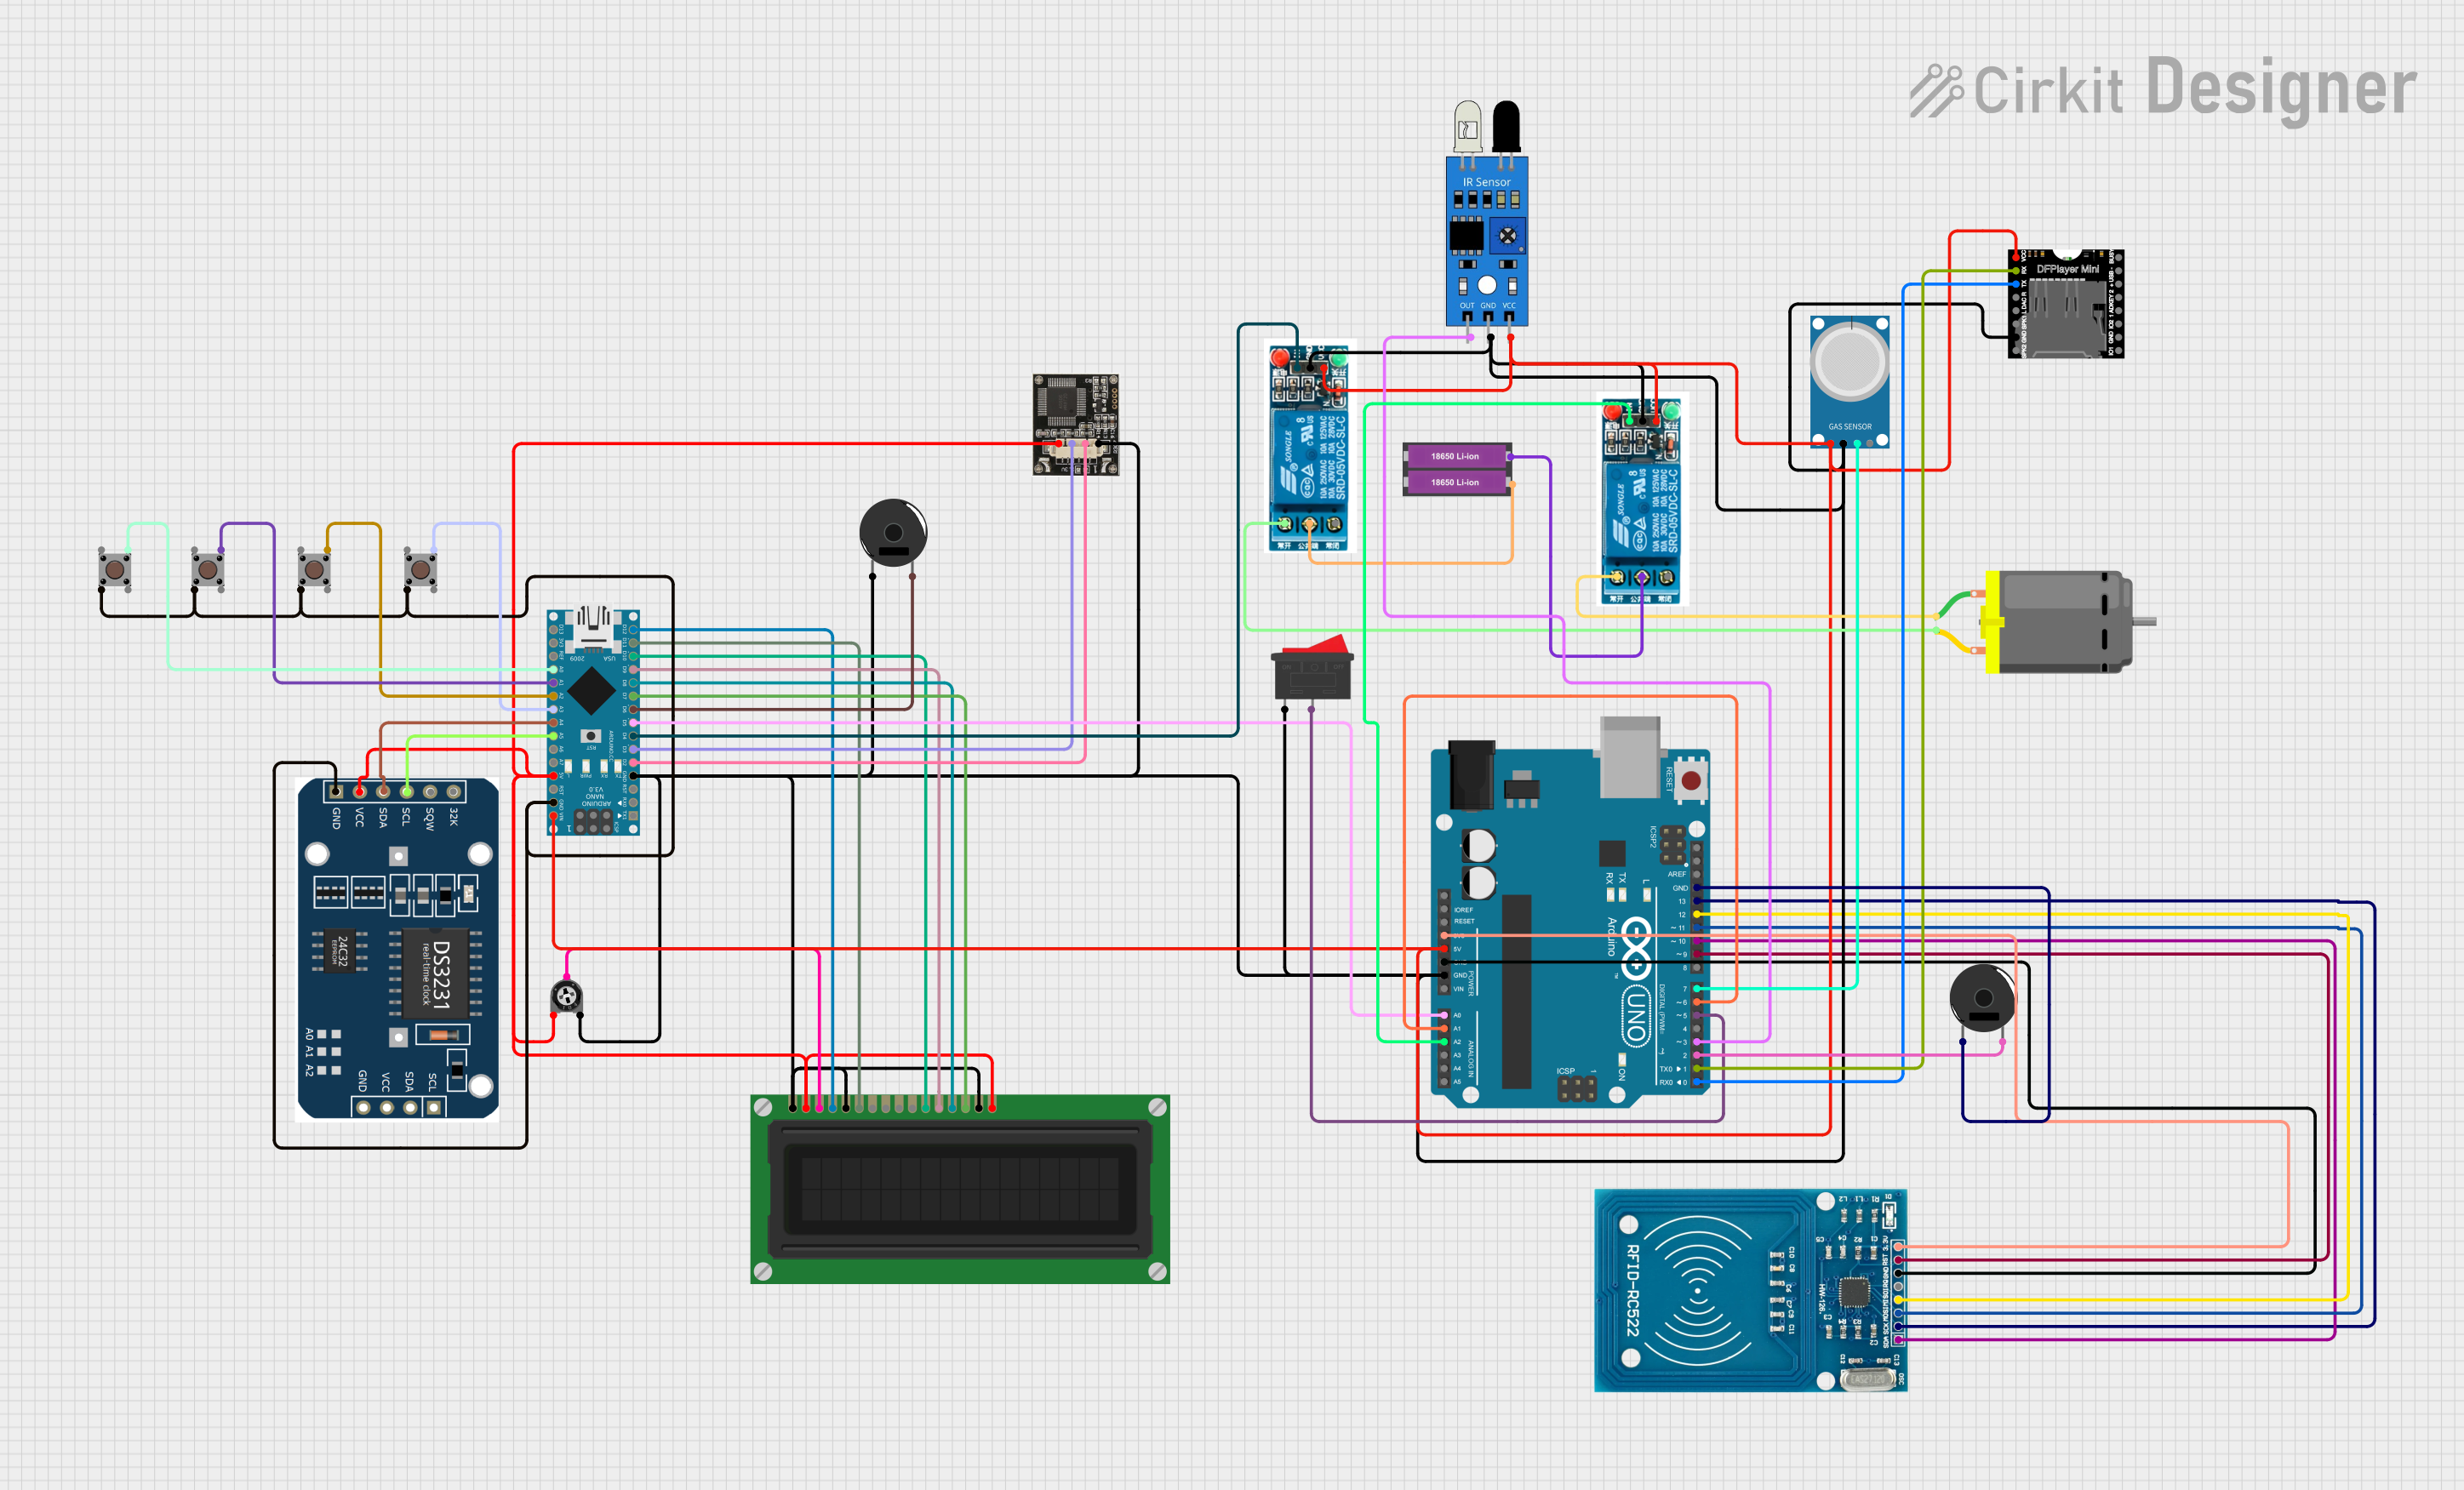 Open Project in Cirkit Designer
Explore Projects Built with Netduino
Open Project in Cirkit DesignerOpen Project in Cirkit DesignerOpen Project in Cirkit DesignerOpen Project in Cirkit DesignerCommon Applications and Use Cases
- Internet of Things (IoT) devices
- Robotics and automation systems
- Prototyping and hardware development
- Home automation projects
- Educational tools for learning embedded systems and C# programming
Technical Specifications
The Netduino is equipped with robust hardware and software capabilities, making it suitable for a wide range of applications. Below are its key technical details:
Key Technical Details
- Microcontroller: ARM Cortex-M4 (STM32F4 series)
- Clock Speed: 168 MHz
- Flash Memory: 384 KB
- RAM: 100 KB
- Digital I/O Pins: 22 (with PWM support on 6 pins)
- Analog Input Pins: 6 (10-bit resolution)
- Communication Interfaces: UART, SPI, I2C
- Power Supply: 7-12V DC (via barrel jack) or 5V (via USB)
- Operating Voltage: 3.3V (logic level)
- USB Interface: Full-speed USB 2.0
- Programming Environment: Visual Studio with .NET Micro Framework
- Dimensions: 2.7 x 2.1 inches (similar to Arduino Uno form factor)
Pin Configuration and Descriptions
The Netduino features a pin layout similar to the Arduino Uno, making it compatible with many Arduino shields. Below is the pin configuration:
| Pin | Type | Description |
|---|---|---|
| D0-D13 | Digital I/O | General-purpose digital input/output pins. PWM available on D3, D5, D6, D9, D10. |
| A0-A5 | Analog Input | 6 analog input pins with 10-bit resolution. |
| VIN | Power Input | External power input (7-12V DC). |
| 3.3V | Power Output | 3.3V regulated output for powering external components. |
| 5V | Power Output | 5V regulated output for powering external components. |
| GND | Ground | Common ground for the circuit. |
| RESET | Reset | Resets the microcontroller. |
| SDA/SCL | I2C Interface | I2C communication pins for connecting sensors and peripherals. |
| TX/RX | UART Interface | Serial communication pins for UART (D0: RX, D1: TX). |
Usage Instructions
The Netduino is programmed using Visual Studio and the .NET Micro Framework, making it ideal for developers familiar with C#. Below are the steps to get started and important considerations:
How to Use the Netduino in a Circuit
- Power the Board: Connect the Netduino to your computer via USB or use an external power supply (7-12V DC).
- Install Software:
- Download and install Visual Studio (Community Edition is sufficient).
- Install the .NET Micro Framework SDK and the Netduino SDK from the official website.
- Write Your Code:
- Open Visual Studio and create a new .NET Micro Framework project.
- Write your application logic in C#.
- Deploy the Code:
- Connect the Netduino to your computer via USB.
- Build and deploy the project directly from Visual Studio.
- Connect Components:
- Use the digital and analog pins to connect sensors, actuators, and other peripherals.
- Ensure proper voltage levels and use resistors or level shifters if necessary.
Example Code: Blinking an LED
Below is an example of how to blink an LED connected to pin D13:
using System;
using Microsoft.SPOT;
using Microsoft.SPOT.Hardware;
using SecretLabs.NETMF.Hardware;
using SecretLabs.NETMF.Hardware.Netduino;

namespace NetduinoBlink
{
    public class Program
    {
        public static void Main()
        {
            // Initialize pin D13 as an output pin
            OutputPort led = new OutputPort(Pins.ONBOARD_LED, false);

            while (true)
            {
                led.Write(true);  // Turn the LED on
                System.Threading.Thread.Sleep(500); // Wait for 500ms

                led.Write(false); // Turn the LED off
                System.Threading.Thread.Sleep(500); // Wait for 500ms
            }
        }
    }
}
Important Considerations and Best Practices
- Voltage Levels: The Netduino operates at 3.3V logic levels. Avoid connecting 5V signals directly to its pins.
- Power Supply: Use a stable power source to avoid unexpected resets or malfunctions.
- Shield Compatibility: While the Netduino has an Arduino Uno form factor, ensure that the shield is compatible with 3.3V logic.
- Debugging: Use Visual Studio's debugging tools to step through your code and identify issues.
Troubleshooting and FAQs
Common Issues and Solutions
Netduino Not Recognized by Computer:
- Ensure the USB cable is functional and properly connected.
- Install the correct drivers from the Netduino website.
- Try a different USB port or restart your computer.
Code Deployment Fails:
- Verify that the Netduino is in bootloader mode (press and hold the reset button while connecting to USB).
- Check for errors in your code and ensure the correct board is selected in Visual Studio.
Peripherals Not Working:
- Double-check wiring and connections.
- Ensure the components are compatible with 3.3V logic levels.
- Use pull-up or pull-down resistors where necessary.
LED Not Blinking:
- Confirm that the LED is connected to the correct pin (D13 in the example).
- Check the LED polarity (longer leg is positive).
FAQs
Q: Can I use Arduino libraries with the Netduino?
A: No, the Netduino uses the .NET Micro Framework, which is different from Arduino's programming environment. However, you can achieve similar functionality using C# libraries.
Q: Is the Netduino suitable for beginners?
A: Yes, especially for developers familiar with C#. However, beginners with no programming experience may find Arduino easier to start with.
Q: Can I use the Netduino for IoT projects?
A: Absolutely! The Netduino is well-suited for IoT applications, especially when combined with Wi-Fi or Ethernet shields.
Q: How do I update the firmware on my Netduino?
A: Download the latest firmware from the Netduino website and follow the provided instructions to update it using the bootloader mode.
By following this documentation, you can effectively use the Netduino for a wide range of projects and applications.